Love this? Save it for later!
Share the inspiration with your friends
The timer beeped and I nearly dropped my piping bag. I’d stopped by my neighbor Carol’s house to borrow a cup of brown sugar—typical Tuesday night baking emergency—and the smell hit me before I even got through the screen door. Something warm, buttery, and just a tiny bit unsettling. She was standing at her kitchen island, completely unfazed, shaping dough into what looked suspiciously like human fingers. “Oh, these?” she said when she caught me staring. “Just the cookies my grandkids make me do every year.” Just the cookies. Like it was no big deal that she was casually assembling the most delightfully creepy things I’d ever seen come out of an oven.
I stood there for a solid twenty minutes watching her work. Carol’s not the type to make a fuss about anything—she’d probably describe herself as a “dump and stir” baker—but watching her roll those almond fingernails and score each knuckle with the back of a butter knife was honestly mesmerizing. She handed me a warm one straight off the baking sheet and I swear, the way the shortbread crumbled against my teeth while that almond flavor lingered? I knew right then I’d be making these for every Halloween from that moment forward. Maybe you’ve been there—that moment when something so simple feels like discovering a secret.
These Spooky Witch Finger Halloween Sugar Cookies aren’t about being fancy. They’re about the joy of making something that makes people do a double-take before they laugh and grab one. Carol’s version used a recipe scribbled on a stained index card, and I’ve tweaked it just enough over the years to call it my own. But the spirit of it—the playful creepiness, the buttery crumb, that little thrill when someone realizes the almond is a fingernail—that’s all her. Let me tell you, there’s nothing quite like watching a grown adult hesitate before taking a bite of a cookie that looks like it belongs in a haunted house.
Why You’ll Love This Recipe
I’ve tested these Spooky Witch Finger Halloween Sugar Cookies through four Halloweens now, and they never fail to deliver exactly what you want from a holiday treat. Here’s why they’ve become my non-negotiable October bake:
- Quick & Easy: From mixing bowl to oven in under 30 minutes of active time. The dough comes together in one bowl with no chilling required—perfect for those last-minute party invites or when the Halloween mood strikes unexpectedly.
- Simple Ingredients: Butter, sugar, flour, eggs, and almond extract. That’s it. No weird specialty items, no hunting through three different stores. You probably have everything except maybe the almond slivers right now.
- Perfect for Halloween Parties: These are the cookies that stop conversations. Kids love the gross-out factor, adults appreciate the cleverness, and everyone fights over the ones with the most “realistic” knuckles.
- Crowd-Pleaser: I’ve brought these to potlucks, school events, and office parties. They disappear faster than anything else on the table. People take pictures before they eat them—that’s how you know you’ve made something special.
- Unbelievably Delicious: Here’s the thing—they look creepy but they taste like pure comfort. Buttery shortbread with a hint of almond that lingers just enough to keep you reaching for another.
What makes these different from every other Halloween cookie recipe out there? The texture. Most witch finger cookies end up too cakey or they spread into blobs that look more like sad potatoes than fingers. My version uses a specific ratio of butter to flour that gives you that crisp edge with a tender center—exactly what a good sugar cookie should be. Plus, I’ve figured out the trick to making the almond fingernails actually stay put during baking. No more fingernails sliding off into the oven abyss.
This is the kind of recipe that makes you feel like a kitchen witch in the best way. It’s not just about the end result—it’s about the fun of shaping each finger, the little thrill when you press those knuckle lines in, the laughter when someone at your party screams before they realize it’s a cookie. Honestly, that’s what Halloween is all about.
What Ingredients You Will Need
This recipe uses simple, wholesome ingredients to deliver that perfect buttery shortbread texture with just the right amount of creepy charm. Most of these are pantry staples, which makes these Spooky Witch Finger Halloween Sugar Cookies dangerously easy to whip up on a whim.
- 1 cup unsalted butter, softened (I prefer Kerrygold for the richness, but any good-quality butter works—just make sure it’s truly softened to room temperature, not melted)
- 1 cup powdered sugar (also called confectioners’ sugar—this gives the cookies that tender, melt-in-your-mouth texture that granulated sugar just can’t replicate)
- 1 large egg, room temperature (cold egg will make your dough seize up, so let it sit out for 20 minutes)
- 1 teaspoon vanilla extract (pure, not imitation—you’ll taste the difference)
- 1 teaspoon almond extract (this is non-negotiable for that authentic marzipan-like flavor that makes these cookies so distinctive)
- 2 ½ cups all-purpose flour (spoon and level it—don’t scoop directly from the bag or you’ll end up with dry dough)
- ½ teaspoon salt (fine sea salt preferred, it balances the sweetness beautifully)
- ½ teaspoon baking powder (just enough to give them a little lift without puffing up the finger shapes)
- Whole blanched almonds (one per cookie, for the fingernails—look for the ones that are already skinless and relatively flat on one side)
- Red food coloring (gel or paste works best—I use Americolor Super Red for that vivid “blood” color at the cuticle)
- Seedless raspberry jam (optional, for the “blood” effect—Smucker’s works great, or use any red jam you have)
Ingredient Selection Tips: For the most realistic-looking fingers, choose almond slivers that are roughly the same size and shape—about the width of your pinky fingernail. If your almonds are too curved, they’ll look more like claws than fingernails, which honestly is also kind of cool if you’re going for a more feral witch aesthetic. I’ve used both blanched and unblanched almonds, and I prefer blanched because the lighter color looks more like a real nail bed once it bakes.
Substitution Guidance: If you’re avoiding almonds (or just don’t have them), you can use a small sliver of white chocolate or a blanched peanut for the fingernail effect. For a nut-free version, skip the almond extract and use extra vanilla instead, then press a small piece of dried apricot or a white chocolate chip into each finger tip. The flavor profile changes, but the creepy factor stays strong.
Equipment Needed
You don’t need a professional bakery setup for these Spooky Witch Finger Halloween Sugar Cookies, but having the right tools makes the shaping process much smoother. Here’s what I use:
- Stand mixer or hand mixer—either works, but a stand mixer frees up your hands for other tasks. I’ve made these with a whisk and a lot of elbow grease too, so don’t let lack of equipment stop you.
- Large mixing bowl
- Measuring cups and spoons
- Baking sheets (I prefer light-colored aluminum sheets for even browning—dark sheets can over-brown the bottoms)
- Parchment paper or silicone baking mats (parchment is easier for cleanup, silicone mats help prevent spreading)
- Butter knife or bench scraper (for creating those knuckle indentations)
- Small offset spatula (helpful for transferring the shaped fingers without deforming them)
- Pastry brush (for applying the egg wash—a silicone one is easiest to clean)
- Toothpick or skewer (for adding fine details like cuticle lines)
- Cooling rack (wire rack for even cooling)
Budget-Friendly Alternatives: No piping bag? Use a zip-top bag with the corner snipped off for your jam “blood.” No offset spatula? A thin metal spatula or even a butter knife will work. I’ve shaped these cookies on a regular baking sheet with just my hands and a chopstick for the knuckle marks—the cookies don’t care about fancy tools.
One thing I learned the hard way: invest in good parchment paper. The cheap stuff can stick to your cookies and ruin those carefully shaped knuckles. I use Reynolds Kitchens parchment—it’s sturdy, doesn’t curl up, and nothing sticks to it.
Preparation Method
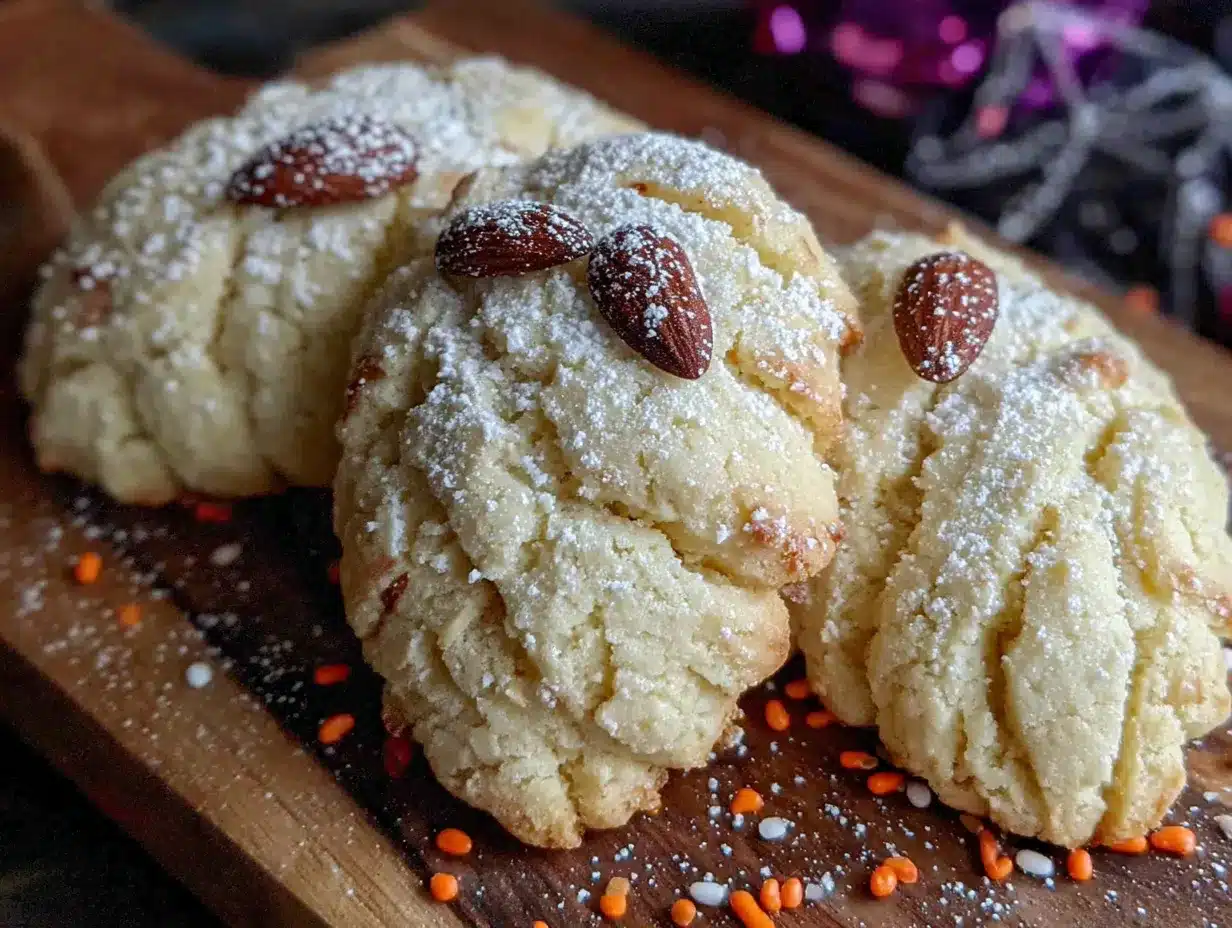
Making these Spooky Witch Finger Halloween Sugar Cookies is a process, but it’s a fun one. I usually put on a Halloween playlist and pour myself a cup of tea—this is the kind of baking that’s as much about the experience as the result.
- Preheat and prep. Preheat your oven to 325°F (165°C). Line two baking sheets with parchment paper. This lower temperature is intentional—it bakes the cookies through without browning them too much, keeping that pale “corpse finger” look.
- Cream the butter and sugar. In your mixing bowl, beat the softened butter and powdered sugar together on medium speed until light and fluffy, about 3 minutes. You’re looking for a pale, creamy mixture that’s increased in volume. Scrape down the sides of the bowl halfway through. Don’t rush this step—proper creaming is what gives these cookies their tender crumb.
- Add the wet ingredients. Beat in the egg, vanilla extract, and almond extract until fully combined. The mixture might look slightly curdled at this point—that’s totally normal, don’t panic. The flour will bring it all together in the next step.
- Mix the dry ingredients. In a separate bowl, whisk together the flour, salt, and baking powder. Add this to the wet mixture in two additions, mixing on low speed just until combined. Stop as soon as you don’t see any more flour streaks—overmixing will make your cookies tough, and nobody wants a tough witch finger.
- Shape the fingers. Here’s where the fun really begins. Take about 1 tablespoon of dough (roughly the size of a walnut) and roll it into a log shape about 3 inches long. Place it on your prepared baking sheet. Now, here’s the trick: taper one end to be slightly narrower (that’s the fingertip) and leave the other end slightly thicker (that’s where the finger would attach to the hand). Use your fingers to gently flatten the log just a bit—fingers aren’t perfectly round cylinders. Repeat with the remaining dough, spacing the fingers about 2 inches apart. They won’t spread much, so you can fit 8-10 per sheet.
- Create the knuckles. Take a butter knife or bench scraper and gently press lines across each finger at the knuckle points. You want three lines—one near the tip, one in the middle, and one near the base. Don’t press too deep or you’ll cut through the dough. Just firm enough to leave a clear indent. For extra realism, use a toothpick to add tiny horizontal lines at each knuckle, mimicking the natural creases of skin.
- Add the fingernails. Press one whole blanched almond into the tapered end of each finger, pointed end facing outward. The almond should sit about ¼ inch into the dough. Press firmly but gently—you want it to stay put during baking. If your almonds are too curved, you can flatten them slightly with the back of a knife.
- Create the “blood” effect. Take a small amount of red food coloring gel on a toothpick and draw a thin line around the base of each almond, where the cuticle would be. This creates the illusion of bloody nail beds. If you’re using raspberry jam, warm a tablespoon in the microwave for 10 seconds, then use a small brush or toothpick to dab a tiny amount around each nail.
- Chill (optional but recommended). Pop the baking sheets into the refrigerator for 15 minutes. This firms up the butter and helps the fingers hold their shape better during baking. If you’re in a rush, you can skip this step, but your fingers might spread a little more.
- Bake. Bake for 12-15 minutes, or until the cookies are just barely golden on the bottom edges. The tops should remain pale. Rotate the baking sheets halfway through for even baking. You’ll know they’re done when the edges look set and the cookies are firm to a gentle touch.
- Cool completely. Let the cookies cool on the baking sheet for 5 minutes, then transfer them to a wire rack. Don’t try to move them while they’re hot—they’re fragile and those carefully shaped fingers will break. Patience, my friend.
- Final touches. Once completely cool, you can add extra “blood” details with more jam or food coloring. Some people like to dust them with a tiny bit of powdered sugar for a “moldy” effect. I personally leave them as-is—the pale, buttery color against the red cuticles is creepy enough on its own.
Troubleshooting Tip: If your dough is too sticky to shape, refrigerate it for 20 minutes. If it’s too dry and crumbly, add a teaspoon of milk. Weather and humidity affect dough consistency more than you’d think—I’ve made these on humid summer days and dry fall evenings, and the dough behaves differently every time.
Cooking Tips & Techniques
After making these Spooky Witch Finger Halloween Sugar Cookies more times than I care to count, I’ve collected a few hard-won lessons. Let me save you from my mistakes.
The biggest rookie error is using melted butter instead of softened butter. I did this my second time making them, thinking it would speed things up. It didn’t. The cookies spread into flat, shapeless blobs that looked less like witch fingers and more like weird pancakes. Softened butter is non-negotiable—take it out of the fridge an hour before you start baking.
Don’t skip the almond extract. I know some people are sensitive to almond flavor, but it’s what gives these cookies their signature taste. Without it, they’re just regular sugar cookies shaped like fingers. The almond extract adds that subtle marzipan note that makes people go, “Wait, what IS that flavor?” It’s the secret weapon.
Temperature matters more than you think. If your kitchen is warm (above 75°F), your dough will be soft and sticky. Work quickly and pop the shaped fingers into the fridge as you go. If your kitchen is cold, the dough might crack when you try to shape it—just warm it between your hands for a few seconds and try again.
For consistent finger sizes, use a cookie scoop to portion the dough. I use a 1-tablespoon scoop and it gives me perfectly uniform fingers every time. This isn’t just about aesthetics—uniform size means even baking, so you don’t end up with some fingers overdone and others underbaked.
The knuckle trick: Use the back of a butter knife, not the sharp edge. And don’t press straight down—use a slight rolling motion to create a natural-looking indent. I learned this from watching Carol, who made it look effortless. It takes practice, but once you get the motion down, it becomes almost meditative.
Multitasking strategy: While the first batch bakes, shape the second batch. While the second batch bakes, the first batch is cooling. This keeps the assembly line moving and prevents you from standing around waiting. I usually have all the fingers shaped within 20 minutes, then the baking takes about 30 minutes total for two sheets.
One more thing— if your almonds keep falling off during baking, you’re not pressing them in firmly enough. They should be embedded about halfway into the dough. Also, make sure the dough at the fingertip isn’t too thin—if it is, the almond won’t have anything to grip onto.
Variations & Adaptations
These Spooky Witch Finger Halloween Sugar Cookies are surprisingly versatile. Here are some variations I’ve tried over the years:
Chocolate Witch Fingers: Replace ¼ cup of the flour with unsweetened cocoa powder. The chocolate version looks even more realistic—like dirt-caked witch fingers dug up from a grave. I made these for a Halloween party last year and they were gone before the regular ones. The chocolate version also pairs beautifully with the almond extract, giving it a black forest cake vibe.
Gluten-Free Version: Substitute the all-purpose flour with a 1:1 gluten-free baking flour blend. I’ve used Bob’s Red Mill and King Arthur’s gluten-free blends with excellent results. Add an extra tablespoon of butter since gluten-free flours tend to be more absorbent. The texture is slightly more delicate, so handle the shaped fingers gently.
Vegan Witch Fingers: Use vegan butter (I like Miyoko’s for baking) and replace the egg with a flax egg (1 tablespoon ground flaxseed mixed with 3 tablespoons water, let sit for 5 minutes). The flavor is still amazing—the almond extract does a lot of heavy lifting. The texture is slightly more crumbly, but the creepy factor is unchanged.
Spiced Pumpkin Version: Add ½ teaspoon pumpkin pie spice and ¼ cup pumpkin puree to the dough. Reduce the flour by 2 tablespoons to compensate for the extra moisture. The orange-tinted dough looks even more like real fingers, and the pumpkin spice gives them a fall aroma that’s absolutely delightful.
Blood Drip Variation: Instead of just coloring the cuticles, drizzle the finished cookies with a thin glaze made from powdered sugar and raspberry jam. It looks like blood dripping down the fingers. I did this for a Halloween party once and someone actually gagged before laughing. That’s the reaction you’re going for.
My personal favorite variation is the “zombie” version—I add a few drops of green food coloring to the dough and use slivered almonds painted with green gel coloring. They look like undead witch fingers. My nephew still talks about them two years later.
Serving & Storage Suggestions
These Spooky Witch Finger Halloween Sugar Cookies are best served at room temperature, arranged on a platter in a way that maximizes the creep factor. I like to scatter them on a black platter with a few fake spider webs and plastic spiders scattered around. The contrast between the pale cookies and the dark background really makes them pop.
Presentation tip: Arrange the fingers in a cluster, pointing in different directions, as if they’re crawling out of the platter. For extra drama, place a small bowl of red jam in the center labeled “blood dip.” People go absolutely wild for this—I’ve seen grown adults squeal with delight.
What to serve with them: These cookies pair beautifully with a warm cup of spiced apple cider, a pumpkin spice latte, or a glass of cold milk. For adult gatherings, they’re fantastic with a dark stout beer or a bourbon cocktail. The buttery sweetness balances the bitterness of the drinks perfectly.
Storage instructions: Store the cookies in an airtight container at room temperature for up to 5 days. Layer them between sheets of parchment paper to prevent the fingernails from scratching each other. Do NOT refrigerate them—the fridge will make them stale faster and the texture will suffer.
Freezer instructions: These cookies freeze beautifully for up to 3 months. Place them in a single layer on a baking sheet and freeze until solid (about 2 hours), then transfer to a freezer-safe container with parchment between layers. To thaw, let them sit at room temperature for 30 minutes. The texture remains remarkably close to fresh-baked.
Reheating: If you want that just-baked warmth, pop them in a 300°F oven for 3-4 minutes. Don’t use the microwave—it makes the cookies tough and the almonds get chewy. Honestly, they’re so good at room temperature that I rarely bother reheating them.
Flavor development note: These cookies actually taste better the day after baking. The almond flavor mellows and melds with the butter, creating a more complex, rounded taste. So if you’re making them for a party, bake them a day ahead—your future self will thank you.
Nutritional Information & Benefits
Let’s be real—these are cookies, not health food. But here’s the nutritional breakdown per cookie (based on 24 cookies from this recipe):
| Nutrient | Amount per cookie |
|---|---|
| Calories | 185 |
| Total Fat | 10g |
| Saturated Fat | 6g |
| Cholesterol | 35mg |
| Sodium | 85mg |
| Total Carbohydrates | 22g |
| Sugars | 10g |
| Protein | 3g |
Health Benefits of Key Ingredients: Almonds are a great source of vitamin E, healthy monounsaturated fats, and magnesium. They’re also one of the best sources of antioxidants among nuts. The butter provides fat-soluble vitamins A, D, E, and K, though it should be consumed in moderation. The egg adds high-quality protein and choline, which supports brain health.
Dietary Considerations: This recipe contains dairy (butter), eggs, gluten (flour), and tree nuts (almonds). For a gluten-free version, see the variations section above. For a vegan version, see the substitutions. These cookies are not low-carb or keto-friendly due to the powdered sugar content.
Allergen Warning: These cookies contain common allergens including wheat, dairy, eggs, and tree nuts. If serving at a party where allergies might be a concern, make a separate batch with the appropriate substitutions and clearly label them.
My personal take: I believe in enjoying treats in moderation. Halloween comes once a year, and these cookies are part of the celebration. I don’t stress about the sugar content—I focus on the joy of making them, the laughter they bring, and the memories created. That’s a different kind of nourishment, and it’s just as important.
Conclusion
These Spooky Witch Finger Halloween Sugar Cookies have become my October tradition, and I hope they become yours too. There’s something so satisfying about creating something that makes people do a double-take before they burst out laughing and grab a handful. It’s the perfect blend of spooky and sweet—exactly what Halloween should be.
What I love most about this recipe is how it brings people together. I’ve made these with my niece who giggled the whole time, with friends at Halloween parties who got competitive about whose fingers looked most realistic, and alone in my kitchen on a rainy October evening when I just needed something fun to do. Every time, they deliver the same joy.
Don’t be afraid to make them your own. Add more red food coloring for extra gore. Use different nuts for different “nail” shapes. Experiment with flavors. The beauty of baking is that the recipe is just a starting point—what you make of it is entirely up to you.
I’d love to hear how yours turn out! Drop a comment below with your variations, your party stories, or just a photo of your creepiest finger. Tag me on social media so I can see your creations. And if you make these with kids, please tell me their reactions—those are always the best stories.
Happy Halloween, my fellow kitchen witches. May your cookies be creepy, your oven be kind, and your almond fingernails stay put.
Frequently Asked Questions
Can I make the dough ahead of time?
Absolutely. You can prepare the dough up to 3 days in advance and keep it wrapped tightly in the refrigerator. Let it sit at room temperature for about 15 minutes before shaping—it’ll be easier to work with. You can also freeze the dough for up to 3 months; just thaw it overnight in the fridge before using.
Why did my cookies spread and lose their finger shape?
This usually happens when the butter is too soft or the dough isn’t chilled before baking. Make sure your butter is softened but not melted, and pop the shaped fingers in the fridge for 15-20 minutes before they go into the oven. Also check that your baking powder isn’t expired—old leavening agents can cause unexpected spreading.
Can I use almond flour instead of all-purpose flour?
I wouldn’t recommend a straight substitution. Almond flour doesn’t have the same structure-building properties as wheat flour, so the cookies would be very delicate and might not hold their finger shape. If you need a gluten-free option, use a 1:1 gluten-free baking blend rather than almond flour alone.
How do I get the fingernails to stay on during baking?
Press the almonds firmly into the dough—about halfway in. Make sure the dough at the fingertip isn’t too thin; if it is, the almond won’t have enough support. Also, avoid using almonds that are too curved or too small. If you’re still having trouble, you can brush a tiny bit of water under the almond before pressing it in—it acts like glue.
Can I make these without almond extract?
You can, but they won’t have that signature flavor that makes these cookies so distinctive. If you need to skip it due to allergies, use an extra teaspoon of vanilla extract instead. The cookies will still taste good—they’ll just be regular sugar cookies shaped like fingers rather than the almond-infused version that makes people ask for the recipe.
Pin This Recipe!
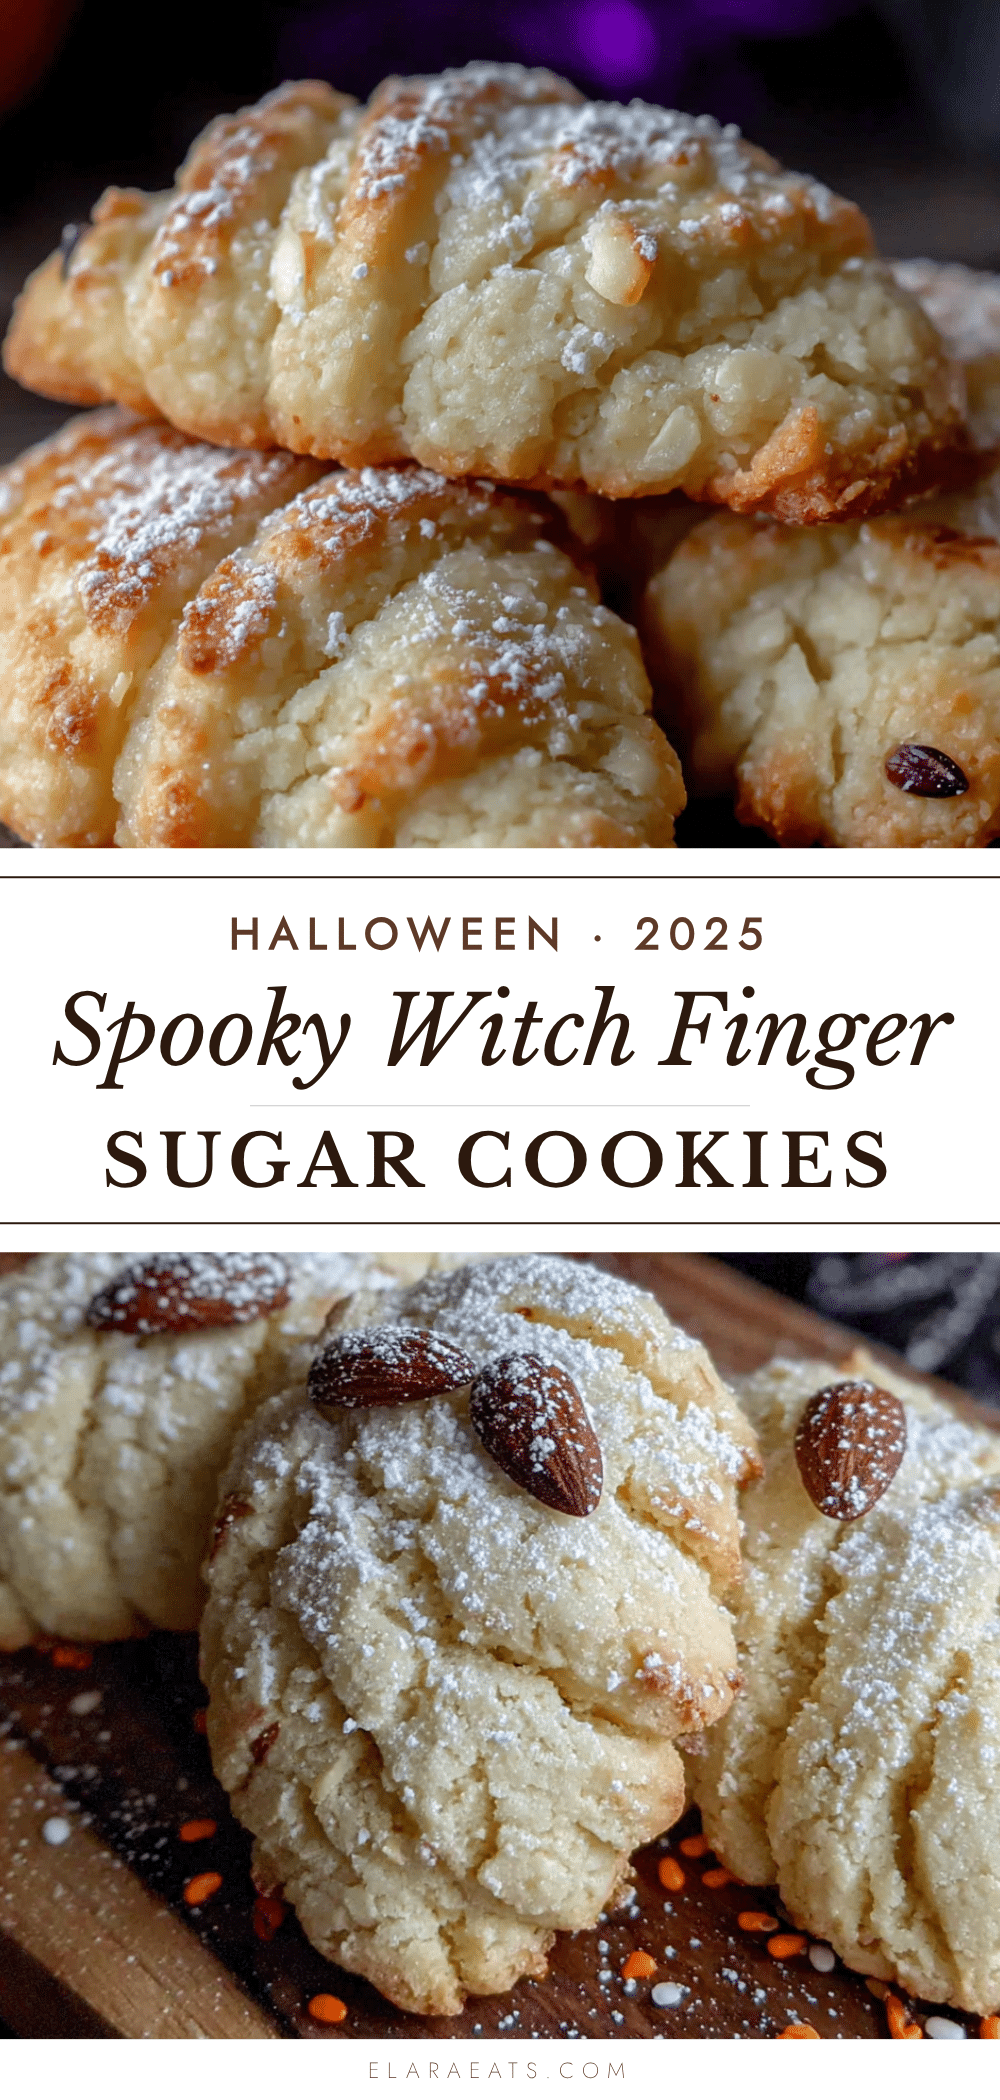
Spooky Witch Finger Halloween Sugar Cookies

These delightfully creepy buttery shortbread cookies look like witch fingers with almond fingernails. Perfect for Halloween parties, they’re easy to make with simple ingredients and always get a double-take before the laughter and grabbing begins.
- Prep Time: 30 minutes
- Cook Time: 15 minutes
- Total Time: 45 minutes
- Yield: 24 cookies 1x
- Category: Dessert
- Cuisine: American
Ingredients
- 1 cup unsalted butter, softened
- 1 cup powdered sugar
- 1 large egg, room temperature
- 1 teaspoon vanilla extract
- 1 teaspoon almond extract
- 2 ½ cups all-purpose flour
- ½ teaspoon salt
- ½ teaspoon baking powder
- Whole blanched almonds (one per cookie)
- Red food coloring (gel or paste)
- Seedless raspberry jam (optional, for ‘blood’ effect)
Instructions
- Preheat oven to 325°F (165°C). Line two baking sheets with parchment paper.
- In a mixing bowl, beat softened butter and powdered sugar together on medium speed until light and fluffy, about 3 minutes. Scrape down sides halfway through.
- Beat in egg, vanilla extract, and almond extract until fully combined. Mixture may look slightly curdled.
- In a separate bowl, whisk together flour, salt, and baking powder. Add to wet mixture in two additions, mixing on low speed just until combined. Do not overmix.
- Take about 1 tablespoon of dough and roll into a log shape about 3 inches long. Place on prepared baking sheet. Taper one end slightly narrower (fingertip) and leave the other end thicker. Gently flatten the log slightly. Repeat with remaining dough, spacing fingers about 2 inches apart.
- Use a butter knife or bench scraper to gently press three lines across each finger at knuckle points (near tip, middle, and base). Use a toothpick to add tiny horizontal lines at each knuckle for realism.
- Press one whole blanched almond into the tapered end of each finger, pointed end facing outward, about ¼ inch into the dough. Press firmly but gently.
- Use a toothpick to draw a thin line of red food coloring around the base of each almond (cuticle area). If using raspberry jam, warm 1 tablespoon in microwave for 10 seconds, then dab a tiny amount around each nail.
- Optional: Refrigerate baking sheets for 15 minutes to firm up butter and help fingers hold shape.
- Bake for 12-15 minutes, until just barely golden on bottom edges. Tops should remain pale. Rotate sheets halfway through.
- Cool on baking sheet for 5 minutes, then transfer to wire rack to cool completely.
- Once cool, add extra ‘blood’ details with more jam or food coloring if desired.
Notes
For best results, use softened butter (not melted) to prevent spreading. Almond extract is key for the signature flavor. If dough is too sticky, refrigerate 20 minutes; if too dry, add 1 teaspoon milk. Cookies taste even better the day after baking as flavors meld. Store in airtight container at room temperature up to 5 days. Freeze up to 3 months.
Nutrition
- Serving Size: 1 cookie
- Calories: 185
- Sugar: 10
- Sodium: 85
- Fat: 10
- Saturated Fat: 6
- Carbohydrates: 22
- Protein: 3
Keywords: Halloween cookies, witch finger cookies, sugar cookies, shortbread cookies, spooky cookies, Halloween dessert, creepy cookies, almond cookies