Love this? Save it for later!
Share the inspiration with your friends
My neighbor wasn’t trying to impress me. I’d stopped by to borrow a ladder, and the smell of brown butter and toasting sugar hit me before I even knocked. It was a Thursday afternoon, nothing special—just a regular day. She answered the door holding a spatula with cookie dough clinging to it, completely nonchalant, like she hadn’t just created the most intoxicating aroma I’d ever encountered in a suburban kitchen.
“Oh, those are just cookies,” she said when I asked what she was making. Just cookies. I stood there, honestly, probably looking a little desperate, while she explained she was testing a no-chill recipe because she was impatient. She laughed about it. “I can never wait for the dough to firm up,” she said. I mean, I get that. Maybe you’ve been there too—craving a warm cookie but dreading the hour-long chill time.
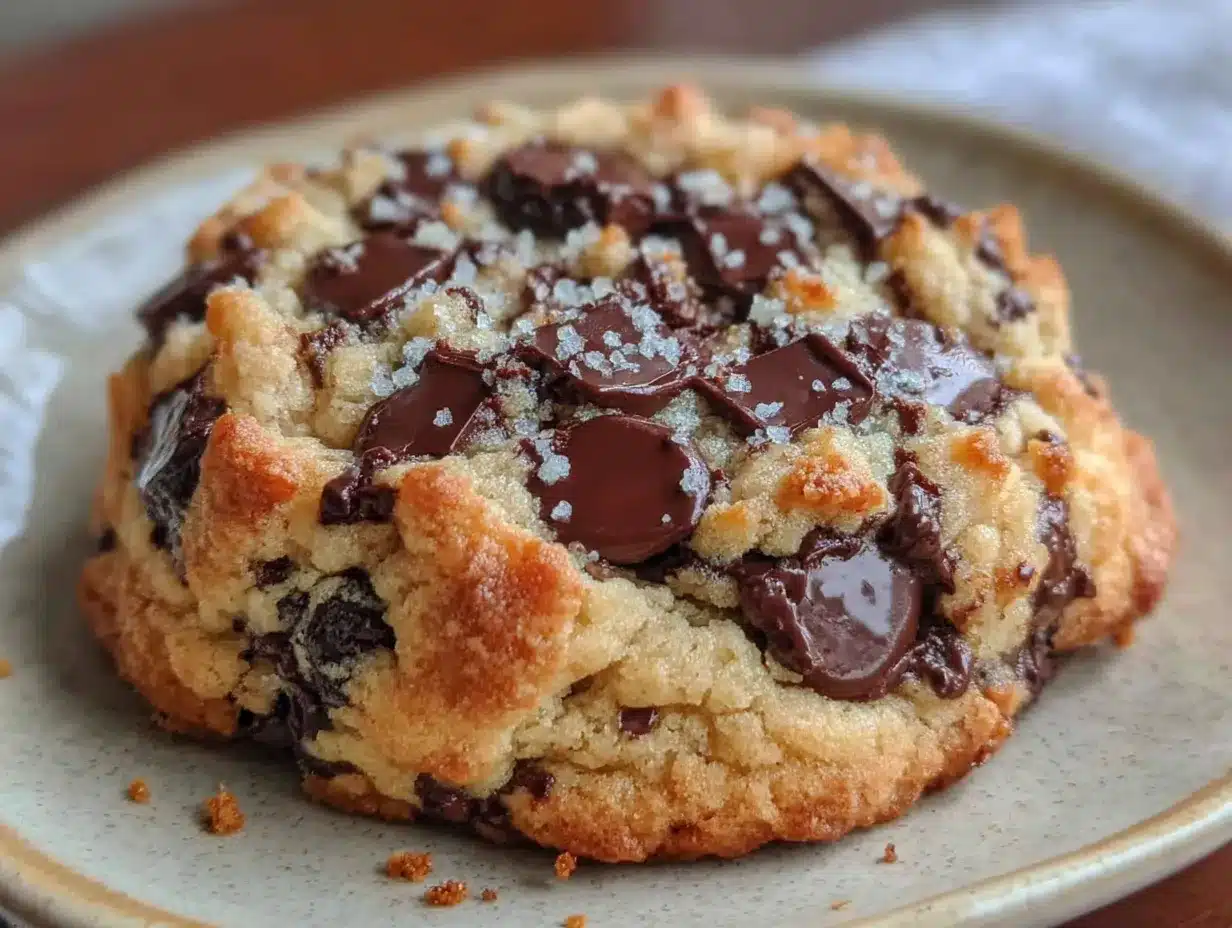
She handed me one straight off the baking sheet, still warm and gooey in the center. The edges were perfectly crisp, the middle was soft and chewy, and that brown butter flavor—nutty, rich, almost caramel-like—hit me in a way I wasn’t prepared for. I asked for the recipe, and she scribbled it on a sticky note while I held the ladder. That sticky note is still in my kitchen drawer, a little splattered with vanilla extract. This recipe stayed with me because it proved that you don’t need patience or fancy techniques to make something extraordinary. You just need brown butter and the right ratio of ingredients. And maybe a neighbor who doesn’t realize how good she is.
Why You’ll Love This Recipe
Let me tell you something—I’ve tested a lot of chocolate chip cookie recipes over the years. Some require chilling for 24 hours. Others need specialty flours or weird emulsifiers. This one? It’s different. It’s the kind of cookie that makes you wonder why you ever bothered with all that extra work.
- No Chill Time Required: Seriously, zero waiting. Mix, scoop, bake. You can have warm cookies in under 20 minutes from start to finish. Perfect for those sudden cookie cravings or when you need a last-minute dessert.
- Brown Butter Magic: The nutty, toasty flavor of browned butter transforms these cookies into something that tastes far more complex than the ingredient list suggests. It’s a small step that makes a huge difference.
- Soft and Chewy Texture: These cookies stay soft for days thanks to the perfect balance of melted butter and egg yolk. No cakey texture here—just that dense, chewy center we all crave.
- Simple Pantry Ingredients: You likely have everything you need already. Butter, sugar, eggs, flour, chocolate chips. No weird ingredients or specialty store trips required.
- Crowd-Pleaser Guaranteed: I’ve brought these to potlucks, family dinners, and casual get-togethers. They disappear every single time. Kids and adults alike go crazy for them.
What makes this recipe different from the rest? It’s the technique. Browning the butter adds a depth of flavor you just can’t get from regular melted butter. And using an extra egg yolk gives you that soft, chewy texture without needing to chill the dough. This isn’t just another chocolate chip cookie recipe—it’s the one you’ll keep coming back to. It’s comfort food at its finest, reimagined to be faster and more flavorful. Perfect for impressing guests without any stress, or turning a regular Tuesday into something special.
What Ingredients You Will Need
This recipe uses simple, wholesome ingredients to deliver big, bold flavor. Most of these are pantry staples, which makes this recipe perfect for spontaneous baking sessions. Let’s break down each ingredient and why it matters.
For the Cookie Dough
- 1 cup (2 sticks or 226g) unsalted butter — This is the star of the show. Browning the butter gives the cookies that incredible nutty, toasty flavor. I recommend using a high-quality butter like Kerrygold for the best results. The higher fat content in European-style butter creates an even richer flavor.
- 1 cup (200g) packed light brown sugar — Brown sugar adds moisture and that subtle molasses flavor that pairs perfectly with brown butter. It’s what keeps the centers soft and chewy. Make sure it’s firmly packed when measuring.
- 1/2 cup (100g) granulated sugar — White sugar helps with spreading and creates those slightly crisp edges. The combination of both sugars gives you the best of both worlds.
- 2 large eggs, room temperature — Room temperature eggs incorporate more easily into the batter, creating a smoother dough. One of those eggs is actually just the yolk—we’re using an extra yolk for added richness and tenderness.
- 1 large egg yolk (in addition to the 2 whole eggs) — This is my secret weapon. The extra yolk adds fat and emulsifiers that make the cookies incredibly soft and chewy. Don’t skip this!
- 2 teaspoons vanilla extract — Use pure vanilla extract if you can. It enhances the brown butter flavor beautifully. I love Nielsen-Massey vanilla for its rich, complex flavor.
- 2 1/4 cups (280g) all-purpose flour — Standard all-purpose flour works perfectly here. Spoon and level your flour for accurate measuring—scooping directly from the bag can pack in too much flour and make the cookies dry.
- 1 teaspoon baking soda — This helps the cookies spread slightly and gives them a nice lift. Make sure your baking soda is fresh for the best results.
- 1/2 teaspoon salt — Salt balances the sweetness and enhances all the other flavors. I use fine sea salt for baking. If you use kosher salt, you might need a bit more.
- 2 cups (340g) semi-sweet chocolate chips or chopped chocolate — I prefer a mix of chocolate chips and chopped chocolate bars for varied texture. Ghirardelli semi-sweet chips are my go-to, but feel free to use dark chocolate, milk chocolate, or a combination. Chopping a chocolate bar creates those beautiful puddles of melted chocolate throughout the cookies.
Substitution Notes
- Gluten-Free Option: Substitute the all-purpose flour with a 1:1 gluten-free baking flour blend. I’ve used King Arthur Measure for Measure with great results.
- Dairy-Free Option: Use a high-quality vegan butter stick for browning. Miyoko’s European Style Cultured Vegan Butter works surprisingly well. The flavor won’t be identical, but it’s still delicious.
- Egg-Free Option: You can try using a flax egg (1 tablespoon ground flaxseed mixed with 3 tablespoons water, let sit for 5 minutes) for each whole egg, but the texture will be slightly different. The extra yolk is harder to replace.
- Chocolate Variations: Swap semi-sweet for white chocolate, milk chocolate, or dark chocolate depending on your preference. You can also add 1 cup of chopped nuts like pecans or walnuts for extra crunch.
Equipment Needed
You don’t need a professional bakery setup for these cookies. Here’s what you’ll need:
- Light-colored saucepan or skillet — A light-colored pan makes it easier to see the color change as the butter browns. Dark pans can hide the browning process, leading to burnt butter. I use a stainless steel saucepan.
- Large mixing bowl — You’ll need a bowl big enough to hold all the ingredients. A glass or stainless steel bowl works well.
- Whisk — For mixing the wet ingredients and incorporating the dry ingredients. A sturdy whisk prevents lumps.
- Rubber spatula or wooden spoon — For folding in the chocolate chips and scraping down the sides of the bowl.
- Cookie scoop (1.5 tablespoon size) — This ensures evenly sized cookies that bake uniformly. A spring-loaded scoop makes the job faster and less messy. I love my OXO cookie scoop.
- Baking sheets — Two standard half-sheet pans work perfectly. Avoid dark non-stick pans if possible—they can cause the bottoms to brown too quickly.
- Parchment paper or silicone baking mat — These prevent sticking and make cleanup a breeze. Silicone mats also provide consistent heat distribution.
- Cooling rack — Letting the cookies cool on a rack prevents soggy bottoms. If you don’t have one, you can slide the parchment paper off the hot pan onto the countertop.
If you don’t have a cookie scoop, you can use two spoons to portion the dough. And if you’re using a dark baking sheet, reduce the oven temperature by 25°F to prevent over-browning. Budget-friendly options work just fine—I started with a cheap saucepan and a wooden spoon, and these cookies still turned out amazing.
Preparation Method
Alright, let’s get baking. This recipe moves fast since there’s no chill time, so make sure you have all your ingredients measured and ready to go before you start. Trust me on this one—you don’t want to be scrambling for flour while your brown butter is cooling.
- Brown the butter. Place the 1 cup (2 sticks) of unsalted butter in a light-colored saucepan or skillet over medium heat. Let it melt completely, then continue cooking, swirling the pan occasionally. The butter will start to foam and crackle. After a few minutes, the foam will subside, and you’ll see small brown specks forming at the bottom of the pan. This is the milk solids browning—that’s where the flavor comes from. Keep a close eye on it because it can go from perfectly browned to burnt in seconds. Once it smells nutty and has a deep amber color, remove it from the heat immediately. Pour the brown butter into a large mixing bowl to stop the cooking process. Let it cool for 5-10 minutes. It should still be warm but not hot.
- Combine the sugars and butter. Add the packed brown sugar and granulated sugar to the warm brown butter. Whisk vigorously for about 30 seconds until the mixture looks like wet sand and the sugars have started to dissolve. The warmth of the butter helps dissolve the sugar, which creates a smoother texture in the final cookies. You want the mixture to be glossy and well-combined.
- Add the eggs and vanilla. Crack the 2 whole eggs into the bowl, then add the extra egg yolk. Pour in the vanilla extract. Whisk everything together until the mixture is smooth, pale, and slightly thickened. This should take about 1 minute. The batter should fall off the whisk in a thick ribbon. If it looks separated or greasy, keep whisking—it will come together. Room temperature eggs are crucial here because they emulsify better with the butter.
- Mix the dry ingredients. In a separate medium bowl, whisk together the all-purpose flour, baking soda, and salt. Make sure there are no lumps and the baking soda is evenly distributed. This step might seem unnecessary, but trust me, you don’t want a pocket of baking soda in one cookie.
- Combine wet and dry ingredients. Pour the dry ingredients into the wet mixture. Use a rubber spatula to fold everything together gently. Mix just until you no longer see streaks of flour—overmixing at this stage can develop gluten and make the cookies tough. It’s okay if there are a few tiny flour spots; they’ll disappear during baking.
- Fold in the chocolate chips. Add the chocolate chips or chopped chocolate to the dough. Fold them in with your spatula until they’re evenly distributed. If you’re using a mix of chips and chopped chocolate, try to distribute them so every cookie gets a good variety. The dough will be thick and slightly greasy-looking, which is exactly right.
- Preheat the oven and prepare baking sheets. Preheat your oven to 350°F (175°C). Line two baking sheets with parchment paper or silicone baking mats. This recipe makes about 24 cookies, so you’ll likely need to bake in batches.
- Scoop the dough. Use your cookie scoop or two spoons to portion the dough into 1.5-tablespoon-sized balls. Place them on the prepared baking sheets about 2 inches apart—these cookies spread a bit. If you want perfectly round cookies, you can roll the dough balls between your palms to smooth them out. Don’t press them down; they’ll spread on their own.
- Bake. Place one baking sheet at a time on the center rack of your preheated oven. Bake for 10-12 minutes. The cookies are done when the edges are golden brown and set, but the centers still look slightly underdone and puffy. They will continue to bake on the hot pan after you take them out. For softer, chewier cookies, pull them at the 10-minute mark. For slightly crisper edges, go to 12 minutes. My sweet spot is 11 minutes.
- Cool. Let the cookies cool on the baking sheet for 5 minutes. This allows them to set up without breaking apart. After 5 minutes, transfer them to a wire cooling rack to cool completely. Or, you know, eat one warm. I won’t judge.
Cooking Tips & Techniques
After making these cookies dozens of times, I’ve learned a few things the hard way. Let me save you some trouble.
Don’t walk away from the browning butter. I’ve burned butter more times than I’d like to admit. It happens fast. Once you see those brown specks forming and smell that nutty aroma, pull it off the heat immediately. If it smells burnt, it is burnt—start over. Burnt butter tastes bitter and will ruin the cookies.
Use a light-colored pan for browning butter. Dark non-stick pans make it nearly impossible to see the color change. I use a stainless steel saucepan, and it makes the process so much easier. You can actually see the milk solids turning golden.
Let the butter cool slightly. If you add the sugars to piping hot butter, it can melt the sugar too much and affect the texture. Wait 5-10 minutes until the butter is warm but not hot. You should be able to touch the bottom of the bowl comfortably.
Measure your flour correctly. This is the most common mistake in cookie baking. Scooping flour directly from the bag can pack in up to 25% more flour than you need. Instead, spoon the flour into your measuring cup and level it off with a knife. Or better yet, use a kitchen scale. 280 grams is your target.
Don’t overmix the dough. Once you add the flour, mix just until it’s incorporated. Overmixing develops gluten, which leads to tough, cakey cookies. We want soft and chewy, not bread-like.
Bake in the center of the oven. The middle rack provides the most even heat distribution. If you’re baking two sheets at once, rotate them halfway through and switch racks. But honestly, baking one sheet at a time gives the best results.
Let them cool on the pan. I know it’s tempting to move them immediately, but those 5 minutes on the hot baking sheet are crucial. They continue to bake and set up during this time. If you move them too soon, they’ll fall apart.
Variations & Adaptations
One of the best things about this recipe is how versatile it is. Here are some of my favorite variations:
Sea Salt Dark Chocolate Version
Swap the semi-sweet chips for dark chocolate chunks (60-70% cacao works beautifully). After baking, sprinkle a pinch of flaky sea salt like Maldon on top of each cookie while they’re still warm. The salt enhances the chocolate and brown butter flavors in a way that’s honestly addictive.
White Chocolate Macadamia Nut Twist
Replace the semi-sweet chocolate chips with 1 1/2 cups white chocolate chips and add 1 cup of roughly chopped macadamia nuts. Toast the nuts lightly before adding them for extra flavor. This version feels a bit more indulgent and is perfect for holiday cookie platters.
Gluten-Free Adaptation
I’ve tested this with King Arthur Measure for Measure gluten-free flour, and it works beautifully. The cookies might spread a tiny bit more, so I recommend chilling the dough for 15 minutes if you notice excessive spreading. The texture stays soft and chewy, and honestly, no one will know they’re gluten-free unless you tell them.
Double Chocolate Brown Butter Cookies
Reduce the all-purpose flour to 2 cups (250g) and add 1/3 cup (30g) of unsweetened cocoa powder. Use dark chocolate chips instead of semi-sweet. The result is a rich, fudgy chocolate cookie with that same brown butter depth. These are dangerous—I can eat half a batch in one sitting.
Spiced Brown Butter Cookies
Add 1 teaspoon of cinnamon, 1/2 teaspoon of nutmeg, and a pinch of cloves to the dry ingredients. Use white chocolate chips or butterscotch chips instead of semi-sweet. These are perfect for fall baking and pair beautifully with a cup of hot apple cider.
Serving & Storage Suggestions
These cookies are best served warm, when the chocolate is still melty and the edges are perfectly crisp. If you can wait 5-10 minutes after baking, you’ll be rewarded with the ideal texture—warm, gooey center with slightly firm edges.
For a next-level experience, serve them with a cold glass of milk. The contrast between the warm cookie and cold milk is unbeatable. Or, if you’re feeling fancy, pair them with a scoop of vanilla bean ice cream for an impromptu ice cream sandwich. Just put a scoop between two cookies and gently press together. Pure magic.
These cookies also make fantastic ice cream mix-ins. Crumble them over vanilla ice cream or fold them into softened ice cream for a homemade cookie dough ice cream experience.
Storage Instructions: Store baked cookies in an airtight container at room temperature for up to 5 days. Place a slice of bread in the container to keep them extra soft—the cookies will absorb moisture from the bread. I learned this trick from my grandmother, and it works like a charm.
Freezer Instructions: You can freeze the baked cookies for up to 3 months. Layer them between parchment paper in an airtight container. To thaw, leave them at room temperature for about 30 minutes, or pop them in a 300°F oven for 5 minutes to warm them up.
Freezing the Dough: This is my favorite trick. Scoop the dough into balls and place them on a parchment-lined baking sheet. Freeze until solid, then transfer the dough balls to a freezer bag. You can bake them straight from frozen—just add 2-3 minutes to the baking time. Fresh cookies whenever you want them!
The flavors actually develop and deepen after a day or two. The brown butter flavor becomes more pronounced, and the texture stays soft and chewy. So don’t worry if you have leftovers—they’ll still be amazing.
Nutritional Information & Benefits
Let’s be real—these are cookies, not health food. But that doesn’t mean they can’t fit into a balanced lifestyle. Here’s the estimated nutritional breakdown per cookie (based on 24 cookies):
| Nutrient | Amount Per Cookie |
|---|---|
| Calories | 210 |
| Total Fat | 12g |
| Saturated Fat | 7g |
| Cholesterol | 35mg |
| Sodium | 120mg |
| Total Carbohydrates | 26g |
| Dietary Fiber | 1g |
| Sugars | 18g |
| Protein | 3g |
Now, here’s the silver lining. Dark chocolate is rich in antioxidants and can help improve heart health when consumed in moderation. The brown butter provides a small amount of vitamin A and healthy fats. And honestly, there’s something to be said for the mental health benefits of enjoying a warm, homemade cookie. Baking can be therapeutic, and sharing food with loved ones brings joy.
If you’re watching your sugar intake, you can reduce the granulated sugar to 1/4 cup without significantly affecting the texture. Just know that the cookies won’t spread as much and will be slightly less sweet. For a lower-calorie option, use sugar-free chocolate chips. But honestly, I believe in enjoying treats in moderation rather than trying to make them “healthy.”
These cookies are not suitable for those with gluten sensitivities unless you use the gluten-free adaptation. They also contain dairy and eggs, so they’re not vegan-friendly without substitutions.
Conclusion
These soft and chewy brown butter chocolate chip cookies have become a staple in my kitchen for good reason. They’re quick, they’re incredibly flavorful, and they deliver that perfect texture we all crave without any fussy techniques or lengthy chill times. The brown butter adds a depth of flavor that makes these taste like they came from a fancy bakery, but they’re made with simple ingredients you already have.
I love that this recipe is forgiving enough for beginners but impressive enough for experienced bakers. It’s the kind of recipe you’ll memorize because you’ll make it so often. Whether you’re baking for a crowd, a holiday gathering, or just because it’s Tuesday and you deserve a warm cookie, this recipe never disappoints.
I’d love to hear how these turn out for you! Did you try any of the variations? Did you add your own twist? Drop a comment below and let me know. And if you share them on social media, tag me—I want to see those beautiful, gooey cookies. Happy baking, friends. You’ve got this.
Frequently Asked Questions
Can I make these cookies without browning the butter?
Technically yes, but you’ll lose the signature nutty flavor that makes these cookies special. If you’re short on time, you can use melted butter instead, but the cookies won’t have that same depth. I’d recommend browning the butter at least once to see what you’re missing—you might get hooked like I did.
Why did my cookies spread too much?
This usually happens for a few reasons. Your butter might have been too warm when you mixed the dough, or you might have used too much sugar. Make sure your brown butter has cooled for at least 5-10 minutes before adding the sugars. Also, check that your baking soda is fresh—old baking soda loses its effectiveness. If your kitchen is particularly warm, you can pop the scooped dough in the fridge for 10 minutes before baking to control spreading.
Can I use salted butter instead of unsalted?
You can, but I’d recommend reducing the added salt to 1/4 teaspoon. Salted butter has varying amounts of salt depending on the brand, so it’s harder to control the final saltiness. I prefer unsalted butter for baking because it gives me complete control over the flavor. If all you have is salted, just adjust the added salt accordingly.
How do I get perfectly round cookies every time?
Here’s a trick I learned from a pastry chef: As soon as the cookies come out of the oven, place a round cookie cutter or a drinking glass slightly larger than the cookie over each one and gently swirl it in a circular motion. This pushes the edges inward and creates perfectly round cookies. Do this while the cookies are still hot on the baking sheet. It works like magic.
Can I double this recipe?
Absolutely! This recipe doubles beautifully. Just make sure you have a large enough bowl to hold all the ingredients. When browning the butter for a double batch, use a larger pan and watch it carefully—it might brown faster because there’s more surface area. The baking time stays the same, but you’ll need to bake in batches unless you have a convection oven.
Pin This Recipe!
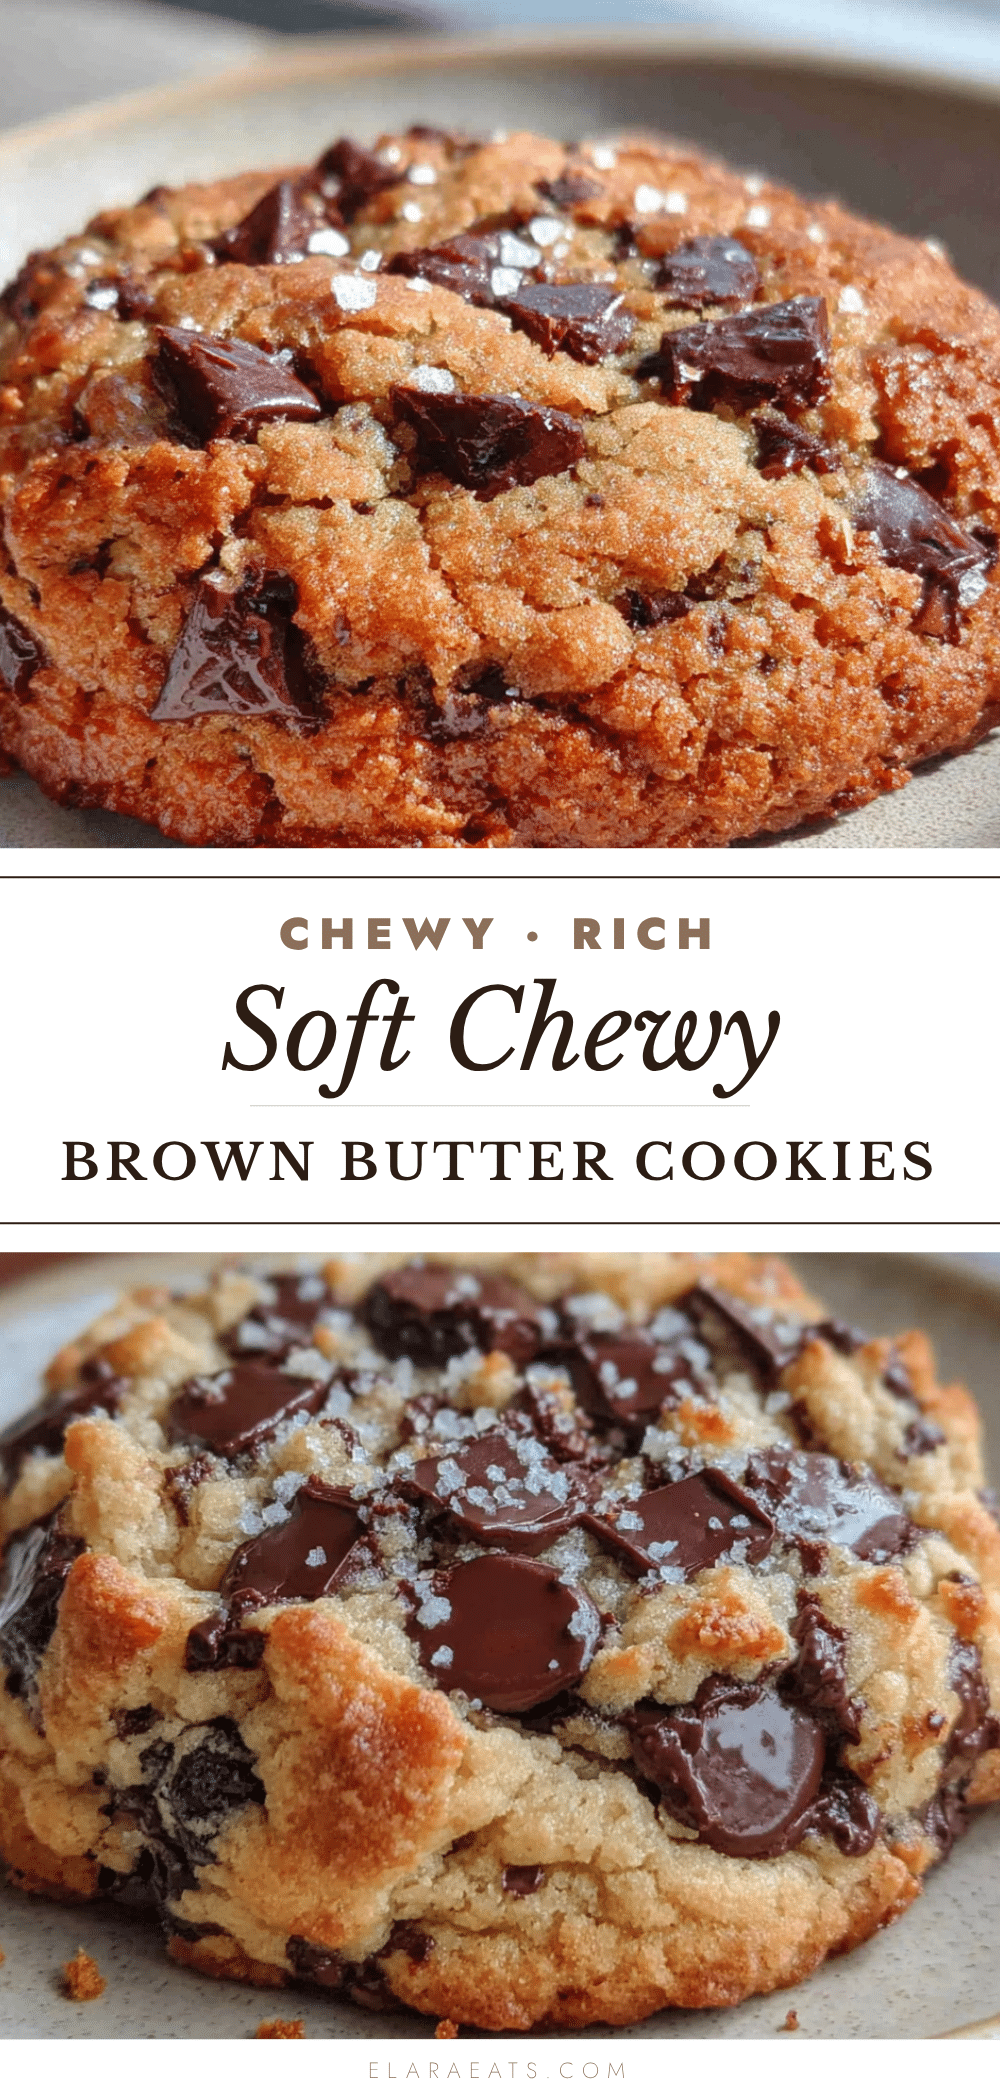
Soft and Chewy Brown Butter Chocolate Chip Cookies (No Chill)
These no-chill brown butter chocolate chip cookies are soft, chewy, and packed with nutty, caramel-like flavor. Ready in under 20 minutes, they’re the perfect quick treat for any occasion.
- Prep Time: 10 minutes
- Cook Time: 11 minutes
- Total Time: 21 minutes
- Yield: 24 cookies 1x
- Category: Dessert
- Cuisine: American
Ingredients
- 1 cup (2 sticks or 226g) unsalted butter
- 1 cup (200g) packed light brown sugar
- 1/2 cup (100g) granulated sugar
- 2 large eggs, room temperature
- 1 large egg yolk (in addition to the 2 whole eggs)
- 2 teaspoons vanilla extract
- 2 1/4 cups (280g) all-purpose flour
- 1 teaspoon baking soda
- 1/2 teaspoon salt
- 2 cups (340g) semi-sweet chocolate chips or chopped chocolate
Instructions
- Brown the butter: Place 1 cup unsalted butter in a light-colored saucepan over medium heat. Melt completely, then continue cooking, swirling occasionally, until it foams, subsides, and brown specks form. Remove from heat immediately when it smells nutty and is deep amber. Pour into a large mixing bowl and let cool 5-10 minutes.
- Combine the sugars and butter: Add packed brown sugar and granulated sugar to the warm brown butter. Whisk vigorously for about 30 seconds until glossy and well-combined.
- Add the eggs and vanilla: Add 2 whole eggs, extra egg yolk, and vanilla extract. Whisk until smooth, pale, and slightly thickened (about 1 minute).
- Mix the dry ingredients: In a separate bowl, whisk together flour, baking soda, and salt.
- Combine wet and dry ingredients: Pour dry ingredients into wet mixture. Fold gently with a rubber spatula until just combined—do not overmix.
- Fold in the chocolate chips: Add chocolate chips or chopped chocolate and fold until evenly distributed.
- Preheat oven to 350°F (175°C). Line two baking sheets with parchment paper or silicone baking mats.
- Scoop the dough: Use a 1.5-tablespoon cookie scoop to portion dough into balls. Place on prepared baking sheets about 2 inches apart.
- Bake: Place one sheet at a time on center rack. Bake for 10-12 minutes, until edges are golden and centers are still slightly underdone.
- Cool: Let cookies cool on baking sheet for 5 minutes, then transfer to a wire rack to cool completely.
Notes
Don’t walk away from browning butter—it burns quickly. Use a light-colored pan to see color change. Let butter cool slightly before adding sugars. Measure flour correctly by spooning and leveling. Don’t overmix dough. Bake in center of oven. Let cookies cool on pan for 5 minutes before moving.
Nutrition
- Serving Size: 1 cookie
- Calories: 210
- Sugar: 18
- Sodium: 120
- Fat: 12
- Saturated Fat: 7
- Carbohydrates: 26
- Fiber: 1
- Protein: 3
Keywords: brown butter chocolate chip cookies, no chill cookies, soft and chewy cookies, easy cookie recipe, quick cookies


