Love this? Save it for later!
Share the inspiration with your friends
This was supposed to be a proper pie crust. I had the butter chilling, the flour measured, and my grandmother’s pastry cutter ready to go. But somewhere between answering a text and pulling out the wrong bag from the freezer—frozen bread instead of frozen butter—I found myself staring at a stack of squishy white bread slices and a jar of peanut butter that had somehow ended up in my hand. The power had flickered twice that afternoon, the kitchen was a mess, and I was already late getting dinner started. What came out of that frustrated, distracted moment was nothing like the plan. It was better. Honestly, it was one of those discoveries that made me laugh at myself for not thinking of it sooner.
I mean, let me tell you, I was annoyed at first. I had this whole vision of a flaky, buttery crust and maybe a little lattice top. Instead, I had bread that was going stale on the counter and a jar of peanut butter that was almost empty. So I did what any reasonable person would do when their baking plans fall apart—I made sandwiches. But not just any sandwiches. I grabbed a glass from the cabinet, pressed it down into the bread, and created these perfect little circles. Then I spread peanut butter on one, jam on the other, squished them together, and sealed the edges with a fork. It was a joke at first. “Look, I made fancy lunch food,” I said to nobody. But then I ate one. And then I ate another. And by the time my husband walked through the door, I had a whole tray of them chilling in the fridge.
That was three summers ago, and I have not bought a box of frozen Uncrustables since. There is something about making them yourself—you control what goes in, you control the bread, and honestly, they taste a thousand times better. The texture is softer, the peanut butter is creamier, and you can use whatever jam or jelly you have on hand. Maybe you have been there, staring into your pantry wondering why you ever spent money on the store-bought version when this is so simple. I certainly was. And now, every time I make a batch, I remember that afternoon when a failed pie crust turned into one of my most-made recipes. It is the kind of happy little accident that makes you trust your instincts a little more next time.
Why You Will Love This Recipe
Let me be real with you—I have tested this recipe at least a dozen times to get it just right. I tried different breads, different sealing methods, different freezing times. And after all that trial and error, I can confidently say this version is the one. These homemade Uncrustables are everything you want from the store-bought kind, but better in every way that matters.
- Quick & Easy: From start to finish, you can have a batch ready in under 15 minutes. No cooking, no complicated steps—just assembly and a quick freeze.
- Simple Ingredients: You likely already have everything in your kitchen. Bread, peanut butter, jam, and maybe a little butter for toasting. That is it.
- Perfect for Busy Mornings: Grab one from the freezer, toss it in a lunchbox, and it will be thawed and ready by lunchtime. No fuss, no mess.
- Crowd-Pleaser: Kids love them, adults love them, and honestly, I have never met anyone who turned down a homemade peanut butter and jelly sandwich in any form.
- Unbelievably Delicious: The texture is what gets me every time. The bread stays soft, the filling stays creamy, and that sealed edge keeps everything inside where it belongs.
What makes this recipe different from the countless other copycat versions out there? It is the technique. I figured out that pressing the edges with a fork is not enough—you need to crimp them well or use a sealed pocket method to keep the filling from leaking. I also learned that slightly stale bread actually works better because it holds its shape during freezing. Little details like that make all the difference between a sandwich that falls apart and one that tastes like it came from a fancy café.
This recipe is not just good—it is the kind that makes you close your eyes after the first bite. It is comfort food reimagined: faster, simpler, and with the same soul-soothing satisfaction of that childhood favorite. Perfect for packing in lunches, grabbing on the go, or just satisfying a late-night craving without any guilt.
What Ingredients You Will Need
This recipe uses simple, pantry-friendly ingredients to deliver that classic peanut butter and jelly experience without the preservatives or artificial flavors. Here is what you will need:
For the Sandwiches
- 8 slices soft white bread (or whole wheat, brioche, or sourdough—just make sure it is fresh and pliable)
- ½ cup creamy peanut butter (I prefer Skippy or Jif for the best texture; natural peanut butter works but may separate during freezing)
- ¼ cup strawberry jam or jelly (grape jelly is classic, but raspberry, apricot, or even Nutella work beautifully)
- 2 tablespoons unsalted butter, softened (optional, for toasting the outside for a warm version)
Ingredient Selection Tips
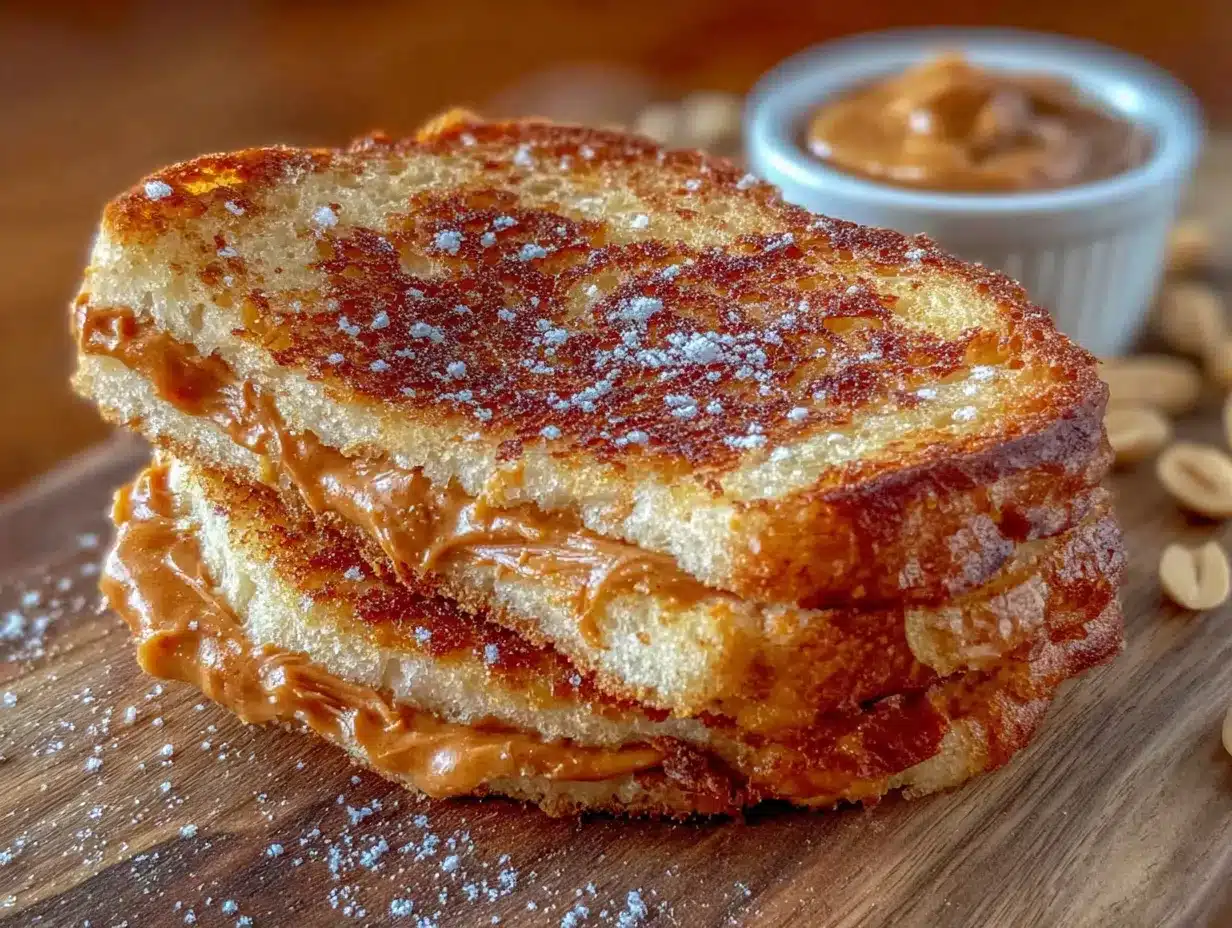
For the bread, look for slices that are even in thickness and not too holey. You want a solid surface to hold the filling. I have tried this with homemade bread, and while it is delicious, the slices are often too thick and uneven. Store-bought sandwich bread actually works best here because it is uniform and compresses nicely when sealed.
For the peanut butter, stick with the creamy kind for this recipe. Chunky peanut butter can create gaps in the seal, and the chunks sometimes poke through the bread during freezing. If you are a crunchy peanut butter fan, save it for your toast and use creamy for these sandwiches.
The jam or jelly should be thick, not runny. If your jam is very loose, stir it before spreading to incorporate any liquid that has separated. I have made the mistake of using a thin, watery jam before, and it turned my sandwiches into a soggy mess. Look for preserves or jam with visible fruit pieces—they hold up better during freezing and thawing.
Substitution Guidance
- Peanut-Free Option: Use sunflower seed butter or almond butter. Note that these may be thinner, so spread a slightly thicker layer.
- Low-Sugar Option: Use sugar-free jam and natural peanut butter with no added sugar.
- Gluten-Free Option: Gluten-free bread works, but it tends to be more fragile. Freeze the sandwiches for at least 2 hours before handling to prevent tearing.
- Vegan Option: Use vegan butter or skip the butter entirely. Most breads are vegan, but check the label.
Equipment Needed
You do not need much for this recipe, which is part of its charm. Here is what you will need:
- Baking sheet or tray for freezing the sandwiches flat
- Parchment paper or wax paper to prevent sticking
- Round cookie cutter or glass (about 3 to 4 inches in diameter) for cutting the bread
- Butter knife or offset spatula for spreading the fillings
- Fork for crimping the edges (if not using a sealed pocket method)
- Plastic wrap or freezer-safe bags for storage
If you do not have a round cookie cutter, a drinking glass with a thin rim works perfectly. I have used the same glass for years—it is slightly chipped on the edge, but it cuts through bread like a dream. Just make sure the glass is clean and dry before pressing it into the bread.
For the baking sheet, any flat tray will do. I have used a cookie sheet, a cutting board, and even a clean pizza pan in a pinch. The key is that it fits in your freezer and allows the sandwiches to freeze flat without bending.
One tip: if you plan to make these regularly, invest in a sandwich sealer. They are inexpensive (around $10) and create a perfect crimped edge every time. But honestly, a fork works just fine, and that is what I used for the first two years of making these.
Preparation Method
Making these homemade Uncrustables is almost embarrassingly easy. Here is how to do it:
- Prepare your workspace. Clear a flat surface and line a baking sheet with parchment paper. This will be your freezing station.
- Cut the bread. Using your round cookie cutter or glass, press firmly into each slice of bread to create a circle. You should get one circle per slice. Save the bread scraps for breadcrumbs or croutons—do not throw them away!
- Flatten the bread slightly. Using a rolling pin or the bottom of a glass, gently roll over each bread circle to flatten it just a bit. This makes the sandwich thinner and easier to seal. Be gentle—you do not want to tear the bread.
- Spread the peanut butter. Take half of the bread circles and spread about 1 tablespoon of peanut butter on each one. Leave a small border (about ¼ inch) around the edge so the filling does not squeeze out when you press the sandwich together.
- Spread the jam. On the remaining bread circles, spread about ½ tablespoon of jam or jelly. Again, leave that border around the edge.
- Assemble the sandwiches. Place a peanut butter circle on top of a jam circle, filling sides facing each other. Press gently to adhere.
- Seal the edges. Using a fork, press down around the entire edge of each sandwich to crimp and seal. Make sure the tines go all the way through both layers of bread. This step is crucial—if you skip it, the filling will leak out during freezing and thawing.
- Optional: Add butter for toasting. If you want a warm, toasty version, spread a thin layer of softened butter on the outside of each sandwich. This step is optional but highly recommended if you plan to eat them warm.
- Freeze the sandwiches. Place the assembled sandwiches on the prepared baking sheet in a single layer, making sure they are not touching. Freeze for at least 1 hour, or until completely solid.
- Transfer to storage. Once frozen, wrap each sandwich individually in plastic wrap or place them in a freezer-safe bag. They will keep for up to 3 months.
Visual cue: When you press the fork into the bread, you should see the edges compress and slightly flatten. If the bread tears, you are pressing too hard. If the edges spring back, you are not pressing hard enough. It takes a little practice, but you will get a feel for it after the first sandwich.
Personal tip: I always make a double batch because these disappear fast in my house. My kids eat them straight from the freezer (they thaw in about 10 minutes at room temperature), and my husband takes them to work. I have even been known to sneak one for myself during a late-night snack session.
Cooking Tips & Techniques
After making these countless times, I have learned a few things the hard way. Here are my best tips:
Use slightly stale bread. Fresh bread is too soft and will tear when you press the edges. Bread that is a day or two old holds its shape much better. If your bread is very fresh, leave the slices out on the counter for an hour before cutting them.
Do not overfill. It is tempting to pile on the peanut butter and jam, but too much filling will squeeze out when you crimp the edges. Stick to the measurements above, and you will get a perfect ratio every time.
Freeze them flat. If you stack the sandwiches before they are fully frozen, they will stick together and lose their shape. Give them that initial hour on the baking sheet, and then you can stack them in a bag.
Label your bags. I cannot tell you how many times I have pulled out a bag of frozen sandwiches, only to realize they were from three months ago and had freezer burn. Write the date on the bag so you know when you made them.
One mistake I made: The first time I tried this, I used natural peanut butter that had separated. The oil soaked into the bread and made it soggy before I even got the sandwiches in the freezer. Stick with processed peanut butter for this recipe—it has stabilizers that keep the texture right.
Timing strategy: Make these in the evening while you are watching TV or listening to a podcast. The assembly is mindless and relaxing, and by the time you are done, the first batch is ready to go in the freezer. I usually make a double batch while catching up on my favorite show.
Variations & Adaptations
Once you master the basic recipe, the possibilities are endless. Here are some of my favorite variations:
Nutella & Banana: Swap the jam for Nutella and add a thin slice of banana in the middle. Freeze as usual, but eat these within a week—the banana does not hold up well for long-term freezing.
Fluffernutter: Use marshmallow fluff instead of jam for a New England classic. This version is extra sweet and incredibly gooey. My kids beg for these.
Savory Version: Yes, really. Use cream cheese and thinly sliced cucumber or ham and cheese. Seal and freeze the same way. These are great for a quick lunch or snack that is not sweet.
Grilled Version: Instead of freezing, heat a skillet over medium heat and cook the sandwiches like grilled cheese. Spread butter on the outside and cook for 2-3 minutes per side until golden and the filling is warm. This is my favorite way to eat them on a cold day.
Dietary Adaptations: For a lower-carb version, use low-carb bread and sugar-free jam. For a protein boost, add a sprinkle of chia seeds or flax meal to the peanut butter before spreading. For a nut-free lunchbox, use sunflower seed butter and strawberry jam—it is a classic combination that tastes just as good.
Seasonal Twist: In the fall, I make these with pumpkin butter and cream cheese. In the summer, I use fresh strawberry jam made from farmers market berries. It is a fun way to keep the recipe feeling fresh all year round.
Serving & Storage Suggestions
These sandwiches are incredibly versatile when it comes to serving. Here is what I recommend:
Serving Temperature: They are best eaten at room temperature, straight from the lunchbox or counter. If you want them warm, microwave for 10-15 seconds or toast them in a skillet for a few minutes. The warm version is especially good with a glass of cold milk.
Presentation: For kids, cut the sandwiches into fun shapes using cookie cutters before serving. Stars, hearts, or dinosaurs make lunchtime more exciting. For adults, serve them on a small plate with a handful of berries or apple slices on the side.
Complementary Dishes: These pair beautifully with a bowl of tomato soup, a simple salad, or a cup of hot tea. They are also great alongside a fruit salad or a handful of baby carrots for a balanced lunch.
Storage Instructions: In the freezer, these sandwiches will keep for up to 3 months if wrapped tightly. In the refrigerator, they will last about 5 days, but the bread may become slightly soggy. I do not recommend storing them at room temperature for more than a few hours, especially if you used jam or fresh fruit.
Reheating Tips: To thaw, simply leave the sandwich at room temperature for 10-15 minutes. To warm, microwave for 10 seconds or toast in a skillet over medium heat for 2 minutes per side. If you are packing them for lunch, they will thaw naturally by the time lunch rolls around.
Flavor Development: Honestly, these taste best after they have been frozen for at least 24 hours. Something about the freezing process melds the flavors together and softens the bread just right. Freshly made ones are good, but frozen ones are better.
Nutritional Information & Benefits
Here is the approximate nutritional breakdown for one sandwich (made with white bread, creamy peanut butter, and strawberry jam):
- Calories: 210
- Protein: 7g
- Carbohydrates: 26g
- Fat: 9g
- Fiber: 2g
- Sugar: 10g
These numbers will vary based on the specific brands and ingredients you use, but they give you a general idea. Compared to store-bought Uncrustables, which have around 210 calories and 9g of sugar, these homemade versions are comparable but without the preservatives and artificial flavors.
Health Benefits: Peanut butter is a great source of protein and healthy fats, which keep you full and satisfied. The bread provides carbohydrates for energy, and the fruit in the jam offers a small amount of vitamins and antioxidants. If you use whole wheat bread, you will get extra fiber and nutrients.
Dietary Considerations: This recipe is vegetarian and can be made vegan with simple swaps. It is not gluten-free unless you use gluten-free bread. For nut allergies, sunflower seed butter is an excellent alternative. Always check labels if you are serving someone with severe allergies, as some breads may contain milk or eggs.
Personal Wellness Perspective: I love that these sandwiches let me control exactly what goes into my family’s food. No high fructose corn syrup, no hydrogenated oils, no artificial preservatives. Just real ingredients that taste amazing. It is a small change that makes a big difference in how I feel about feeding my family.
Conclusion
If you have been buying boxed Uncrustables from the store, I hope this recipe convinces you to try making them at home. They are cheaper, healthier, and honestly, they taste better. The process is so simple that you will wonder why you did not start making them sooner.
I love that this recipe started as a complete accident—a failed pie crust that turned into a weekly staple in my kitchen. It reminds me that sometimes the best things in life come from unexpected places. Whether you make them for your kids’ lunches, your own work snacks, or just because you have a craving for peanut butter and jelly, these sandwiches deliver every time.
I would love to hear how yours turn out! Drop a comment below and let me know what variations you tried, or share a photo of your batch on Pinterest. Did you use grape jelly or strawberry? Did you try the Nutella version? I am always looking for new ideas, and your creativity might inspire my next batch. Happy sandwich making, friends!
Frequently Asked Questions
Can I use natural peanut butter for this recipe?
You can, but it may not hold up as well during freezing. Natural peanut butter tends to separate and can make the bread soggy. If you use it, stir it very well before spreading and consider adding a little honey or powdered sugar to thicken it up.
How long do these sandwiches last in the freezer?
Properly stored in a freezer-safe bag or wrapped in plastic wrap, these sandwiches will keep for up to 3 months. After that, they may develop freezer burn or the bread may become dry. I recommend labeling your bags with the date so you know when you made them.
Can I make these without a cookie cutter?
Absolutely! A drinking glass with a thin rim works perfectly. You can also use a biscuit cutter, a round lid, or even a sharp knife to cut the bread into squares. The shape does not matter as long as the edges are sealed well.
Do I have to freeze them before eating?
No, you can eat them right after assembling if you prefer. However, freezing them gives them that classic Uncrustables texture—soft bread with a slightly firm filling. Plus, freezing makes them portable and perfect for lunchboxes.
Can I toast these sandwiches?
Yes! If you want a warm, crispy version, spread a little butter on the outside and cook them in a skillet over medium heat for 2-3 minutes per side. You can also pop them in a toaster oven or air fryer at 350°F for about 5 minutes. Just watch them closely so they do not burn.
Pin This Recipe!
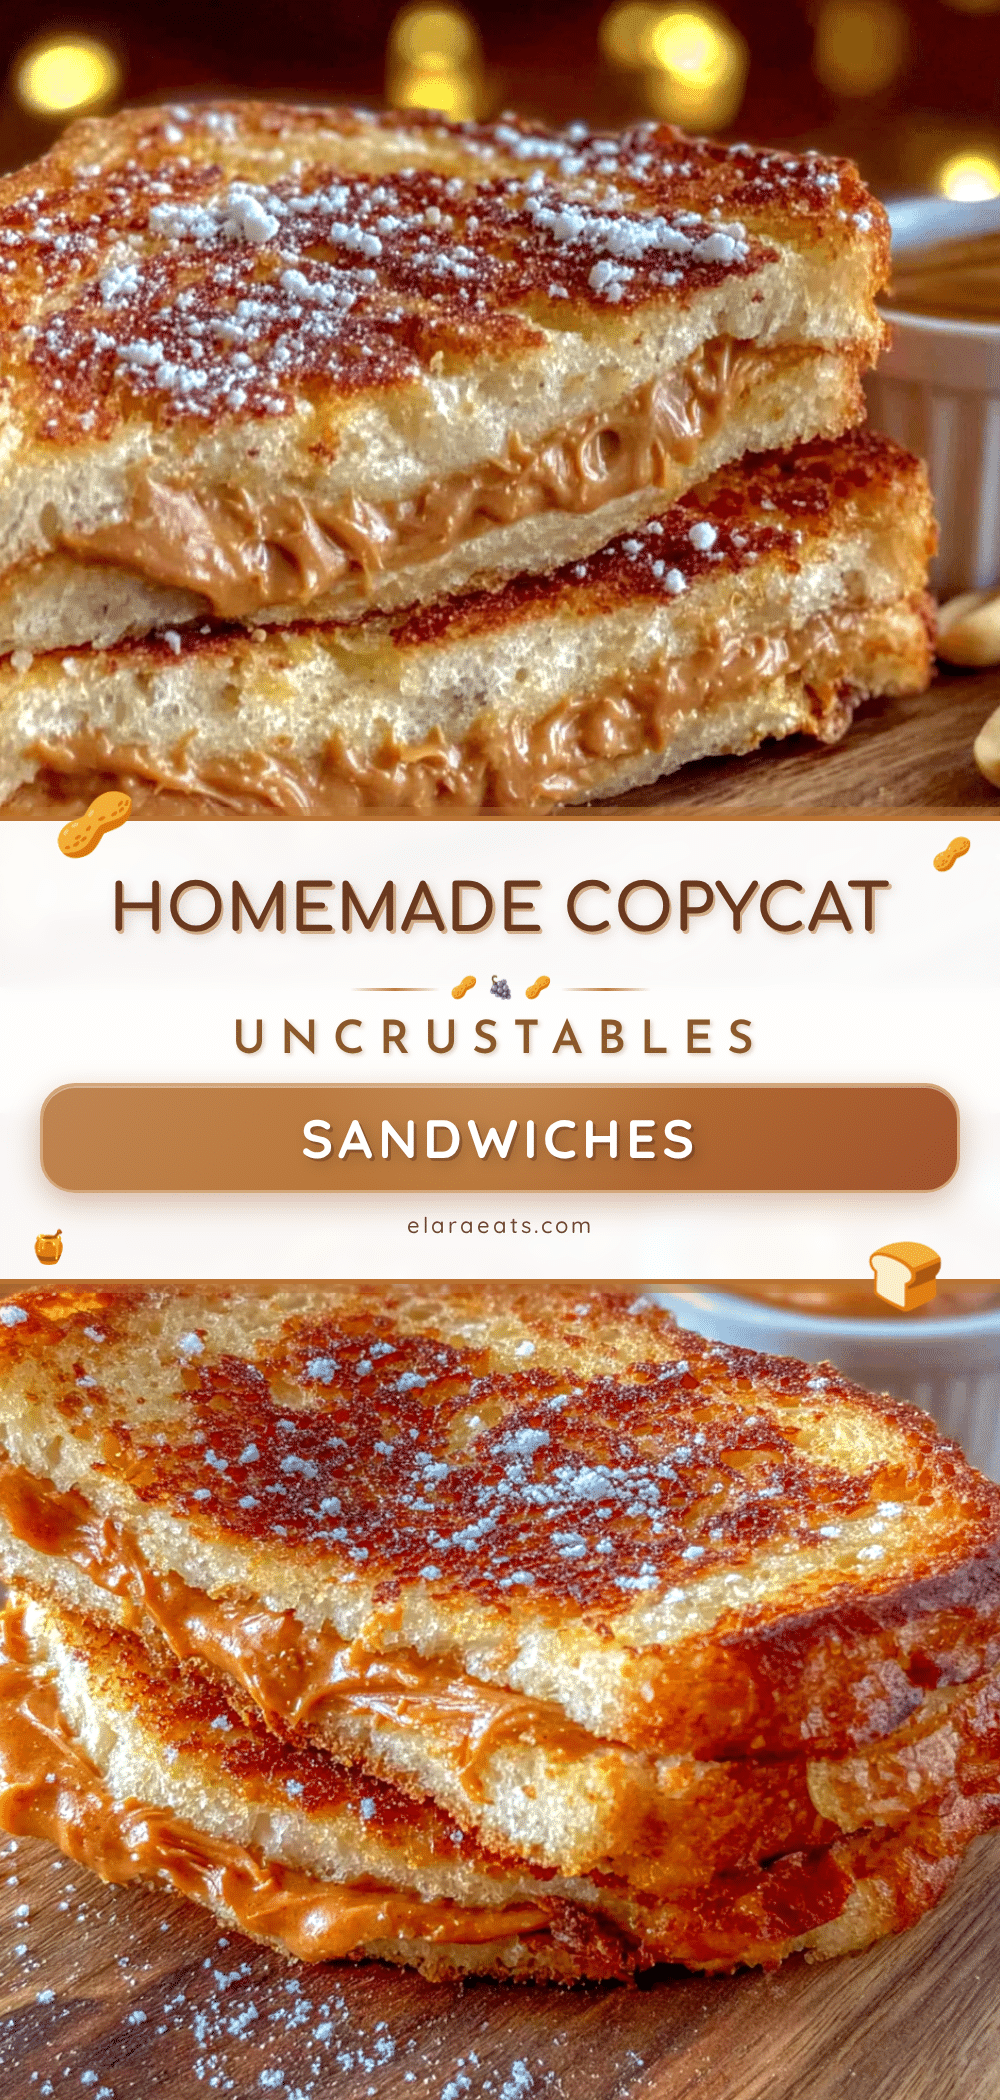
Homemade Uncrustables Peanut Butter Sandwiches: Easy Recipe
These homemade Uncrustables are everything you want from the store-bought kind, but better in every way that matters. Quick, easy, and made with simple ingredients, they are perfect for busy mornings and crowd-pleasing lunches.
- Prep Time: 15 minutes
- Cook Time: 0 minutes
- Total Time: 1 hour 15 minutes (including freezing time)
- Yield: 4 servings 1x
- Category: Snack
- Cuisine: American
Ingredients
- 8 slices soft white bread (or whole wheat, brioche, or sourdough)
- ½ cup creamy peanut butter (Skippy or Jif recommended)
- ¼ cup strawberry jam or jelly (grape, raspberry, apricot, or Nutella work)
- 2 tablespoons unsalted butter, softened (optional, for toasting)
Instructions
- Prepare your workspace. Clear a flat surface and line a baking sheet with parchment paper.
- Cut the bread. Using a round cookie cutter or glass (3-4 inches in diameter), press firmly into each slice to create a circle. Save bread scraps for breadcrumbs or croutons.
- Flatten the bread slightly. Using a rolling pin or bottom of a glass, gently roll over each bread circle to flatten just a bit. Be gentle to avoid tearing.
- Spread the peanut butter. Take half of the bread circles and spread about 1 tablespoon of peanut butter on each, leaving a ¼-inch border around the edge.
- Spread the jam. On the remaining bread circles, spread about ½ tablespoon of jam or jelly, again leaving a border.
- Assemble the sandwiches. Place a peanut butter circle on top of a jam circle, filling sides facing each other. Press gently to adhere.
- Seal the edges. Using a fork, press down around the entire edge of each sandwich to crimp and seal. Make sure the tines go through both layers of bread.
- Optional: Add butter for toasting. If desired, spread a thin layer of softened butter on the outside of each sandwich.
- Freeze the sandwiches. Place assembled sandwiches on the prepared baking sheet in a single layer, not touching. Freeze for at least 1 hour, or until completely solid.
- Transfer to storage. Once frozen, wrap each sandwich individually in plastic wrap or place in a freezer-safe bag. They will keep for up to 3 months.
Notes
Use slightly stale bread for best results—fresh bread may tear. Stick with creamy peanut butter; chunky can create gaps in the seal. For a warm version, toast in a skillet with butter. Freeze for at least 24 hours for best flavor development.
Nutrition
- Serving Size: 1 sandwich
- Calories: 210
- Sugar: 10
- Sodium: 180
- Fat: 9
- Saturated Fat: 2
- Carbohydrates: 26
- Fiber: 2
- Protein: 7
Keywords: homemade uncrustables, peanut butter and jelly, freezer sandwiches, easy lunch, kid-friendly snack, copycat recipe


