Love this? Save it for later!
Share the inspiration with your friends
I was elbow-deep in dish soap last October when the smell hit me. Not from the sink, but from the neighbor’s kitchen window, cracked open just an inch. That sharp, tart-sweet scent of simmering berries and cloves—and suddenly I was twenty-four again, standing in a tiny rental kitchen with a stained recipe card taped to the cabinet. My downstairs neighbor, Mrs. Kowalski, had pressed that card into my hands the morning I moved in. “You’ll need this when the seasons change,” she said, like she already knew I’d forget to buy cold medicine until it was too late.
Honestly, I’d never made it before she moved away the following spring. But that smell—that specific, unmistakable scent of elderberries bubbling on the stove—brought her right back into my kitchen. I dried my hands, pulled out a pot, and realized I couldn’t even remember if I’d ever thanked her properly. That’s the thing about recipes sometimes. They’re not just instructions. They’re little anchors to people and moments you didn’t know you’d miss until a random Tuesday yanks them back into focus.
This homemade elderberry syrup has become my cold-season ritual ever since. It’s not complicated, and it doesn’t require fancy equipment. But every time I make a batch, I think of Mrs. Kowalski’s crooked smile and the way she’d say “bless you” before I even sneezed. Maybe you’ve got a recipe like that too—the one that feels less like cooking and more like coming home. This one’s worth adding to your rotation, I promise.
Why You’ll Love This Recipe
Let’s be real for a second—there are about a million elderberry syrup recipes floating around the internet. Some are overly complicated, calling for exotic herbs you’d have to order from three different stores. Others are so watered down you wonder if there’s any elderberry in there at all. This one? It’s the Goldilocks version. Just right.
Here’s what makes it stand out:
- Quick & Easy: From start to finish, this takes about 45 minutes. Most of that is hands-off simmering time, so you can fold laundry, answer emails, or stare blankly at the wall (I don’t judge).
- Simple Ingredients: Dried elderberries, honey, ginger, cinnamon, cloves, and water. That’s it. No weird extracts, no specialty powders, no trips to three different stores.
- Perfect for Cold Season: This isn’t a cure—let me be clear about that. But it’s a wonderful immune-supporting addition to your winter wellness routine. I start taking it in early October and keep it going through March.
- Family-Approved: My kids actually ask for this. They call it “the purple syrup” and pretend it’s a treat. I don’t correct them. If they’re willing to take something that supports their immune system without a fight, I’m calling that a parenting win.
- Unbelievably Delicious: I know “herbal remedy” doesn’t usually scream “delicious,” but this syrup is genuinely tasty. Tart and sweet with warm spices—it’s like a cozy hug in a spoon.
I’ve tested this recipe at least a dozen times over the past few years. I’ve tried different ratios, different simmering times, different honey varieties. This version is the one I keep coming back to. It’s thick enough to coat a spoon but thin enough to mix into tea. It’s potent without being bitter. And honestly? It just works.
This isn’t just another wellness trend. It’s a generations-old remedy that people have trusted for good reason. And now you can make it in your own kitchen with ingredients you probably already have in your pantry.
What Ingredients You Will Need
This recipe uses simple, wholesome ingredients that work together to create a potent, flavorful syrup. Most of these are pantry staples in my house during cold season, and they’re easy to find at any grocery store or online.
- 1 cup dried elderberries: These are the star of the show. Look for organic dried elderberries from a reputable brand like Starwest Botanicals or Frontier Co-op. I’ve tried cheaper options, and the syrup just isn’t as deep in color or flavor. Dried berries are more concentrated than fresh, so they’re actually better for syrup-making.
- 4 cups filtered water: Tap water can have chlorine or minerals that affect the taste. Filtered water gives you a cleaner, purer syrup. I just use my Brita pitcher—nothing fancy.
- 1 (3-inch) piece fresh ginger, sliced: Ginger adds warmth and a little zing. Don’t bother peeling it—just give it a good scrub and slice it into coins. The skin has plenty of good stuff in it, and you’ll strain everything out anyway.
- 1 cinnamon stick: Cassia cinnamon is what you’ll find at most grocery stores. It has a stronger, spicier flavor than Ceylon cinnamon, which I actually prefer in this recipe. It gives the syrup that cozy, wintery warmth.
- 1 teaspoon whole cloves: A little goes a long way with cloves. They add depth and a subtle numbing quality that’s actually lovely for sore throats. Don’t use ground cloves unless you want a cloudy, gritty syrup—trust me on this one.
- 1 cup raw honey: This is where the magic happens. Raw, unfiltered honey is ideal because it retains its natural enzymes and antimicrobial properties. Local honey is even better if you can find it—it may help with seasonal allergies too. Never use honey for children under one year old. If you’re making this for a baby or toddler, you can substitute maple syrup or agave nectar, though the flavor will be different.
That’s the whole list. Six ingredients. No obscure herbs you’ll never use again. No expensive specialty items. Just simple, real food ingredients that work together to create something genuinely useful.
Equipment Needed
You don’t need a fully stocked professional kitchen for this recipe. Here’s what you’ll actually use:
- Medium saucepan: A 3-quart pot works perfectly. Stainless steel or enameled cast iron is ideal—avoid aluminum or uncoated copper, which can react with the acidic berries.
- Fine-mesh strainer: This is crucial for getting a smooth, sediment-free syrup. Cheesecloth works too, but a fine-mesh strainer is easier to clean and reuse. I’ve strained through a clean dish towel in a pinch—it works, but it’s messy.
- Glass measuring cup or large bowl: To catch the strained liquid. A 4-cup glass measuring cup with a spout makes pouring into jars much easier.
- Wooden spoon or silicone spatula: For stirring. Metal can scratch your pot and might react with the ingredients.
- Glass jars or bottles: Mason jars work great. I use 8-ounce Weck jars because they’re pretty and seal well, but any clean glass container with a tight-fitting lid will do. Sterilize them first by running them through the dishwasher or boiling them for 10 minutes.
- Funnel (optional but helpful): A small canning funnel makes transferring syrup to jars much less messy. I bought mine for three dollars at a kitchen supply store, and it’s saved me from countless sticky countertops.
That’s genuinely all you need. No dehydrator, no fancy extraction equipment, no special gadgets. If you have a pot and a strainer, you’re in business.
Preparation Method
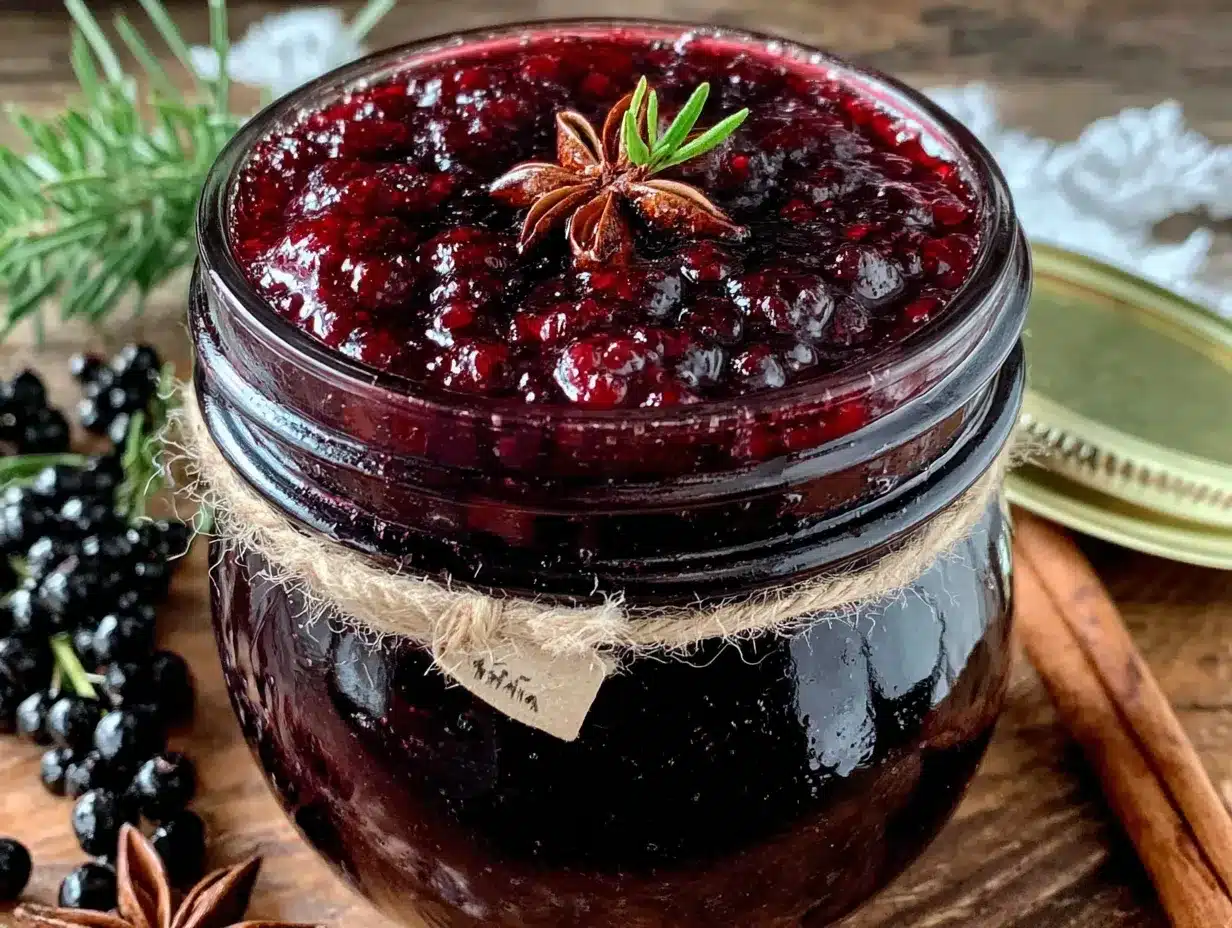
- Combine berries and water: Add the dried elderberries and filtered water to your saucepan. Give it a quick stir to make sure all the berries are submerged. Some will float—that’s normal.
- Add the spices: Toss in the sliced ginger, cinnamon stick, and whole cloves. Don’t worry about arranging them nicely. Just dump them in. They’ll do their thing as they simmer.
- Bring to a boil: Turn the heat to medium-high and bring the mixture to a gentle boil. You’ll see tiny bubbles breaking the surface, and the kitchen will start smelling incredible. This usually takes about 5-7 minutes.
- Reduce and simmer: Once it’s boiling, reduce the heat to low and let it simmer uncovered for 30-35 minutes. You want a gentle simmer—not a rolling boil. The liquid will reduce by about half, and the berries will plump up and release their deep purple color. Stir occasionally, maybe every 10 minutes or so.
- Test for doneness: After 30 minutes, press a berry against the side of the pot with your spoon. It should be soft and easily mashed. If it’s still firm, let it simmer another 5 minutes.
- Strain the liquid: Place your fine-mesh strainer over a glass measuring cup or bowl. Carefully pour the mixture through the strainer. Let it drain for a few minutes, then gently press on the berries with the back of a spoon to extract every last drop of goodness. Don’t rush this step—there’s a lot of liquid still trapped in those berries.
- Cool slightly: Let the strained liquid cool for about 10-15 minutes. You want it warm but not hot—if it’s too hot, it will destroy the beneficial enzymes in the honey.
- Add the honey: Pour the raw honey into the warm liquid and stir gently until fully dissolved. The mixture will turn from a thin, tea-like consistency to a thick, syrupy texture. Taste it here—you can add a little more honey if you prefer it sweeter, but I find this ratio hits the perfect balance.
- Bottle and store: Using your funnel, pour the syrup into sterilized glass jars. Leave about half an inch of headspace at the top. Seal tightly and let cool completely before refrigerating.
One thing I learned the hard way—label your jars. I know you think you’ll remember what’s in them, but three months from now when you have three different jars of dark liquid in your fridge, you’ll thank me. Include the date too.
Cooking Tips & Techniques
After making this syrup more times than I can count, I’ve picked up a few tricks that make the process smoother and the final product better.
Don’t boil the honey: This is the most important tip I can give you. Raw honey is packed with beneficial enzymes and antioxidants, but heat destroys them. Always let the elderberry mixture cool before adding honey. I’ve made the mistake of adding honey to a too-hot liquid, and the resulting syrup was still tasty, but I felt like I’d wasted the good stuff.
Toast the spices first: If you have an extra five minutes, try dry-toasting the ginger, cinnamon, and cloves in the saucepan before adding the water and berries. Just heat them over medium heat for 1-2 minutes until fragrant. This deepens their flavor and gives the syrup an extra layer of warmth. I don’t always do this, but when I do, I notice the difference.
Use a potato masher: After straining, if you press the berries with a spoon, you’ll get good extraction. But if you use a potato masher right in the strainer, you’ll get great extraction. Just be gentle—you don’t want berry pulp sneaking through into your syrup.
Mind the foam: As the elderberries simmer, you might notice foam forming on the surface. This is totally normal. You can skim it off if you want a clearer syrup, or leave it—it’s just protein and won’t affect the taste or safety.
Double the batch: This recipe makes about 2 cups of syrup, which lasts my family of four about 3-4 weeks during peak cold season. If you’re making it for a larger family or want to stock up, double everything and use a larger pot. The simmering time stays the same.
I once forgot to set a timer and let the berries simmer for nearly an hour. The syrup was incredibly concentrated and almost wine-like in flavor. It wasn’t bad, exactly, but it was definitely more intense than I intended. So set that timer—I speak from experience.
Variations & Adaptations
This recipe is wonderfully flexible. Here are some variations I’ve tried and loved:
For kids (or picky adults): Reduce the ginger to a 1-inch piece and use only ½ teaspoon of cloves. The flavor will be milder and more kid-friendly. My youngest calls this “purple syrup” and thinks it’s a treat, so I’m not arguing.
Extra immune support: Add 1 tablespoon of dried echinacea root or 2 teaspoons of astragalus root along with the elderberries. Both are traditional immune-supporting herbs that complement elderberry beautifully. Just strain them out with the berries at the end.
Citrus twist: Add the zest and juice of one orange and one lemon during the simmering step. The citrus brightens the flavor and adds extra vitamin C. I do this version in January when citrus is at its peak, and it’s absolutely lovely.
Alcohol-based tincture variation: If you want a shelf-stable version that doesn’t require refrigeration, replace the honey with vegetable glycerin and add ¼ cup of vodka or brandy after cooling. This creates more of an elixir than a syrup, and it will keep for months at room temperature. I keep a small bottle of this in my purse during cold season.
Slow cooker method: Combine the berries, water, and spices in a slow cooker and cook on low for 6-8 hours. Strain, cool, and add honey as directed. The flavor is slightly mellower and more rounded. This is my preferred method when I’m busy—just set it and forget it.
Sugar-free option: Replace the honey with monk fruit sweetener or stevia to taste. The texture will be thinner, and you’ll lose some of the antimicrobial benefits of honey, but it’s a good option for those avoiding sugar.
I’ve tried every single one of these variations, and they all work. My personal favorite is the citrus twist—something about that bright, sunny flavor in the middle of winter just feels right.
Serving & Storage Suggestions
How to take it: Adults can take 1 tablespoon daily for maintenance or 1 tablespoon every 3-4 hours at the first sign of a cold. For children ages 1-6, give ½ teaspoon daily; for ages 6-12, give 1 teaspoon daily. Always consult your pediatrician before giving any herbal remedy to children. I take mine straight off a spoon, but you can also stir it into warm tea, drizzle it over yogurt, or mix it into sparkling water for a refreshing drink.
Storage: Keep your syrup in the refrigerator at all times. Because it’s made with fresh ingredients and raw honey, it’s perishable. Properly stored in a sealed glass jar, it will keep for 2-3 months. I’ve pushed it to 4 months before, and it was still fine, but the flavor starts to fade after the 3-month mark.
Can you freeze it? Absolutely. Pour the syrup into ice cube trays and freeze until solid, then pop the cubes into a freezer bag. Each cube is roughly 1 tablespoon. Thaw in the refrigerator overnight or drop a cube directly into hot tea. Frozen syrup keeps for up to 6 months.
How flavors develop: The syrup is at its best after about 24 hours in the fridge. The flavors meld and mellow, and the texture becomes perfectly syrupy. Don’t be alarmed if it separates slightly—just give it a shake before each use.
Travel tip: If you’re traveling, pack your syrup in a leak-proof container and keep it cool. I’ve flown with it in my carry-on (in a 3-ounce container, TSA-approved) and kept it in a hotel mini-fridge without issues.
One more thing—if you see mold or an off smell, toss it. Better safe than sorry. I’ve only had this happen once, when I accidentally left a jar out on the counter overnight. Learn from my mistake.
Nutritional Information & Benefits
Here’s a rough nutritional breakdown for 1 tablespoon (15 ml) of elderberry syrup:
| Nutrient | Amount |
|---|---|
| Calories | 45 |
| Total Carbohydrates | 12g |
| Sugars | 11g |
| Vitamin C | 4mg (5% DV) |
| Iron | 0.3mg (2% DV) |
These values are estimates and will vary based on your specific ingredients and honey type.
The health benefits: Elderberries are packed with antioxidants, particularly anthocyanins—the same compounds that give blueberries and blackberries their deep color. These antioxidants help neutralize free radicals in the body. Some studies suggest elderberry may help reduce the duration and severity of cold symptoms, though more research is needed. The raw honey adds its own antimicrobial properties and soothes sore throats. Ginger and cloves are both anti-inflammatory and warming.
Important considerations: This syrup contains honey, so it’s not suitable for infants under 12 months. It also contains sugar, so those with diabetes or blood sugar concerns should use it sparingly. Elderberry is generally considered safe for most people, but if you have an autoimmune condition or are pregnant, check with your healthcare provider before adding it to your routine.
I’m not a doctor or a nutritionist—I’m just a home cook who’s done a lot of reading and a lot of experimenting. This syrup is a wonderful addition to a healthy lifestyle, but it’s not a substitute for medical care. Listen to your body and talk to your doctor if you have concerns.
Conclusion
This homemade elderberry syrup has become a staple in my kitchen for good reason. It’s simple to make, uses ingredients I can actually pronounce, and gives me a sense of control during cold season—which, let’s face it, can feel pretty chaotic sometimes. Every time I twist open a jar and catch that deep, spicy-sweet aroma, I feel a little more prepared for whatever winter throws my way.
What I love most about this recipe is how adaptable it is. Maybe you’ll make it exactly as written, or maybe you’ll add your own twist—a little extra ginger, a splash of orange juice, a different sweetener. That’s the beauty of homemade remedies. They’re yours to tweak and tailor until they feel right.
I’d love to hear how yours turns out. Did you try a variation I haven’t thought of? Is this your first time making elderberry syrup, or are you a seasoned pro? Drop a comment below and let me know. And if you found this helpful, share it with someone who could use a little immune support this season. We’re all in this together, after all.
Stay healthy, friends. And keep a spoon handy.
Frequently Asked Questions
Can I use fresh elderberries instead of dried?
You can, but you’ll need to use about 2 cups of fresh berries for every 1 cup of dried. Fresh elderberries have a higher water content, so your syrup might be thinner. Also, never eat raw elderberries—they must be cooked to neutralize compounds that can cause nausea. Dried berries are actually more convenient and consistent for syrup-making.
How long does homemade elderberry syrup last?
In the refrigerator, properly stored in a sealed glass jar, it will keep for 2-3 months. You can extend that to 6 months by freezing it in ice cube trays. Always check for signs of spoilage like mold, off smells, or fermentation before using.
Can I make this without honey?
Absolutely. You can substitute maple syrup, agave nectar, or a sugar-free sweetener like monk fruit. The texture will be thinner, and you’ll lose some of honey’s natural antimicrobial benefits, but it will still be a tasty and effective syrup. If using a non-sugar sweetener, add it to taste rather than using the full cup measurement.
Is this safe for children?
For children over 1 year old, yes. Because this recipe contains honey, it’s not safe for infants under 12 months due to the risk of botulism. For children ages 1-6, give ½ teaspoon daily for maintenance. Always check with your pediatrician before introducing any herbal remedy to your child’s routine.
Can I take this if I’m pregnant or nursing?
Elderberry is generally considered safe during pregnancy and breastfeeding in food amounts, but there isn’t enough research on concentrated syrup. The spices (ginger, cinnamon, cloves) are also generally safe in culinary amounts. However, I always recommend checking with your healthcare provider before taking any herbal remedy during pregnancy or while nursing. Better safe than sorry.
Pin This Recipe!
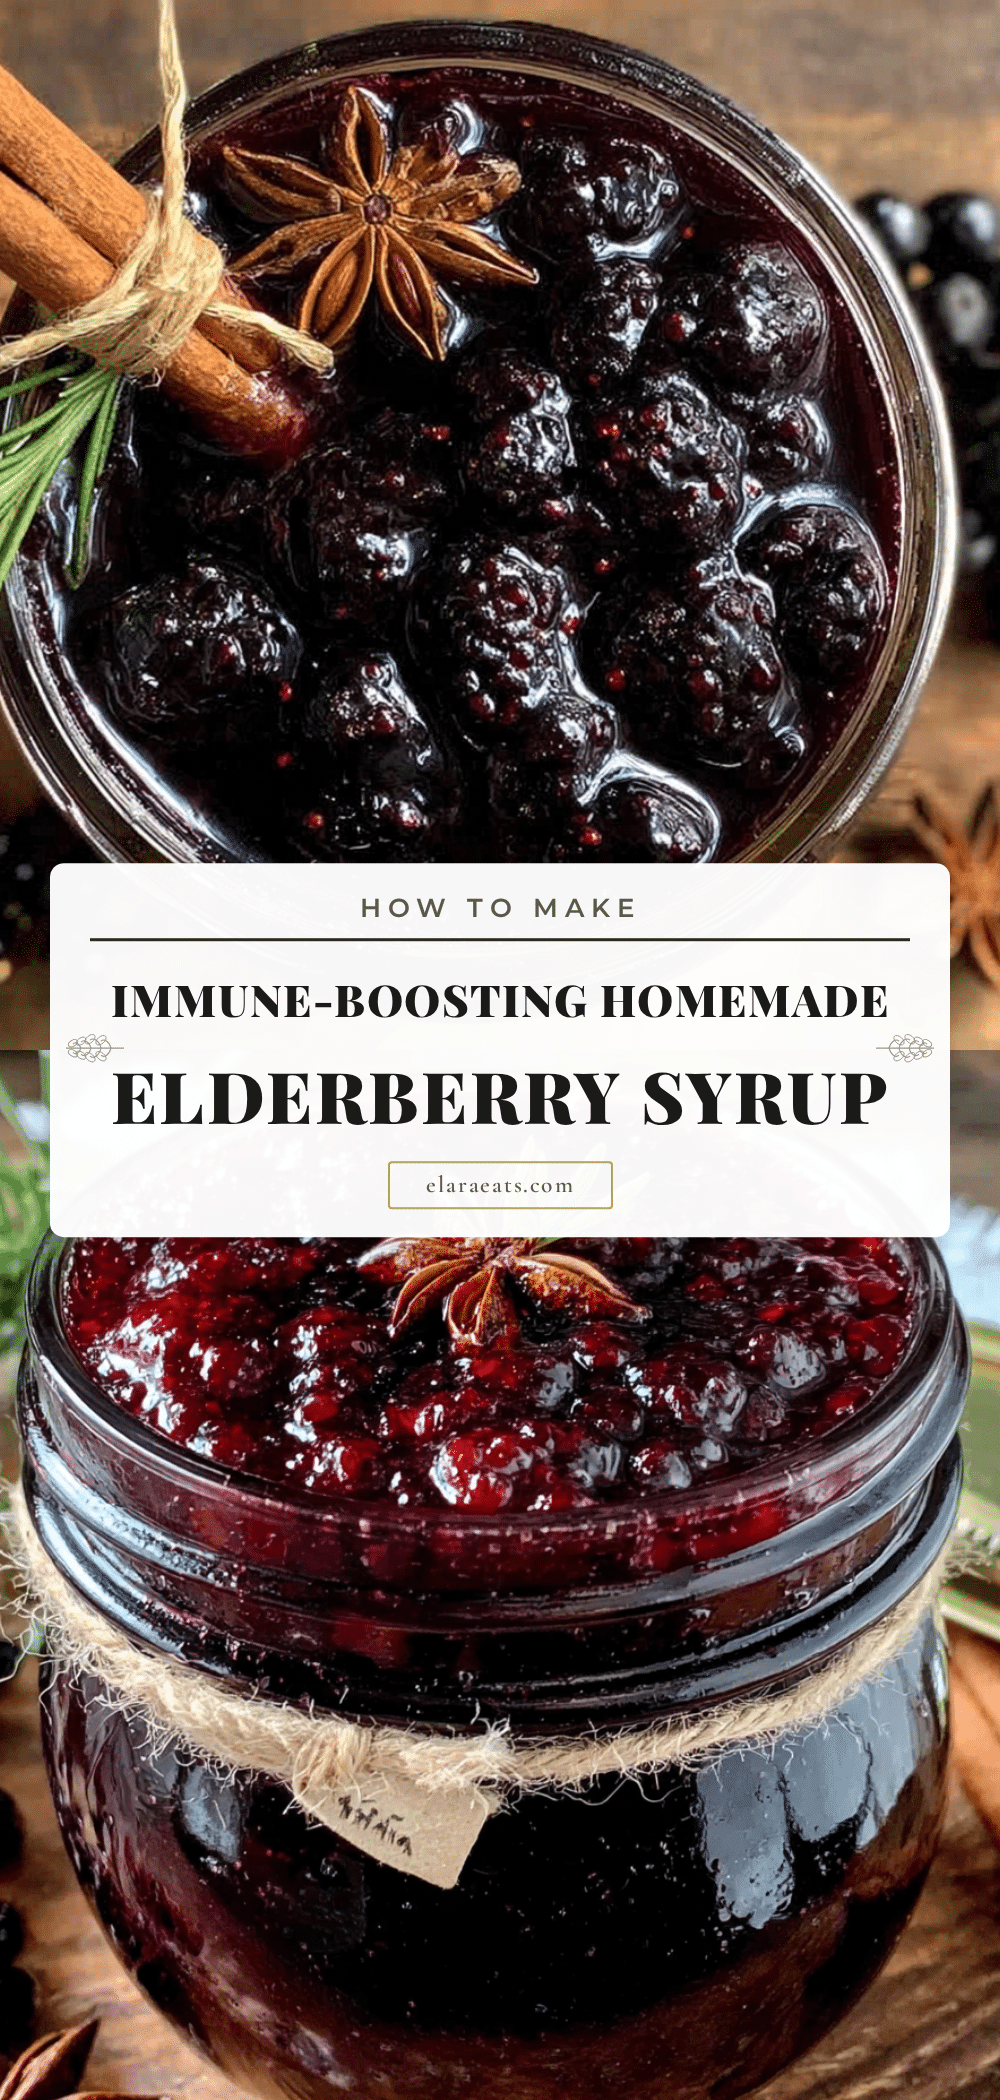
Homemade Elderberry Syrup: Easy Immune Boosting Recipe
This homemade elderberry syrup is a simple, immune-supporting recipe made with dried elderberries, honey, and warm spices. It’s a generations-old remedy that’s easy to make and perfect for cold season.
- Prep Time: 10 minutes
- Cook Time: 35 minutes
- Total Time: 45 minutes
- Yield: 2 cups (approximately 32 servings of 1 tablespoon each) 1x
- Category: Condiment
- Cuisine: American
Ingredients
- 1 cup dried elderberries
- 4 cups filtered water
- 1 (3-inch) piece fresh ginger, sliced
- 1 cinnamon stick
- 1 teaspoon whole cloves
- 1 cup raw honey
Instructions
- Combine berries and water: Add the dried elderberries and filtered water to your saucepan. Give it a quick stir to make sure all the berries are submerged.
- Add the spices: Toss in the sliced ginger, cinnamon stick, and whole cloves.
- Bring to a boil: Turn the heat to medium-high and bring the mixture to a gentle boil, about 5-7 minutes.
- Reduce and simmer: Once boiling, reduce heat to low and simmer uncovered for 30-35 minutes. Stir occasionally.
- Test for doneness: After 30 minutes, press a berry against the side of the pot with your spoon. It should be soft and easily mashed. If firm, simmer another 5 minutes.
- Strain the liquid: Place a fine-mesh strainer over a glass measuring cup or bowl. Carefully pour the mixture through the strainer. Let drain, then press on berries with the back of a spoon to extract all liquid.
- Cool slightly: Let the strained liquid cool for 10-15 minutes until warm but not hot.
- Add the honey: Pour the raw honey into the warm liquid and stir gently until fully dissolved.
- Bottle and store: Using a funnel, pour the syrup into sterilized glass jars, leaving half an inch of headspace. Seal tightly and let cool completely before refrigerating.
Notes
Do not add honey to hot liquid; let cool first to preserve enzymes. For a milder version, reduce ginger to 1-inch and cloves to 1/2 teaspoon. For extra immune support, add 1 tablespoon dried echinacea root or 2 teaspoons astragalus root. Syrup keeps 2-3 months in the refrigerator or up to 6 months frozen in ice cube trays.
Nutrition
- Serving Size: 1 tablespoon (15 ml)
- Calories: 45
- Sugar: 11
- Carbohydrates: 12
Keywords: elderberry syrup, immune boosting, homemade, natural remedy, cold season, elderberry recipe


