Love this? Save it for later!
Share the inspiration with your friends
I was elbow-deep in packing tape, trying to wrangle a mountain of cardboard boxes into submission, when my neighbor Margie appeared in my doorway. She’s a retired librarian in her seventies who keeps her hair in a perfect silver bob and never, not once, has ever seemed rushed. I, on the other hand, was a sweaty mess surrounded by Styrofoam peanuts and regret. She took one look at the chaos, squinted at the pile of overripe bananas on my counter (I had grand plans for smoothies that never materialized), and said, “You look like you need a win today.” Then she told me about her one-bowl banana bread. No mixer. No fuss. Just a fork, a bowl, and a little patience.
Honestly, I almost didn’t listen. I mean, I had a dozen different banana bread recipes bookmarked already—some with sour cream, some with brown butter, one that required a stand mixer and a level of dedication I simply did not possess that afternoon. But Margie is not someone you argue with. She has a way of describing things that makes you believe you can actually do them. So I mashed those bananas into a bowl, grabbed the flour she pointed at, and stirred until she nodded approvingly. Twenty minutes of prep later, the loaf was in the oven, and I was back to wrestling boxes, but this time with the faint, buttery smell of banana bread drifting through the apartment.
That first bite—still warm, with a slightly crackly top and a tender, almost creamy crumb—was the kind of moment that makes you stop whatever you’re doing and just breathe. Maybe you’ve been there: that feeling when a simple, unassuming recipe turns out better than anything you’ve tried before. This is that recipe. It’s the one I’ve made for new neighbors, for stressed-out friends, and for myself on quiet Sunday mornings when the world feels a little heavy. It’s easy, it’s forgiving, and it proves that you don’t need fancy equipment to make something truly special.
Why You’ll Love This Recipe
Let’s be honest—there are a thousand banana bread recipes out there, and most of them are fine. But this one? It’s different. I’ve tested it more times than I can count, tweaking the ratio of sugar to banana, adjusting the baking time, and even accidentally leaving out an egg once (it still worked, just a little denser). What I landed on is a loaf that’s consistently moist, perfectly sweet, and so tender it practically melts. Here’s why I think you’ll love it too:
- Quick & Easy: From bowl to oven in under 15 minutes. No mixer, no sifting, no complicated steps. It’s the kind of recipe you can make while your coffee brews.
- Simple Ingredients: You probably have everything already—flour, sugar, eggs, butter, and those sad bananas sitting on your counter. No trips to a specialty store required.
- Perfect for Any Occasion: Breakfast, snack, dessert, midnight craving—this bread fits all of them. It’s sturdy enough to slice for lunchboxes but fancy enough to serve with a dusting of powdered sugar for company.
- Crowd-Pleaser: I’ve brought this to potlucks, book clubs, and family gatherings, and it’s always the first thing to disappear. Even picky eaters ask for seconds.
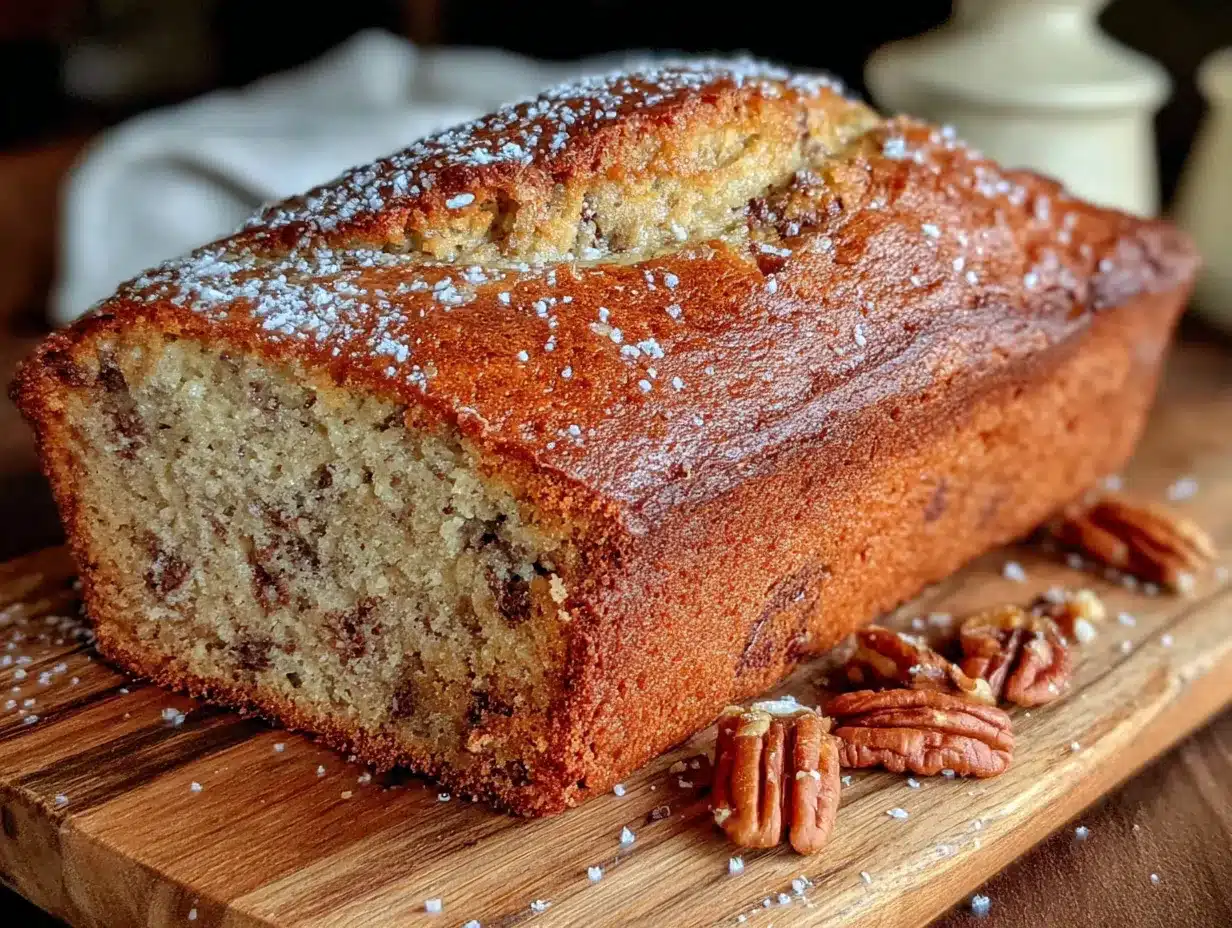
- Unbelievably Delicious: The texture is what sets it apart—a tender, almost velvety crumb with a slightly caramelized crust. It’s comfort food at its finest.
What makes this recipe different from the rest is the technique. Instead of creaming butter and sugar together (which requires a mixer and patience), you melt the butter and mix it directly into the wet ingredients. This creates a denser, more moist loaf that stays fresh for days. Plus, the simple act of mashing the bananas with a fork—not a blender—gives the bread a more rustic, chunky texture that I personally love. It’s not just another version; it’s the best version for anyone who wants great results without the hassle.
This is the kind of bread that makes you close your eyes after the first bite. It’s wholesome, satisfying, and proof that eating well doesn’t mean sacrificing flavor. Whether you’re a seasoned baker or someone who’s never made bread from scratch, this recipe is for you.
What Ingredients You Will Need
This recipe relies on simple, pantry-friendly ingredients to create a loaf that’s moist, flavorful, and perfectly sweet. Each ingredient plays a specific role, and I’ve included a few notes to help you get the best results. Here’s what you’ll need:
For the Banana Bread
- 3 ripe bananas, mashed (about 1 ½ cups or 340g) – The riper, the better. Look for bananas with lots of brown spots; they’re sweeter and easier to mash. If your bananas aren’t ripe enough, you can speed things up by baking them at 300°F for 15 minutes until soft.
- ⅓ cup (75g) unsalted butter, melted – I prefer unsalted so I can control the salt level. If you only have salted butter, just reduce the added salt to ¼ teaspoon. Melt the butter gently in the microwave or on the stovetop, then let it cool slightly before mixing.
- ¾ cup (150g) granulated sugar – Regular white sugar works perfectly, but you can substitute with coconut sugar for a deeper flavor. The sugar helps create that golden, crackly top.
- 1 large egg – Room temperature is best for even mixing. If you forget to take it out ahead of time, place the egg in a bowl of warm water for 5 minutes.
- 1 teaspoon vanilla extract – Pure vanilla extract adds warmth and depth. I recommend Nielsen-Massey or Simply Organic for the best flavor.
- 1 ½ cups (190g) all-purpose flour – Spoon and level your flour for accuracy; scooping directly from the bag can pack in too much flour, making the bread dry. For a whole-wheat version, substitute up to half the flour with whole-wheat pastry flour.
- 1 teaspoon baking soda – This is the only leavening agent you need. Make sure it’s fresh (not expired) for the best rise.
- ½ teaspoon salt – Fine sea salt or table salt works best. Salt balances the sweetness and enhances the banana flavor.
- Optional mix-ins: ½ cup (60g) chopped walnuts, pecans, or chocolate chips. I love adding dark chocolate chips for a touch of indulgence. You can also fold in ¼ cup of shredded coconut or dried cranberries.
Ingredient Tips & Substitutions
- Bananas: If you only have frozen bananas, thaw them completely and drain off any excess liquid before mashing. The texture will be slightly softer, but the flavor is still great.
- Butter: You can substitute with coconut oil (use the same amount) or a neutral vegetable oil like avocado oil. The flavor will be slightly different, but the bread will still be moist.
- Egg: For a vegan version, use a flax egg (1 tablespoon ground flaxseed mixed with 3 tablespoons water, let sit for 5 minutes). The texture will be a bit denser, but it’s still delicious.
- Flour: For a gluten-free option, use a 1:1 gluten-free baking flour blend that contains xanthan gum. I recommend King Arthur Measure for Measure or Bob’s Red Mill 1-to-1 Baking Flour.
- Sugar: You can reduce the sugar to ½ cup if you prefer a less sweet loaf, but keep in mind that sugar also contributes to the moistness and texture.
Equipment Needed
One of the best things about this recipe is how little equipment it requires. You don’t need a stand mixer, a hand mixer, or any fancy gadgets. Here’s what you’ll need:
- Large mixing bowl – Any bowl works, but I prefer a wide, shallow one for easy mashing and mixing. A classic Pyrex glass bowl or a ceramic mixing bowl is perfect.
- Fork or potato masher – A fork is my go-to for mashing bananas. It gives you control over the texture—chunky or smooth, your choice. A potato masher works too, but it can make the bananas a little too uniform.
- Wooden spoon or rubber spatula – For mixing the batter. A rubber spatula is great for scraping down the sides of the bowl.
- 9×5-inch loaf pan – A standard loaf pan is ideal. If you only have an 8×4-inch pan, the bread will take slightly longer to bake (add 5-10 minutes). Avoid using a glass pan, as it can cause the edges to brown too quickly.
- Parchment paper or non-stick spray – I always line my pan with parchment paper, leaving an overhang on two sides. This makes it easy to lift the bread out after baking. Non-stick spray works too, but parchment is foolproof.
- Cooling rack – A wire rack allows air to circulate around the loaf, preventing a soggy bottom. If you don’t have one, you can use the inverted lid of a clean roasting pan or just let it cool in the pan for a bit longer.
- Measuring cups and spoons – For accuracy, especially with flour and baking soda. I recommend using dry measuring cups for dry ingredients and liquid measuring cups for wet ingredients.
If you’re new to baking and don’t have a cooling rack, don’t worry—you can let the bread cool in the pan for 10 minutes, then carefully transfer it to a cutting board to finish cooling. It won’t be as crisp on the bottom, but it’ll still taste amazing.
Preparation Method
This recipe comes together quickly, so I like to get everything ready before I start mixing. Preheat your oven to 350°F (175°C) and grease or line your loaf pan with parchment paper. Here’s how to make it:
- Mash the bananas: In a large mixing bowl, add the three ripe bananas. Using a fork, mash them until they’re mostly smooth with a few small lumps remaining. You want some texture—it adds personality to the bread. If your bananas are very ripe, they’ll mash easily in about a minute.
- Add the melted butter: Pour the cooled melted butter over the mashed bananas. Stir with a wooden spoon or spatula until combined. The mixture will look a little glossy, and that’s perfect.
- Mix in the sugar, egg, and vanilla: Add the granulated sugar, the room-temperature egg, and the vanilla extract. Stir vigorously for about 30 seconds until everything is well incorporated. The mixture should be smooth and slightly thickened. If you see small lumps of banana, that’s fine—don’t overmix.
- Combine the dry ingredients: Sprinkle the all-purpose flour, baking soda, and salt over the wet mixture. Use a spatula to fold the dry ingredients into the wet ones. Stir just until the flour disappears—about 10 to 15 strokes. A few streaks of flour are okay; overmixing will make the bread tough. If you’re adding mix-ins like chocolate chips or nuts, fold them in now.
- Pour the batter into the pan: Scrape the batter into your prepared loaf pan. Use the spatula to spread it evenly, making sure the corners are filled. Tap the pan gently on the counter a couple of times to release any air bubbles.
- Bake: Place the pan in the preheated oven and bake for 55 to 65 minutes. The bread is done when a toothpick inserted into the center comes out clean or with just a few moist crumbs. If the top is browning too quickly (after about 40 minutes), tent the loaf loosely with aluminum foil.
- Cool: Let the bread cool in the pan for 10 minutes. Then, using the parchment paper overhang, lift the loaf out and transfer it to a wire rack to cool completely. Resist the urge to slice it while it’s hot—it needs time to set, or it will crumble. Wait at least 20 minutes, but an hour is better.
Pro tip: If you want a picture-perfect crack on top, let the batter rest in the pan for 10 minutes before baking. This allows the flour to hydrate fully, which creates a more dramatic crack as the bread rises.
Cooking Tips & Techniques
Over the years, I’ve learned a few tricks that make this banana bread even better. Here are some tips I wish I’d known from the start:
- Don’t overmix the batter. This is the number one mistake I see. Once you add the flour, stir just until it disappears. Overmixing develops gluten, which makes the bread dense and tough. A few lumps are your friend.
- Use a kitchen scale for accuracy. Measuring flour by weight (190g) is more reliable than using cups, especially if you tend to scoop rather than spoon and level. If you don’t have a scale, fluff your flour with a spoon before scooping, then level it off with a knife.
- Check for doneness early. Ovens vary, so start checking at 50 minutes. If the toothpick comes out wet with batter, give it 5 more minutes. If it comes out with a few moist crumbs, it’s perfect. If it comes out clean, it’s slightly overdone but still delicious.
- Let it cool completely before slicing. I know it’s tempting, but cutting into warm banana bread can result in a gummy, crumbly mess. The bread continues to set as it cools, and the flavors deepen. Trust me on this one—I’ve ruined many a slice out of impatience.
- Toast leftover slices. If you have day-old banana bread, lightly toast a slice in a toaster or under the broiler. The outside gets slightly crisp while the inside stays tender. It’s a whole new experience.
- Room temperature ingredients matter. Cold eggs can cause the melted butter to seize up, creating a lumpy batter. If you forgot to take your egg out ahead of time, place it in a bowl of warm water for 5 minutes before using.
I once forgot the sugar entirely and only realized it when the bread came out pale and sad. I learned that day that sugar isn’t just for sweetness—it also helps with browning and texture. So don’t skip it!
Variations & Adaptations
This recipe is incredibly versatile, and I’ve tried several variations over the years. Here are some of my favorites:
- Chocolate Chip Banana Bread: Fold in ½ cup of dark chocolate chips (or semi-sweet) along with the dry ingredients. The chocolate melts into pockets of gooey goodness. I like using Guittard or Ghirardelli chips for the best flavor.
- Vegan Banana Bread: Substitute the melted butter with coconut oil, and use a flax egg (1 tablespoon ground flaxseed + 3 tablespoons water, let sit for 5 minutes). The bread will be slightly denser, but still incredibly moist. I’ve made this for friends with dietary restrictions, and they couldn’t tell the difference.
- Gluten-Free Banana Bread: Use a 1:1 gluten-free baking flour blend that contains xanthan gum. I recommend King Arthur Measure for Measure. The texture is slightly more crumbly, but toasting the slices helps. Add an extra tablespoon of milk (dairy or non-dairy) to help with moisture.
- Spiced Banana Bread: Add 1 teaspoon of cinnamon, ½ teaspoon of nutmeg, and a pinch of cloves to the dry ingredients. This gives the bread a warm, cozy flavor that’s perfect for fall. I sometimes add a tablespoon of bourbon for extra depth.
- Nutty Banana Bread: Fold in ½ cup of toasted walnuts or pecans. Toasting the nuts first (in a dry pan over medium heat for 3-4 minutes) brings out their flavor and keeps them crunchy. I’ve also used toasted almonds for a different twist.
- Mini Loaves or Muffins: Pour the batter into greased mini loaf pans (bake for 25-30 minutes) or a muffin tin (bake for 18-22 minutes). This is great for gifting or portion control. Mini loaves make adorable hostess gifts.
One of my favorite experiments was adding a swirl of peanut butter to the batter before baking. I dropped spoonfuls of creamy peanut butter on top, then used a knife to swirl it through. The result was a marbled loaf with pockets of salty, nutty flavor. Highly recommend!
Serving & Storage Suggestions
This banana bread is delicious on its own, but here are a few ways to make it even more special:
- Serving temperature: Serve at room temperature for the best texture. If you’re in a hurry, a quick 10-second zap in the microwave warms it up nicely. For a treat, toast a slice and spread it with salted butter or honey.
- Presentation ideas: Dust the top with powdered sugar before serving for a bakery-style look. You can also drizzle a simple glaze (1 cup powdered sugar + 2 tablespoons milk + ½ teaspoon vanilla) over the cooled loaf. For brunch, serve slices alongside fresh berries and a dollop of Greek yogurt.
- Complementary dishes: Pair a slice with a hot cup of coffee or tea. For a more indulgent breakfast, serve it with scrambled eggs and fresh fruit. It also makes a great dessert when served with a scoop of vanilla ice cream.
- Storage: Store the banana bread in an airtight container at room temperature for up to 4 days. To keep it extra moist, wrap it in plastic wrap before placing it in the container. If your kitchen is warm, you can store it in the refrigerator, but let it come to room temperature before serving.
- Freezing: This bread freezes beautifully. Wrap the cooled loaf tightly in plastic wrap, then in aluminum foil, and freeze for up to 3 months. To thaw, leave it on the counter for a few hours or overnight in the refrigerator. You can also freeze individual slices for quick breakfasts—just wrap each slice in plastic wrap and store in a freezer bag.
- Reheating: For a fresh-from-the-oven taste, reheat slices in a 300°F oven for 5-7 minutes. The outside will crisp up slightly while the inside stays tender. If you’re in a rush, the microwave works, but the texture will be softer.
One thing I love about this recipe is that the flavors actually get better after a day or two. The banana flavor deepens, and the texture becomes even more moist. So don’t be afraid to make it ahead of time!
Nutritional Information & Benefits
This banana bread is a treat, but it also offers some nutritional benefits thanks to its wholesome ingredients. Here’s an approximate breakdown per slice (based on 12 slices):
| Nutrient | Amount per Slice |
|---|---|
| Calories | 210 |
| Total Fat | 8g |
| Saturated Fat | 4.5g |
| Cholesterol | 35mg |
| Sodium | 220mg |
| Total Carbohydrates | 33g |
| Dietary Fiber | 2g |
| Sugars | 17g |
| Protein | 3g |
Health benefits: Bananas are a great source of potassium, vitamin B6, and vitamin C. They also provide natural sweetness, which allows us to use less refined sugar. The fiber from the bananas and flour helps with digestion and keeps you feeling full longer. If you use whole-wheat pastry flour, you’ll get even more fiber and nutrients.
Dietary considerations: This recipe can be made gluten-free, vegan, or dairy-free with the substitutions mentioned above. It’s also nut-free if you skip the optional walnuts or pecans. As always, check your ingredient labels if you have specific allergies.
I love that this bread feels indulgent but isn’t overly heavy. It’s the kind of treat you can enjoy without guilt, especially if you pair it with a piece of fruit or a handful of nuts for a balanced snack.
Conclusion
This easy one-bowl banana bread has become a staple in my kitchen, and I hope it becomes one in yours too. It’s the recipe I turn to when I need something comforting, when I have bananas that are past their prime, or when I just want to fill my home with that warm, nostalgic smell. It’s proof that you don’t need fancy equipment or complicated techniques to create something truly delicious.
I encourage you to make this recipe your own. Add your favorite mix-ins, experiment with different flours, or try it as muffins. The beauty of this bread is that it’s forgiving and adaptable. And if you discover a variation you love, I’d be thrilled to hear about it. Drop a comment below and let me know how it turned out—did you add chocolate chips? A swirl of peanut butter? Something I haven’t thought of yet?
Thank you for stopping by and giving this recipe a try. Baking doesn’t have to be complicated to be wonderful. Sometimes, all you need is a bowl, a fork, and a little bit of patience. Happy baking, friend.
Frequently Asked Questions
Can I use frozen bananas for this recipe?
Yes! Thaw the bananas completely and drain off any excess liquid before mashing. The texture will be slightly softer, but the flavor is still excellent. In fact, frozen bananas can be even sweeter than fresh ones.
Why is my banana bread dry?
Dry banana bread is usually the result of overmixing the batter or overbaking. Make sure you stir the flour in just until it disappears, and start checking for doneness at 50 minutes. Also, be sure to measure your flour correctly—scooping directly from the bag can pack in too much flour.
Can I make this recipe without eggs?
Absolutely. Use a flax egg (1 tablespoon ground flaxseed mixed with 3 tablespoons water, let sit for 5 minutes) or a commercial egg replacer. The texture will be a bit denser, but it’s still delicious. I’ve also used ¼ cup of applesauce as an egg substitute with good results.
How do I get a high, domed top on my banana bread?
For a taller loaf, make sure your baking soda is fresh. You can also let the batter rest in the pan for 10 minutes before baking—this allows the flour to hydrate and creates a more dramatic crack on top. Baking at 350°F rather than a lower temperature also helps with rise.
Can I double this recipe?
Yes! This recipe doubles beautifully. Simply double all the ingredients and bake in two separate loaf pans. If you only have one pan, you can bake the loaves one at a time, but make sure the batter is covered and refrigerated while you wait. The second loaf might need an extra 5 minutes in the oven since the batter will be cold.
Pin This Recipe!
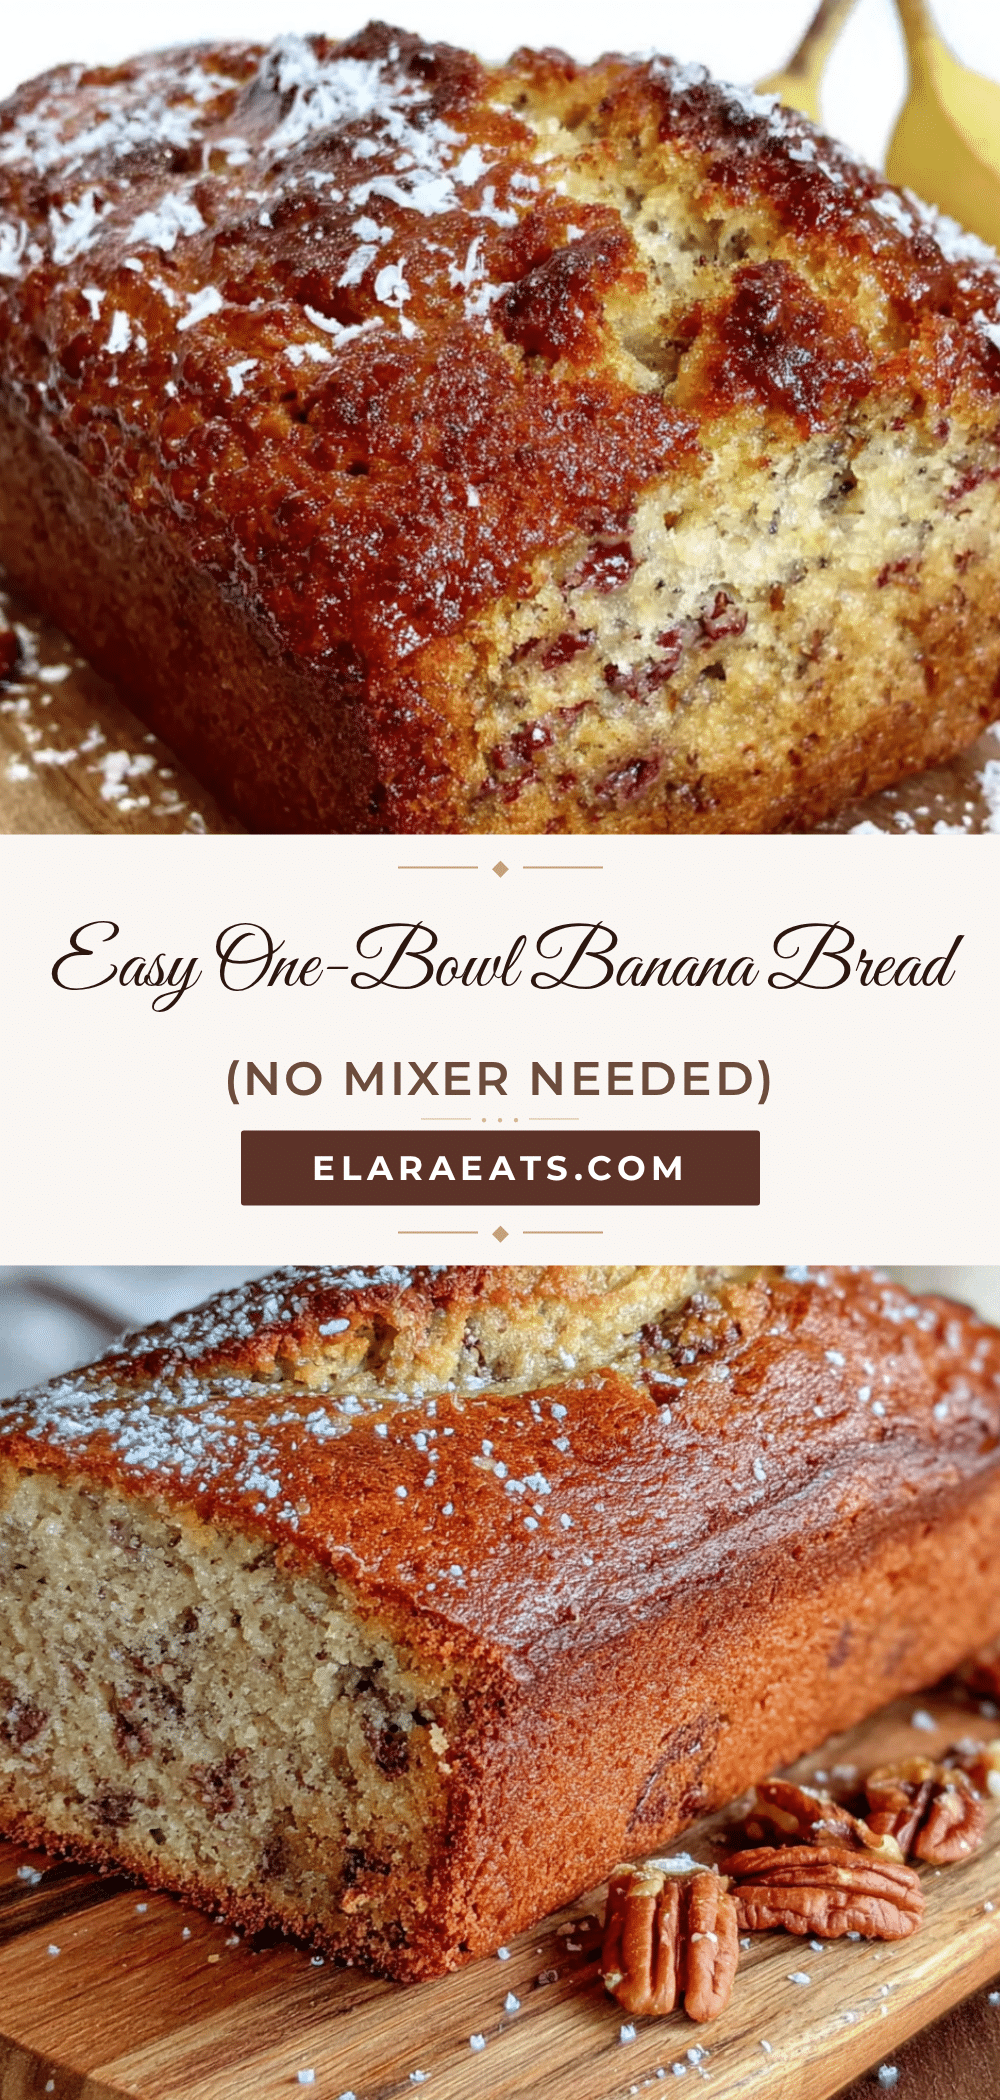
Easy One-Bowl Banana Bread – Best No-Mixer Recipe
This easy one-bowl banana bread is moist, tender, and requires no mixer. Made with simple pantry ingredients, it’s the perfect comfort food for any occasion.
- Prep Time: 15 minutes
- Cook Time: 55-65 minutes
- Total Time: 1 hour 10 minutes
- Yield: 12 servings 1x
- Category: Dessert
- Cuisine: American
Ingredients
- 3 ripe bananas, mashed (about 1 ½ cups or 340g)
- ⅓ cup (75g) unsalted butter, melted
- ¾ cup (150g) granulated sugar
- 1 large egg, room temperature
- 1 teaspoon vanilla extract
- 1 ½ cups (190g) all-purpose flour
- 1 teaspoon baking soda
- ½ teaspoon salt
- Optional: ½ cup (60g) chopped walnuts, pecans, or chocolate chips
Instructions
- Preheat oven to 350°F (175°C). Grease or line a 9×5-inch loaf pan with parchment paper.
- In a large mixing bowl, mash the bananas with a fork until mostly smooth with a few lumps.
- Pour the melted butter over the bananas and stir until combined.
- Add the sugar, egg, and vanilla extract. Stir vigorously for about 30 seconds until smooth and slightly thickened.
- Sprinkle the flour, baking soda, and salt over the wet mixture. Fold gently with a spatula until just combined (10-15 strokes). If adding mix-ins, fold them in now.
- Pour the batter into the prepared loaf pan and spread evenly. Tap the pan gently on the counter to release air bubbles.
- Bake for 55-65 minutes, or until a toothpick inserted in the center comes out clean or with a few moist crumbs. If the top browns too quickly, tent with foil after 40 minutes.
- Let the bread cool in the pan for 10 minutes, then lift out using the parchment paper and transfer to a wire rack to cool completely before slicing.
Notes
For a picture-perfect crack on top, let the batter rest in the pan for 10 minutes before baking. Do not overmix the batter; a few lumps are fine. Let the bread cool completely before slicing to avoid a gummy texture. Store in an airtight container at room temperature for up to 4 days, or freeze for up to 3 months.
Nutrition
- Serving Size: 1 slice
- Calories: 210
- Sugar: 17
- Sodium: 220
- Fat: 8
- Saturated Fat: 4.5
- Carbohydrates: 33
- Fiber: 2
- Protein: 3
Keywords: banana bread, easy banana bread, one-bowl banana bread, no-mixer banana bread, moist banana bread


