Love this? Save it for later!
Share the inspiration with your friends
My roommate asked why I couldn’t just dump everything in one bowl and skip the food processor entirely. I started to explain why that wouldn’t work — then stopped. She was holding a jar of peanut butter in one hand and a bag of chocolate chips in the other, looking at me like I was overcomplicating something that should be simple. Honestly? She was right.
It was a Tuesday night, and I was supposed to be meal-prepping for the week ahead. But my brain was fried from a long day, and the thought of pulling out multiple mixing bowls, washing extra dishes, and following a complicated recipe felt exhausting. My roommate suggested we just mix everything by hand and see what happened. I hesitated. I mean, I’m supposed to be the one who knows what they’re doing in the kitchen, right?
But here’s the thing — sometimes the simplest approach wins. We dumped oats, peanut butter, chocolate chips, honey, and protein powder into a big bowl, stirred it all together with a wooden spoon, and rolled it into balls. No food processor. No stand mixer. No fancy equipment at all. And you know what? They turned out perfect. Better than any complicated version I’d made before.
These easy no-bake chocolate peanut butter protein balls have become my go-to recipe for busy weeks. They’re the kind of snack that saves you from grabbing something less healthy when hunger strikes. Maybe you’ve been there — standing in front of the pantry, starving, and reaching for whatever’s easiest. These protein balls are that easiest option, but actually good for you.
I’ve made this recipe at least fifty times since that Tuesday night. It’s never let me down. And every time I roll those little balls of chocolate-peanut butter goodness, I think about how sometimes the best lessons come from letting someone else take the lead in the kitchen.
Why You’ll Love This Recipe
Let me tell you why these easy no-bake chocolate peanut butter protein balls have earned a permanent spot in my weekly rotation. I’ve tested this recipe more times than I can count, and it just works.
- Quick & Easy: These come together in under 15 minutes. No baking, no waiting, no complicated steps. Perfect for those days when you need a snack right now.
- Simple Ingredients: You only need five basic ingredients. Chances are you already have most of them in your pantry right now. No special trips to fancy grocery stores.
- Perfect for Meal Prep: Make a batch on Sunday and grab them all week long. They’re great for lunchboxes, post-workout snacks, or afternoon pick-me-ups.
- Crowd-Pleaser: I’ve brought these to potlucks, office parties, and family gatherings. Kids love them. Adults love them. Even my friend who “doesn’t like healthy snacks” asked for the recipe.
- Unbelievably Delicious: The combination of rich chocolate and creamy peanut butter is next-level comfort food. You’d never guess they’re packed with protein and fiber.
What makes this recipe different from all the other protein ball recipes out there? It’s the texture. Most recipes end up too dry or too sticky. But this one? It’s just right — perfectly chewy, slightly fudgy, and completely satisfying. I spent weeks tweaking the ratios until I got it exactly right. The secret is using the right kind of peanut butter and letting the mixture rest before rolling.
This recipe isn’t just good — it’s the kind that makes you close your eyes after the first bite. It’s comfort food reimagined: healthier, faster, but with the same soul-soothing satisfaction. Perfect for impressing guests without stress, or turning a simple snack into something memorable.
What Ingredients You Will Need
This recipe uses simple, wholesome ingredients to deliver bold flavor and satisfying texture without the fuss. Here’s everything you’ll need:
For the Protein Balls
- 1 cup old-fashioned rolled oats (use certified gluten-free oats if needed)
- 1/2 cup creamy peanut butter (I recommend natural peanut butter with no added sugar — just peanuts and salt. Brands like Justin’s or Teddy work great)
- 1/3 cup honey (or maple syrup for a vegan option)
- 1/4 cup chocolate protein powder (I prefer Orgain or Garden of Life for clean ingredients)
- 1/3 cup mini chocolate chips (dark chocolate or semi-sweet both work beautifully)
Ingredient Selection Tips
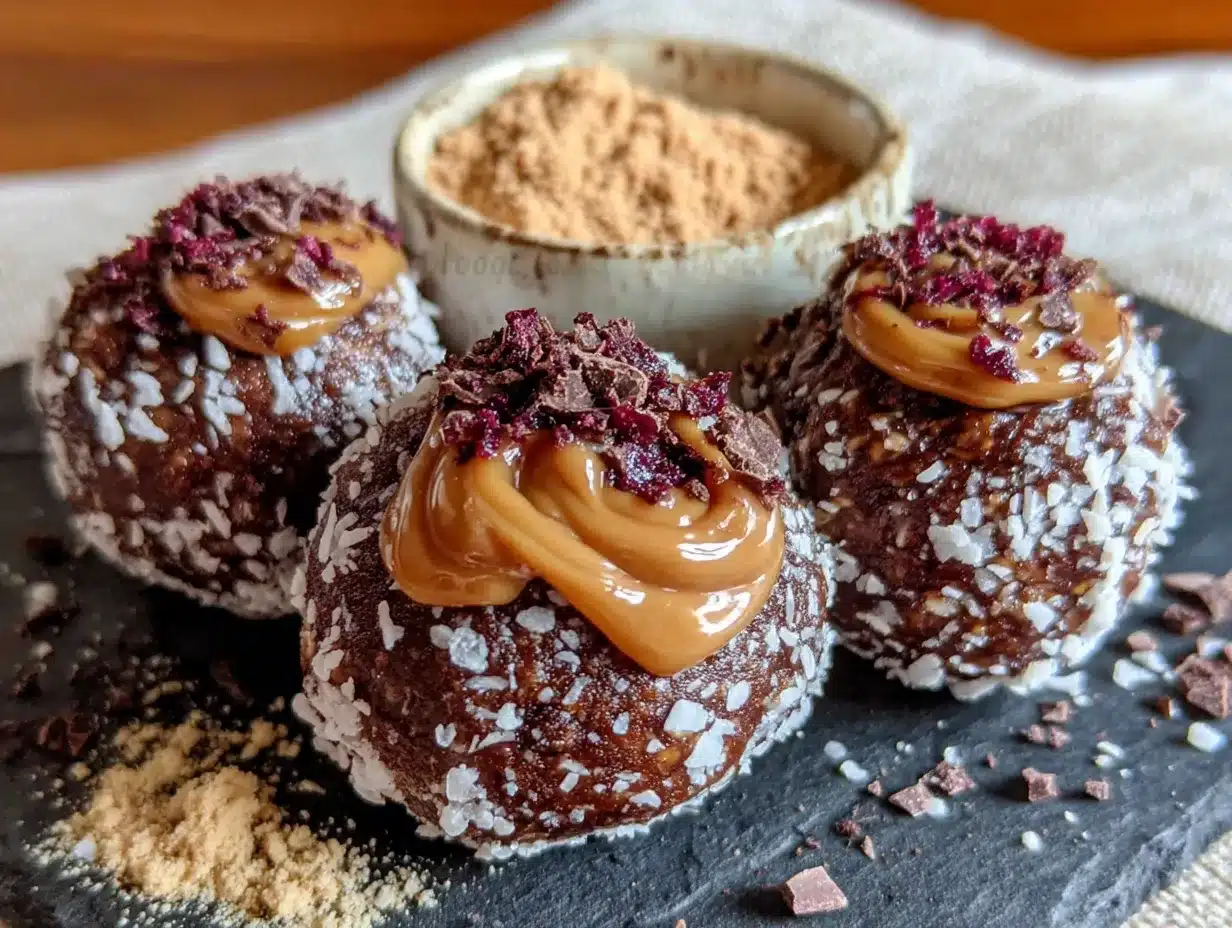
Let me share what I’ve learned from making these easy no-bake chocolate peanut butter protein balls dozens of times. The peanut butter is the most important ingredient. If you use the kind that separates with oil on top, make sure you stir it really well before measuring. Too much oil will make your balls greasy instead of perfectly chewy.
For the oats, I’ve tried both old-fashioned and quick oats. Old-fashioned gives you a better texture — more substantial and satisfying. Quick oats work in a pinch, but they make the balls a bit softer and less structured.
The chocolate protein powder is where you can get creative. Vanilla protein powder works too, but chocolate gives you that double-chocolate vibe that’s irresistible. If you don’t have protein powder, you can substitute with oat flour or almond flour — just know the protein content will be lower.
For the chocolate chips, mini chips distribute better throughout the mixture. But regular-sized chips work fine too. I’ve even used chopped dark chocolate bars when I ran out of chips. No judgment here!
Substitution Guidance
- Nut-free option: Swap peanut butter with sunflower seed butter or WowButter
- Vegan option: Use maple syrup instead of honey and dairy-free chocolate chips
- Gluten-free option: Use certified gluten-free oats
- Lower sugar option: Reduce honey to 1/4 cup and use sugar-free chocolate chips
- Different protein powder: Vanilla, unflavored, or even collagen peptides work
Equipment Needed
One of the best things about this recipe is how little equipment you need. Here’s what I use:
- Large mixing bowl (any size works, but bigger is easier for mixing)
- Measuring cups and spoons (standard set will do)
- Wooden spoon or rubber spatula (for mixing everything together)
- Baking sheet or plate (to hold the rolled balls while they set)
- Parchment paper or wax paper (keeps the balls from sticking)
- Small cookie scoop or tablespoon (for evenly sized balls)
No food processor? No problem. I made these for months using just a bowl and a spoon. But if you want to get fancy, a food processor can chop the oats finer for a smoother texture. I’ve also used my hands to mix everything together when I was too lazy to wash a spoon — it works, just messy!
For storage, any airtight container works. I use a glass meal prep container, but a zip-top bag works in a pinch. Pro tip: refrigerate the balls on a parchment-lined plate for 30 minutes before transferring to a container — this prevents them from sticking together.
Preparation Method
- Combine the dry ingredients: In a large mixing bowl, add 1 cup rolled oats, 1/4 cup chocolate protein powder, and 1/3 cup mini chocolate chips. Stir them together with your spoon until they’re evenly distributed. This step takes about 30 seconds but makes a big difference in the final texture.
- Add the wet ingredients: Add 1/2 cup creamy peanut butter and 1/3 cup honey to the bowl. Don’t worry if it looks messy at first — that’s totally normal. The mixture will seem dry and crumbly for a moment, but keep stirring.
- Mix thoroughly: Stir everything together until no dry spots remain. This takes about 2-3 minutes of consistent stirring. The mixture should come together into a thick, slightly sticky dough. If it’s too dry, add a teaspoon of honey or a splash of milk. If it’s too wet, add a tablespoon more oats.
- Let it rest: Here’s a trick I learned the hard way — let the mixture sit for 5-10 minutes before rolling. This gives the oats time to absorb some moisture from the peanut butter and honey. The mixture will become easier to handle and the balls will hold their shape better. Trust me on this one.
- Line your baking sheet: While the mixture rests, line a baking sheet or large plate with parchment paper or wax paper. This prevents sticking and makes cleanup a breeze.
- Roll into balls: Using a small cookie scoop or a tablespoon, scoop out portions of the mixture. Roll each portion between your palms to form a smooth ball. Aim for about 1-inch in diameter — roughly the size of a golf ball. You should get 12-15 balls from this recipe.
- Place on prepared sheet: As you roll each ball, place it on the parchment-lined sheet. Leave a little space between each ball so they don’t touch.
- Chill to set: Refrigerate the protein balls for at least 30 minutes before serving. This allows them to firm up and develop the perfect chewy texture. If you’re impatient like me, you can eat one right away — but they’re much better after chilling.
- Store properly: Transfer the chilled balls to an airtight container. Keep them in the refrigerator for up to two weeks, or freeze for longer storage.
Sensory cues to watch for: The mixture should feel slightly tacky but not sticky when you roll it. If it sticks to your hands, wet your palms slightly with water — this helps the mixture roll smoothly. The finished balls should feel firm but give slightly when squeezed.
Cooking Tips & Techniques
After making these easy no-bake chocolate peanut butter protein balls more times than I can count, I’ve collected some hard-won wisdom. Let me share what I’ve learned so you don’t make the same mistakes I did.
The sticky hands problem: This was my biggest frustration early on. The mixture would stick to my hands, making it impossible to roll smooth balls. The solution? Lightly wet your hands with cold water before rolling each ball. The moisture creates a barrier that prevents sticking without adding too much water to the mixture. I keep a small bowl of water nearby when I’m rolling.
Temperature matters: If your kitchen is warm, the peanut butter will be softer and the mixture will be stickier. On hot summer days, I refrigerate the mixture for 15 minutes before rolling. On cooler days, the mixture comes together beautifully right away.
Don’t overmix: I learned this the hard way after making a batch that turned out tough and dense. Once the ingredients are combined, stop mixing. Overworking the mixture can break down the oats and make the balls less pleasant in texture.
Size consistency: Using a cookie scoop ensures all your balls are the same size. This matters more than you’d think — evenly sized balls chill at the same rate and look more professional. Plus, it makes portion control easier if you’re tracking nutrition.
The chilling step is non-negotiable: I know, I know — you want to eat them immediately. But trust me, 30 minutes in the fridge transforms these from “pretty good” to “absolutely amazing.” The flavors meld together, the texture firms up perfectly, and the chocolate chips get that satisfying snap when you bite into them.
One mistake I still make: Sometimes I forget to check if my peanut butter is well-stirred. The natural stuff separates, and if I scoop from the top, I get mostly oil. The balls come out greasy and don’t hold together well. Now I always stir my peanut butter vigorously before measuring. Learn from my forgetfulness!
Variations & Adaptations
This recipe is incredibly versatile. Here are some variations I’ve tried and loved:
Flavor Variations
- Peanut Butter Cookie: Swap the chocolate protein powder for vanilla and add 2 tablespoons of mini peanut butter chips instead of chocolate chips. Tastes just like a peanut butter cookie!
- Double Chocolate: Use chocolate protein powder and white chocolate chips instead of semi-sweet. The contrast is gorgeous and delicious.
- Coconut Chocolate: Add 1/4 cup unsweetened shredded coconut to the mixture. Roll the finished balls in more coconut for a tropical twist.
Dietary Adaptations
- Vegan: Use maple syrup instead of honey and dairy-free chocolate chips. Everything else stays the same!
- Nut-Free: Swap peanut butter for sunflower seed butter. Note that sunflower seed butter can turn green when combined with baking soda — but since we’re not baking, that’s not an issue here. It stays a beautiful brown.
- Low-Carb: Use almond flour instead of oats and sugar-free chocolate chips. Reduce honey to 2 tablespoons and add a tablespoon of water if the mixture is too dry.
- Higher Protein: Add an extra scoop of protein powder and increase the honey by 1 tablespoon to balance the dryness.
Texture Variations
- Crunchy: Use crunchy peanut butter instead of creamy. Add 2 tablespoons of chopped peanuts for extra crunch.
- Smooth: Pulse the oats in a food processor a few times before mixing. This creates a finer texture that’s closer to a truffle.
- Fudgy: Add 1 tablespoon of cocoa powder and increase the honey by 1 tablespoon. The extra cocoa makes them richer and more decadent.
My personal favorite variation? The coconut chocolate version. I made it for a beach trip last summer, and they were gone before we even got to the sand. Something about the combination of chocolate, peanut butter, and coconut just works.
Serving & Storage Suggestions
These easy no-bake chocolate peanut butter protein balls are best served cold, straight from the refrigerator. The texture is firmer, the chocolate chips are snappy, and the flavors are more pronounced. I love grabbing one as a mid-afternoon snack or post-workout refuel.
Serving ideas:
- Pack 2-3 in a lunchbox for a satisfying dessert
- Serve alongside fresh fruit for a balanced snack plate
- Bring to a potluck or picnic — they travel beautifully
- Enjoy with a glass of cold milk or your favorite coffee
- Crumble one over Greek yogurt for a protein-packed breakfast bowl
Storage instructions:
- Refrigerator: Store in an airtight container for up to 2 weeks. Place parchment paper between layers to prevent sticking.
- Freezer: Arrange balls on a parchment-lined baking sheet and freeze until solid (about 1 hour). Transfer to a freezer-safe bag or container. They’ll keep for up to 3 months.
- Room temperature: These can sit out for a few hours, but they’ll soften. If you’re taking them to a party or picnic, keep them in a cooler if possible.
Reheating tip: You don’t need to reheat these — they’re meant to be eaten cold. But if you prefer a softer texture, let them sit at room temperature for 10-15 minutes before eating.
One thing I love about this recipe is how the flavors develop over time. The first day, they’re good. But after 24 hours in the fridge? They’re incredible. The oats soften slightly, the flavors meld together, and every bite tastes more balanced. If you can resist eating them all on day one, you’re in for a treat.
Nutritional Information & Benefits
Here’s the approximate nutritional breakdown for one protein ball (based on 14 servings):
| Nutrient | Amount per ball |
|---|---|
| Calories | 145 |
| Protein | 7g |
| Carbohydrates | 18g |
| Fiber | 3g |
| Sugar | 10g |
| Fat | 7g |
Note: These values are estimates and will vary based on your specific ingredients and portion sizes.
Health benefits: Oats provide sustained energy and heart-healthy fiber. Peanut butter offers plant-based protein and healthy monounsaturated fats. Dark chocolate chips contain antioxidants that support heart health. And the protein powder helps with muscle recovery and keeps you feeling full longer.
Dietary considerations: This recipe is naturally vegetarian. It can be made vegan, gluten-free, nut-free, and dairy-free with simple substitutions. Always check labels if you have specific allergies or dietary restrictions.
From my perspective, these protein balls strike the perfect balance between indulgence and nutrition. They satisfy my sweet tooth while actually nourishing my body. That’s a win-win in my book.
FAQs
Can I make these without protein powder?
Absolutely! You can substitute the protein powder with an equal amount of oat flour, almond flour, or even additional oats. Just know the protein content will be lower and the texture may be slightly different.
Why are my protein balls too dry?
This usually happens if your peanut butter is too thick or if you measured the oats generously. Add a tablespoon of honey or a splash of milk to bring the mixture together. If it’s still too dry, add another tablespoon of peanut butter.
Why are my protein balls too sticky?
Too much honey or runny peanut butter is usually the culprit. Add a tablespoon more oats or protein powder to absorb the excess moisture. Also, try wetting your hands before rolling — it helps tremendously.
How long do these protein balls last?
In the refrigerator, they’ll stay fresh for up to 2 weeks. In the freezer, they’ll keep for up to 3 months. I’ve never had a batch last that long though — they’re usually gone within a week!
Can I use different nut butters?
Yes! Almond butter, cashew butter, or sunflower seed butter all work well. Just note that different nut butters have different consistencies, so you may need to adjust the liquid ingredients slightly.
Conclusion
These easy no-bake chocolate peanut butter protein balls have become a staple in my kitchen for good reason. They’re quick, simple, and incredibly satisfying. Whether you need a post-workout snack, a lunchbox treat, or just something to get you through the afternoon slump, these little balls of goodness deliver every time.
I love how forgiving this recipe is — you can swap ingredients, adjust sweetness, and customize it to your heart’s content without worrying about ruining it. That’s the beauty of no-bake recipes. They’re practically foolproof.
So go ahead and give these a try. Mix them up on a Sunday afternoon, stash them in your fridge, and enjoy them all week long. And when you do, I’d love to hear how they turned out. Leave a comment below and let me know if you tried any fun variations. Did you add coconut? Use almond butter? Make them vegan? I’m always looking for new ideas!
Happy rolling, friends. Here’s to simple snacks that make life a little bit sweeter — and a whole lot easier.
Pin This Recipe!
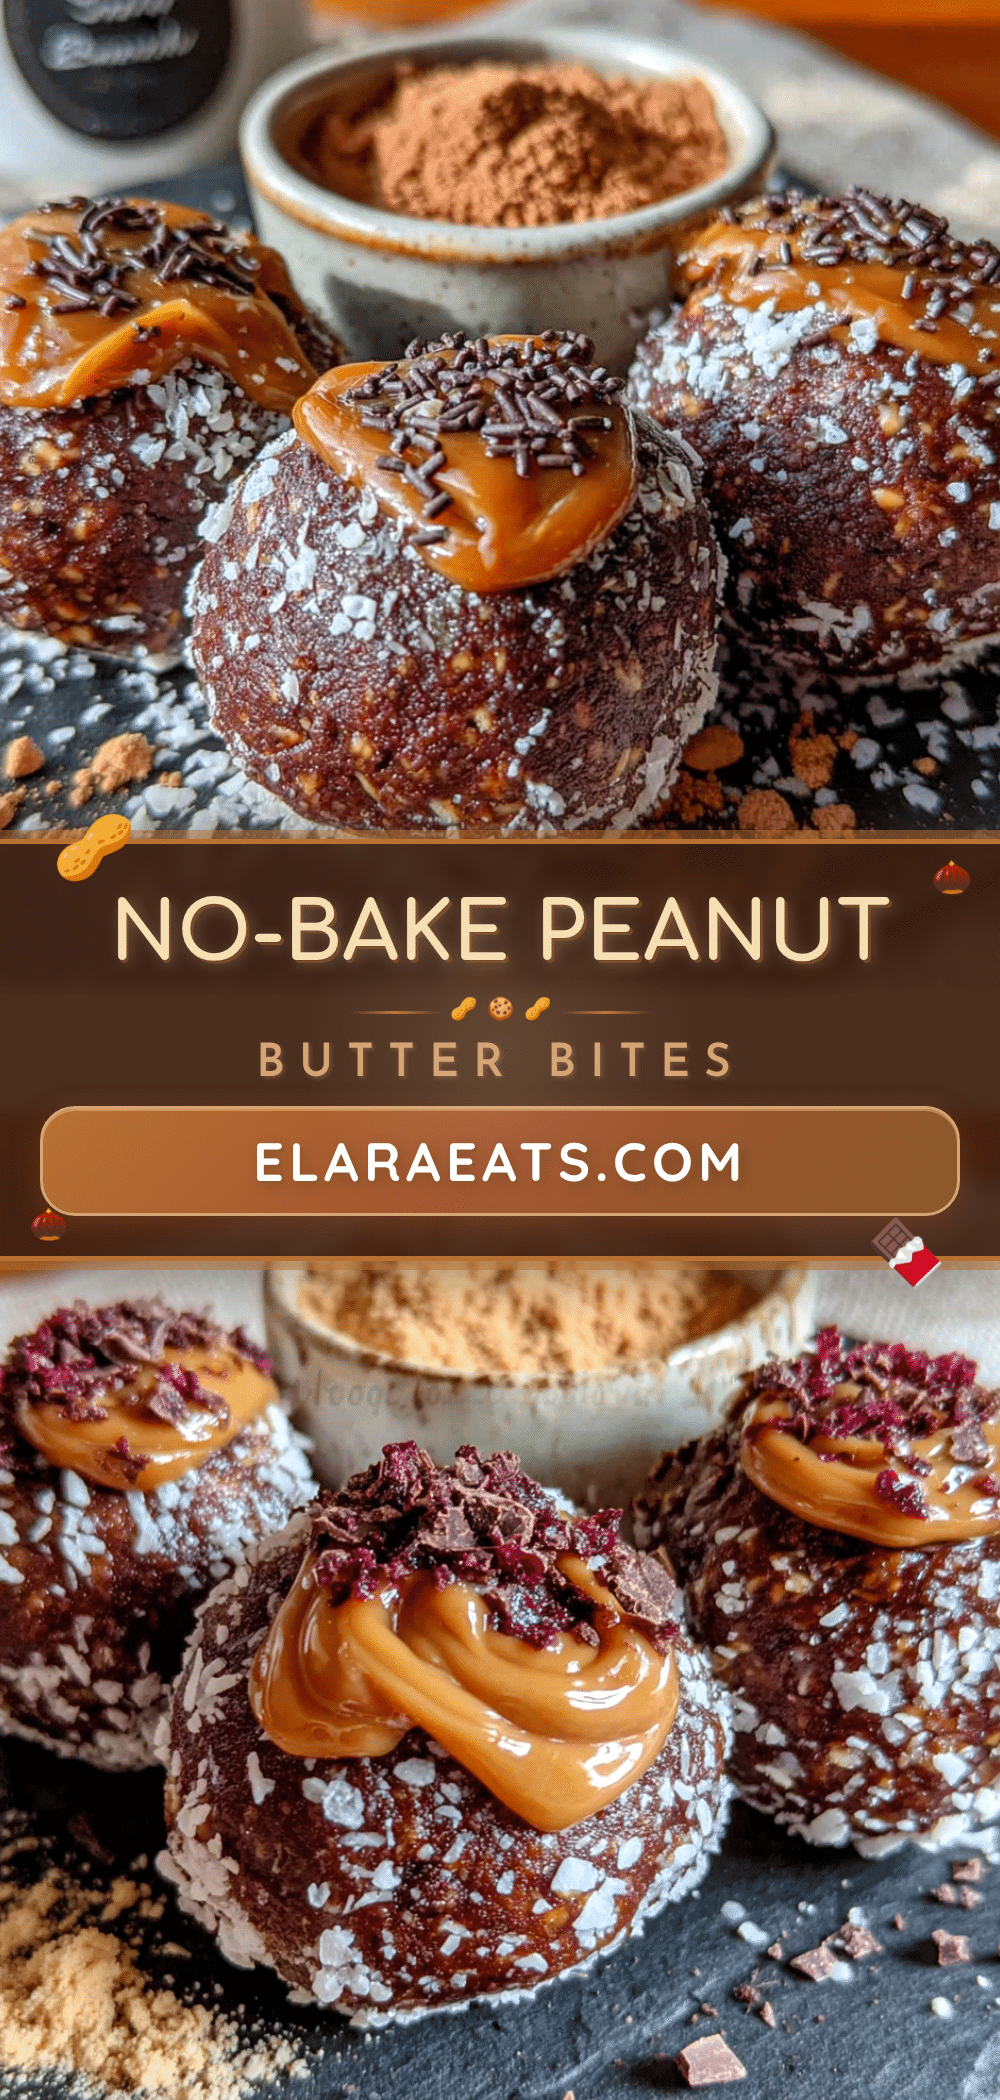
Easy No-Bake Chocolate Peanut Butter Protein Balls: 5-Ingredient Recipe

These easy no-bake chocolate peanut butter protein balls come together in under 15 minutes with just five simple ingredients. Perfect for busy weeks, they’re a healthy, satisfying snack that tastes like a treat.
- Prep Time: 15 minutes
- Cook Time: 0 minutes
- Total Time: 45 minutes (includes 30 minutes chilling)
- Yield: 12-15 balls 1x
- Category: Snack
- Cuisine: American
Ingredients
- 1 cup old-fashioned rolled oats (use certified gluten-free oats if needed)
- 1/2 cup creamy peanut butter (natural, no added sugar)
- 1/3 cup honey (or maple syrup for vegan)
- 1/4 cup chocolate protein powder
- 1/3 cup mini chocolate chips (dark or semi-sweet)
Instructions
- Combine the dry ingredients: In a large mixing bowl, add 1 cup rolled oats, 1/4 cup chocolate protein powder, and 1/3 cup mini chocolate chips. Stir together until evenly distributed.
- Add the wet ingredients: Add 1/2 cup creamy peanut butter and 1/3 cup honey to the bowl. Stir until combined; mixture will seem dry and crumbly at first.
- Mix thoroughly: Stir everything together until no dry spots remain, about 2-3 minutes. The mixture should form a thick, slightly sticky dough. If too dry, add a teaspoon of honey or splash of milk; if too wet, add a tablespoon more oats.
- Let it rest: Let the mixture sit for 5-10 minutes before rolling. This allows the oats to absorb moisture, making the balls easier to shape.
- Line your baking sheet: While the mixture rests, line a baking sheet or large plate with parchment paper or wax paper.
- Roll into balls: Using a small cookie scoop or tablespoon, scoop out portions and roll between your palms to form smooth 1-inch balls. You should get 12-15 balls.
- Place on prepared sheet: Place each ball on the parchment-lined sheet, leaving a little space between them.
- Chill to set: Refrigerate the protein balls for at least 30 minutes before serving. This firms them up and develops the perfect chewy texture.
- Store properly: Transfer chilled balls to an airtight container. Keep in the refrigerator for up to two weeks, or freeze for longer storage.
Notes
For best texture, use natural peanut butter (stir well before measuring). Let mixture rest before rolling. Wet hands slightly with cold water to prevent sticking. Chilling is essential for flavor and texture development.
Nutrition
- Serving Size: 1 ball
- Calories: 145
- Sugar: 10
- Sodium: 50
- Fat: 7
- Saturated Fat: 2
- Carbohydrates: 18
- Fiber: 3
- Protein: 7
Keywords: no-bake protein balls, chocolate peanut butter protein balls, healthy snack, 5-ingredient recipe, easy protein balls, meal prep snack


