Love this? Save it for later!
Share the inspiration with your friends
“I wasn’t expecting much when I volunteered to pack lunch for my nephew’s school trip,” I remember telling myself. It was a hectic Thursday morning, and I had barely a moment to think, let alone prepare anything fancy. But then, while rummaging through the pantry, I stumbled upon some cheese slices, crackers, and a jar of olives. I threw them together in a small container, added a few grapes, and called it a day. To my surprise, the next afternoon, my sister sent a photo of my nephew grinning from ear to ear with his homemade lunchbox. Turns out, the simple, DIY lunchables I made were a total hit with the kids. Honestly, that little impromptu lunch was a game changer for me.
Maybe you’ve been there—racing against time to find something both appealing to kids and budget-friendly. Let me tell you, making your own Easy DIY Lunchables kids love is not only doable but actually fun once you get the hang of it. No more mystery meat or overpriced plastic trays. Instead, you get control over ingredients, flavors, and nutrition without breaking the bank.
This post is all about sharing five homemade lunchable recipes that are cheaper, tastier, and way more wholesome than their store-bought counterparts. They’re perfect for busy mornings, picky eaters, and anyone wanting to add a little homemade love to lunchtime. So, let’s get cooking—and packing—because these DIY lunchables really stick with you (and your little ones!).
Why You’ll Love This Recipe
After testing countless combinations in my own kitchen (and surviving a few “that won’t work” moments), I’m confident these Easy DIY Lunchables kids love will become your go-to. Here’s why:
- Quick & Easy: Each lunchable comes together in under 15 minutes—no chef skills required, just a little prep.
- Simple Ingredients: You likely have everything on hand already—no last-minute grocery trips or fancy items.
- Perfect for School or Picnics: These pack well and are great for any lunch occasion, from classroom to park outings.
- Crowd-Pleaser: Kids love the mix-and-match style—whether they’re into cheese, crackers, or sweet treats.
- Unbelievably Delicious: The flavors pop, textures satisfy, and the freshness beats any boxed option hands down.
What sets these apart? It’s the little things—like cutting the cheese into fun shapes, mixing dips with herbs, or adding seasonal fruits that keep flavors interesting. These DIY lunchables aren’t just a lunch; they’re a tiny adventure on a plate. Plus, making them yourself means you control what goes in—say goodbye to preservatives and hello to wholesome goodness.
Honestly, after making these a few times, I found myself looking forward to packing lunches. It’s a small way to show care and make lunchtime exciting for the kids without any stress. You’ll see.
What Ingredients You Will Need
This recipe uses simple, wholesome ingredients to deliver bold flavor and satisfying texture without the fuss. Most items are pantry staples or easy to find fresh at your local market. Feel free to swap or customize based on what your kids prefer.
- For the Cheese & Protein:
- Cheddar cheese slices (I prefer Tillamook for flavor and meltability)
- Turkey or ham deli slices (look for low-sodium, nitrate-free options)
- Hard-boiled eggs, peeled and halved (adds protein punch)
- String cheese sticks (a fun finger food)
- For the Crackers & Bread:
- Whole grain crackers (look for lightly salted, like Triscuit or Wheat Thins)
- Mini pita pockets or sandwich bread slices (cut into fun shapes)
- Rice cakes (for a gluten-free option)
- For Fruits & Veggies:
- Seedless grapes or apple slices (tossed in lemon juice to prevent browning)
- Baby carrots or cucumber sticks
- Cherry tomatoes (halved for safety)
- Snap peas or bell pepper strips
- For Dips & Extras:
- Hummus (I like Sabra classic for smooth texture)
- Ranch dressing or Greek yogurt dip (mixed with herbs)
- Olives or pickles (adds a tangy twist)
- Mini chocolate chips or dried cranberries (for a sweet finish)
Pro tip: When buying deli meats, ask for freshly sliced at the counter. It makes a noticeable difference in taste and freshness. Also, seasonal fruits like peaches or berries can replace grapes for a summery spin.
Equipment Needed
- Lunch containers with compartments (bento boxes work great for organizing)
- Sharp kitchen knife (for slicing fruits, veggies, and cheese)
- Cutting board (preferably one for fruits and one for meats to avoid cross-contamination)
- Small silicone muffin cups or ramekins (to hold dips and small extras)
- Measuring spoons (for portioning dips)
- Egg slicer (optional, but makes quick work of hard-boiled eggs)
I’ve tried everything from cheap plastic containers to fancy lunchboxes, and honestly, a good bento-style box with tight seals is worth the investment. It keeps everything fresh and prevents spills. If you’re on a budget, reusable sandwich bags or small Tupperwares can do the trick, but watch out for crushed crackers!
Preparation Method
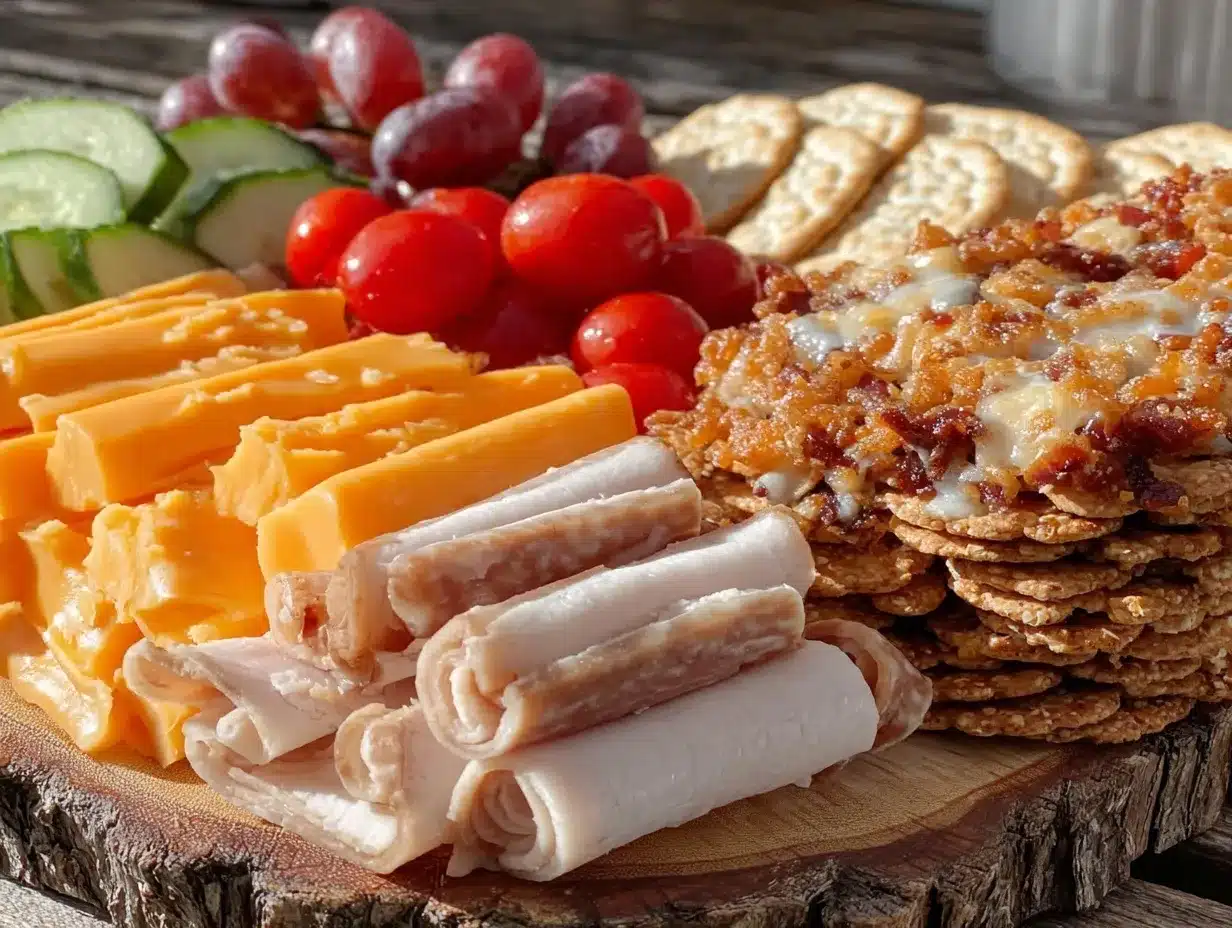
- Prepare proteins and cheese: Slice cheese into bite-sized pieces or fun shapes using cookie cutters (about 5 minutes). Arrange deli meat slices folded or rolled for easy grabbing.
- Cook and peel eggs: Hard-boil eggs by placing in boiling water for 10 minutes, then cool in ice water. Peel and slice just before packing to keep fresh (takes 15 minutes but can be done ahead).
- Wash and prep produce: Rinse grapes, cherry tomatoes, and snap peas under cold water. Slice apples and toss with a little lemon juice to prevent browning (about 10 minutes). Cut carrots and cucumbers into sticks.
- Portion crackers and bread: Select whole grain crackers or cut mini sandwich bread into small squares (3-4 minutes). Arrange neatly to prevent crushing.
- Fill dipping cups: Spoon hummus, ranch, or yogurt dip into silicone cups (2 minutes). This keeps the dip separate and prevents sogginess.
- Assemble lunchable: Place each item into compartments or sections of your lunch container. Make sure to balance colors and textures — kids eat with their eyes first! (5 minutes)
- Final touches: Add a small sweet treat like mini chocolate chips or dried cranberries in a separate section. Seal the container tightly.
If you’re pressed for time, prepping ingredients in bulk on a Sunday (like boiled eggs or pre-cut veggies) makes weekday assembly a breeze. Also, watch out for moisture—pat dry any wet fruits or veggies to keep crackers crisp.
Cooking Tips & Techniques
One thing I learned quickly is that presentation matters—a lot. Kids are way more likely to eat something that looks fun and colorful. Try using small cookie cutters to shape cheese or sandwich bread into stars, hearts, or animals. It’s silly but works wonders.
Don’t underestimate the power of texture variety. Mixing crunchy crackers with soft cheese and crisp veggies keeps things interesting. Also, keep dips separate until lunchtime to avoid soggy messes. Using silicone cups or tiny containers helps with this.
Sometimes, it’s tempting to pile everything in one compartment, but trust me, spacing out ingredients prevents flavors from muddling together. It also helps kids choose what to eat first without overwhelming them.
Be mindful of allergies or sensitivities. If your kiddo is gluten-free, swap crackers for rice cakes or veggie sticks. For dairy-free options, try hummus or nut butters instead of cheese. These little swaps make a big difference.
I’ve had my share of lunchbox fails—forgotten lids, crushed crackers, and mystery spills. Investing in a sturdy container with tight seals made all the difference. Plus, teaching kids to open and close their lunchboxes carefully helps avoid disaster!
Variations & Adaptations
These DIY lunchables are super adaptable, so feel free to get creative depending on your kid’s tastes or dietary needs.
- Gluten-Free Version: Use rice cakes or gluten-free crackers and swap deli meats for grilled chicken strips or turkey slices without additives.
- Vegetarian Option: Replace meat with marinated tofu cubes, chickpea salad, or extra cheese varieties. Add colorful veggies like roasted red peppers or avocado slices.
- Seasonal Twists: Incorporate fresh seasonal fruits—like juicy watermelon chunks in summer or crisp apple slices in fall. Swap dips for pumpkin hummus or cranberry yogurt dip to keep things exciting.
- Spicy Kick: Add a little mild salsa or sprinkle some paprika on cheese for kids who like a tiny bit of heat.
- Personal Favorite Variation: I once made a Mediterranean-inspired lunchable with pita, feta, olives, cucumber slices, and tzatziki dip. It was a big hit during a picnic and felt fancy but was still super simple.
Serving & Storage Suggestions
These Easy DIY Lunchables kids love are best served chilled but can sit safely at room temperature for a few hours, making them perfect for school or outings. Pack the lunchbox in a cooler bag with an ice pack during warmer months.
Pair the lunchables with a small water bottle or 100% fruit juice to keep hydration fun and healthy. For a balanced meal, add a side of fresh fruit salad or homemade smoothie.
Leftovers can be stored in the fridge for up to 24 hours, but crackers and bread are best packed fresh to avoid sogginess. If you’re prepping ahead, keep components separate and assemble just before serving.
Reheating isn’t necessary for most items here, but if your kids prefer warm dips, a quick microwave zap (about 15 seconds) works well. Just be careful not to overheat cheese or crackers.
Flavors often develop nicely overnight—think of hummus soaking into crispy veggies or fruit juices mingling. So, if your child likes a bit of marinated taste, prepping the night before can add a tasty twist.
Nutritional Information & Benefits
This recipe offers a balanced mix of protein, healthy fats, and carbohydrates, perfect for keeping kids energized through the afternoon. Cheese and deli meats provide calcium and protein essential for growing bones and muscles. Fresh fruits and veggies add fiber, vitamins, and antioxidants.
Choosing whole grain crackers or bread boosts fiber intake, supporting digestion. Hummus or Greek yogurt dips contribute probiotics and healthy fats. Plus, you can customize each lunch to fit dietary needs like gluten-free or vegetarian.
Keep in mind any allergies—common ones here include dairy, gluten, and nuts. Always read labels carefully, especially on processed items. From a wellness perspective, these DIY lunchables strike a nice balance between convenience and nutrition, making lunchtime both fun and nourishing.
Conclusion
Making Easy DIY Lunchables kids love has been one of those surprisingly satisfying kitchen wins. It’s simple, budget-friendly, and kids genuinely enjoy the variety and freshness. You get the best of both worlds—control over what goes in, and a lunchbox that’s actually exciting to open.
Feel free to tweak these recipes to suit your family’s tastes or dietary needs. Maybe your kid prefers more fruit, or you want to sneak in some extra veggies. That’s the beauty of these homemade lunchables—they’re flexible, forgiving, and fun.
I hope you’ll try these recipes and share your own twists in the comments. There’s something special about packing a lunch with love and a bit of creativity, and I’m rooting for you to make lunchtime a highlight of the day!
FAQs
Can I make these DIY lunchables ahead of time?
Yes! You can prep ingredients like boiled eggs and cut fruits a day in advance. Just keep crackers and bread separate until packing to avoid sogginess.
What are some good dairy-free substitutes?
Try hummus, nut butters, or avocado slices instead of cheese. For dips, coconut yogurt mixed with herbs works well as a creamy alternative.
How do I keep the crackers from getting soggy?
Use separate compartments or small containers for dips, and pack crackers last. Avoid placing wet fruits or veggies directly next to crunchy items.
What if my child is a picky eater?
Keep it simple with familiar favorites and small portions. Let kids help assemble their lunchables to increase excitement and ownership.
Are these lunchables suitable for school lunches?
Absolutely! They’re great for school because they’re easy to eat, pack well, and use safe, kid-friendly ingredients.
Pin This Recipe!
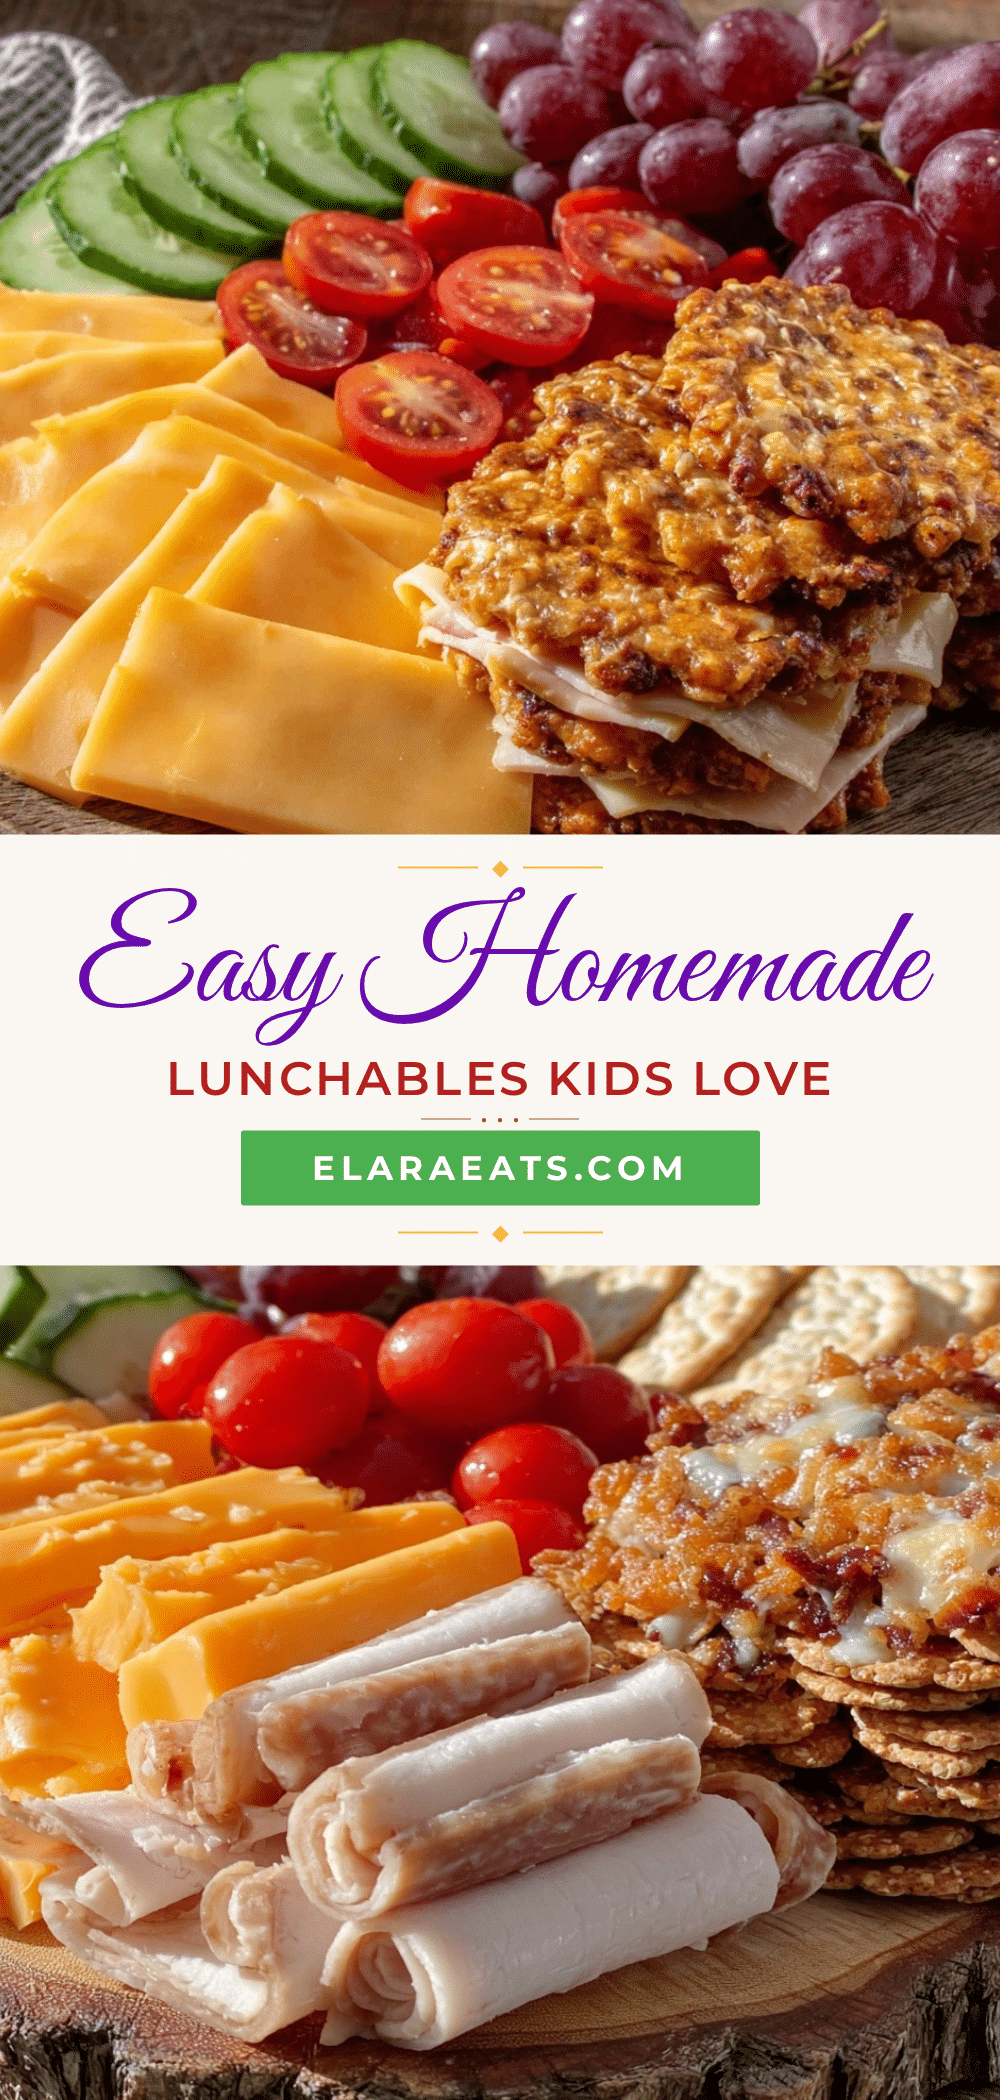
Easy DIY Lunchables Kids Love 5 Homemade Recipes Cheaper and Tasty

A collection of five simple, wholesome, and budget-friendly homemade lunchable recipes that kids love, perfect for school or picnics. These DIY lunchables are quick to prepare, customizable, and healthier alternatives to store-bought options.
- Prep Time: 15 minutes
- Cook Time: 10 minutes
- Total Time: 25 minutes
- Yield: 1 lunchbox serving
- Category: Lunch
- Cuisine: American
Ingredients
- Cheddar cheese slices (preferably Tillamook)
- Turkey or ham deli slices (low-sodium, nitrate-free)
- Hard-boiled eggs, peeled and halved
- String cheese sticks
- Whole grain crackers (lightly salted, e.g., Triscuit or Wheat Thins)
- Mini pita pockets or sandwich bread slices (cut into fun shapes)
- Rice cakes (gluten-free option)
- Seedless grapes or apple slices (tossed in lemon juice to prevent browning)
- Baby carrots or cucumber sticks
- Cherry tomatoes (halved)
- Snap peas or bell pepper strips
- Hummus (e.g., Sabra classic)
- Ranch dressing or Greek yogurt dip (mixed with herbs)
- Olives or pickles
- Mini chocolate chips or dried cranberries
Instructions
- Slice cheese into bite-sized pieces or fun shapes using cookie cutters (about 5 minutes). Arrange deli meat slices folded or rolled for easy grabbing.
- Hard-boil eggs by placing in boiling water for 10 minutes, then cool in ice water. Peel and slice just before packing to keep fresh (takes 15 minutes but can be done ahead).
- Rinse grapes, cherry tomatoes, and snap peas under cold water. Slice apples and toss with a little lemon juice to prevent browning (about 10 minutes). Cut carrots and cucumbers into sticks.
- Select whole grain crackers or cut mini sandwich bread into small squares (3-4 minutes). Arrange neatly to prevent crushing.
- Spoon hummus, ranch, or yogurt dip into silicone cups (2 minutes) to keep dips separate and prevent sogginess.
- Place each item into compartments or sections of your lunch container, balancing colors and textures (5 minutes).
- Add a small sweet treat like mini chocolate chips or dried cranberries in a separate section. Seal the container tightly.
Notes
Prep ingredients like boiled eggs and cut fruits a day ahead for quicker assembly. Keep crackers and bread separate until packing to avoid sogginess. Use cookie cutters to make fun shapes to increase kids’ interest. Keep dips separate until lunchtime using small containers. For gluten-free, use rice cakes or gluten-free crackers and swap deli meats for grilled chicken or turkey without additives. For dairy-free, substitute cheese with hummus, nut butters, or avocado slices. Store leftovers in the fridge up to 24 hours; crackers and bread are best fresh. Serve chilled or at room temperature for a few hours. Reheat dips briefly if desired.
Nutrition
- Serving Size: One lunchbox serving
- Calories: 350
- Sugar: 6
- Sodium: 450
- Fat: 18
- Saturated Fat: 7
- Carbohydrates: 28
- Fiber: 4
- Protein: 15
Keywords: DIY lunchables, homemade lunchables, kids lunch, school lunch, easy lunch recipes, healthy lunch, budget-friendly lunch, kid-friendly lunch


