Love this? Save it for later!
Share the inspiration with your friends
Three winters ago, the power went out halfway through my usual dinner prep, and honestly, I was scrambling. I had planned to make a fancy stir-fry, but with the oven off and limited options, I turned to the pantry and freezer for a quick fix. That’s when I stumbled on a forgotten bag of leftover jasmine rice from a week ago. You know that feeling when you want something comforting but don’t want to order takeout again? Yeah, that night was exactly that.
I tossed the rice with a few odds and ends — some frozen peas, eggs, scallions — and just winged it in my cast-iron skillet. The sizzle when the rice hit the hot pan was the only soundtrack that night, and by the time the lights flickered back on, I had a crispy, golden crust forming underneath that rice. It wasn’t just good; it was better than any takeout fried rice I’d ever had. The secret? That irresistible crunch that you usually only get at a restaurant.
Maybe you’ve been there, staring into a half-empty fridge, wishing for a takeout replacement that doesn’t taste like reheated leftovers. Honestly, this crispy restaurant-style fried rice recipe has stayed with me because it’s easy, fast, and hits that perfect balance between crispy and tender every time. Plus, it’s flexible — you can swap in whatever veggies or protein you have at hand.
Let me tell you, the first time I served this to friends, they were convinced I’d spent hours mastering some secret technique. Nope — just a happy accident on a random Tuesday night that turned into my go-to recipe. If you’re ready to make fried rice that’s better than takeout (and crispy just like the pros do), you’re in the right place.
Why You’ll Love This Crispy Restaurant-Style Fried Rice Recipe
After countless trials and some kitchen messes (yes, I spilled soy sauce twice), this fried rice recipe stands out because it’s both approachable and seriously tasty. Here’s why it’s become a staple in my cooking rotation:
- Quick & Easy: Ready in under 25 minutes, making it perfect for busy weeknights or last-minute cravings.
- Simple Ingredients: Uses common pantry staples—no need for fancy trips to specialty stores.
- Perfect for Any Occasion: Whether you want a cozy solo dinner or a crowd-pleasing side for potlucks, this recipe fits the bill.
- Crowd-Pleaser: Kids and adults alike rave about the crunchy texture and savory flavor combo.
- Unbelievably Delicious: The crispy bottom layer and fluffy grains create a texture contrast that feels indulgent without being heavy.
This isn’t just any fried rice recipe. The key difference? The technique of pressing the rice into the pan just right to get that coveted crust, plus the perfect seasoning balance—think a touch of oyster sauce, toasted sesame oil, and fresh scallions. My twist on the classic makes this one a standout on any menu.
It’s comfort food reimagined — quick, fuss-free, with the same soul-soothing satisfaction you want after a long day. Plus, you don’t have to worry about MSG or preservatives, unlike most takeout versions. Honestly, once you try this recipe, you might just toss those takeout menus for good.
What Ingredients You Will Need
This recipe uses straightforward, wholesome ingredients to deliver bold flavor and satisfying texture without much fuss. Most are pantry staples, and you can easily swap or skip a few depending on what you have on hand.
- For the Rice Base:
- 3 cups cooked jasmine rice (preferably day-old and refrigerated; about 600g) — this helps keep the grains separate and perfect for crisping
- 2 tablespoons vegetable oil (neutral flavor, great for high-heat frying)
- For the Protein & Veggies:
- 2 large eggs, lightly beaten (adds richness and protein)
- 1/2 cup frozen peas (about 75g), thawed
- 1/2 cup diced carrots (about 60g), finely chopped for even cooking
- 1/4 cup chopped scallions (white and green parts separated)
- Optional: 1 cup cooked chicken, shrimp, or tofu (cubed or shredded)
- For the Seasoning:
- 2 tablespoons soy sauce (I prefer Kikkoman for its balanced flavor)
- 1 tablespoon oyster sauce (adds umami depth; skip or substitute with mushroom sauce for vegetarians)
- 1 teaspoon toasted sesame oil (for that signature nutty aroma)
- 1/2 teaspoon freshly ground black pepper
- Extras & Garnish:
- 1 clove garlic, minced (aromatic kick)
- 1 teaspoon grated ginger (optional, for a fresh zing)
- Optional chili flakes or sriracha for heat
Pro tip: If you don’t have day-old rice, spread freshly cooked rice on a tray to cool and dry slightly before frying. This little step saves you from mushy fried rice every time.
Equipment Needed
- Large non-stick skillet or wok: A wok is ideal for even heat distribution, but a heavy-bottomed skillet works just fine. I often use a 12-inch cast iron skillet because it holds heat well and helps form that crispy crust.
- Spatula or wooden spoon: For stirring and scraping the rice without damaging the pan.
- Mixing bowl: To beat eggs and toss ingredients.
- Measuring spoons and cups: For accurate seasoning—trust me, it makes a difference.
- Optional: Rice cooker: Makes cooking the rice foolproof, but stovetop rice works great too.
If you’re budget-conscious, a well-seasoned cast iron pan is a versatile tool that can handle fried rice and lots more. Just remember to avoid soap when cleaning to keep the seasoning intact. For those without a wok, a large skillet with a lid can help steam the rice briefly if needed.
Preparation Method
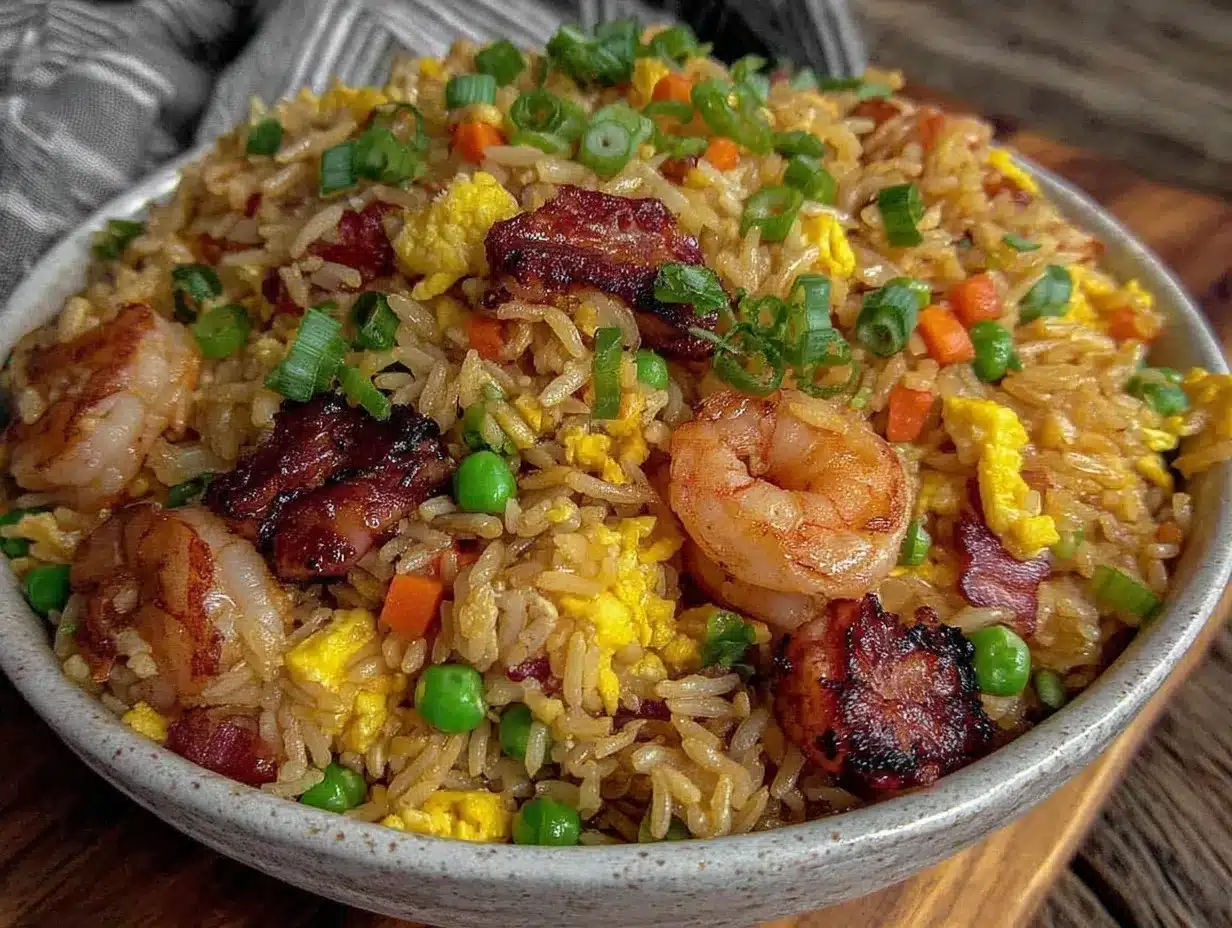
- Prepare your rice: Use cold, day-old jasmine rice (3 cups or 600g). If freshly cooked, spread it on a baking sheet and chill for at least 30 minutes to remove moisture and prevent clumping.
- Heat your pan: Place 2 tablespoons vegetable oil in your skillet or wok over medium-high heat. Let it get hot until shimmering—this is key for that signature crispy texture.
- Cook the eggs: Pour in the beaten 2 eggs and scramble gently until just set. Remove and set aside on a plate.
- Sauté aromatics and veggies: Add a little more oil if needed. Toss in minced garlic (1 clove) and grated ginger (1 teaspoon) for about 30 seconds until fragrant. Then add diced carrots (1/2 cup) and cook for 2-3 minutes until slightly tender. Stir in thawed peas (1/2 cup) and cook another minute.
- Add the rice: Increase heat to high. Add the rice in an even layer, pressing down gently with the spatula. Allow it to sit undisturbed for 2-3 minutes. You should start to hear a gentle sizzle and see golden crisping on the bottom.
- Flip and toss: Carefully flip sections of the rice to crisp the other side. This pressing and flipping process is what creates those coveted crispy bits. Repeat a couple of times for an even crust.
- Season the rice: Drizzle 2 tablespoons soy sauce, 1 tablespoon oyster sauce, and 1 teaspoon toasted sesame oil evenly over the rice. Stir thoroughly to coat every grain. Add black pepper (1/2 teaspoon) now for balanced seasoning.
- Return eggs and scallions: Fold the scrambled eggs and white parts of scallions into the rice. Cook for an additional minute to combine flavors.
- Optional protein: Stir in cooked chicken, shrimp, or tofu if using. Heat through for 2 minutes.
- Finish and garnish: Remove from heat and sprinkle green parts of scallions on top. Add chili flakes or sriracha if you like a little kick.
Note: If your rice seems sticky or clumpy, try breaking it apart gently with your fingers before frying. Also, avoid overcrowding your pan to ensure even crisping. Big batches? Cook in two smaller batches for best results.
Cooking Tips & Techniques for Perfect Crispy Fried Rice
- Use day-old rice: Freshly cooked rice is often too moist and sticky. Chilling it overnight dries it out, making the grains separate and easier to crisp.
- High heat is your friend: Cooking on medium-high to high heat allows the rice to fry instead of steam, creating that sought-after crunchy texture.
- Don’t stir too often: Let the rice sit to develop a crust, then flip it. Constant stirring prevents crispiness.
- Press down gently: Pressing the rice into the pan helps form a golden crust, like a fried rice “cake.”
- Use a heavy-bottomed pan: Cast iron or a wok distributes heat evenly, preventing hot spots and burning.
- Season at the right time: Add soy and oyster sauce after crisping starts so the rice absorbs flavor without getting soggy.
- Egg timing matters: Cooking eggs separately then folding in prevents rubbery texture and keeps the rice fluffy.
- Experiment with oil types: Vegetable oil gives a neutral base, but a small splash of peanut oil can add a lovely aroma.
From personal experience, rushing the crisping step leads to mushy rice. Patience is key! Also, I once forgot to separate the scallion whites and tossed them all in at once—flavor was good, but the texture wasn’t quite right. Little things like that make a difference.
Variations & Adaptations
- Vegetarian/Vegan: Omit eggs and oyster sauce. Use mushroom sauce or tamari and toss in tofu or extra veggies like bell peppers and snap peas.
- Low-Carb Version: Swap rice for cauliflower rice. Use the same technique but reduce cooking time since cauliflower softens faster.
- Protein Swaps: Try shrimp, diced pork, or leftover roast beef for different flavors. Just make sure the protein is pre-cooked.
- Seasonal Veggies: In summer, fresh corn and bell peppers add vibrant color and sweetness.
- Spicy Kick: Add chopped fresh chili or a drizzle of chili garlic sauce when seasoning for heat lovers.
Once, I made a batch with leftover duck and scallions — honestly, it was a game-changer. The richness of the duck paired perfectly with the crispy rice. Don’t be afraid to experiment with whatever you have!
Serving & Storage Suggestions
Serve this crispy restaurant-style fried rice hot from the pan, ideally straight onto warm plates to keep that crunch alive. It pairs wonderfully with simple sides like steamed bok choy or a fresh cucumber salad to balance the richness.
Leftovers? Store cooled fried rice in an airtight container in the fridge for up to 3 days. To reheat, spread the rice in a skillet over medium heat and press gently to revive some crispiness. Avoid microwaving if you want to keep the texture intact.
Flavor actually deepens after a day or two in the fridge, so if you can wait, the second-day fried rice might just taste even better. Just remember to add fresh scallions or herbs before serving to brighten it back up.
Nutritional Information & Benefits
This recipe offers a balanced mix of carbs, protein, and veggies, making it a satisfying meal. A typical serving (about 1 1/2 cups or 300g) contains approximately:
| Calories | 350-400 kcal |
|---|---|
| Protein | 12-15g (depending on added protein) |
| Carbohydrates | 50-55g |
| Fat | 10-12g |
| Fiber | 3-4g |
The key ingredients like garlic and ginger support digestion and immunity, while the peas and carrots add fiber and vitamins. Using sesame oil adds heart-healthy fats, and the eggs contribute quality protein.
This fried rice can fit nicely into a balanced diet, and easily be adapted for gluten-free needs by swapping soy sauce for tamari. Just keep an eye on oyster sauce if allergies are a concern.
Conclusion
If you’ve been hunting for a crispy restaurant-style fried rice recipe that’s easy, flavorful, and really beats takeout, this is it. The best part? You can customize it endlessly to suit your fridge and taste buds. I love how it comes together quickly with simple ingredients yet delivers that satisfying crunch and rich flavor that always impresses.
Honestly, it’s become my secret weapon for busy nights when I want something comforting without fuss. Give it a try, tweak it your way, and share how it turns out—I’d love to hear your favorite variations or tips.
Cooking is a journey, and this crispy fried rice is one recipe that always makes me feel right at home. So grab your skillet, and let’s get cooking!
FAQs About Crispy Restaurant-Style Fried Rice
Can I use freshly cooked rice instead of day-old rice?
Freshly cooked rice tends to be too moist and sticky, which makes it harder to get that crispy texture. If using fresh rice, spread it out on a tray to cool and dry for at least 30 minutes before frying.
How do I get the rice crispy without burning it?
Use medium-high heat and don’t stir constantly. Press the rice gently into the pan and let it sit undisturbed for a few minutes to form a crust, then flip or toss carefully.
Can I make this recipe vegetarian or vegan?
Yes! Skip the eggs and oyster sauce, and use mushroom sauce or soy sauce instead. Add tofu or extra veggies for protein and texture.
What’s the best oil for frying rice?
Vegetable oil or canola oil works well because of their neutral flavor and high smoke points. Adding a splash of toasted sesame oil at the end gives a nice aroma.
How long can I store leftover fried rice?
Store leftovers in an airtight container in the fridge for up to 3 days. Reheat in a skillet to bring back the crispiness rather than microwaving.
Pin This Recipe!
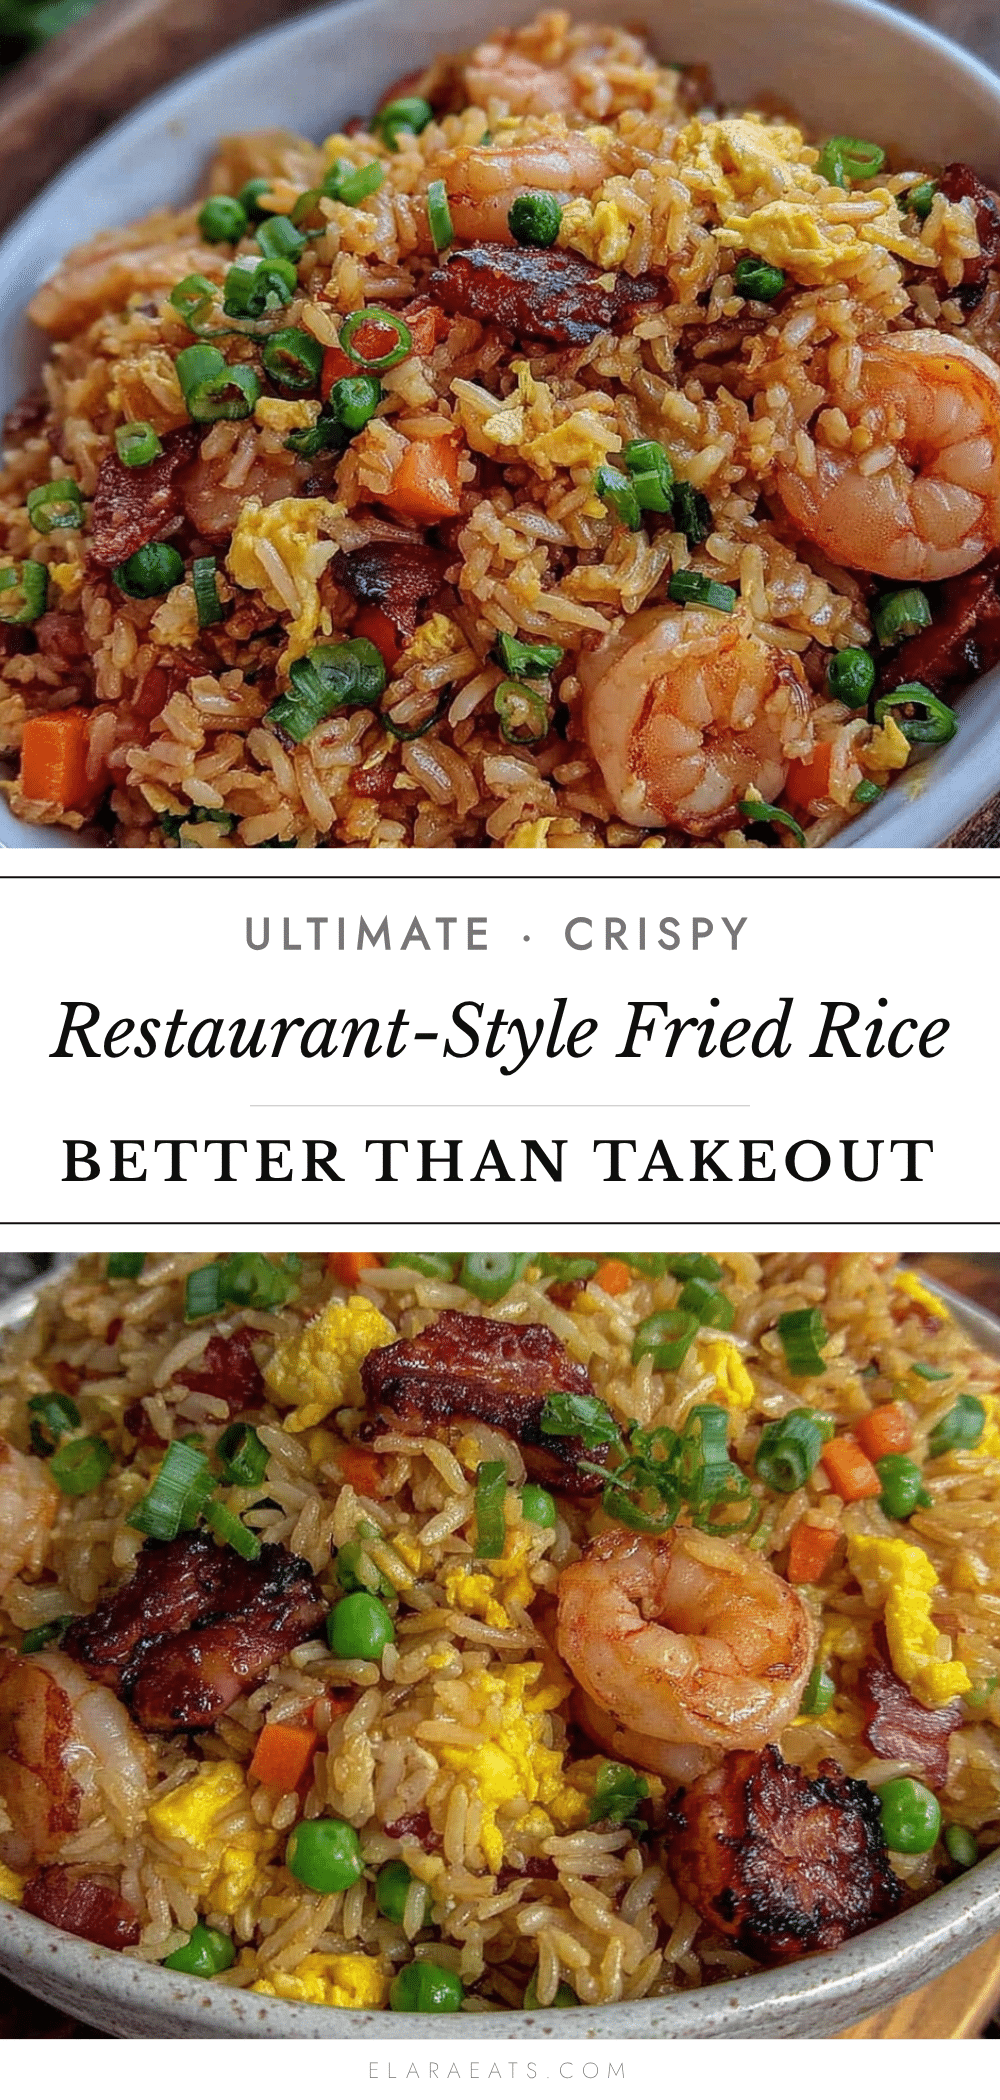
Crispy Restaurant-Style Fried Rice Recipe Easy Better Than Takeout

This crispy restaurant-style fried rice is quick, easy, and delivers a perfect balance of crispy and tender textures. It’s a comforting, flavorful dish that beats takeout and is highly customizable.
- Prep Time: 10 minutes
- Cook Time: 15 minutes
- Total Time: 25 minutes
- Yield: 4 servings 1x
- Category: Main Course
- Cuisine: Asian
Ingredients
- 3 cups cooked jasmine rice (preferably day-old and refrigerated; about 600g or 4.5 cups)
- 2 tablespoons vegetable oil
- 2 large eggs, lightly beaten
- 1/2 cup frozen peas (about 75g)
- 1/2 cup diced carrots (about 60g)
- 1/4 cup chopped scallions (white and green parts separated)
- Optional: 1 cup cooked chicken, shrimp, or tofu (cubed or shredded)
- 2 tablespoons soy sauce
- 1 tablespoon oyster sauce (or mushroom sauce for vegetarians)
- 1 teaspoon toasted sesame oil
- 1/2 teaspoon freshly ground black pepper
- 1 clove garlic, minced
- 1 teaspoon grated ginger (optional)
- Optional chili flakes or sriracha for heat
Instructions
- Use cold, day-old jasmine rice (3 cups or 600g). If freshly cooked, spread it on a baking sheet and chill for at least 30 minutes to remove moisture and prevent clumping.
- Place 2 tablespoons vegetable oil in your skillet or wok over medium-high heat. Let it get hot until shimmering.
- Pour in the beaten 2 eggs and scramble gently until just set. Remove and set aside on a plate.
- Add a little more oil if needed. Toss in minced garlic (1 clove) and grated ginger (1 teaspoon) for about 30 seconds until fragrant.
- Add diced carrots (1/2 cup) and cook for 2-3 minutes until slightly tender. Stir in thawed peas (1/2 cup) and cook another minute.
- Increase heat to high. Add the rice in an even layer, pressing down gently with the spatula. Allow it to sit undisturbed for 2-3 minutes to form a golden crust.
- Carefully flip sections of the rice to crisp the other side. Repeat a couple of times for an even crust.
- Drizzle 2 tablespoons soy sauce, 1 tablespoon oyster sauce, and 1 teaspoon toasted sesame oil evenly over the rice. Stir thoroughly to coat every grain. Add black pepper (1/2 teaspoon).
- Fold the scrambled eggs and white parts of scallions into the rice. Cook for an additional minute to combine flavors.
- If using, stir in cooked chicken, shrimp, or tofu. Heat through for 2 minutes.
- Remove from heat and sprinkle green parts of scallions on top. Add chili flakes or sriracha if desired.
Notes
Use day-old rice for best texture. If using fresh rice, cool and dry it before frying. Press rice gently into the pan and let it sit undisturbed to form a crispy crust. Avoid overcrowding the pan; cook in batches if needed. For vegetarian or vegan versions, omit eggs and oyster sauce and substitute with mushroom sauce or tamari. Reheat leftovers in a skillet to maintain crispiness.
Nutrition
- Serving Size: About 1 1/2 cups (30
- Calories: 350400
- Sugar: 35
- Sodium: 700900
- Fat: 1012
- Saturated Fat: 23
- Carbohydrates: 5055
- Fiber: 34
- Protein: 1215
Keywords: fried rice, crispy fried rice, restaurant-style fried rice, easy fried rice, takeout fried rice, jasmine rice, quick dinner, stir-fry


