Love this? Save it for later!
Share the inspiration with your friends
It was 11:47 PM on a completely unremarkable Wednesday, and I was hit with an urgent, borderline desperate craving for something sweet but not too crazy—a chewy homemade granola bar with chocolate chips. I didn’t have the usual fancy granola mix or that special nut butter I always reach for, but I did have a jar of honey, some rolled oats, and a half-forgotten bag of chocolate chips hiding in the back of the pantry. Honestly, the late hour unchained my creativity, and I tossed in a few oddball ingredients like a pinch of cinnamon and a splash of vanilla extract, improvising with whatever was on hand. You know that feeling when your brain just won’t shut off until you fix that craving? Yeah, that was me, covered in sticky honey and flour, with a cracked bowl that nearly sent the whole batch flying.
That night’s experiment turned out shockingly well—chewy, sweet, with just enough chocolate to make it feel like a treat but still wholesome enough to feel like I was doing myself a favor. Since then, these chewy homemade granola bars with chocolate chips have become my go-to late-night fix and the snack I stash for busy mornings. Maybe you’ve been there too—too tired to bake a full dessert but craving something homemade and comforting. Let me tell you, this recipe sticks with you, and it’s perfect for those weird, quiet hours when you just want a snack that feels like a hug in bar form.
Why You’ll Love This Recipe
After testing dozens of granola bar recipes, I can confidently say this chewy homemade granola bars with chocolate chips strikes the perfect balance between texture, flavor, and ease. I’ve made it for family breakfasts, packed it for hiking trips, and even whipped it up last-minute for unexpected guests. Here’s why it’s a keeper:
- Quick & Easy: Comes together in about 25 minutes, including baking—ideal for those busy or lazy days when you want a snack pronto.
- Simple Ingredients: No obscure pantry items needed; mostly staples like oats, honey, and chocolate chips that you probably already have lying around.
- Perfect for On-the-Go: Great for school lunches, work snacks, or a quick energy boost before a workout.
- Crowd-Pleaser: The chewy texture combined with melty chocolate chips never fails to get thumbs up, even from picky eaters.
- Unbelievably Delicious: The secret? Toasting the oats just right and using a sticky honey-oil binder for that signature chewiness—a little trick I picked up from a local baker’s workshop.
This isn’t your run-of-the-mill granola bar. The chocolate chips add just enough richness without overpowering the wholesome oats and nuts, and the chewiness makes them feel more like a treat than a health food. Honestly, I keep coming back to this recipe because it manages to be both comforting and satisfying, without the guilt. It’s the kind of snack that makes you pause mid-day and think, “Yep, this is exactly what I needed.”
What Ingredients You Will Need
This recipe uses straightforward, wholesome ingredients to create a chewy homemade granola bar with chocolate chips that’s both flavorful and satisfying. The ingredients are pantry staples, and you can swap a few based on what you have on hand.
- Rolled oats (2 cups / 180 g): The base of the bars; I prefer old-fashioned oats for the best texture.
- Light brown sugar (1/4 cup / 50 g): Adds caramel notes and helps with chewiness.
- Honey (1/3 cup / 113 g): Acts as a natural sweetener and binder—raw honey works great if you have it.
- Unsalted butter (1/4 cup / 57 g), melted: Provides richness and moisture.
- Vanilla extract (1 tsp): For that subtle warm aroma that complements the chocolate chips.
- Ground cinnamon (1/2 tsp): Optional but highly recommended for a hint of spice.
- Salt (1/4 tsp): Balances sweetness and enhances flavor.
- Mini chocolate chips (3/4 cup / 135 g): Choose semi-sweet or dark chocolate for the best melt and flavor contrast; Ghirardelli brand works beautifully.
- Chopped nuts (1/2 cup / 60 g): Optional; walnuts or almonds add crunch and depth.
If you want to make these gluten-free, just ensure the oats are certified gluten-free. For a dairy-free version, swap butter with coconut oil or a plant-based margarine. You can also replace brown sugar with coconut sugar for a slightly different sweetness profile.
Equipment Needed
- Mixing bowls (one large, one medium)
- Measuring cups and spoons for precise ingredient amounts
- Wooden spoon or silicone spatula for mixing
- Baking pan (8×8 inch / 20×20 cm) lined with parchment paper for easy removal
- Medium saucepan for melting butter and heating honey mixture
- Oven thermometer (optional) to ensure accurate baking temperature
- Sharp knife for cutting bars once cooled
If you don’t have parchment paper, lightly greasing the pan works, but I prefer parchment for less mess. I’ve also tried silicone baking mats, which work well but can sometimes make the bars slide around too much when cutting. For budget-friendly options, any sturdy metal or glass pan will do just fine.
Preparation Method
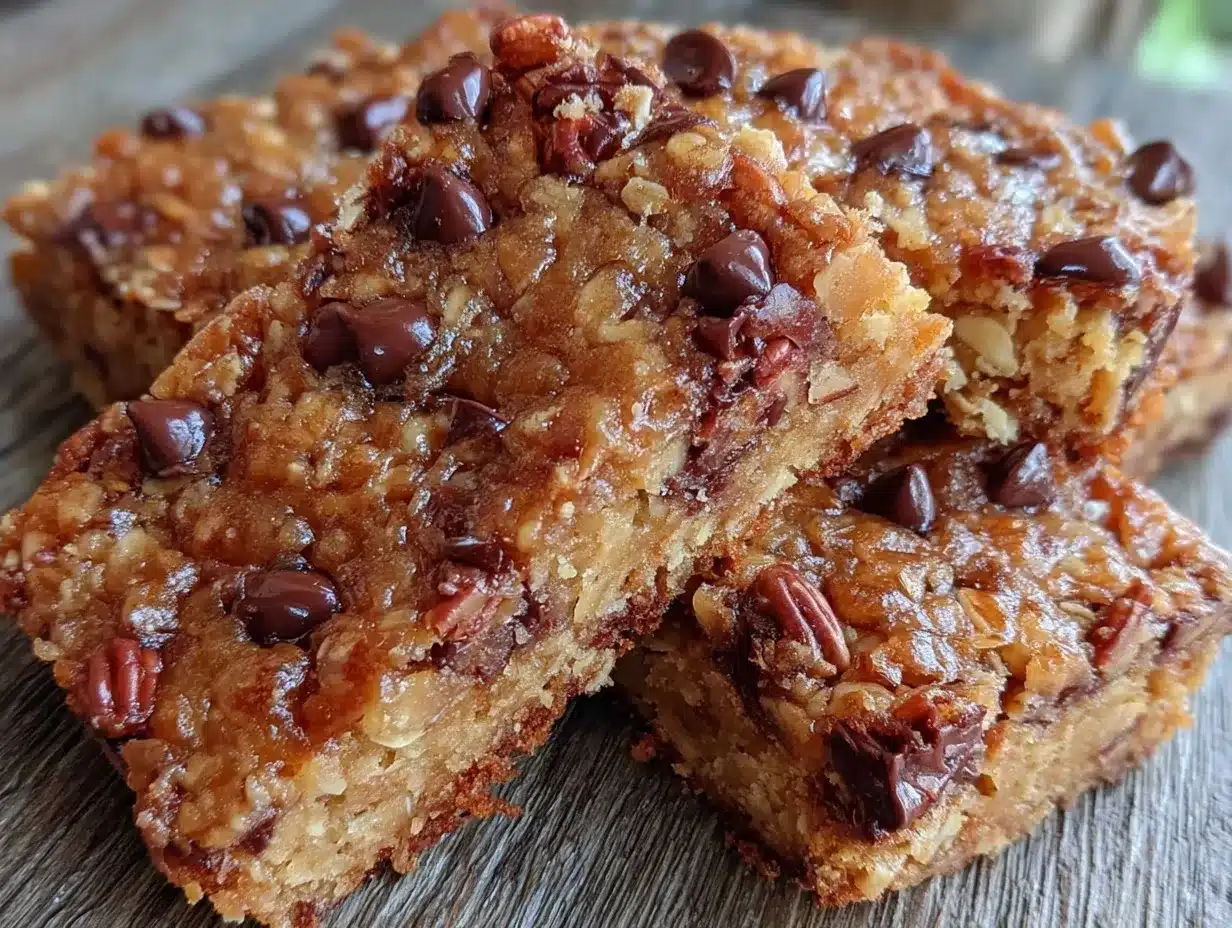
- Preheat your oven to 350°F (175°C). Line your 8×8 inch baking pan with parchment paper, leaving some overhang for easy removal later. This step usually takes about 10 minutes.
- Toast the oats: Spread the 2 cups of rolled oats evenly on a baking sheet and toast them in the oven for about 8–10 minutes, stirring halfway through. You want a light golden color and that warm, nutty aroma. This adds depth to the bars and is key to the chewy texture.
- Prepare the binding mixture: In a medium saucepan over low heat, melt the 1/4 cup unsalted butter. Stir in 1/4 cup light brown sugar, 1/3 cup honey, 1 teaspoon vanilla extract, 1/2 teaspoon ground cinnamon, and 1/4 teaspoon salt. Heat gently until the sugar dissolves and the mixture is smooth, about 3–4 minutes. Be careful not to boil it—just warm enough to combine everything.
- Mix dry and wet ingredients: In a large bowl, combine the toasted oats, optional chopped nuts, and 3/4 cup mini chocolate chips. Pour the warm butter-honey mixture over the oat mixture and stir quickly with a wooden spoon or silicone spatula until everything is evenly coated.
- Press mixture into the pan: Transfer the mixture into your prepared pan. Using a piece of parchment paper or a spatula, press it firmly and evenly into the pan to compact the bars. This step helps them hold together once baked.
- Bake for 15–18 minutes: Keep an eye on the edges—once they start turning golden brown and you catch that toasty smell, it’s ready. Don’t overbake; otherwise, the bars lose their chewiness and get too crunchy.
- Cool completely: Remove the pan from the oven and let it cool on a wire rack for at least 30 minutes. This is crucial because the bars will firm up as they cool. If you try to cut them too soon, they’ll crumble.
- Cut into bars: Using a sharp knife, slice into 8–10 bars depending on your preferred size. For cleaner cuts, wipe the knife between slices.
Pro tip: If you want an extra gooey chocolate hit, toss in a few extra chocolate chips on top right after pressing the mixture into the pan—melts beautifully during baking. Also, if your mixture feels too loose before baking, add a tablespoon or two of nut butter to help bind it better.
Cooking Tips & Techniques
Getting the perfect chew in homemade granola bars is all about controlling moisture and baking time. Here are some tips I’ve learned from trial and error:
- Don’t skip toasting the oats: It’s a small step but makes a huge difference in flavor and texture. Untoasted oats can make bars taste flat and feel mushy.
- Watch your oven temperature carefully: Even a slight overheating can turn your chewy bars into crunchy clusters. I recommend using an oven thermometer if your oven tends to run hot.
- Use mini chocolate chips: They melt just enough during baking but don’t pool into a chocolate mess. Larger chips or chunks can cause uneven texture.
- Press firmly but don’t pack too tight: Pressing the mixture evenly helps the bars hold together, but packing too tight can lead to dense, hard bars.
- Let them cool fully: This is the hardest part when you’re impatient, but cutting too early will cause crumbling. I once tried slicing bars right out of the oven—lesson learned the sticky, crumbly way!
- Multitasking tip: Toast oats while prepping the wet mixture to save time.
Variations & Adaptations
Chewy homemade granola bars with chocolate chips are incredibly flexible. Here are some ways to mix it up:
- Nut-Free: Omit the chopped nuts and add extra seeds like pumpkin or sunflower seed for crunch.
- Seasonal Twist: Swap chocolate chips for dried cranberries or chopped dried apricots in summer for a fruity punch.
- Protein Boost: Stir in a scoop of your favorite protein powder or add a tablespoon of chia seeds for added nutrition.
- Cooking Method Alternative: Instead of baking, try no-bake bars by refrigerating the mixture for several hours until firm—perfect for hot days.
- Flavor Variation: Add a pinch of espresso powder to deepen the chocolate flavor or a dash of orange zest for a citrus note.
I once tried swapping half the butter for natural peanut butter, and the result was a richer, slightly denser bar that disappeared faster than the original. It’s fun to experiment until you find your favorite combo.
Serving & Storage Suggestions
These chewy homemade granola bars with chocolate chips are best served at room temperature or slightly chilled. I love wrapping individual bars in parchment for grab-and-go snacks. Pair them with a cup of coffee or a refreshing glass of milk for a balanced treat.
To store, place bars in an airtight container. They keep well at room temperature for up to 5 days, but if your kitchen is warm, refrigerate them to keep the chocolate chips from melting. For longer storage, freeze the bars in a zip-top bag for up to 3 months—just thaw at room temperature for 15 minutes before eating.
Flavors often deepen after a day or two, so if you can wait (which, honestly, is hard), the bars taste even better the next day. I’ve noticed the texture softens slightly when refrigerated but remains satisfyingly chewy.
Nutritional Information & Benefits
Each granola bar (assuming 10 bars per batch) contains approximately:
| Calories | 190 |
|---|---|
| Protein | 3g |
| Fat | 7g |
| Carbohydrates | 28g |
| Fiber | 3g |
| Sugar | 14g |
Thanks to oats and nuts, these bars offer fiber and healthy fats, which help keep you full longer. Honey adds natural sweetness and trace antioxidants. If you swap out the butter for coconut oil, you can make them dairy-free. Just keep in mind the chocolate chips contain dairy and soy allergens, so choose dairy-free chips if needed.
Personally, I like to enjoy these bars as a balanced snack that satisfies sweet cravings without the junk of store-bought bars loaded with preservatives and artificial flavors. It’s comforting to know exactly what’s going in.
Conclusion
Chewy homemade granola bars with chocolate chips are the kind of snack that feels like a little homemade gift to yourself—simple, satisfying, and made from ingredients you can trust. Whether you’re packing a lunchbox, fueling a hike, or sneaking a late-night bite, these bars won’t let you down. Try customizing the recipe with your favorite nuts, seeds, or dried fruits to make it truly your own.
I love this recipe because it’s forgiving, quick, and always hits the spot—plus, it brings back memories of that sticky late-night kitchen adventure that turned into a lifelong favorite. If you give it a try, I’d love to hear what variations you create or how it fits into your snack routine. Share your thoughts and tweaks in the comments—let’s keep the snack love going!
Frequently Asked Questions
Can I make these granola bars gluten-free?
Yes! Just be sure to use certified gluten-free rolled oats to avoid cross-contamination.
How long do homemade granola bars last?
Stored in an airtight container at room temperature, they last about 5 days. In the fridge, up to 2 weeks, or freeze for up to 3 months.
Can I use maple syrup instead of honey?
Absolutely! Maple syrup works well as a natural sweetener and binder; just keep the same quantity.
Is it possible to make these bars vegan?
Yes, use dairy-free butter or coconut oil and vegan chocolate chips to make the recipe fully plant-based.
How do I prevent the bars from falling apart?
Press the mixture firmly into the pan before baking and allow the bars to cool completely before cutting. Adding a tablespoon of nut butter can also help with binding.
Pin This Recipe!
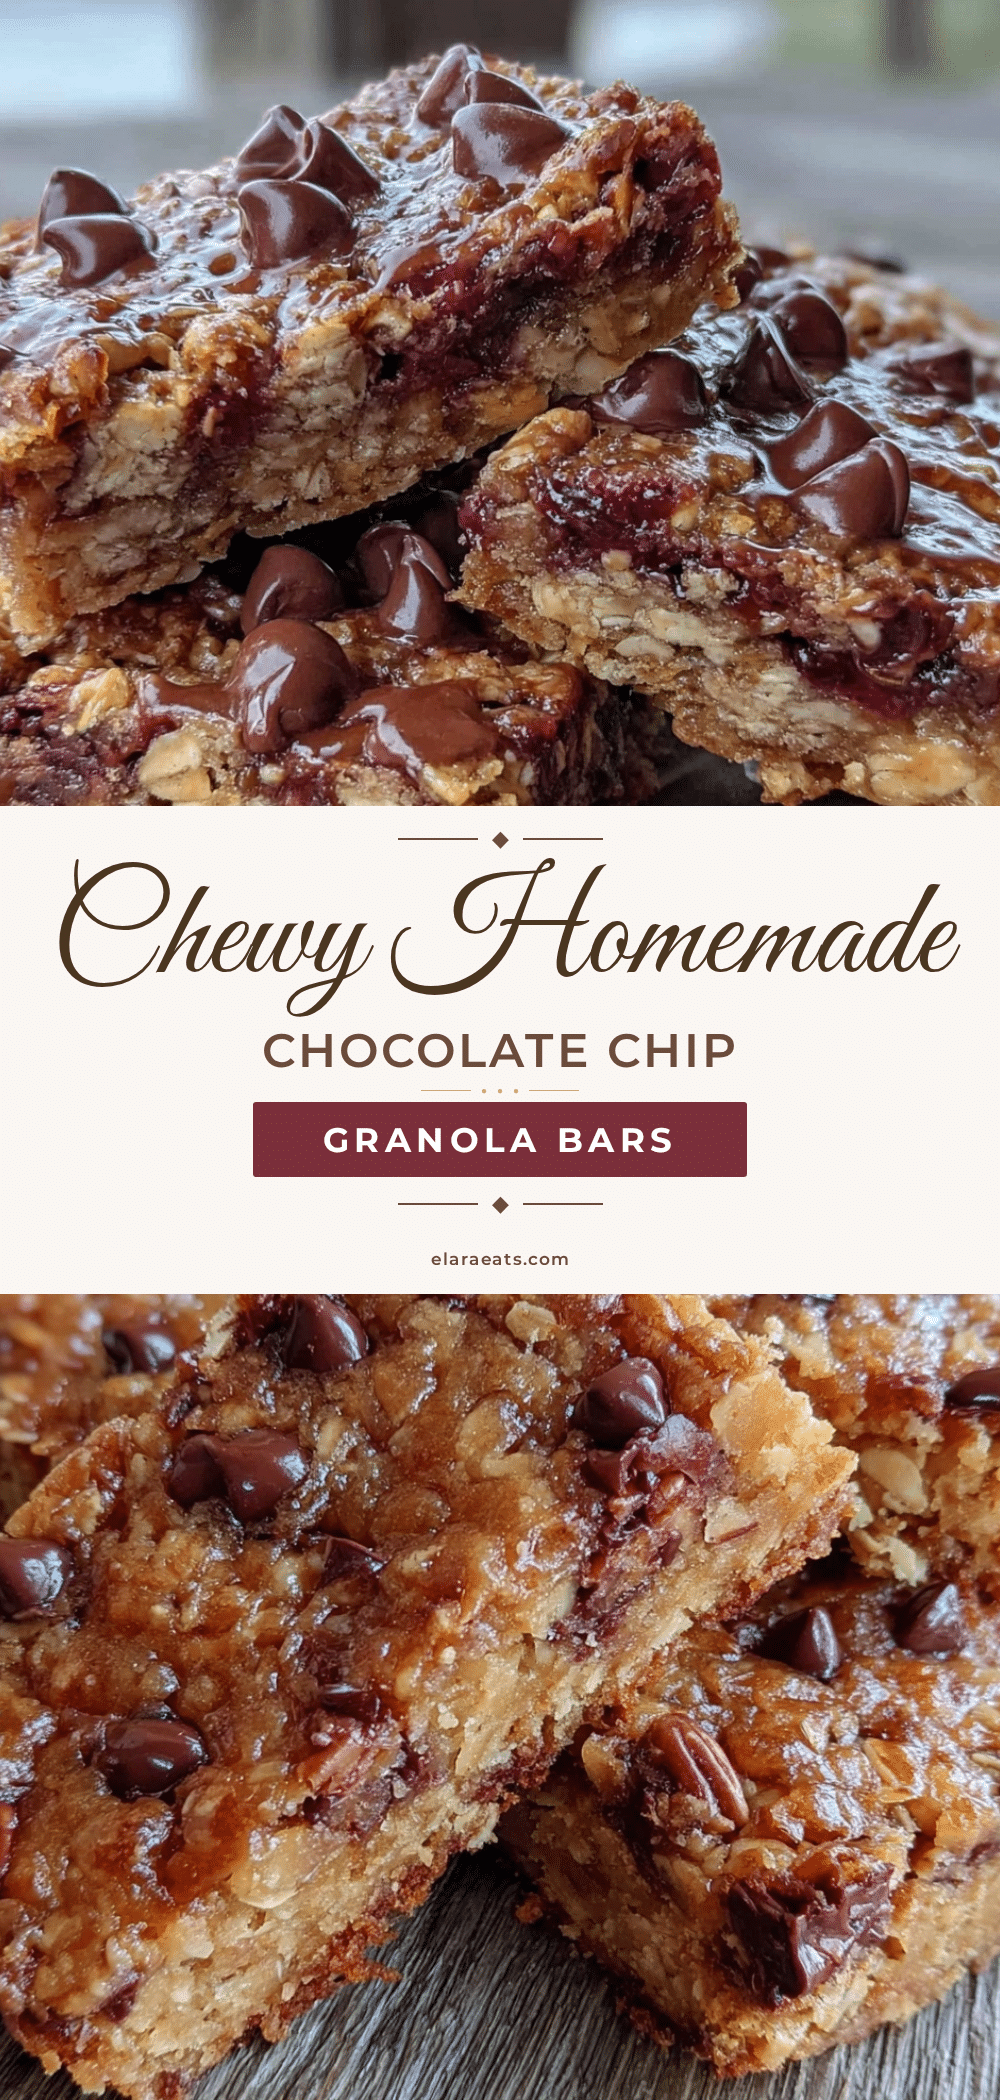
Chewy Homemade Granola Bars with Chocolate Chips
These chewy homemade granola bars with chocolate chips are a perfect balance of texture, flavor, and ease, ideal for a quick snack or on-the-go energy boost.
- Prep Time: 15 minutes
- Cook Time: 18 minutes
- Total Time: 45 minutes
- Yield: 8-10 bars 1x
- Category: Snack
- Cuisine: American
Ingredients
- 2 cups (180 g) rolled oats (old-fashioned preferred)
- 1/4 cup (50 g) light brown sugar
- 1/3 cup (113 g) honey
- 1/4 cup (57 g) unsalted butter, melted
- 1 tsp vanilla extract
- 1/2 tsp ground cinnamon (optional)
- 1/4 tsp salt
- 3/4 cup (135 g) mini chocolate chips (semi-sweet or dark)
- 1/2 cup (60 g) chopped nuts (walnuts or almonds, optional)
Instructions
- Preheat your oven to 350°F (175°C). Line an 8×8 inch (20×20 cm) baking pan with parchment paper, leaving some overhang for easy removal.
- Toast the oats by spreading them evenly on a baking sheet and baking for 8–10 minutes, stirring halfway through, until light golden and aromatic.
- In a medium saucepan over low heat, melt the unsalted butter. Stir in light brown sugar, honey, vanilla extract, ground cinnamon, and salt. Heat gently until the sugar dissolves and the mixture is smooth, about 3–4 minutes. Do not boil.
- In a large bowl, combine the toasted oats, optional chopped nuts, and mini chocolate chips. Pour the warm butter-honey mixture over the oat mixture and stir quickly until evenly coated.
- Transfer the mixture into the prepared pan. Press firmly and evenly into the pan using parchment paper or a spatula to compact the bars.
- Bake for 15–18 minutes, watching for golden brown edges and a toasty smell. Avoid overbaking to maintain chewiness.
- Remove from oven and cool completely on a wire rack for at least 30 minutes to allow bars to firm up.
- Cut into 8–10 bars using a sharp knife, wiping the knife between slices for cleaner cuts.
Notes
Toast the oats to enhance flavor and texture. Use mini chocolate chips for even melting. Press mixture firmly but not too tight to avoid dense bars. Cool bars completely before cutting to prevent crumbling. For extra gooey chocolate, add extra chips on top before baking. Nut butter can be added if mixture feels too loose before baking.
Nutrition
- Serving Size: 1 bar (if cut into 1
- Calories: 190
- Sugar: 14
- Fat: 7
- Carbohydrates: 28
- Fiber: 3
- Protein: 3
Keywords: granola bars, homemade granola bars, chewy granola bars, chocolate chip granola bars, easy snack, healthy snack, quick snack


