Love this? Save it for later!
Share the inspiration with your friends
Introduction
The power went out halfway through a Friday night movie marathon, and honestly, I was a bit bummed—not just because the screen went dark but because my plans for a chilled treat suddenly felt out of reach. I rummaged through the freezer, hoping for some kind of sweet consolation, but all I found was a container of leftover caramel sauce and some heavy cream. Now, I’m not usually one to improvise desserts in the dark, but you know that feeling when a craving just won’t quit? I decided to take a chance and whip up a quick no-churn salted caramel ice cream with whatever I had on hand.
Fast forward a few hours (and a very impatient wait), and I was savoring this unbelievably creamy, rich, and perfectly balanced salted caramel ice cream that didn’t need an ice cream maker or any special equipment. The texture was silky smooth, the saltiness cut through the sweetness just right, and honestly, it felt like a little miracle in a bowl. Maybe you’ve been there too—needing a simple homemade dessert that feels indulgent without a fuss. That night, this recipe earned a permanent spot in my dessert rotation, especially since it’s so easy to put together and always impresses, whether it’s last-minute company or a cozy solo treat.
Why You’ll Love This Recipe
This creamy no-churn salted caramel ice cream recipe has been tested more times than I can count (including during that blackout night), and it always delivers. Let me tell you why it stands out:
- Quick & Easy: Ready from start to finish in under 20 minutes of prep, perfect for those spontaneous dessert urges or busy weeknights.
- Simple Ingredients: No fancy or hard-to-find components here—just pantry staples like heavy cream, sweetened condensed milk, and caramel sauce.
- Perfect for Any Occasion: Whether it’s a family dinner, a summer potluck, or a casual gathering, this ice cream fits right in.
- Crowd-Pleaser: From kids to adults, everyone seems to ask for seconds, especially because of that salty-sweet magic.
- Unbelievably Delicious: The creamy texture paired with the deep caramel flavor and a touch of sea salt makes it a next-level comfort dessert.
What makes this recipe different? The no-churn method means you don’t need an ice cream maker or complicated steps, yet the texture rivals those creamy, churned versions. Plus, I like to swirl in a bit of homemade salted caramel sauce for pockets of gooey goodness. Honestly, it’s the kind of dessert that makes you close your eyes after the first bite and say, “Yep, that’s the one.” It’s like comfort food in frozen form—simple, satisfying, and totally crave-worthy.
What Ingredients You Will Need
This recipe uses simple, wholesome ingredients to deliver bold flavor and satisfying texture without the fuss. Most of these are pantry staples, and with a few easy swaps, you can customize it to your taste or dietary needs.
- Heavy Cream (2 cups / 480 ml) – For that rich, creamy texture. I prefer brands like Organic Valley for the best results.
- Sweetened Condensed Milk (1 can / 14 oz / 396 g) – Adds sweetness and helps create that smooth, scoopable consistency.
- Salted Caramel Sauce (¾ cup / 180 ml) – Use store-bought or homemade. If you want to try homemade, I recommend this easy recipe with brown sugar and butter.
- Fine Sea Salt (1 teaspoon) – This is the secret that balances the sweetness and enhances the caramel flavor.
- Vanilla Extract (1 teaspoon) – Adds depth and rounds out the flavors.
Optional:
- Chopped Pecans or Walnuts (½ cup / 60 g) – For a crunchy texture contrast.
- Chocolate Chips (¼ cup / 45 g) – If you want to add a little chocolate twist.
If you need a dairy-free version, you can swap heavy cream with full-fat coconut milk and use a dairy-free sweetened condensed milk alternative. For a lower sugar option, reduce the caramel sauce slightly or opt for a sugar-free caramel. In summer, fresh caramelized peaches or apricots make a lovely topping to add a fruity element.
Equipment Needed
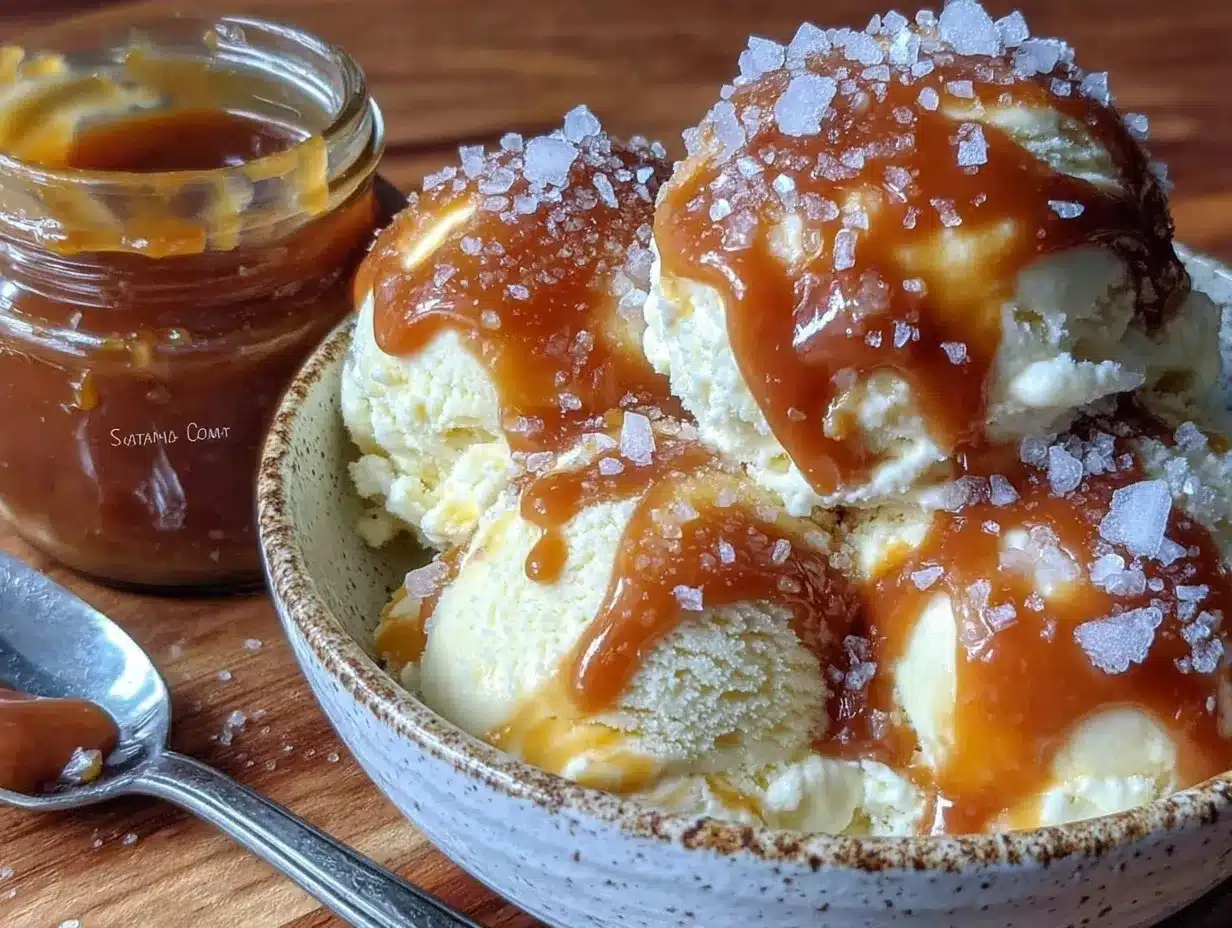
- Mixing Bowl: A large bowl to whip the cream and combine ingredients. Glass or stainless steel works best for whipping.
- Electric Mixer or Hand Whisk: An electric hand mixer saves time and effort, but a sturdy whisk works if you’re up for a little arm workout.
- Spatula: For folding the condensed milk and caramel sauce gently without deflating the whipped cream.
- Loaf Pan or Freezer-Safe Container: For freezing the ice cream. I find a metal loaf pan helps it freeze evenly, but any airtight container will do.
- Measuring Cups and Spoons: For accuracy, especially with the salt and vanilla extract.
Don’t have a hand mixer? No worries—just be patient when whisking the cream. It’s doable! And if you want to get fancy, a silicone spatula is perfect for scraping every last bit of caramel. I keep a small kitchen scale handy when measuring ingredients like nuts or chocolate to keep things consistent.
Preparation Method
- Chill Your Mixing Bowl and Whisk (10 minutes): Pop the mixing bowl and whisk attachment (if using a mixer) into the freezer for about 10 minutes. This little step helps the cream whip faster and fluffier.
- Whip the Heavy Cream (5-7 minutes): Pour 2 cups (480 ml) of cold heavy cream into the chilled bowl. Beat on medium-high speed until soft peaks form. You want the cream to hold shape but still be smooth and airy—watch carefully so it doesn’t turn into butter.
- Fold in Sweetened Condensed Milk (2 minutes): Gently fold in one 14 oz (396 g) can of sweetened condensed milk using a spatula. This adds sweetness and creaminess. Be gentle to keep the air in the whipped cream.
- Add Vanilla and Salt (1 minute): Stir in 1 teaspoon of vanilla extract and 1 teaspoon of fine sea salt. The salt really makes the caramel pop, so don’t skip it.
- Swirl in the Salted Caramel Sauce (3 minutes): Add about ¾ cup (180 ml) of salted caramel sauce. Dollop it over the mixture and gently fold a few times to create beautiful caramel ribbons. Avoid over-mixing if you want those gooey pockets.
- Add Optional Mix-Ins (1-2 minutes): If you’re adding nuts or chocolate chips, fold them in now for extra texture and flavor.
- Freeze (6+ hours): Transfer the ice cream base into a loaf pan or freezer-safe container. Cover tightly with plastic wrap or a lid. Freeze for at least 6 hours or overnight until firm.
- Serve and Enjoy: Remove from the freezer about 5 minutes before serving to soften slightly for easier scooping. Scoop into bowls or cones and savor every creamy, salted caramel bite.
Tip: If you notice the caramel sinking to the bottom, try swirling it in just before freezing and avoid stirring once frozen to keep that lovely pattern. And yes, I once forgot the vanilla extract, and the ice cream tasted a little flat—don’t make the same mistake!
Cooking Tips & Techniques
Making no-churn ice cream might sound simple, but a few tips will take your salted caramel treat from good to wow.
- Whip Cream to Soft Peaks: It’s tempting to overwhip, but stopping at soft peaks keeps the ice cream light and creamy. If you go too far, it can turn grainy or start to separate.
- Fold Gently: When combining the condensed milk and caramel sauce, fold gently to keep the air in. This is what makes the ice cream fluffy instead of dense.
- Use Quality Caramel Sauce: The caramel flavor is front and center here, so I recommend making your own or picking a reputable brand like Trader Joe’s or Bonne Maman for a rich, buttery taste.
- Salt is Your Friend: Don’t skimp on the salt. It balances the sweetness and enhances that caramel depth. Fine sea salt dissolves best and avoids crunchy bites.
- Freeze Properly: Cover your ice cream tightly to avoid freezer burn and ice crystals. A layer of parchment paper pressed directly on the surface before covering can help.
- Multitasking: While the ice cream freezes, consider prepping your next dessert or cleaning up. It’s a great way to make the wait feel shorter!
Over the years, I’ve learned that patience pays off. Rushing to scoop too soon results in a tough texture. Let it soften just a bit at room temperature before serving for the best scoop. And trust me, that first scoop is worth the wait every time.
Variations & Adaptations
This creamy no-churn salted caramel ice cream is pretty flexible, so don’t hesitate to make it your own.
- Chocolate Salted Caramel: Fold in ½ cup (90 g) of mini chocolate chips or drizzle melted dark chocolate over the top before freezing.
- Nutty Caramel: Add toasted pecans or walnuts for crunch. You can even swirl in some nut butter for a richer twist.
- Dairy-Free Version: Use full-fat coconut milk in place of heavy cream and a dairy-free condensed milk substitute. The texture will be slightly different but still deliciously creamy.
- Fruit-Infused: Mix in cooked apple chunks or pear slices caramelized in butter and cinnamon for a seasonal touch.
Once, I swapped the caramel sauce for a homemade bourbon caramel—talk about a grown-up upgrade! It gave the ice cream a subtle warmth that was unforgettable. Feel free to customize the salt level too; I like mine a bit saltier than most, but adjust to your preference.
Serving & Storage Suggestions
Serve this no-churn salted caramel ice cream chilled but slightly softened for easy scooping. It pairs wonderfully with warm desserts like apple crisp or crispy garlic chicken for an unexpected sweet ending.
Store leftovers in an airtight container in the freezer. To avoid ice crystals, press a sheet of parchment paper directly on the surface before sealing. When ready to serve again, let it sit at room temperature for about 5-10 minutes to soften.
Flavors actually deepen after a day or two in the freezer. The salted caramel ribbons become more distinct, making it even more indulgent. For a quick treat, scoop into cones or bowls and top with a sprinkle of flaky sea salt or crushed nuts for texture contrast.
Nutritional Information & Benefits
This no-churn salted caramel ice cream is a treat, but it’s made with simple ingredients that you can feel good about in moderation. Each serving (about ½ cup / 125 ml) contains roughly:
| Calories | 250 |
|---|---|
| Fat | 15g |
| Sugar | 22g |
| Protein | 3g |
The heavy cream provides healthy fats that keep you full, while the sea salt helps balance blood sugar spikes from the caramel’s sweetness. This recipe is gluten-free by default and can be made dairy-free with easy substitutions. Just keep in mind the sugar content if you’re watching intake.
Personally, I find this ice cream a wonderful way to satisfy a sweet tooth without complicated ingredients or artificial additives. It’s a reminder that comfort doesn’t have to be complicated.
Conclusion
Honestly, this creamy no-churn salted caramel ice cream is one of those recipes I keep coming back to because it’s so simple, yet so satisfying. Whether you’re craving a quick dessert after a long day or planning a casual get-together, it offers that perfect blend of sweet, salty, and creamy goodness. You can easily customize it to suit your preferences or dietary needs, making it a versatile staple for any home cook.
Try making it your own—add nuts, chocolate, or a splash of your favorite liqueur. And if you do, I’d love to hear how it turns out! Drop a comment below sharing your tweaks or memories connected to this recipe. Let me know if this no-churn ice cream becomes your go-to for easy homemade desserts. Remember, there’s nothing quite like the joy of a homemade treat that feels both indulgent and effortless. Happy scooping!
FAQs
Can I make this ice cream without an ice cream maker?
Absolutely! This recipe is designed to be no-churn, so you just mix and freeze. No special equipment needed.
How long does the ice cream need to freeze?
It usually takes at least 6 hours, but overnight is best to ensure it’s fully set and scoopable.
Can I use store-bought caramel sauce?
Yes, store-bought caramel works great. Just choose a high-quality brand for the best flavor.
Is this recipe gluten-free?
Yes, all ingredients are naturally gluten-free, but always double-check labels if you have severe allergies.
How do I prevent ice crystals from forming?
Cover the ice cream tightly and press parchment paper on the surface before sealing to minimize ice crystals and freezer burn.
Pin This Recipe!
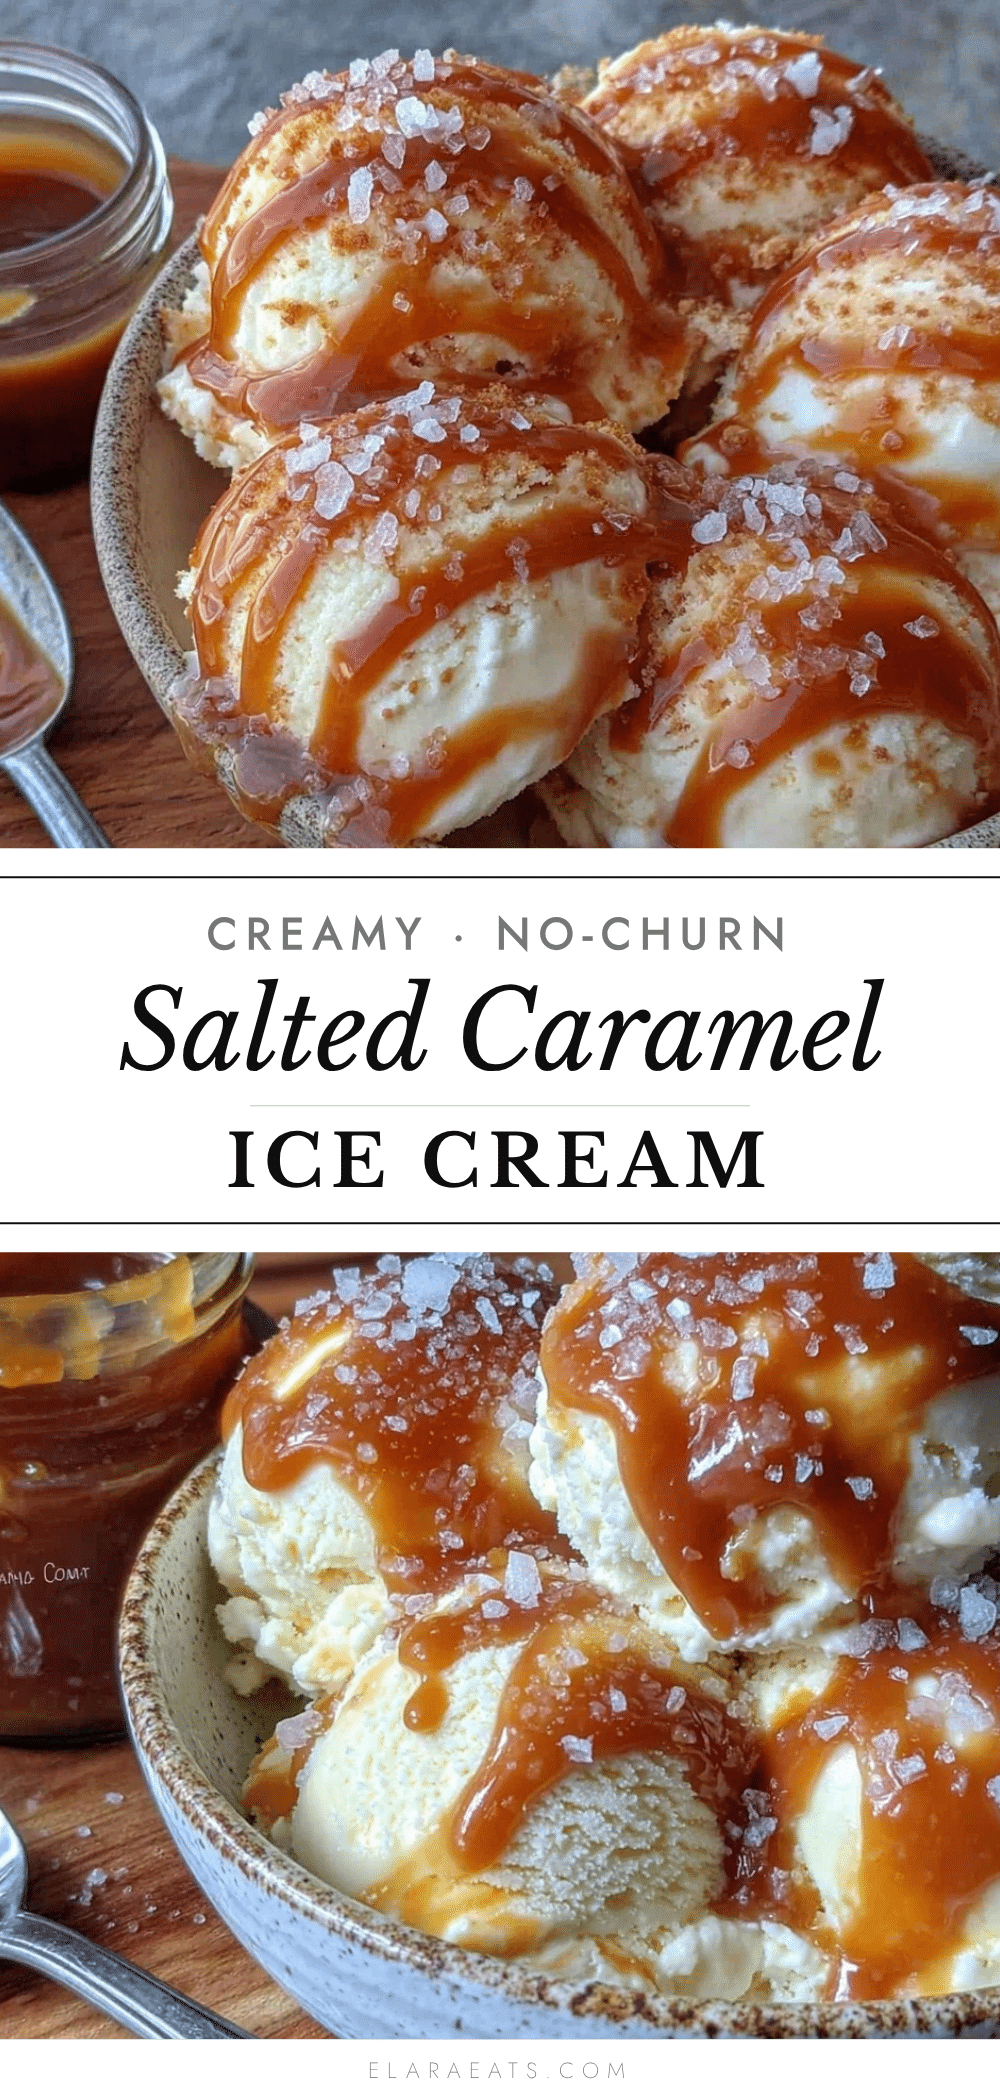
Creamy No-Churn Salted Caramel Ice Cream
A rich and creamy no-churn salted caramel ice cream that requires no ice cream maker and is ready with simple pantry ingredients. Perfectly balanced salty-sweet flavor with a silky smooth texture.
- Prep Time: 15 minutes
- Cook Time: 0 minutes
- Total Time: 6 hours 15 minutes
- Yield: 8 servings 1x
- Category: Dessert
- Cuisine: American
Ingredients
- 2 cups (480 ml) heavy cream
- 1 can (14 oz / 396 g) sweetened condensed milk
- ¾ cup (180 ml) salted caramel sauce
- 1 teaspoon fine sea salt
- 1 teaspoon vanilla extract
- Optional: ½ cup (60 g) chopped pecans or walnuts
- Optional: ¼ cup (45 g) chocolate chips
Instructions
- Chill your mixing bowl and whisk attachment in the freezer for about 10 minutes.
- Pour 2 cups (480 ml) of cold heavy cream into the chilled bowl. Beat on medium-high speed until soft peaks form, about 5-7 minutes.
- Gently fold in one 14 oz (396 g) can of sweetened condensed milk using a spatula, about 2 minutes.
- Stir in 1 teaspoon of vanilla extract and 1 teaspoon of fine sea salt.
- Add about ¾ cup (180 ml) of salted caramel sauce. Dollop it over the mixture and gently fold a few times to create caramel ribbons.
- If desired, fold in optional chopped nuts or chocolate chips.
- Transfer the ice cream base into a loaf pan or freezer-safe container. Cover tightly and freeze for at least 6 hours or overnight until firm.
- Remove from freezer about 5 minutes before serving to soften slightly. Scoop and enjoy.
Notes
Chill the mixing bowl and whisk before whipping cream for better volume. Fold ingredients gently to keep the ice cream light and fluffy. Use quality caramel sauce for best flavor. Cover tightly and press parchment paper on the surface before freezing to avoid ice crystals. Let ice cream soften 5 minutes before scooping.
Nutrition
- Serving Size: ½ cup (125 ml)
- Calories: 250
- Sugar: 22
- Fat: 15
- Protein: 3
Keywords: no-churn ice cream, salted caramel, easy dessert, homemade ice cream, no ice cream maker, creamy ice cream, quick dessert


