Love this? Save it for later!
Share the inspiration with your friends
“You won’t believe this chicken is baked,” my neighbor chuckled as I handed her a crispy drumstick last Saturday afternoon. It was the kind of day when the sun peeked through the blinds just right, and the smell of something golden and crunchy pulled you into my kitchen from the hallway. Honestly, I wasn’t even trying to impress anyone—just whipping up a quick dinner after a long day—but that moment stuck with me.
The secret? A panko coating that’s so crisp and light, it could fool even the toughest fried chicken purists. I stumbled upon this recipe while experimenting one late night when my usual fried chicken routine felt a little too heavy. I wanted the crunch and satisfaction without the mess and guilt of deep frying. I grabbed a few pantry staples, but the real game-changer was embracing the panko breadcrumbs instead of regular ones.
Funny enough, I forgot to set the timer and almost burnt the first batch, but the result was so perfectly crunchy (even with a slight char!) that I knew I was onto something. Maybe you’ve been there—scrambling to put dinner together, craving that crispy comfort food but hoping for a healthier twist. That’s exactly how this Crispy Extra Crunchy Oven-Fried Chicken with Panko Coating became my go-to recipe. It’s reliable, ridiculously tasty, and honestly, I’m pretty sure you’ll fall for it just like I did.
Why You’ll Love This Recipe
This Crispy Extra Crunchy Oven-Fried Chicken recipe isn’t your average oven-baked chicken. After testing countless versions in my kitchen, here’s why this one truly stands out:
- Quick & Easy: Ready in under 45 minutes, this recipe suits those hectic weeknights when you want comfort food without the fuss.
- Simple Ingredients: No need for specialty stores—just common pantry staples like panko breadcrumbs, basic spices, and chicken pieces you love.
- Perfect for Casual Gatherings: Whether you’re hosting a laid-back weekend dinner or craving a solo indulgence, this chicken hits the spot every time.
- Crowd-Pleaser: Kids and adults alike can’t resist the crispy texture paired with juicy chicken inside—always a hit at potlucks or family meals.
- Unbelievably Delicious: The panko coating creates that signature crunch that stays crisp, not soggy, with a flavor profile balanced by a subtle mix of herbs and spices.
What makes this recipe different? The trick lies in the double-dip method—first a buttermilk marinade that tenderizes the chicken, then a seasoned panko crust that bakes to golden perfection. Plus, I toss the panko with a touch of smoked paprika and garlic powder for a subtle kick that feels just right. Honestly, it’s a method that makes you close your eyes after the first bite, savoring that perfect crunch and juicy center.
What Ingredients You Will Need
This recipe uses straightforward, wholesome ingredients that come together to deliver a crunchy, flavorful oven-fried chicken without any complicated prep. Most of these are pantry staples or easily found at the local market.
- Chicken pieces: Bone-in, skin-on thighs or drumsticks work best for moisture and flavor (about 3 pounds / 1.4 kg)
- Buttermilk: 1 ½ cups (360 ml) to soak the chicken, helps tenderize and adds subtle tang
- All-purpose flour: 1 cup (125 g) for initial dredging
- Panko breadcrumbs: 2 cups (200 g) for that signature extra crunch (I’m a fan of Kikkoman brand for consistent texture)
- Smoked paprika: 1 teaspoon adds a warm, smoky depth
- Garlic powder: 1 teaspoon for savory notes
- Onion powder: 1 teaspoon enhances overall flavor
- Salt and freshly ground black pepper: To taste (about 1 teaspoon salt and ½ teaspoon pepper)
- Cooking spray or oil: Just enough to lightly coat the chicken before baking for extra crispness
Substitution tips: If you don’t have buttermilk, mix 1 ½ cups milk with 1 tablespoon lemon juice or vinegar and let it sit for 5 minutes. For a gluten-free option, swap all-purpose flour with almond flour or gluten-free flour blend and use gluten-free panko breadcrumbs.
Equipment Needed
- Baking sheet: A rimmed baking sheet to catch drips and keep chicken crispy
- Wire rack: Placed on the baking sheet, it allows air to circulate around the chicken for even crisping
- Mixing bowls: At least two bowls—one for the buttermilk marinade, another for the flour and panko coating
- Tongs: For easy handling of chicken pieces without making a mess
- Measuring cups and spoons: For precise seasoning and ingredient amounts
If you don’t have a wire rack, you can place the chicken directly on parchment paper-lined baking sheets, though a rack definitely helps keep the bottom crisp. I use a trusty non-stick baking sheet that cleans up easily, but any sturdy oven-safe tray will do. For oil spray, I recommend a refillable mister for better control and less waste.
Preparation Method
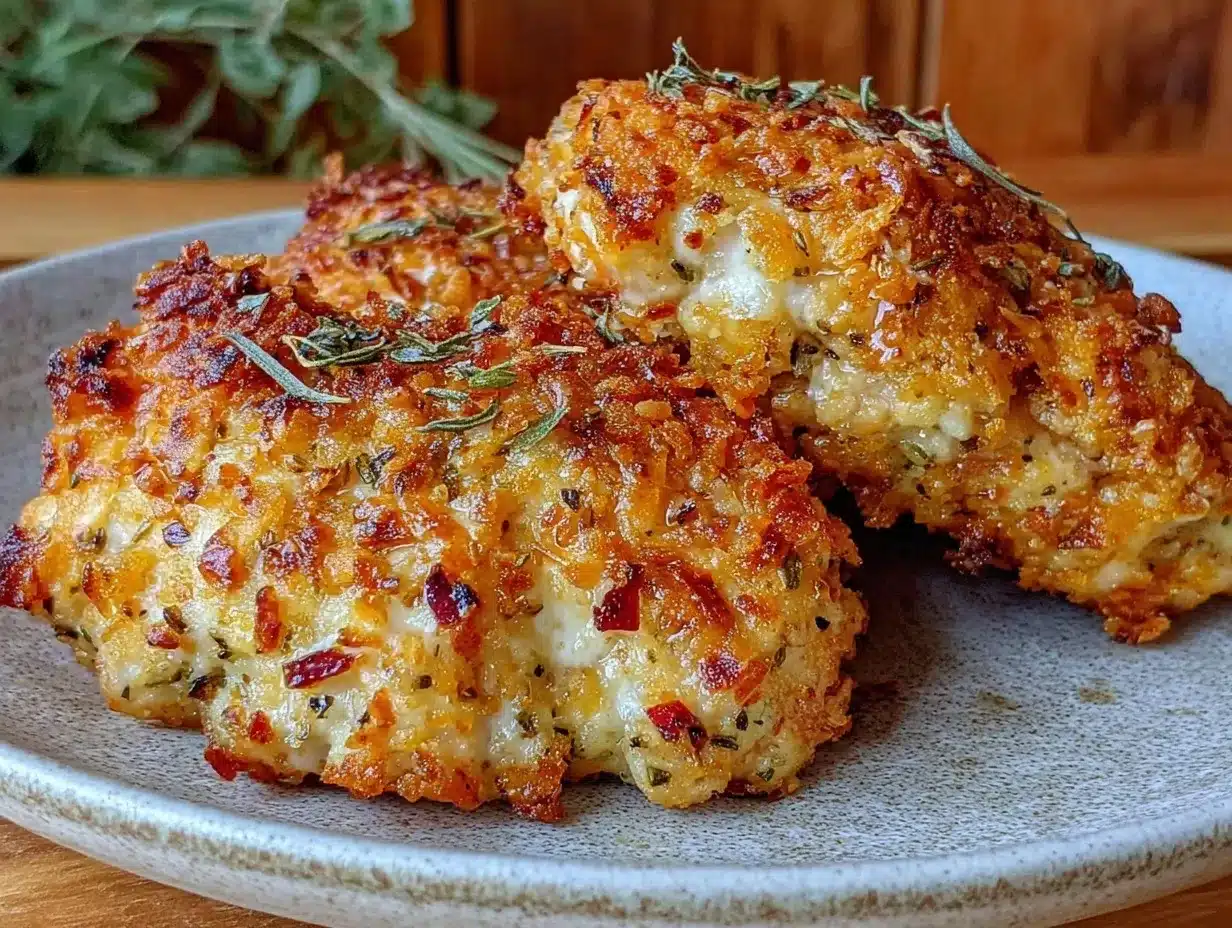
- Marinate the chicken: In a large bowl, pour 1 ½ cups (360 ml) buttermilk. Add ½ teaspoon salt and ¼ teaspoon black pepper to the buttermilk and stir. Submerge the chicken pieces, cover, and refrigerate for at least 2 hours or overnight for best results. This step tenderizes and helps the coating stick better.
- Preheat the oven: Set your oven to 425°F (220°C). Place the wire rack on the baking sheet and lightly spray it with cooking spray to prevent sticking.
- Prepare the coating mix: In a shallow dish, combine 1 cup (125 g) all-purpose flour, 2 cups (200 g) panko breadcrumbs, 1 teaspoon smoked paprika, 1 teaspoon garlic powder, 1 teaspoon onion powder, ½ teaspoon salt, and ¼ teaspoon black pepper. Mix well to evenly distribute the spices.
- Coat the chicken: Remove chicken from the buttermilk marinade, letting excess drip off. Dredge each piece in flour first, shaking off the excess, then dip back briefly in the buttermilk (optional but recommended for extra crunch), and finally press firmly into the panko mixture to coat completely. Place coated pieces on the wire rack.
- Spray with oil: Lightly spray the coated chicken with cooking spray or brush with a little oil. This helps the coating brown beautifully without deep frying.
- Bake: Put the tray in the oven and bake for 35-40 minutes, flipping the chicken halfway through (around 20 minutes). The chicken should reach an internal temperature of 165°F (74°C) and have a deep golden-brown crust.
- Rest and serve: Let the chicken rest for 5 minutes after baking. This keeps it juicy inside and lets the coating set perfectly.
Pro tip: If your chicken isn’t as crispy as you’d like, broil for 2-3 minutes at the end but watch closely to avoid burning. Also, patting the chicken dry before marinating can help the coating stick better.
Cooking Tips & Techniques
One trick I learned the hard way is to never skip the wire rack—it’s the MVP for crispiness. Baking chicken directly on a pan’s surface traps steam and softens that glorious panko crust. Also, layering the coating by double-dipping in buttermilk and panko is what truly amps up the crunch.
Watch your oven temperature carefully. Too low, and the chicken turns out soggy; too high, and the coating can burn before the chicken cooks through. I like to use an oven thermometer because, honestly, ovens can be unpredictable.
Multi-task like a pro: while the chicken marinates, prep sides or clean up your station. It makes the whole dinner process smoother—and you’ll thank yourself later.
Don’t rush the resting stage post-baking. It may be tempting to dig in immediately, but a few minutes help the juices redistribute, meaning moist, flavorful bites every time.
Lastly, I once tried swapping panko for crushed cornflakes—while fun, it changed the texture too much. Stick to panko for that signature crunch, unless you’re feeling adventurous!
Variations & Adaptations
- Spicy Crunch: Add ½ teaspoon cayenne pepper or chili powder to the panko mix for a subtle heat that wakes up the palate.
- Herb-Infused: Mix fresh chopped rosemary or thyme into the panko coating for an aromatic twist perfect for spring dinners.
- Gluten-Free: Use almond flour with gluten-free panko breadcrumbs to keep it crispy without gluten worries.
- Oven-Baked Wings: Use this same method on chicken wings for game-day snacks that rival takeout.
- Dairy-Free Option: Swap buttermilk with coconut milk mixed with lemon juice for a dairy-free marinade that still tenderizes beautifully.
I once made this recipe with a friend who preferred boneless chicken breasts. We adjusted cooking time to 25 minutes and got great results, so feel free to experiment with your favorite cuts!
Serving & Storage Suggestions
This Crispy Extra Crunchy Oven-Fried Chicken is best served hot and fresh from the oven to enjoy that irresistible crunch. Pair it with a crisp green salad, creamy coleslaw, or even some roasted veggies for balanced flavors.
If you have leftovers (and honestly, that’s rare!), store them in an airtight container in the fridge for up to 3 days. To reheat, pop the chicken in a 375°F (190°C) oven for about 10 minutes. Skip the microwave if you want to keep the coating crispy.
Interestingly, the flavors deepen after resting overnight, making it a fantastic make-ahead meal for busy days. Just re-crisp in the oven before serving to bring back that crunch.
Nutritional Information & Benefits
Each serving (about 1 chicken piece) provides roughly 350-400 calories depending on the cut, with approximately 25 grams of protein, making it a satisfying meal that fuels your day. The panko coating is lighter than traditional breadcrumbs, reducing overall fat content thanks to oven baking instead of frying.
Using buttermilk not only tenderizes the meat but also adds probiotics, contributing to digestive health. Plus, paprika and garlic powder bring antioxidants and immune-boosting compounds to the table.
This recipe can easily fit into a balanced diet, especially when paired with wholesome sides. For those watching carbs, consider serving with non-starchy vegetables to keep the meal light yet hearty.
Conclusion
Honestly, this Crispy Extra Crunchy Oven-Fried Chicken with Panko Coating has become a staple in my recipe box for a reason. It’s simple enough for a weeknight but impressive enough to serve guests. The balance of crispy crust and juicy meat makes it hard to resist, and the method is forgiving—perfect if you’re still getting comfortable with oven-frying.
Feel free to tweak the spices or try different chicken cuts to make it truly yours. I’d love to hear how your version turns out or what twists you’ve discovered. Drop a comment below or share your crunchy chicken stories!
Now, go on—treat yourself to that satisfying crunch. You deserve it.
FAQs About Crispy Extra Crunchy Oven-Fried Chicken
Can I use frozen chicken for this recipe?
It’s best to use fully thawed chicken to ensure even cooking and proper coating adhesion. If using frozen, thaw overnight in the fridge before starting.
Why is my coating not crispy after baking?
Make sure to use a wire rack so heat circulates evenly. Also, lightly spray the coating with oil before baking and avoid overcrowding the pan.
Can I prepare this chicken ahead of time?
Yes! Marinate the chicken overnight, coat it just before baking, then refrigerate until ready to cook. Baking fresh keeps it crisp.
Is it okay to use skinless chicken pieces?
You can, but skin-on pieces tend to be juicier and develop a better crust. Skinless may dry out faster, so reduce baking time slightly and watch closely.
How do I know when the chicken is fully cooked?
Use a meat thermometer to check for an internal temperature of 165°F (74°C). The juices should run clear, and the meat should feel firm but not tough.
Pin This Recipe!
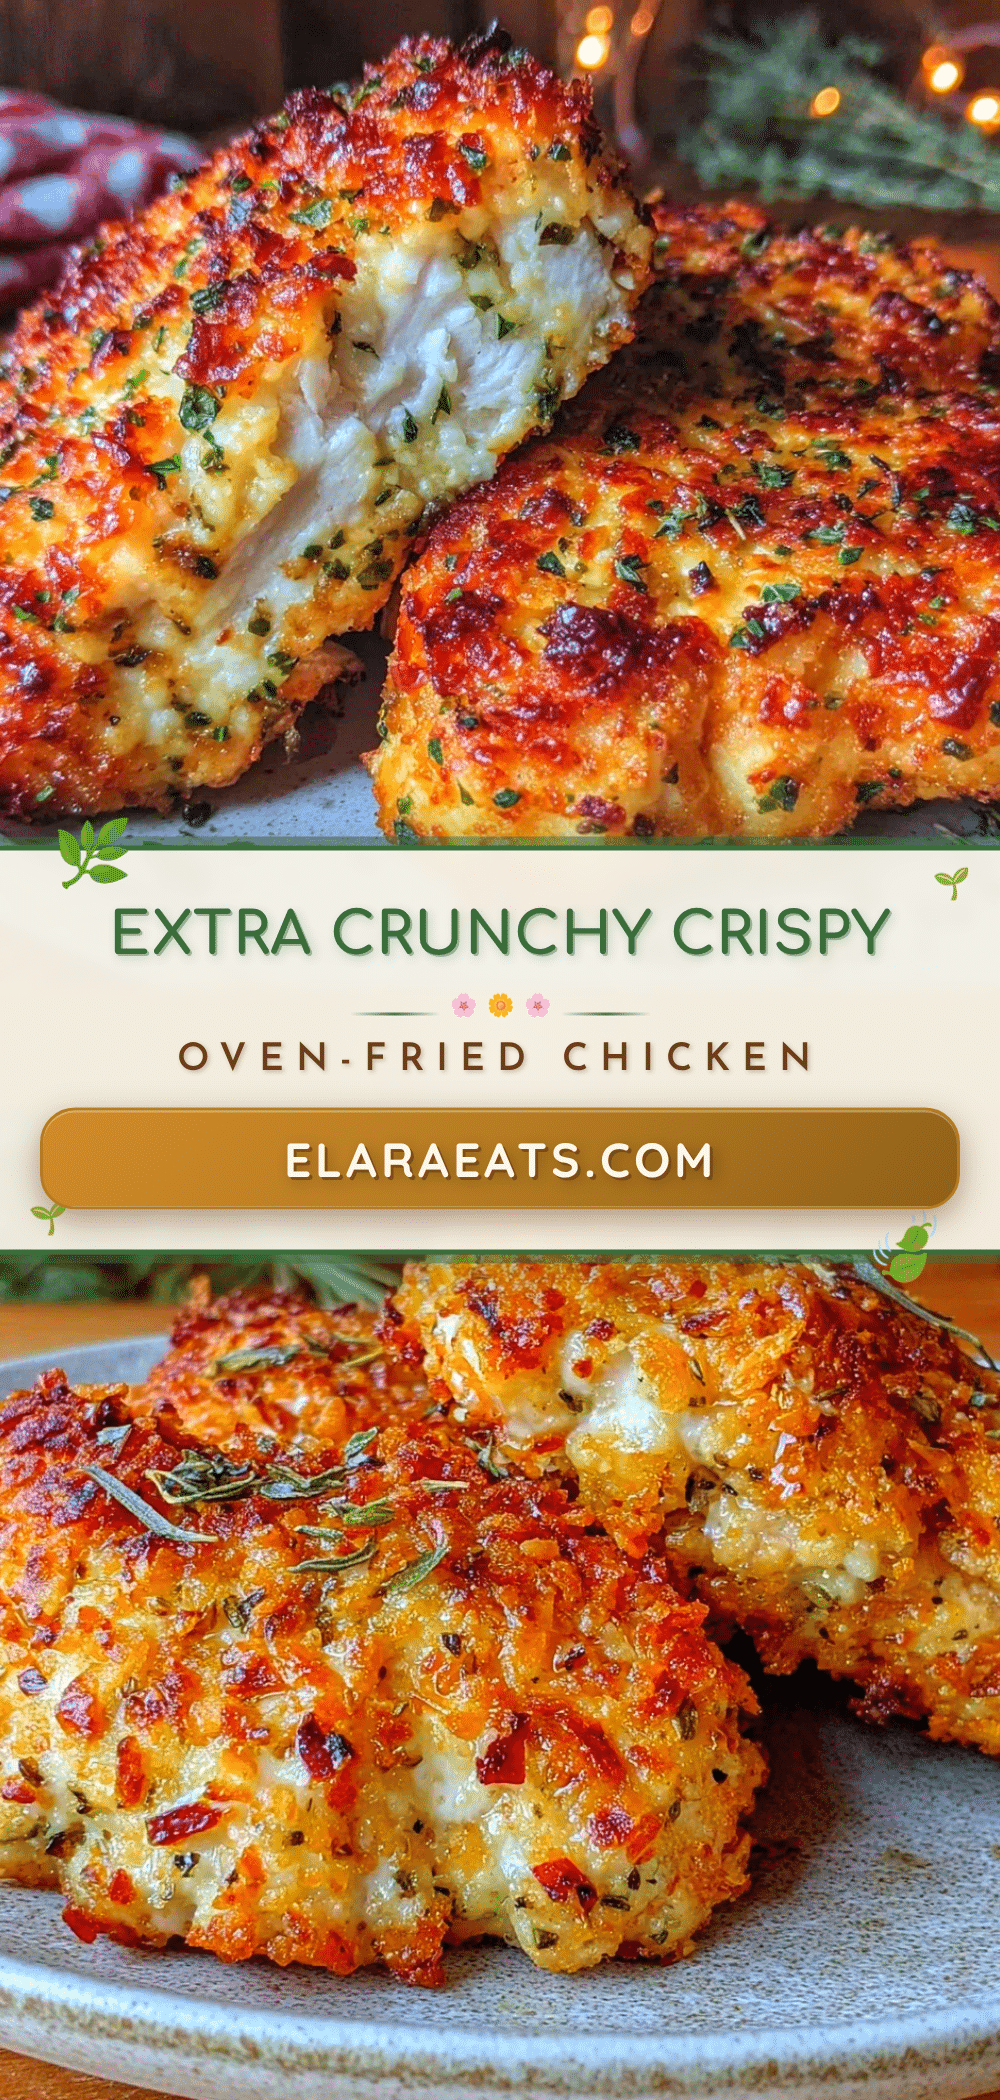
Crispy Extra Crunchy Oven-Fried Chicken Recipe for Perfect Panko Coating

This oven-fried chicken recipe delivers a crispy, light panko coating with juicy meat inside, offering a healthier alternative to traditional fried chicken without sacrificing crunch or flavor.
- Prep Time: 10 minutes
- Cook Time: 40 minutes
- Total Time: 50 minutes
- Yield: 6 servings 1x
- Category: Main Course
- Cuisine: American
Ingredients
- 3 pounds bone-in, skin-on chicken pieces (thighs or drumsticks)
- 1 ½ cups buttermilk (360 ml)
- 1 cup all-purpose flour (125 g)
- 2 cups panko breadcrumbs (200 g)
- 1 teaspoon smoked paprika
- 1 teaspoon garlic powder
- 1 teaspoon onion powder
- 1 teaspoon salt
- ½ teaspoon freshly ground black pepper
- Cooking spray or oil for coating
Instructions
- In a large bowl, combine 1 ½ cups buttermilk with ½ teaspoon salt and ¼ teaspoon black pepper. Submerge chicken pieces, cover, and refrigerate for at least 2 hours or overnight.
- Preheat oven to 425°F (220°C). Place a wire rack on a rimmed baking sheet and lightly spray with cooking spray.
- In a shallow dish, mix 1 cup flour, 2 cups panko breadcrumbs, 1 teaspoon smoked paprika, 1 teaspoon garlic powder, 1 teaspoon onion powder, ½ teaspoon salt, and ¼ teaspoon black pepper.
- Remove chicken from marinade, letting excess drip off. Dredge each piece in flour, shake off excess, dip briefly back into buttermilk (optional), then press firmly into panko mixture to coat completely. Place coated chicken on wire rack.
- Lightly spray or brush coated chicken with oil.
- Bake for 35-40 minutes, flipping halfway through (around 20 minutes), until internal temperature reaches 165°F (74°C) and crust is golden brown.
- Let chicken rest for 5 minutes before serving.
Notes
Use a wire rack to keep the coating crispy. For extra crunch, double-dip chicken in buttermilk before coating with panko. If not crispy enough, broil for 2-3 minutes at the end but watch closely to avoid burning. Pat chicken dry before marinating to help coating stick better. For gluten-free, substitute flour and panko with gluten-free alternatives.
Nutrition
- Serving Size: 1 chicken piece
- Calories: 375
- Sugar: 2
- Sodium: 600
- Fat: 15
- Saturated Fat: 4
- Carbohydrates: 20
- Fiber: 1
- Protein: 25
Keywords: oven-fried chicken, crispy chicken, panko coating, baked chicken, healthy fried chicken, crunchy chicken, easy chicken recipe


