Love this? Save it for later!
Share the inspiration with your friends
I was digging through the back of my pantry last October, looking for a can of pumpkin that I knew I had bought, when my hand brushed against a bag of pecans I forgot existed. And just like that, I was seven years old again, standing on a step stool in my Aunt Rita’s kitchen, watching her roll something round and mysterious between her palms. She had this way of making everything feel like a secret—a pinch of this, a splash of that—and I never knew what she was actually making until she presented it. The smell of cream cheese and garlic powder hit me before I even saw the thing, and when she set it on a plate and started pressing slivered almonds into the top in a crisscross pattern, I thought it was the most beautiful thing I had ever seen. A cheese ball. Covered in what she called “spider legs.” For a kid who was easily spooked by horror movies and fake cobwebs, this was the perfect kind of Halloween—the kind that felt cozy instead of creepy.
I forgot about that cheese ball for years. Honestly, I forgot about Aunt Rita for a while too, which is the kind of thing that happens when life gets loud and you stop paying attention to the quiet moments. But last fall, standing there in my own kitchen with a bag of pecans in my hand, I remembered everything at once—the way she hummed while she worked, the crack in her favorite mixing bowl, the way she’d let me taste the filling off her finger even though she always pretended to scold me first. I knew I had to make it. But I wanted my own version, something a little lighter, a little more mindful, because I don’t eat the way I did at seven. I wanted that same nostalgic feeling without the heavy regret after.
So I started testing. I swapped out some of the cream cheese for Greek yogurt, cut back on the salt, and used fresh herbs instead of dried where I could. The result was this Wholesome Spiderweb Cheese Ball with Crackers—a recipe that tastes indulgent but doesn’t leave you feeling like you need a nap. It’s got that same creamy, savory bite I remember from Aunt Rita’s kitchen, but with a fresher, brighter finish that feels good to eat. And the spiderweb design on top? That’s my little nod to her almond spider legs, just updated for a new generation. Maybe you’ve been there too—chasing a taste from your past and hoping it still fits who you are now. This one does.
Why You’ll Love This Recipe
Let me tell you why this cheese ball has become my go-to for every fall gathering, from casual game nights to Halloween parties where I want to impress without spending all day in the kitchen.
- Quick & Easy: This comes together in about 20 minutes of active time. Seriously. You mix, shape, chill, and decorate. That’s it. No baking, no complicated techniques, no standing over a hot stove.
- Simple Ingredients: You probably have most of these in your fridge and pantry right now. Cream cheese, Greek yogurt, shredded cheese, garlic, herbs—nothing fancy, nothing hard to find.
- Perfect for Halloween Gatherings: The spiderweb design is festive without being over-the-top. It fits right in next to the candy bowls and caramel apples, but it also works for a more grown-up gathering where you want something savory.
- Crowd-Pleaser: I’ve brought this to three parties in the last month alone, and every single time, someone asked for the recipe. Kids love the web design, adults love the flavor—it’s a win-win.
- Unbelievably Delicious: Here’s the thing—I’ve tested this recipe six times to get the balance right. The Greek yogurt keeps it light and tangy, the fresh herbs add brightness, and the sharp cheddar gives it that classic cheese ball punch. It’s the kind of appetizer that makes people close their eyes after the first bite, and I’m not exaggerating.
What makes this recipe different from every other cheese ball out there? It’s the texture, honestly. Most cheese balls are dense and heavy, almost like a block of cold cream cheese with stuff mixed in. But this one? It’s creamy and spreadable right out of the fridge because of the yogurt-to-cream-cheese ratio I landed on. Plus, the spiderweb design isn’t just for show—the thin layer of white cheese on top adds a subtle tang that cuts through the richness of the base. It’s comfort food reimagined—healthier, faster, but with the same soul-soothing satisfaction you expect from a classic party appetizer.
What Ingredients You Will Need
This recipe uses simple, wholesome ingredients to deliver bold flavor and satisfying texture without the fuss. Most of these are pantry staples or easy to find at any grocery store, and I’ve included notes on substitutions where I’ve tested them myself.
- 16 oz cream cheese, softened — Use full-fat for the creamiest texture. I’ve tested this with Neufchâtel (reduced-fat cream cheese) and it works fine, but the texture is slightly less rich. Let it sit on the counter for at least 30 minutes before mixing—cold cream cheese creates lumps that are hard to smooth out.
- 1/2 cup plain Greek yogurt (full-fat or 2%) — This is my secret ingredient for keeping things lighter without sacrificing creaminess. It adds a subtle tang that brightens the whole cheese ball. I prefer Fage or Chobani for their thick consistency. Do not use nonfat—it’s too watery and will make the cheese ball loose.
- 1 1/2 cups sharp cheddar cheese, finely shredded — Sharp cheddar gives the most flavor per ounce. Pre-shredded cheese has anti-caking agents that affect texture, so I really recommend shredding your own from a block. It takes two extra minutes and makes a noticeable difference.
- 1/2 cup fresh chives, finely chopped — Chives add a mild oniony freshness that’s essential. If you’re in a pinch, you can use 2 tablespoons dried chives, but fresh really is better here. I’ve also used green onion tops in a pinch—just chop them very fine.
- 2 cloves garlic, minced — Fresh garlic is non-negotiable for me. Garlic powder works in a pinch (use 1/2 teaspoon), but it won’t give you that same aromatic punch. I use a microplane for my garlic so it melts right into the cheese mixture.
- 1 teaspoon Worcestershire sauce — This adds a subtle umami depth that makes people say “what’s in this?” without being able to identify it. It rounds out the flavor beautifully.
- 1/2 teaspoon smoked paprika — Smoked paprika adds warmth and a hint of smokiness. Regular paprika works too, but you’ll lose that subtle campfire note. I get mine from a local spice shop, but any brand works.
- 1/4 teaspoon salt — Go easy here—the cheddar and Worcestershire already bring salt. You can always add more at the end if needed.
- 1/4 teaspoon black pepper, freshly ground — Freshly ground pepper makes a difference. Pre-ground is fine, but you’ll want to use a little less since it’s more concentrated.
- For the spiderweb topping:
- 1/2 cup mozzarella cheese, finely shredded — This creates the white web effect. Part-skim works fine. Make sure it’s finely shredded so it sticks to the surface.
- 1 tablespoon black sesame seeds — These look like little spider eggs or tiny bugs on the web. Totally optional, but they add a great visual pop and a subtle nutty flavor. Poppy seeds work too.
- For serving:
- Assorted crackers, vegetable sticks, or pretzels — I love a mix of buttery crackers, sturdy whole-wheat crackers, and cucumber rounds for a low-carb option. Rice crackers work well too.
Equipment Needed
You don’t need much for this recipe, which is part of why I love it. Here’s what you’ll want on hand:
- Large mixing bowl — Any medium-to-large bowl works. I use my favorite ceramic one because it’s wide enough to mix everything without spillage.
- Hand mixer or stand mixer — You can absolutely mix this by hand with a sturdy spatula, but a hand mixer makes it faster and ensures everything is evenly combined. I’ve done both, and honestly, the hand mixer gives a smoother texture.
- Plastic wrap — Essential for shaping the cheese ball. You’ll use the wrap to form the ball without getting your hands too messy. I like the stretchy kind that clings well.
- Small offset spatula or butter knife — For creating the spiderweb pattern on top. A butter knife works fine, but an offset spatula gives you more control.
- Serving platter or cheese board — Pick something that shows off the spiderweb design. A round wooden board or a white ceramic plate works beautifully. I found mine at a thrift store for three dollars.
- Microplane or garlic press — For mincing the garlic super fine. I’ve used a regular knife too, but the microplane really does make a difference in texture.
If you don’t have a hand mixer, you can soften the cream cheese really well and mix everything with a wooden spoon. It takes a little more elbow grease, but the result is the same. And if you don’t have a serving platter, a dinner plate works just fine—trust me, I’ve done it.
Preparation Method
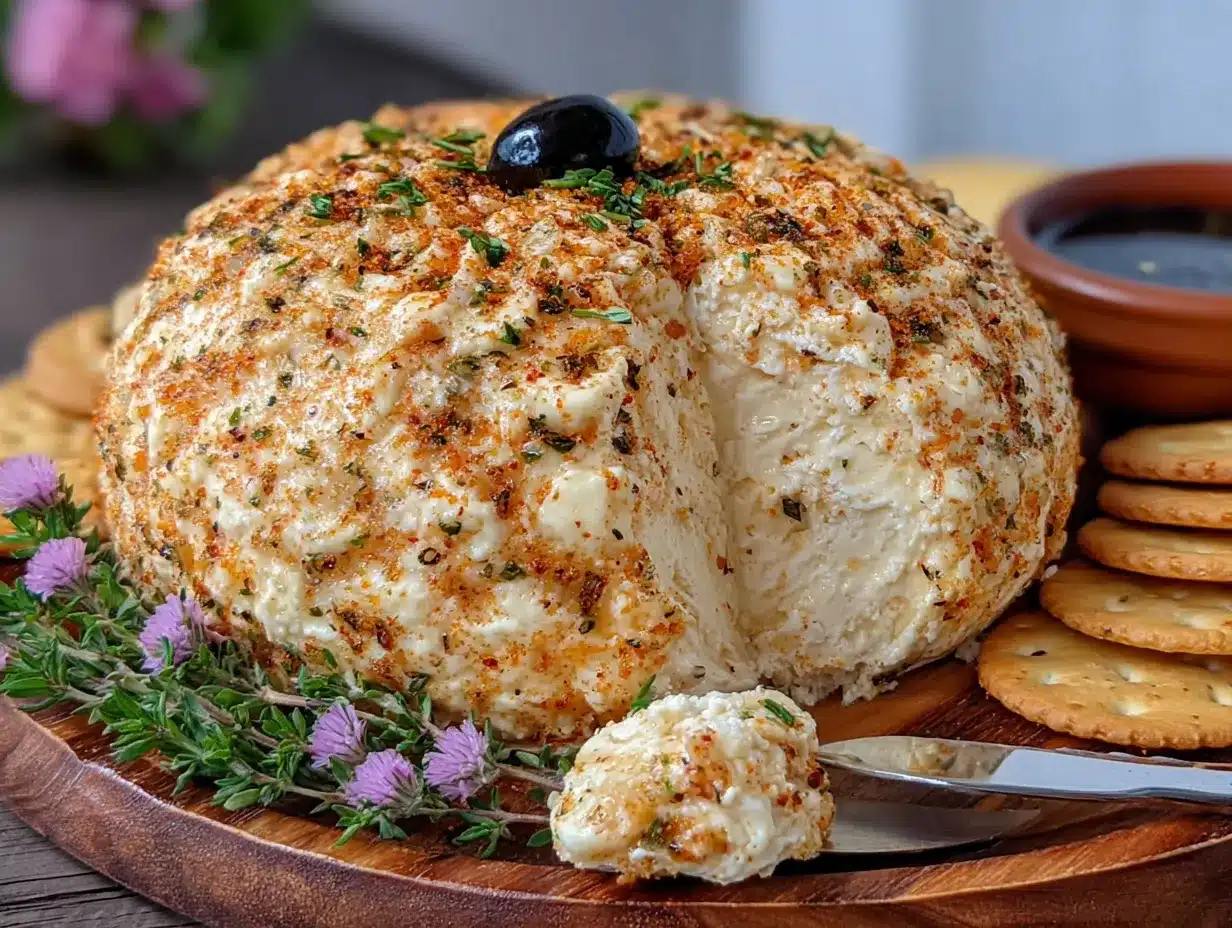
- Soften the cream cheese. Take your cream cheese out of the fridge at least 30 minutes before starting. If you’re in a hurry (and let’s face it, who isn’t?), you can microwave it for 10-15 seconds on low power. Just be careful—you want it soft, not melted. I learned this the hard way when I nuked a block for 30 seconds and ended up with cream cheese soup.
- Combine the base ingredients. In your large mixing bowl, add the softened cream cheese, Greek yogurt, shredded cheddar, chopped chives, minced garlic, Worcestershire sauce, smoked paprika, salt, and pepper. Use your hand mixer on low speed to combine everything. Start slow so the dry ingredients don’t fly everywhere—I speak from experience here. Once it’s mostly combined, increase to medium speed and beat for about 2 minutes until the mixture is smooth and creamy. Scrape down the sides of the bowl halfway through.
- Taste and adjust. Here’s where being a real cook comes in. Dip a clean finger (or a spoon, if you’re fancy) into the mixture and taste it. Does it need more salt? More garlic? A little extra Worcestershire? Trust your instincts. I usually end up adding an extra pinch of smoked paprika because I love that smoky flavor. Write down what you change so you can replicate it next time.
- Shape the cheese ball. Lay out a large piece of plastic wrap on your counter. Scoop the cheese mixture onto the center of the wrap. Gather the edges of the wrap and twist gently to form a tight ball. Use your hands through the plastic to shape it into a smooth, round sphere. Don’t worry about perfection—you’ll smooth it out more later. Twist the top of the plastic wrap to seal it.
- Chill for at least 2 hours. Place the wrapped cheese ball in the refrigerator. This step is crucial—the cheese ball needs time to firm up so it holds its shape when you decorate it. I’ve rushed this step before and ended up with a lopsided mess. Two hours is the minimum; overnight is even better. The flavors actually meld and deepen as it sits.
- Prepare the spiderweb topping. About 15 minutes before you’re ready to serve, take the chilled cheese ball out of the fridge. Unwrap it and place it on your serving platter. In a small bowl, have your shredded mozzarella ready. If the mozzarella is clumped together, break it up with your fingers so it’s light and fluffy.
- Create the spiderweb pattern. This is the fun part. Take small pinches of the shredded mozzarella and gently press them onto the top of the cheese ball, starting from the center and working outward. You want to create a web-like pattern—think concentric circles with lines radiating outward like spokes on a wheel. Use your offset spatula or butter knife to gently press the cheese into the surface so it sticks. Don’t press too hard or you’ll flatten the cheese ball.
- Add the spider details. Sprinkle the black sesame seeds sparingly over the mozzarella web. They look like tiny spiders or eggs, which adds to the Halloween vibe. If you want to go all out, you can place a few whole almonds or pretzel sticks around the base to look like spider legs.
- Serve immediately or chill briefly. If you’re serving right away, arrange your crackers and vegetable sticks around the cheese ball. If you need to wait, you can refrigerate the decorated cheese ball for up to 30 minutes—any longer and the mozzarella might dry out. I usually decorate right before guests arrive so it looks its freshest.
Cooking Tips & Techniques
I’ve made this cheese ball more times than I can count, and I’ve definitely made my share of mistakes. Let me save you some trouble.
The biggest mistake people make is using cold cream cheese. I know I mentioned this already, but it’s worth repeating. Cold cream cheese doesn’t blend smoothly, and you end up with little white lumps in your cheese ball. It still tastes fine, but the texture is off. Set a timer on your phone to remind yourself to take it out early. I keep a sticky note on my fridge that says “cream cheese out!” because I forget literally every time.
Another common issue is overmixing. Once everything is combined, stop. If you beat the mixture too long, it can become a little runny, especially with the Greek yogurt in there. You want it creamy but still thick enough to hold its shape. About 2 minutes of beating on medium speed is the sweet spot.
For the best spiderweb effect, make sure your mozzarella is finely shredded. Coarsely shredded mozzarella looks clunky and doesn’t stick as well. I use the small holes on my box grater for this. If you’re using pre-shredded mozzarella, give it a quick chop with a knife to break up the longer strands.
Timing is everything with this recipe. I like to make the cheese ball base the day before and let it chill overnight. Then, about an hour before my party starts, I take it out, let it sit at room temperature for 15 minutes (this makes it easier to spread later), and then decorate it. That way, I’m not scrambling while guests are walking in the door.
One thing I learned the hard way: Don’t put the decorated cheese ball back in the fridge for too long. The mozzarella web will start to dry out and look less appealing. If you need to make it ahead, keep the cheese ball plain in the fridge and add the web right before serving. Your future self will thank you.
Variations & Adaptations
This recipe is incredibly flexible, and I’ve tested several variations that all turned out great.
For a gluten-free version: The cheese ball itself is naturally gluten-free. Just be careful with your crackers—choose certified gluten-free options. I love using rice crackers or gluten-free pretzel thins. I’ve also served this with cucumber rounds and bell pepper strips for a completely grain-free option, and honestly, it might be my favorite way to eat it.
For a dairy-free adaptation: This one takes a little more work, but it’s possible. Use dairy-free cream cheese (I like Kite Hill or Miyoko’s) and a thick dairy-free yogurt like coconut-based yogurt. For the cheddar, there are some good plant-based shreds now—Violife is my go-to. The texture won’t be exactly the same, but the flavor is still delicious. I’ve made this for a friend with dairy allergies and she asked for the recipe, so that’s a win in my book.
For a spicy version: Add 1/2 teaspoon of cayenne pepper or a finely chopped jalapeño (seeds removed) to the cheese mixture. The heat pairs beautifully with the creamy base. I made this for a game day party and it disappeared faster than the original version.
For a herb-forward variation: Swap the chives for a mix of fresh dill, parsley, and basil. This gives the cheese ball a brighter, more garden-fresh flavor that’s perfect for spring or summer gatherings. I did this for a bridal shower and it was a hit.
For a sweet-savory twist: Add 1/4 cup of dried cranberries or chopped dried apricots to the cheese mixture. The sweetness contrasts beautifully with the sharp cheddar and garlic. I was skeptical about this one, but I tried it on a whim and now it’s my second favorite variation.
Serving & Storage Suggestions
This cheese ball is best served slightly chilled but not ice-cold. I recommend taking it out of the fridge about 15-20 minutes before serving. This allows the flavors to open up and the texture to become spreadable without getting mushy.
Arrange your crackers, vegetable sticks, and any other dippers around the cheese ball on a large platter. I like to create a little landscape—crackers on one side, cucumber rounds on the other, maybe some cherry tomatoes for color. The spiderweb design should be the star of the show, so keep the accompaniments simple.
For beverages, this cheese ball pairs beautifully with a crisp white wine like Sauvignon Blanc or a light, fruity red like Pinot Noir. If you’re serving non-alcoholic options, sparkling water with a splash of cranberry juice fits the Halloween theme nicely.
Storage: Leftover cheese ball (if you have any!) can be wrapped tightly in plastic wrap and stored in the refrigerator for up to 5 days. The spiderweb topping might lose some of its definition, but the flavor will still be great. I actually think the flavors get even better after a day or two—the garlic and herbs really meld together.
Freezing: You can freeze the undecorated cheese ball for up to 2 months. Wrap it tightly in plastic wrap, then in aluminum foil. To thaw, transfer it to the refrigerator overnight. Once thawed, let it come to room temperature for about 15 minutes, reshape it gently if needed, and then decorate. I’ve done this for holiday prep and it works perfectly.
Reheating: This is a cold appetizer, so no reheating needed! Just let it sit out for a bit before serving. If it’s been in the fridge for a few days and seems a little firm, let it sit at room temperature for 20-25 minutes instead of 15.
Nutritional Information & Benefits
Here’s the thing about this cheese ball—it’s indulgent, but it’s also packed with protein and calcium. Each serving (about 2 tablespoons, without crackers) contains approximately:
- Calories: 120-140
- Protein: 6-8 grams
- Fat: 10-12 grams
- Carbohydrates: 2-3 grams
- Calcium: 15% of your daily value
The Greek yogurt adds protein and probiotics, which are great for gut health. The garlic has natural antimicrobial properties, and the fresh chives provide a small amount of vitamins A and C. Is this a health food? No. But it’s a smarter choice than a lot of party appetizers, and it satisfies that craving for something creamy and savory without the heavy feeling.
If you’re watching your sodium intake, you can use reduced-sodium cheddar and skip the added salt. The Worcestershire sauce and garlic provide plenty of flavor on their own. I’ve made it this way for a friend with high blood pressure, and she couldn’t tell the difference.
This recipe is vegetarian-friendly, but it does contain dairy and gluten (depending on your crackers). For a fully gluten-free option, just choose your crackers carefully.
Conclusion
This Wholesome Spiderweb Cheese Ball with Crackers is more than just a Halloween appetizer—it’s a little piece of nostalgia that fits into your life right now. It’s creamy, savory, and just festive enough to feel special, but it comes together in under 30 minutes with ingredients you actually want to eat. I’ve made it for parties, for quiet nights in with my family, and for those moments when I just need something comforting and delicious.
I really hope you try this recipe and make it your own. Maybe you’ll add extra garlic, or swap the chives for dill, or create a different pattern on top. That’s the beauty of cooking—it’s never the same twice. And if you do make it, I’d love to hear how it turned out. Leave a comment below and tell me about your version. Did you add something unexpected? Did your kids help with the spiderweb? Did you serve it with something I haven’t thought of?
And if you’re looking for more easy, wholesome appetizers, check out my crispy garlic chicken for a main dish that pairs perfectly with leftovers from this cheese ball. Trust me, it’s a winning combination.
Happy Halloween, friends. Go make something delicious.
Frequently Asked Questions
Can I make this cheese ball ahead of time?
Absolutely! You can prepare the cheese ball base up to 2 days in advance. Just wrap it tightly in plastic wrap and keep it in the fridge. Add the spiderweb decoration no more than an hour before serving for the best visual effect.
What if I don’t have Greek yogurt? Can I use something else?
Yes, you can substitute sour cream or crème fraîche in equal amounts. The texture will be slightly richer and tangier, but it still works beautifully. I’ve also used plain cottage cheese blended smooth in a pinch—just make sure to drain any excess liquid first.
How do I get the cheese ball perfectly round?
Use the plastic wrap method I described in the instructions. Gather the edges of the plastic wrap and twist them together, then use your hands through the plastic to shape the ball. The wrap helps you get a smooth, even shape without getting your hands sticky. If it’s not perfectly round after chilling, you can gently reshape it with your hands before decorating.
Can I use pre-shredded cheese for this recipe?
You can, but I don’t recommend it. Pre-shredded cheese contains anti-caking agents like potato starch or cellulose, which can make the cheese ball grainy and prevent it from binding together smoothly. Shredding your own cheese from a block takes just a few extra minutes and makes a noticeable difference in texture.
What other decorations can I use instead of the spiderweb?
Get creative! You can press finely chopped nuts (pecans or walnuts work great) all over the outside for a classic cheese ball look. Or try rolling it in everything bagel seasoning for a savory twist. For Halloween, you could use sliced black olives arranged to look like spiders, or press candy corn around the base for a sweet-savory combo. The possibilities are endless.
Pin This Recipe!
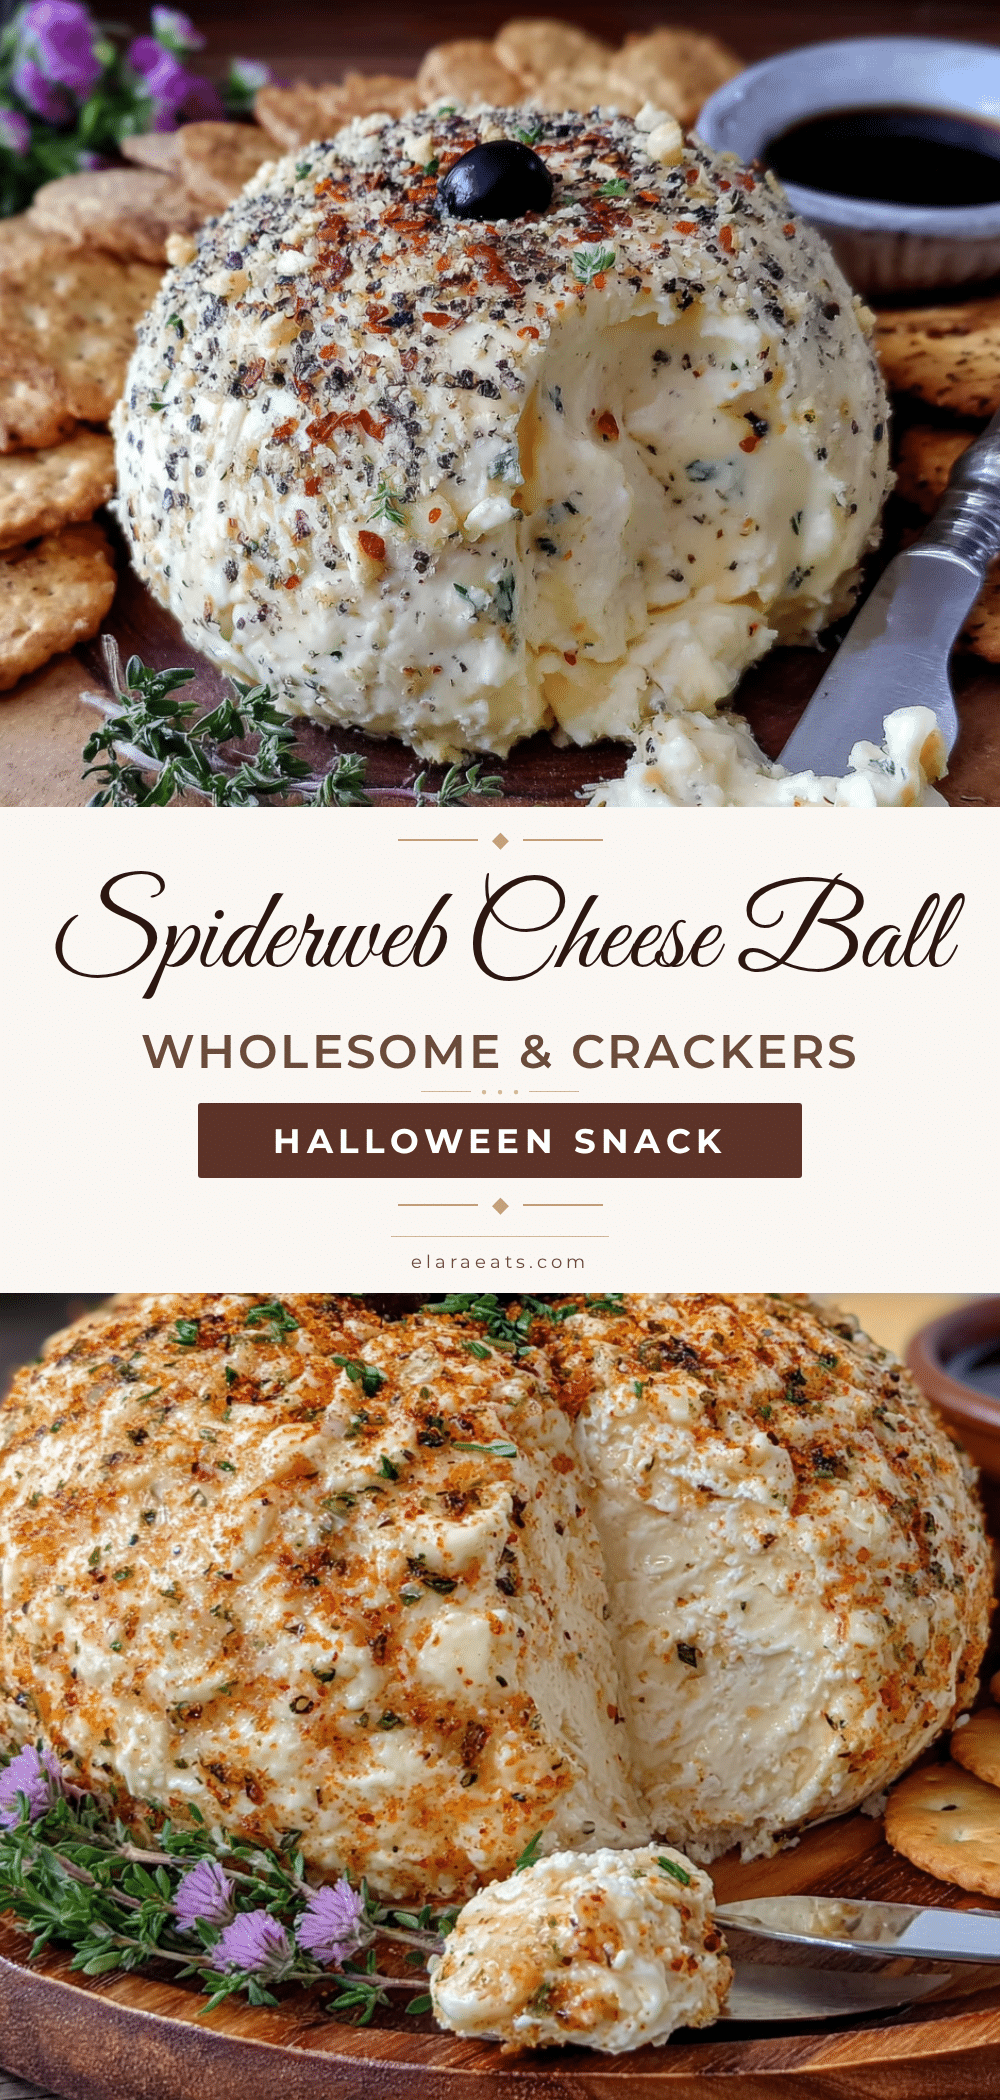
Wholesome Spiderweb Cheese Ball with Crackers: Easy Halloween Appetizer

A creamy, savory cheese ball with a festive spiderweb design, made lighter with Greek yogurt and fresh herbs. Perfect for Halloween gatherings and easy to prepare in under 30 minutes.
- Prep Time: 20 minutes
- Cook Time: 0 minutes
- Total Time: 2 hours 20 minutes (includes chilling)
- Yield: 8 servings 1x
- Category: Appetizer
- Cuisine: American
Ingredients
- 16 oz cream cheese, softened
- 1/2 cup plain Greek yogurt (full-fat or 2%)
- 1 1/2 cups sharp cheddar cheese, finely shredded
- 1/2 cup fresh chives, finely chopped
- 2 cloves garlic, minced
- 1 teaspoon Worcestershire sauce
- 1/2 teaspoon smoked paprika
- 1/4 teaspoon salt
- 1/4 teaspoon black pepper, freshly ground
- 1/2 cup mozzarella cheese, finely shredded (for spiderweb topping)
- 1 tablespoon black sesame seeds (optional, for spiderweb topping)
- Assorted crackers, vegetable sticks, or pretzels (for serving)
Instructions
- Soften the cream cheese: Take cream cheese out of fridge at least 30 minutes before starting. If in a hurry, microwave for 10-15 seconds on low power until soft but not melted.
- Combine base ingredients: In a large mixing bowl, add softened cream cheese, Greek yogurt, shredded cheddar, chopped chives, minced garlic, Worcestershire sauce, smoked paprika, salt, and pepper. Use a hand mixer on low speed to combine, then increase to medium speed and beat for about 2 minutes until smooth and creamy. Scrape down sides halfway through.
- Taste and adjust: Taste the mixture and adjust seasoning as needed (e.g., more salt, garlic, or smoked paprika).
- Shape the cheese ball: Lay out a large piece of plastic wrap on counter. Scoop cheese mixture onto center of wrap. Gather edges of wrap and twist gently to form a tight ball. Use hands through plastic to shape into a smooth, round sphere. Twist top of plastic wrap to seal.
- Chill for at least 2 hours: Place wrapped cheese ball in refrigerator. Minimum 2 hours; overnight is even better.
- Prepare spiderweb topping: About 15 minutes before serving, take chilled cheese ball out of fridge. Unwrap and place on serving platter. Have shredded mozzarella ready in a small bowl; break up any clumps with fingers.
- Create spiderweb pattern: Take small pinches of shredded mozzarella and gently press onto top of cheese ball, starting from center and working outward to create a web-like pattern (concentric circles with radiating lines). Use offset spatula or butter knife to gently press cheese into surface.
- Add spider details: Sprinkle black sesame seeds sparingly over mozzarella web. Optionally, place whole almonds or pretzel sticks around base to look like spider legs.
- Serve immediately or chill briefly: Arrange crackers and vegetable sticks around cheese ball. If waiting, refrigerate decorated cheese ball for up to 30 minutes (no longer to prevent mozzarella from drying out).
Notes
For best results, use full-fat cream cheese and shred your own cheddar from a block. The cheese ball can be made up to 2 days ahead (without decoration). Add spiderweb decoration no more than 1 hour before serving. Leftovers can be stored wrapped in plastic wrap in the refrigerator for up to 5 days. The undecorated cheese ball can be frozen for up to 2 months.
Nutrition
- Serving Size: 2 tablespoons (witho
- Calories: 130
- Sugar: 1
- Sodium: 220
- Fat: 11
- Saturated Fat: 6
- Carbohydrates: 2
- Protein: 7
Keywords: Halloween appetizer, cheese ball, spiderweb, easy appetizer, party food, cream cheese, Greek yogurt, cheddar, festive, no-bake


