Love this? Save it for later!
Share the inspiration with your friends
Introduction
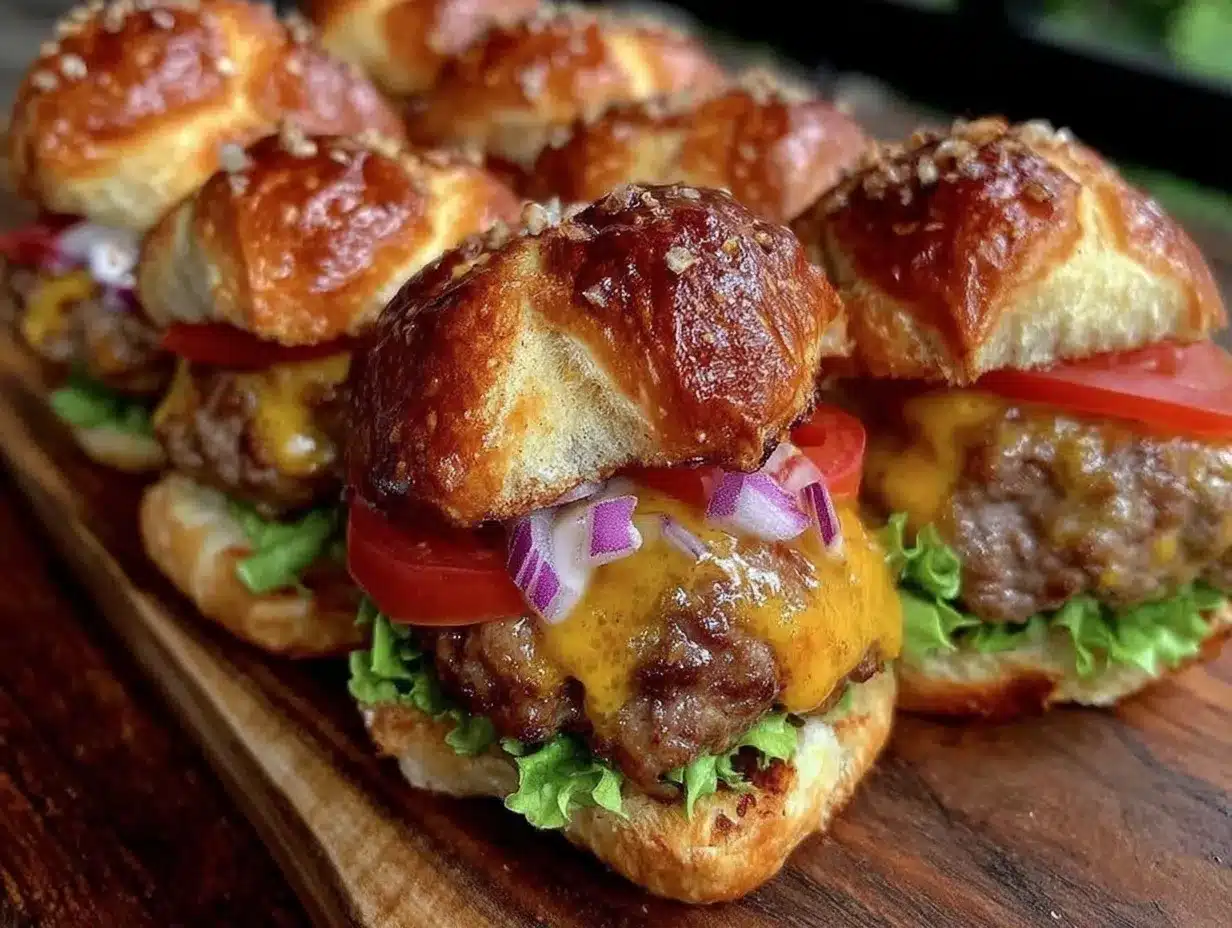
“You won’t believe it, but last Saturday afternoon, I found myself in a bit of a culinary pickle,” I told my friend Jenna over coffee last week. “I promised my nephew and his crew some fun finger food for their impromptu backyard hangout, but the fridge was practically empty.” Honestly, I wasn’t about to make the usual go-to snacks. Then, as I rummaged through the kitchen, I spotted a small pack of ground beef, some slider buns leftover from a party, and a handful of cheese slices. The next thing I knew, I was flipping these juicy mini burgers on the stove, and let me tell you—the kids went wild over them.
Maybe you’ve been there, too: scrambling to throw together something quick, tasty, and kid-approved when the clock’s ticking. These tasty hamburger sliders, juicy mini burgers that kids love, saved the day with zero fuss and maximum smiles. The best part? They’re perfect for those casual get-togethers or even a simple weeknight dinner when everyone’s too tired for anything complicated. There was even a moment when I forgot the cheese on one batch, and honestly, that happy accident turned out to be a surprisingly popular variation.
These sliders stuck with me because, well, they’re just so darn good and versatile. Whether you’re feeding a crowd or making a quick snack, they have that melt-in-your-mouth appeal with a little crunch from the toasted buns. So, if you’re ready to whip up a recipe that kids—and adults—will keep asking for, let’s get into these juicy mini burgers that truly are a crowd-pleaser.
Why You’ll Love This Recipe
After testing countless mini burger recipes, I can confidently say this one stands out for so many reasons. It’s not just about the taste (which, honestly, is incredible) but how easy and adaptable it is. I’ve had this recipe reviewed by both family members and a few fellow home cooks, and it’s always a hit. Here’s why you might want to make this your go-to slider recipe:
- Quick & Easy: Ready in under 30 minutes, perfect for busy days or last-minute plans.
- Simple Ingredients: No need to hunt down fancy stuff; you probably have everything in your pantry already.
- Perfect for Parties: Whether it’s a birthday, game night, or casual weekend hangout, these sliders shine.
- Crowd-Pleaser: Kids love the juicy mini burgers, and adults appreciate the classic, satisfying flavors.
- Unbelievably Delicious: The balance of juicy, seasoned beef with melted cheese and soft buns is pure comfort food.
What sets this recipe apart is the little trick of gently pressing the patties to just the right thickness and seasoning them with a blend I’ve tweaked over time, giving the sliders a perfectly seasoned crust while staying tender inside. Plus, toasting the buns lightly adds that extra layer of texture that makes every bite snackable and satisfying.
Honestly, it’s the kind of recipe that makes you close your eyes after the first bite—comfort food without the fuss. If you want a recipe that can make a simple meal feel special, or impress friends at your next gathering without stress, this one’s a total winner.
What Ingredients You Will Need
This recipe uses simple, wholesome ingredients to deliver bold flavor and satisfying texture without any fuss. Most of these are pantry basics or easy to find at any grocery store. Here’s what you’ll gather:
- Ground Beef (80/20 blend recommended): About 1 pound (450g) for juicy, flavorful mini burgers. I personally prefer grass-fed beef for richer taste.
- Slider Buns: 8 small buns, soft but sturdy enough to hold the juicy patties.
- Cheese Slices: 4 slices of cheddar or American (cut in half to fit sliders). You can swap for pepper jack for a little kick.
- Onion Powder: 1 teaspoon, adds subtle depth.
- Garlic Powder: 1 teaspoon, for that savory punch.
- Worcestershire Sauce: 1 tablespoon, boosts umami flavor.
- Salt and Pepper: To taste, freshly cracked pepper preferred.
- Butter or Oil: 1 tablespoon for toasting buns (unsalted butter recommended for richness).
- Optional Toppings: Pickles, ketchup, mustard, lettuce, or tomato slices—whatever your kids love!
For substitutions, you can use turkey or chicken ground meat if preferred, or even a plant-based alternative for a vegetarian twist. If you’re gluten-free, look for slider buns that fit your diet or try lettuce wraps instead. These easy swaps keep the recipe flexible without losing the juicy mini burger appeal.
Equipment Needed
- Large Skillet or Griddle: A heavy-bottomed skillet works best to get a nice sear on the patties. Cast iron is my go-to for even heat.
- Spatula: A sturdy, flat spatula helps flip the sliders without breaking them.
- Mixing Bowl: For combining ground beef and seasonings.
- Measuring Spoons: To get the seasoning just right.
- Knife and Cutting Board: For prepping optional toppings.
If you don’t have a cast iron skillet, a non-stick pan works fine—just watch your heat so the sliders don’t burn. No fancy tools needed here, which is why this recipe is great for any kitchen setup. Also, I keep a digital thermometer handy sometimes, but honestly, with these sliders, watching for that golden crust and a little springiness does the trick.
Preparation Method
- Mix the Meat: In a large bowl, combine 1 pound (450g) of ground beef with 1 teaspoon each of onion powder and garlic powder, 1 tablespoon Worcestershire sauce, and salt and pepper to taste. Use your hands to gently mix without overworking the meat—overmixing can make the sliders tough. This step should take about 3 minutes.
- Form the Patties: Divide the meat into 8 equal portions (about 2 ounces or 56g each). Roll each into a ball, then gently press into a flat patty roughly 3 inches (7.5cm) in diameter—slightly larger than your buns, as they’ll shrink when cooking. Make a small indentation in the center with your thumb to prevent puffing up. This shaping takes about 5-7 minutes.
- Preheat the Skillet: Heat your skillet over medium-high heat and add a tiny drizzle of oil or butter to coat the surface. You want it hot but not smoking—about 375°F (190°C) if you’re using a thermometer. This preheating takes 3-4 minutes.
- Cook the Patties: Place the patties in the pan, leaving a little space between each. Cook for about 3 minutes on the first side without moving them—this forms a nice crust. Flip carefully, then add half a cheese slice on each patty. Cook another 3 minutes for medium doneness. If you like your sliders more done, add another minute per side. Expect a total cook time of 6-8 minutes.
- Toast the Buns: While the patties cook, spread a little butter on the inside of each slider bun. After removing the patties, place the buns cut-side down in the same skillet for about 1 minute or until golden and slightly crispy.
- Assemble the Sliders: Layer your patties on the toasted buns, add toppings like pickles, ketchup, or lettuce as desired, and serve immediately. Kids love getting to build their own sliders!
Pro tip: If the patties start shrinking too much, chill them for 10 minutes before cooking next time. Also, resist the urge to press them down with the spatula while cooking—that squeezes out the juices and makes them dry.
Cooking Tips & Techniques
One thing I’ve learned from many slider attempts is to keep the meat handling gentle. Overmixing or compacting the patties too tightly makes them dense. Also, don’t skip the thumb dent trick; it really helps keep the shape intact and avoids those puffy burgers.
Getting the heat right is key. Medium-high heat gives you that golden crust without burning, but if your pan is too hot, the outsides cook too fast while the inside stays raw. Adjust your stove accordingly and keep an eye on the first batch—it’s your test run.
When to add cheese? Right after flipping the patties the first time, so it melts perfectly by the time the sliders finish cooking. If you want extra melty cheese, cover the pan with a lid for the last minute.
Finally, toasting the buns in the same pan so they soak up those beefy drippings is a simple trick that adds flavor and texture. I’ve made sliders without toasting the buns, and honestly, it’s just not the same.
Variations & Adaptations
- For a Healthier Twist: Use lean ground turkey or chicken instead of beef. Add finely chopped veggies like mushrooms or grated zucchini to the meat mix for extra moisture and nutrition.
- Spice It Up: Mix in some smoked paprika or cayenne pepper for a subtle kick. Swap cheddar for pepper jack cheese to elevate the flavor.
- Vegetarian Version: Try black bean or lentil patties seasoned similarly. Use dairy-free cheese if needed to keep it vegan-friendly.
One fun variation I tried recently was adding caramelized onions on top of the patties before assembling. It added a sweet contrast that the kids surprisingly loved, even the picky ones!
Serving & Storage Suggestions
Serve these tasty hamburger sliders hot off the stove, ideally with some crispy fries or a fresh salad. They’re perfect for casual gatherings, lunchboxes, or even game day snacks. You can add classic condiments like ketchup and mustard, or get creative with homemade aioli or barbecue sauce.
Leftovers store well in the refrigerator for up to 2 days. Keep patties and buns separate if possible to avoid sogginess. To reheat, warm the patties gently in a skillet over medium heat, then toast the buns briefly before assembling again. Microwave reheating is okay but might sacrifice texture a bit.
Flavors actually deepen after resting overnight, so these sliders can make a tasty next-day lunch as well.
Nutritional Information & Benefits
Each slider clocking in at roughly 150 calories (depending on toppings) offers a good balance of protein and fat, making it a satisfying snack or meal component. Using 80/20 ground beef provides iron and B vitamins essential for energy. Incorporating optional veggies boosts fiber and adds vitamins.
This recipe is naturally gluten-friendly if you choose gluten-free buns or lettuce wraps. It can suit low-carb diets with simple bun swaps. Just watch for allergens like dairy in cheese or gluten in some buns if you have sensitivities.
From a wellness perspective, these sliders provide a fun way to enjoy a protein-rich meal that kids actually want to eat, which is sometimes half the battle in family cooking.
Conclusion
If you’re after a simple, tasty recipe that your kids will love and that you can whip up without breaking a sweat, these tasty hamburger sliders are your answer. They strike the perfect balance of juicy, flavorful beef and soft, toasted buns—plus they’re endlessly customizable to fit your family’s tastes.
I keep coming back to this recipe because it’s reliable, quick, and honestly, it just feels right for so many occasions. So go ahead, make it your own, add your favorite toppings, and watch these juicy mini burgers disappear faster than you can say “seconds!”
Feel free to drop a comment below sharing your own slider twists or questions—I’d love to hear how you make these your own. Happy cooking!
FAQs
How do I keep sliders from falling apart?
Don’t overmix the meat and gently press patties without compacting too tightly. Also, the thumb indentation helps keep the shape stable while cooking.
Can I make sliders ahead of time?
Yes! You can form the patties and refrigerate them for up to 24 hours before cooking. Cook fresh for best results.
What’s the best way to reheat leftover sliders?
Warm patties in a skillet over medium heat and toast buns separately. Avoid microwaving if you want to keep the texture crisp.
Can I freeze these mini burgers?
Absolutely! Freeze cooked patties in an airtight container for up to 3 months. Thaw in the fridge before reheating.
What are some good side dishes to serve with sliders?
Crispy fries, coleslaw, or a simple green salad all pair wonderfully. For a kid-friendly touch, carrot sticks or apple slices work great too.
Pin This Recipe!
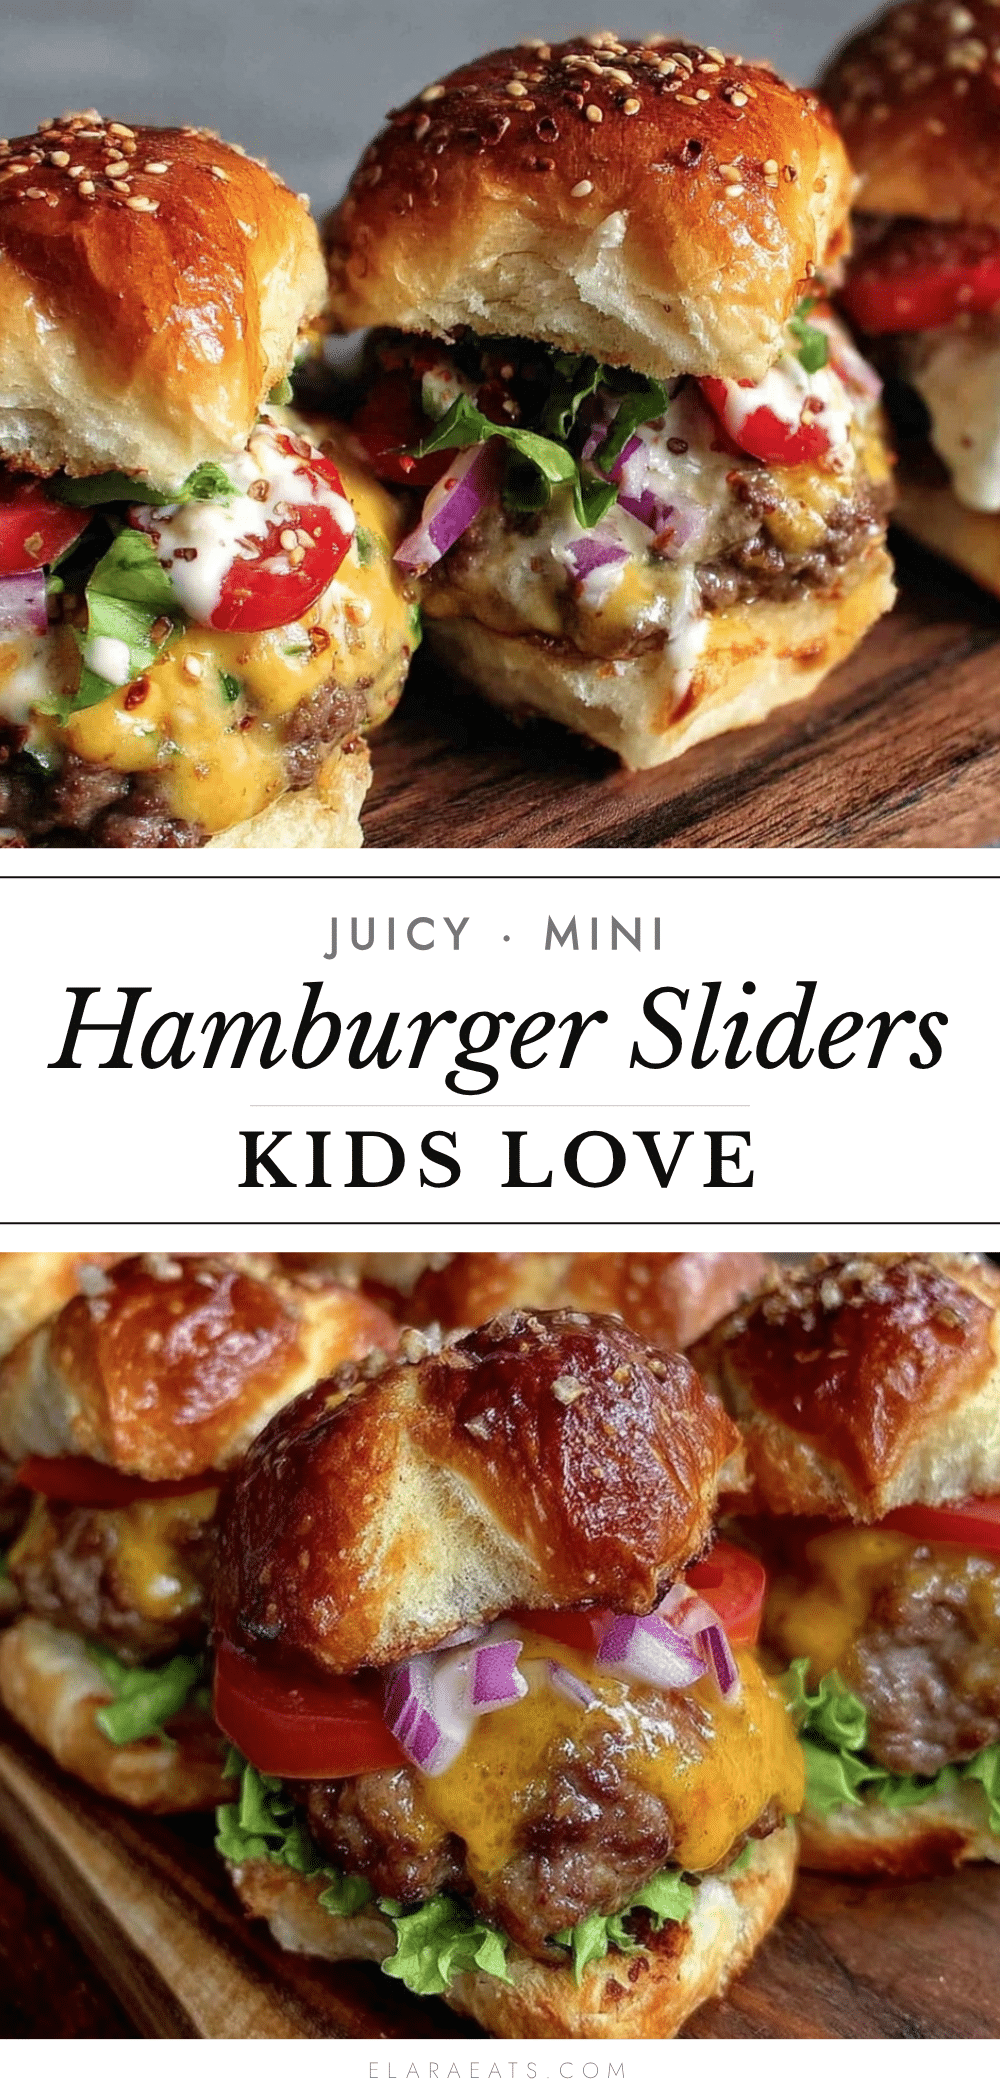
Tasty Hamburger Sliders Kids Love Easy Juicy Mini Burger Recipe

These juicy mini hamburger sliders are quick, easy, and kid-approved, perfect for casual get-togethers or simple weeknight dinners. Made with seasoned ground beef and toasted buns, they offer a melt-in-your-mouth experience with a satisfying crunch.
- Prep Time: 15 minutes
- Cook Time: 10 minutes
- Total Time: 25 minutes
- Yield: 8 sliders 1x
- Category: Main Course
- Cuisine: American
Ingredients
- 1 pound (450g) ground beef (80/20 blend recommended, grass-fed preferred)
- 8 slider buns, soft but sturdy
- 4 slices cheddar or American cheese, cut in half (optional: pepper jack for a kick)
- 1 teaspoon onion powder
- 1 teaspoon garlic powder
- 1 tablespoon Worcestershire sauce
- Salt and freshly cracked black pepper to taste
- 1 tablespoon unsalted butter or oil for toasting buns
- Optional toppings: pickles, ketchup, mustard, lettuce, tomato slices
Instructions
- In a large bowl, combine ground beef with onion powder, garlic powder, Worcestershire sauce, salt, and pepper. Mix gently by hand without overworking the meat (about 3 minutes).
- Divide the meat into 8 equal portions (about 2 ounces or 56g each). Roll into balls and gently press into flat patties about 3 inches in diameter. Make a small indentation in the center with your thumb to prevent puffing (5-7 minutes).
- Preheat a large skillet or griddle over medium-high heat. Add a small amount of butter or oil to coat the surface and heat until hot but not smoking (about 3-4 minutes).
- Place patties in the skillet with space between each. Cook for 3 minutes on the first side without moving to form a crust. Flip carefully, add half a cheese slice on each patty, and cook another 3 minutes for medium doneness (6-8 minutes total). Add extra time if you prefer more done.
- While patties cook, spread butter on the inside of each slider bun. After removing patties, toast buns cut-side down in the same skillet for about 1 minute until golden and slightly crispy.
- Assemble sliders by layering patties on toasted buns and adding desired toppings. Serve immediately.
Notes
Do not overmix the meat to keep sliders tender. Make a thumb indentation in patties to prevent puffing. Toast buns in the same pan to soak up beef drippings. Chill patties if they shrink too much before cooking. Avoid pressing patties while cooking to retain juices. For extra melty cheese, cover pan with lid for last minute.
Nutrition
- Serving Size: 1 slider
- Calories: 150
- Sugar: 2
- Sodium: 300
- Fat: 10
- Saturated Fat: 4
- Carbohydrates: 10
- Fiber: 1
- Protein: 9
Keywords: hamburger sliders, mini burgers, kid-friendly, quick recipe, easy dinner, party food, juicy burgers