Love this? Save it for later!
Share the inspiration with your friends
My book club was in four hours and I’d completely forgotten I was supposed to bring the snack. Everyone else would be showing up with fancy charcuterie boards and those little puff pastry things that take all day. I had a stick of butter, half a bag of chocolate chips, and exactly zero motivation to go to the grocery store. Honestly, I almost just grabbed a bag of chips from the pantry. But then I remembered this tiny recipe I’d been tinkering with – a perfect small-batch chocolate chip cookies situation that I’d sort of stumbled onto during a lonely quarantine afternoon. It only makes six cookies, which felt almost embarrassing to bring to a group of eight women. I mean, who brings six cookies to a book club?
I baked them anyway, mostly because I didn’t have a better plan. The kitchen smelled amazing, which at least made me feel better about my lack of preparation. I arranged them on a plate, feeling a little silly, and headed over to Sarah’s house. You know that feeling when you show up with something and you’re already making excuses in your head? That was me. “They’re just cookies,” I said, setting them down next to a gorgeous brie platter. “I ran out of time.”
Well, let me tell you – those six cookies disappeared in about four minutes flat. Sarah’s husband came out from the den and asked if there were more. There weren’t. Someone actually suggested we skip the discussion and just talk about the cookies instead. That night, I learned something important: sometimes the best things come in small batches. These perfect small-batch chocolate chip cookies have bailed me out of more last-minute situations than I can count, and they’ve become my go-to when I want something homemade without committing to three dozen. There’s something special about a recipe that’s just for now, you know?
Why You’ll Love This Recipe
Let me tell you why this recipe has become a staple in my kitchen, and why I think it’ll become one in yours too. I’ve tested this exact formula at least a dozen times, tweaking the butter temperature and the rest time until it was just right. This isn’t one of those recipes that promises the world and delivers a flat, sad cookie. These are the real deal.
- Quick & Easy: From start to finish, you’re looking at about 20 minutes. No chilling required (though I’ll share a tip for that later if you want extra chewiness). Perfect for those “I need cookies NOW” moments.
- Simple Ingredients: You probably have everything in your kitchen right now. Butter, sugar, flour, an egg, chocolate chips. That’s it. No weird extracts or specialty flours needed.
- Perfect for Small Cravings: This makes exactly six cookies. Not three dozen that will go stale before you finish them. Not a single cookie that leaves you wanting more. Six is the magic number.
- Crowd-Pleaser: I’ve brought these to potlucks, office meetings, and family dinners. They always get that “wait, you made these?” reaction. People can’t believe something so simple tastes this good.
- Unbelievably Delicious: The edges are perfectly crispy, the centers are soft and gooey, and the chocolate melts into pools of goodness. It’s everything you want in a chocolate chip cookie, just in a smaller package.
What makes this recipe different from all the other chocolate chip cookie recipes out there? It’s the ratio. I spent weeks tweaking the butter-to-flour ratio and the sugar balance until I got that perfect texture – crispy on the outside, soft on the inside, and just the right amount of sweetness. Plus, I use a trick with the egg that gives these cookies a richness that’s hard to achieve with standard recipes. Trust me, this isn’t just another version of the same old cookie. This is the version you’ll come back to again and again.
What Ingredients You Will Need
This recipe uses simple, everyday ingredients to create something truly special. Each one plays an important role in getting that perfect texture and flavor. Here’s what you’ll need:
For the Cookie Dough
- 4 tablespoons unsalted butter, softened to room temperature (I prefer Kerrygold for its rich flavor, but any good-quality butter works)
- ¼ cup granulated sugar (adds crispness to the edges)
- ¼ cup packed light brown sugar (adds moisture and chewiness – don’t skip this!)
- 1 large egg yolk (save the white for an omelet or discard it – using just the yolk gives a richer, more tender cookie)
- ½ teaspoon vanilla extract (pure vanilla extract makes a difference here)
- ¾ cup all-purpose flour (spoon and level it – don’t scoop directly from the bag)
- ¼ teaspoon baking soda (make sure it’s fresh for proper rise)
- ¼ teaspoon salt (I use fine sea salt, but kosher salt works too)
- ½ cup semi-sweet chocolate chips (I love Ghirardelli, but use your favorite brand – you can even chop up a chocolate bar for bigger chunks)
Ingredient Tips & Substitutions
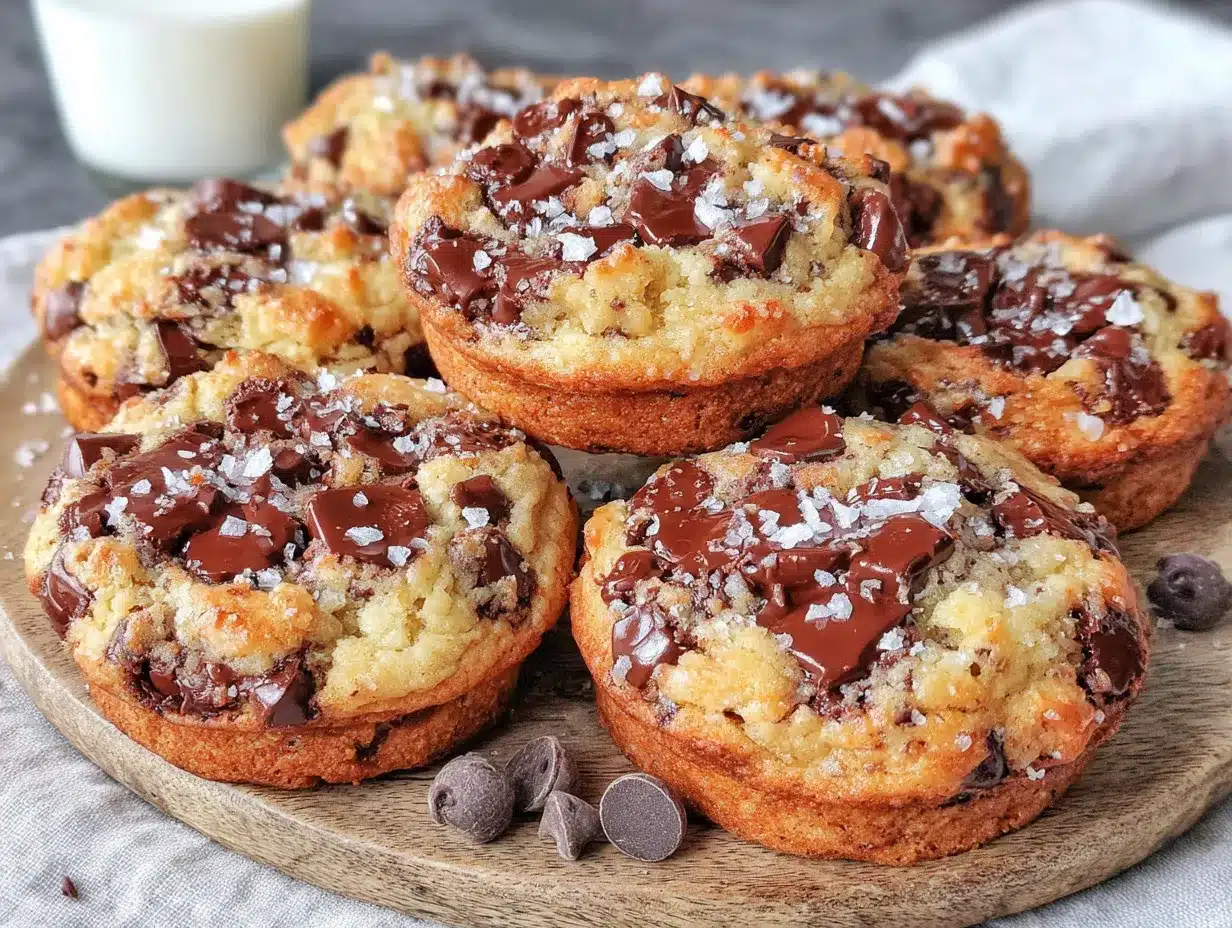
For the butter, make sure it’s truly softened – you should be able to press your finger into it and leave an indent, but it shouldn’t be melty. If you’re in a hurry, cut the butter into small cubes and let it sit for 10 minutes. For the brown sugar, light or dark both work, but dark brown sugar will give you a deeper, more molasses-y flavor. If you’re out of brown sugar, you can mix ¼ cup white sugar with 1 teaspoon molasses as a quick substitute.
For a gluten-free version, swap the all-purpose flour with a 1-to-1 gluten-free baking flour blend. I’ve had good results with Bob’s Red Mill. For a dairy-free option, use vegan butter sticks (not the spreadable kind in a tub) – just make sure it’s softened properly. The egg yolk is harder to substitute, but you can try using 1 tablespoon of aquafaba (chickpea water) mixed with ½ teaspoon of cornstarch for a vegan version. The texture won’t be exactly the same, but it’ll still be delicious.
Equipment Needed
You don’t need fancy equipment for these cookies, which is part of their charm. Here’s what you’ll need:
- Mixing bowls: One medium bowl for the dry ingredients and one small bowl for the wet ingredients. I use my grandmother’s old ceramic bowls, but any mixing bowls work fine.
- Electric hand mixer or wooden spoon: I actually prefer a wooden spoon for this small batch – it’s less cleanup and gives you more control. But a hand mixer works if you want it done faster.
- Baking sheet: A standard half-sheet pan works perfectly. If you only have a dark non-stick pan, keep an eye on the cookies – they’ll brown faster.
- Parchment paper or silicone baking mat: This prevents sticking and makes cleanup a breeze. I’ve used both and honestly prefer parchment for the crispier bottoms.
- Cookie scoop or tablespoon: For evenly sized cookies. A 1.5-tablespoon scoop is perfect for this recipe.
- Cooling rack: Essential for getting those crispy edges. If you don’t have one, let them cool on the baking sheet for 5 minutes, then carefully transfer to a plate.
- Measuring cups and spoons: Accurate measurements matter in baking. I use stainless steel ones that have lasted for years.
Budget-friendly tip: You don’t need to buy a fancy cookie scoop. Two regular tablespoons work just fine for portioning the dough. And if you don’t have a cooling rack, you can use the wire rack from your toaster oven or just let them cool on the baking sheet (they’ll be slightly softer on the bottom, which isn’t necessarily a bad thing).
Preparation Method
Alright, let’s make some cookies! Follow these steps carefully, and you’ll have perfect small-batch chocolate chip cookies in no time.
- Preheat your oven to 350°F (175°C) and line your baking sheet with parchment paper. I always do this first because the oven needs time to come to temperature, and you want it ready when your dough is ready.
- Cream the butter and sugars together. In a medium bowl, beat the softened butter with the granulated sugar and brown sugar until light and fluffy. This takes about 2-3 minutes with a hand mixer, or 3-4 minutes with a wooden spoon. You’re looking for a pale, creamy mixture that’s increased in volume. Don’t rush this step – proper creaming is what gives cookies their structure. I once rushed through this and ended up with flat, greasy cookies. Learn from my mistake!
- Add the egg yolk and vanilla. Drop in the egg yolk and vanilla extract, then mix until just combined. The mixture might look a little curdled at this point – that’s totally normal. Don’t overmix, or you’ll develop too much gluten later. Just mix until the yolk disappears into the butter mixture.
- Whisk the dry ingredients together. In a separate small bowl, whisk together the flour, baking soda, and salt. This ensures the baking soda and salt are evenly distributed throughout the flour. I use a fork for this since it’s such a small amount – less to wash later!
- Combine wet and dry ingredients. Add the flour mixture to the butter mixture in two additions, mixing gently after each. Use a spatula or wooden spoon for this – you want to fold the flour in until just a few streaks remain. Overmixing at this stage will make your cookies tough. Remember, we’re making cookies, not bread dough.
- Fold in the chocolate chips. Add the chocolate chips and fold them in with a few gentle strokes. Make sure they’re evenly distributed throughout the dough. If you’re feeling fancy, reserve a few chips to press into the tops of the dough balls before baking – it makes them look bakery-style pretty.
- Portion the dough. Using a cookie scoop or two tablespoons, scoop out 6 equal portions of dough. Each portion should be about 2 tablespoons. Place them on the prepared baking sheet, spacing them about 2 inches apart. These cookies will spread, so don’t crowd them. I usually fit all 6 on one standard half-sheet pan.
- Optional: Chill the dough. If you have an extra 30 minutes, pop the baking sheet in the refrigerator. Chilled dough spreads less and results in thicker, chewier cookies. I do this when I want that bakery-style thickness. But honestly, they’re fantastic straight from mixing bowl to oven too.
- Bake for 10-12 minutes. Bake until the edges are golden brown and the centers look slightly underdone and puffy. The cookies will continue to cook on the hot baking sheet after you take them out. For soft, gooey centers, pull them at 10 minutes. For crispier cookies, go for 12. My sweet spot is 11 minutes – the edges are perfectly crispy, and the centers are still soft.
- Cool on the baking sheet for 5 minutes. This is crucial! The cookies need this time to set up properly. Don’t try to move them right away – they’ll fall apart. After 5 minutes, transfer them to a cooling rack to finish cooling. Or, you know, eat one warm. I won’t tell anyone.
Cooking Tips & Techniques
After making these cookies more times than I can count, I’ve picked up a few tricks that make a real difference. Here are my best tips for cookie success:
Use room temperature ingredients. I know, I know, everyone says this. But it really matters. Cold butter won’t cream properly, and cold egg yolk can seize the butter mixture. If you forgot to take your butter out ahead of time, cut it into small cubes and microwave it in 5-second bursts until it’s soft but not melted. For the egg yolk, just let it sit in a small bowl while you prep everything else.
Weigh your flour if you can. This is the biggest game-changer in baking. A cup of flour can weigh anywhere from 120 to 150 grams depending on how you scoop it. For these cookies, ¾ cup should be about 90 grams. If you don’t have a scale, spoon the flour into your measuring cup and level it off with a knife. Never scoop directly from the bag – that packs the flour and gives you too much, resulting in dry, cakey cookies.
Don’t overbake. This is the most common mistake I see. People wait until the cookies look “done” in the oven, but by the time they cool, they’re overbaked and hard. Pull them when the edges are set and golden but the centers still look soft and slightly underdone. They’ll continue cooking from the residual heat of the baking sheet. Trust the process!
Tap the baking sheet. Here’s a pro trick I learned from a pastry chef: when the cookies come out of the oven, gently tap the baking sheet on the counter a couple of times. This deflates the cookies slightly, creating those beautiful rippled edges and a denser, chewier center. It sounds weird, but it works.
Make a double batch if you’re feeling generous. This recipe doubles beautifully. Just use the whole egg instead of just the yolk, and increase everything else proportionally. The cookies will be slightly less rich but still delicious. I’ve done this for holiday cookie exchanges and it works perfectly.
Variations & Adaptations
One of the best things about this recipe is how adaptable it is. Here are some of my favorite variations:
Double Chocolate Chip Cookies: Replace 2 tablespoons of the flour with 2 tablespoons of unsweetened cocoa powder. Use white chocolate chips instead of semi-sweet for a gorgeous contrast. These taste like brownies in cookie form – dangerously good.
Nutty Chocolate Chip Cookies: Reduce the chocolate chips to ⅓ cup and add ¼ cup of toasted chopped walnuts or pecans. Toast the nuts first in a dry pan for 3-4 minutes until fragrant – it makes a huge difference in flavor. I love this version for fall baking.
Gluten-Free Version: As mentioned earlier, use a 1-to-1 gluten-free baking flour blend. I’ve found that adding an extra tablespoon of the blend helps with structure. Let the dough rest for 15 minutes before baking to allow the gluten-free flour to hydrate properly. The texture will be slightly more delicate, but they’re still incredible.
Sea Salt Finish: Just before baking, sprinkle a tiny pinch of flaky sea salt on top of each dough ball. The salt enhances the chocolate flavor and balances the sweetness. Maldon sea salt is my go-to, but any flaky salt works. This is my favorite variation – it makes the cookies taste like they came from a fancy bakery.
Brown Butter Version: For a nutty, deeply flavored cookie, brown the butter before using it. Melt the butter in a small saucepan over medium heat, swirling occasionally, until it turns golden brown and smells nutty (about 5-7 minutes). Let it cool completely before using – you can pop it in the fridge for 10 minutes to speed this up. This adds a whole new dimension of flavor that’s absolutely worth the extra step.
Serving & Storage Suggestions
These cookies are best served warm, when the chocolate is still melty and the edges are perfectly crisp. If you’re serving them to guests, pop them in a 300°F oven for 3-4 minutes to warm them up – they’ll taste freshly baked. I like to serve them with a cold glass of milk or a hot cup of coffee. For a real treat, sandwich two cookies with a scoop of vanilla ice cream for the best ice cream sandwich you’ve ever had.
For storage, keep the cookies in an airtight container at room temperature. They’ll stay fresh for up to 3 days, though honestly, they never last that long in my house. If you want to keep them longer, you can freeze the baked cookies for up to 3 months. Just wrap them individually in plastic wrap and store them in a freezer bag. Thaw at room temperature for about 30 minutes, then warm them in the oven for a few minutes.
Here’s a pro tip: the flavors actually develop and deepen over the first 24 hours. The cookies are amazing fresh, but they’re even better the next day. Something magical happens as the moisture redistributes and the flavors meld together. If you can resist eating them all on day one, you’re in for a treat on day two.
You can also freeze the raw dough balls for fresh cookies anytime. Scoop the dough onto a baking sheet, freeze until solid, then transfer to a freezer bag. When you want cookies, just bake them straight from frozen – add 2-3 minutes to the baking time. This is my secret for having fresh cookies ready in 15 minutes whenever the craving strikes.
Nutritional Information & Benefits
Per cookie (based on 6 cookies), here’s the approximate nutritional breakdown:
- Calories: 280
- Total Fat: 15g
- Saturated Fat: 9g
- Cholesterol: 55mg
- Sodium: 180mg
- Total Carbohydrates: 35g
- Dietary Fiber: 2g
- Sugars: 22g
- Protein: 4g
While these aren’t health food by any stretch, they do have some redeeming qualities. Dark chocolate is rich in antioxidants and can help improve heart health. The butter provides fat-soluble vitamins A, D, E, and K. And let’s be honest – sometimes the mental health benefits of a warm, homemade cookie are worth more than any nutritional statistic. These cookies are made with real, recognizable ingredients – no preservatives, no artificial flavors, just simple food made with love.
If you’re watching your sugar intake, you can reduce the granulated sugar to 3 tablespoons and the brown sugar to 3 tablespoons. The cookies will be slightly less sweet and a bit more cakey, but they’ll still satisfy that cookie craving. For a lower-fat version, you can substitute half the butter with unsweetened applesauce, but the texture will be significantly different – more like a soft cookie-cake hybrid.
Conclusion
These perfect small-batch chocolate chip cookies have become my emergency recipe, my comfort recipe, and my “I want to impress someone without trying too hard” recipe all rolled into one. They’ve saved me from more last-minute situations than I can count, and they’ve never let me down. There’s something deeply satisfying about making exactly six cookies – no leftovers to tempt you, no waste, just the perfect amount of homemade goodness.
I hope you’ll give them a try, whether you’re in a time crunch like I was that day or you just want a small batch of something special. Feel free to make them your own – add nuts, swap the chocolate, sprinkle on some sea salt. That’s the beauty of a simple recipe: it’s a starting point for your own creativity.
I’d love to hear how they turn out for you! Drop a comment below and let me know if you tried any variations, or share your own tips for the perfect chocolate chip cookie. And if you’re looking for more small-batch baking inspiration, check out my small-batch brownies recipe – they’re just as easy and just as satisfying. Happy baking, friends!
Frequently Asked Questions
Can I use margarine instead of butter?
You can, but the texture won’t be the same. Butter gives cookies that rich flavor and crispy-yet-chewy texture. Margarine has a higher water content, which can make cookies spread more and become greasy. If you must use margarine, use stick margarine (not the tub kind) and expect flatter, softer cookies.
Why did my cookies turn out flat?
Flat cookies usually happen for one of three reasons: your butter was too soft or melted, you didn’t use enough flour (remember to spoon and level!), or your baking soda is old. Check the expiration date on your baking soda – if it’s more than 6 months old, it might not have enough leavening power. Also, make sure you’re not overmixing the dough after adding the flour.
Can I make these cookies without an electric mixer?
Absolutely! I actually prefer making them by hand with a wooden spoon. The key is to make sure your butter is properly softened so you can cream it with the sugars easily. It takes a bit more elbow grease, but there’s something meditative about mixing cookie dough by hand. Plus, less cleanup!
How do I get thicker, bakery-style cookies?
For thicker cookies, chill the dough for at least 30 minutes before baking. This solidifies the butter, which means the cookies spread less in the oven. You can also try using slightly more flour – add an extra tablespoon and see if you like the results. Another trick is to shape the dough balls taller rather than wider – almost like little cylinders instead of balls.
Can I double this recipe?
Yes! This recipe doubles perfectly. When doubling, use 1 whole egg instead of 2 egg yolks (the white adds structure for the larger batch). Everything else just doubles. You’ll get 12 perfect cookies – still a manageable batch, but enough to share with friends or freeze some for later.
Pin This Recipe!
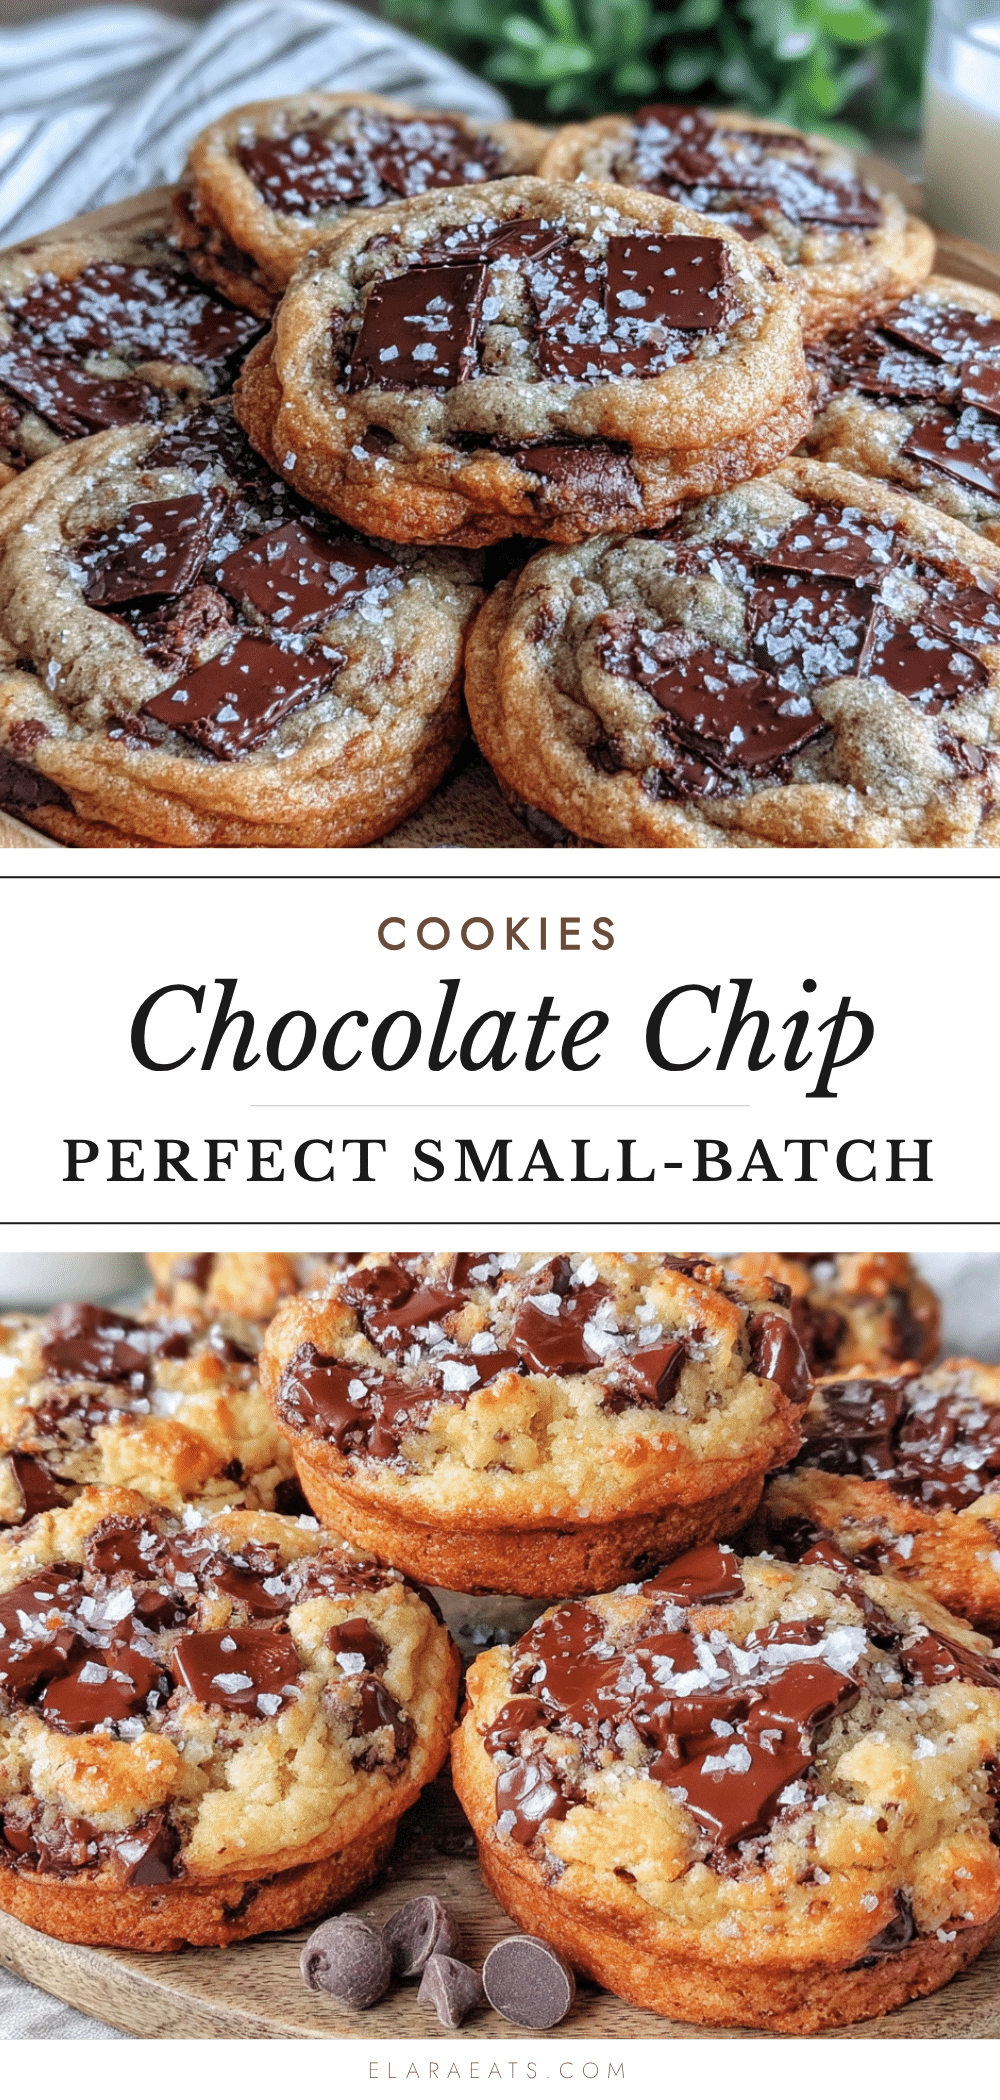
Perfect Small-Batch Chocolate Chip Cookies: Easy 6-Cookie Recipe
This small-batch chocolate chip cookie recipe makes exactly six perfect cookies with crispy edges, soft gooey centers, and melty chocolate. Ready in about 20 minutes with simple ingredients, it’s the ideal solution for last-minute cravings or small gatherings.
- Prep Time: 10 minutes
- Cook Time: 11 minutes
- Total Time: 21 minutes
- Yield: 6 cookies 1x
- Category: Dessert
- Cuisine: American
Ingredients
- 4 tablespoons unsalted butter, softened to room temperature
- ¼ cup granulated sugar
- ¼ cup packed light brown sugar
- 1 large egg yolk
- ½ teaspoon vanilla extract
- ¾ cup all-purpose flour
- ¼ teaspoon baking soda
- ¼ teaspoon salt
- ½ cup semi-sweet chocolate chips
Instructions
- Preheat your oven to 350°F (175°C) and line your baking sheet with parchment paper.
- Cream the butter and sugars together: In a medium bowl, beat the softened butter with the granulated sugar and brown sugar until light and fluffy (about 2-3 minutes with a hand mixer or 3-4 minutes with a wooden spoon).
- Add the egg yolk and vanilla: Drop in the egg yolk and vanilla extract, then mix until just combined.
- Whisk the dry ingredients together: In a separate small bowl, whisk together the flour, baking soda, and salt.
- Combine wet and dry ingredients: Add the flour mixture to the butter mixture in two additions, mixing gently after each until just a few streaks remain.
- Fold in the chocolate chips: Add the chocolate chips and fold them in with a few gentle strokes until evenly distributed.
- Portion the dough: Using a cookie scoop or two tablespoons, scoop out 6 equal portions (about 2 tablespoons each) and place them on the prepared baking sheet, spacing about 2 inches apart.
- Optional: Chill the dough for 30 minutes for thicker, chewier cookies.
- Bake for 10-12 minutes until edges are golden brown and centers look slightly underdone and puffy.
- Cool on the baking sheet for 5 minutes, then transfer to a cooling rack to finish cooling.
Notes
For thicker, bakery-style cookies, chill the dough for 30 minutes before baking. For a pro finish, gently tap the baking sheet on the counter after removing from the oven to create rippled edges. Cookies are best served warm; reheat in a 300°F oven for 3-4 minutes. Store in an airtight container at room temperature for up to 3 days, or freeze baked cookies for up to 3 months. The flavors develop and deepen over the first 24 hours.
Nutrition
- Serving Size: 1 cookie
- Calories: 280
- Sugar: 22
- Sodium: 180
- Fat: 15
- Saturated Fat: 9
- Carbohydrates: 35
- Fiber: 2
- Protein: 4
Keywords: small-batch chocolate chip cookies, easy cookie recipe, 6-cookie recipe, quick cookies, homemade cookies, chocolate chip cookies