Love this? Save it for later!
Share the inspiration with your friends
The fall bake sale was in six hours and I’d completely forgotten. I mean, I’d been so busy with work and the kids that the PTA email had slipped right through the cracks. Everyone else would be bringing those gorgeous, intricate pies and perfectly frosted layer cakes. I had a half-empty bag of chocolate chips, a can of pumpkin puree from last Thanksgiving, and a desperate hope that something edible could come out of this mess.
Honestly, I was this close to just grabbing a store-bought pack of cookies and calling it a day. But then I spotted the cinnamon and sugar on my spice rack, and a memory hit me—my grandmother’s snickerdoodles. They were always soft, chewy, and rolled in that glorious cinnamon-sugar coating. I figured, why not try adding pumpkin and chocolate chips? It could be a disaster, but it was my only shot.
So, there I was, frantically mixing dough in my cramped kitchen, my toddler trying to “help” by dumping flour on the floor. The first batch came out a little flat, but the smell was incredible—like autumn had exploded in my oven. The second batch, after a quick chilling session, turned out perfect. I threw them on a plate, ran to the bake sale, and set them down next to the fancy desserts, feeling a bit sheepish.
You know that feeling when you’re the underdog? Well, those cookies were gone in twenty minutes. People kept coming up to me, asking for the recipe. I was genuinely shocked. These pumpkin chocolate chip snickerdoodle cookies—born from panic and pantry scraps—ended up being the star of the show. That’s why I keep making them. They’re a reminder that sometimes the best things come from a little chaos, and they always bring that same surprised, delighted smile to people’s faces.
Why You’ll Love This Recipe
Let me tell you, after countless batches and a few happy accidents, I’ve perfected these cookies. They are not just another pumpkin cookie; they are the best version. Here is why you will absolutely fall for them:
- Quick & Easy: From start to finish, you can have a batch ready in about 30 minutes. Perfect for those last-minute cravings or when you need a dessert in a hurry.
- Simple Ingredients: You likely have most of these items in your pantry already. No need for a special trip to the store for weird, hard-to-find ingredients.
- Perfect for Fall: These are the ultimate cookie for Halloween parties, Thanksgiving gatherings, or just a cozy night in with a hot cup of cider.
- Crowd-Pleaser: I’ve brought these to potlucks, office parties, and family dinners. They get rave reviews from kids and adults alike. The combination of pumpkin, chocolate, and cinnamon-sugar is a total winner.
- Unbelievably Delicious: The texture is soft and chewy in the middle with a slightly crisp edge. The pumpkin keeps them moist, and the chocolate chips add the perfect amount of richness. That cinnamon-sugar coating? It’s the crunchy, sweet hug these cookies deserve.
What makes these different is the technique. Instead of just mixing everything together, we chill the dough for a bit. This prevents the cookies from spreading too much, giving you that perfect, bakery-style thickness. Plus, the blend of pumpkin puree and a touch of brown sugar creates a depth of flavor that you just don’t get from other recipes. This isn’t just a cookie; it’s a little piece of comfort that makes you close your eyes after the first bite. It’s fall in your mouth, and it’s absolutely perfect for impressing guests without any of the stress.
What Ingredients You Will Need
This recipe uses simple, wholesome ingredients to deliver that incredible flavor and satisfying texture. Most of these are pantry staples, making this an easy weeknight bake.
- All-Purpose Flour: 2 ¼ cups (280g). This gives the cookies structure. Spoon and level it for the best results.
- Baking Soda: 1 teaspoon. This helps the cookies spread and become chewy.
- Baking Powder: ½ teaspoon. Adds a little lift so they aren’t too dense.
- Ground Cinnamon: 1 teaspoon. For that classic snickerdoodle warmth.
- Pumpkin Pie Spice: 1 teaspoon. Use a good brand like McCormick or make your own. It brings all those cozy fall flavors.
- Salt: ½ teaspoon. Balances the sweetness and enhances all the other flavors.
- Unsalted Butter: ½ cup (1 stick, 113g), softened to room temperature. I prefer unsalted so I can control the salt level. Let it sit out for 30 minutes.
- Granulated Sugar: ½ cup (100g). For sweetness and a bit of structure.
- Packed Light Brown Sugar: ½ cup (100g). This adds moisture and a deeper, caramel-like flavor. Don’t skip it!
- Pumpkin Puree: ½ cup (120g). Make sure it’s 100% pure pumpkin, not pumpkin pie filling. I like Libby’s brand for its consistent texture.
- Large Egg: 1, at room temperature. It binds everything together.
- Vanilla Extract: 1 teaspoon. Pure vanilla is best, but imitation works fine.
- Semi-Sweet Chocolate Chips: 1 cup (175g). I find semi-sweet balances the sweetness of the cookie perfectly. Feel free to use milk or dark chocolate if you prefer.
For the Cinnamon-Sugar Coating:
- Granulated Sugar: ¼ cup (50g).
- Ground Cinnamon: 1 ½ teaspoons.
Substitution Guidance: If you want a gluten-free option, you can substitute the all-purpose flour with a 1:1 gluten-free baking flour blend. For a dairy-free version, use a plant-based butter stick. The texture might be slightly different, but they will still be delicious. I’ve also successfully swapped the egg with a flax egg (1 tablespoon ground flaxseed mixed with 3 tablespoons water) for a vegan version, though the cookies are a bit less tender.
Equipment Needed
You don’t need any fancy gadgets for these cookies, which is one of the things I love about them. Here is what you will need:
- Large Mixing Bowls: One for the dry ingredients and one for the wet ingredients. I use a classic set of Pyrex bowls.
- Electric Hand Mixer or Stand Mixer: While you can mix by hand with a wooden spoon, a mixer makes creaming the butter and sugars much easier and faster. I’ve done it both ways, and the mixer gives a fluffier result.
- Whisk: For combining the dry ingredients evenly.
- Rubber Spatula: Essential for scraping down the sides of the bowl and folding in the chocolate chips.
- Baking Sheets: I recommend two light-colored, rimmed baking sheets. Dark sheets can cause the bottoms to brown too quickly.
- Parchment Paper or Silicone Baking Mat: This prevents sticking and makes for easy cleanup. I prefer parchment paper for the crispiest edges.
- Cookie Scoop (approx. 1.5 tablespoons): This ensures all your cookies are the same size, so they bake evenly. A regular tablespoon works too, but a scoop is more consistent.
- Cooling Rack: A wire rack is crucial for letting the cookies cool properly without getting soggy on the bottom.
A quick tip: if you don’t have a cookie scoop, just use two spoons to drop the dough. It takes a little more time, but it works perfectly fine. And honestly, I’ve had my cheap baking sheets for years, and they still work great. You don’t need to break the bank on equipment.
Preparation Method
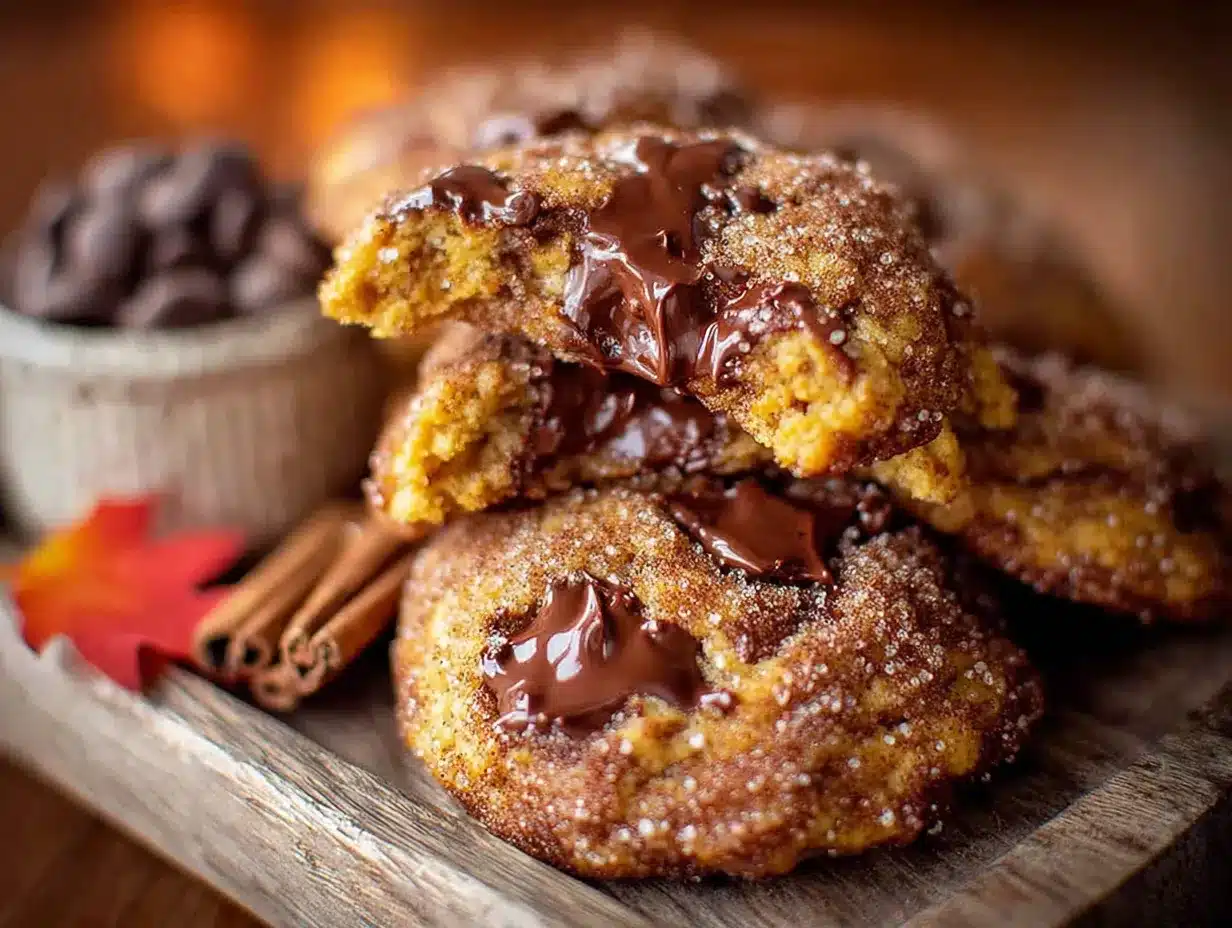
Alright, let’s get baking! Follow these steps, and you will have perfect cookies every time. This method is tried and true, born from many happy (and a few flat) batches.
- Preheat and Prep: First, preheat your oven to 350°F (175°C). Line your baking sheets with parchment paper or silicone mats. This is a small step that makes a huge difference.
- Mix Dry Ingredients: In a medium bowl, whisk together the 2 ¼ cups all-purpose flour, 1 teaspoon baking soda, ½ teaspoon baking powder, 1 teaspoon ground cinnamon, 1 teaspoon pumpkin pie spice, and ½ teaspoon salt. Whisking ensures everything is evenly distributed, so you don’t get a pocket of baking soda in one cookie.
- Cream Butter and Sugars: In a large bowl (or the bowl of your stand mixer), beat the ½ cup softened unsalted butter with the ½ cup granulated sugar and ½ cup packed brown sugar. Beat on medium speed for about 2-3 minutes, until the mixture is light, fluffy, and pale in color. Scrape down the sides of the bowl with your spatula. This step is key for a soft texture.
- Add Wet Ingredients: Add the ½ cup pumpkin puree, 1 large egg, and 1 teaspoon vanilla extract to the butter mixture. Beat on low speed until just combined. It might look a little curdled at this point, but don’t worry—that’s totally normal! Scrape the bowl again.
- Combine Wet and Dry: With the mixer on low speed, gradually add the dry ingredients to the wet ingredients. Mix until just combined. Stop the mixer as soon as you no longer see streaks of flour. Overmixing will make the cookies tough.
- Fold in Chocolate Chips: Using your rubber spatula, gently fold in the 1 cup of semi-sweet chocolate chips. Make sure they are evenly distributed throughout the dough.
- Chill the Dough (This is Important!): Cover the bowl with plastic wrap and place it in the refrigerator for at least 30 minutes. This is the secret to thick, bakery-style cookies. Chilling the dough solidifies the butter, which prevents the cookies from spreading too much in the oven. I once skipped this step in a rush, and my cookies turned into flat, crispy discs. Still tasty, but not the perfect texture we are going for.
- Make the Coating: While the dough chills, combine the ¼ cup granulated sugar and 1 ½ teaspoons ground cinnamon in a small, shallow bowl. Mix well with a fork.
- Scoop and Roll: Once the dough is chilled, use your cookie scoop (about 1.5 tablespoons) to portion out the dough. Roll each portion into a smooth ball between your palms. Then, roll each ball in the cinnamon-sugar mixture until it’s completely coated. Place the coated dough balls about 2 inches apart on your prepared baking sheets. Don’t flatten them!
- Bake: Bake for 10-12 minutes, or until the edges are set and just starting to turn golden brown. The centers will still look soft and slightly puffy. That’s perfect. They will continue to set as they cool. For a softer, chewier cookie, bake for 10 minutes. For a slightly crispier edge, go for 12 minutes.
- Cool: Let the cookies cool on the baking sheet for 5 minutes. This is crucial because they are very fragile when hot. After 5 minutes, transfer them to a wire cooling rack to cool completely. If you try to move them too soon, they will fall apart. Trust me, I learned that the hard way!
Sensory Cues: When you’re creaming the butter and sugar, it should look like a light, fluffy cloud. When you add the pumpkin, it will smell like fall. When the cookies are done, your kitchen will smell like a pumpkin spice dream, and the edges will have a beautiful, slightly cracked look.
Cooking Tips & Techniques
I’ve made these cookies more times than I can count, and I’ve learned a few things along the way. Here are some of my best tips to ensure your success:
- Don’t Skip Chilling: I know it’s tempting to skip this step, but it’s the most important one for thick cookies. If you’re in a super rush, you can chill the scooped dough balls on a plate in the freezer for 15 minutes instead.
- Measure Flour Correctly: The number one mistake people make is scooping flour directly from the bag with their measuring cup. This packs the flour, leading to dry, dense cookies. Always spoon the flour into your measuring cup and then level it off with a knife.
- Room Temperature Ingredients: Make sure your butter and egg are at room temperature. This allows them to cream together properly, creating a smooth, emulsified dough. Cold butter won’t get fluffy, and your cookies will be dense.
- Use Parchment Paper: I cannot stress this enough. Parchment paper prevents sticking and promotes even browning. It also makes cleanup a breeze. You can reuse a sheet of parchment for multiple batches if it’s not too greasy.
- Rotate Your Pan: If your oven has hot spots (most do), rotate your baking sheet halfway through the baking time. This ensures all your cookies bake evenly.
- My Biggest Failure: Once, I used pumpkin pie filling instead of puree. The cookies were a gooey, overly sweet mess. Always double-check your can! Another time, I forgot the baking soda entirely. The cookies were little, hard pucks. Learn from my mistakes.
Variations & Adaptations
The beautiful thing about this recipe is how flexible it is. You can easily adapt it to suit your tastes or what you have in your pantry.
- Spice It Up: For a warmer, more intense flavor, add ¼ teaspoon of ground ginger and ⅛ teaspoon of ground cloves to the dry ingredients. It gives the cookies a real chai-spiced vibe.
- Nutty Twist: Fold in ½ cup of chopped pecans or walnuts along with the chocolate chips. The crunch adds a wonderful texture contrast. I love doing this for a more grown-up cookie.
- White Chocolate & Cranberry: Swap the semi-sweet chocolate chips for 1 cup of white chocolate chips and ½ cup of dried cranberries. This is a gorgeous and festive variation for the holidays. The tartness of the cranberries pairs beautifully with the sweet pumpkin.
- Gluten-Free Version: As I mentioned, a 1:1 gluten-free baking flour blend works perfectly here. I’ve tried it with Bob’s Red Mill, and the texture was almost identical to the original.
- Pumpkin Cream Cheese Frosting: For an extra decadent treat, skip the cinnamon-sugar coating and top the cooled cookies with a simple cream cheese frosting. Just beat 4 oz of cream cheese with 2 tablespoons of butter, 1 cup of powdered sugar, and a splash of vanilla. It’s over-the-top in the best way.
Serving & Storage Suggestions
These cookies are wonderful served warm or at room temperature. They are perfect on their own, but here are a few ways to enjoy them:
- Serving: Serve them with a cold glass of milk, a warm cup of coffee, or a mug of hot apple cider. They are also fantastic crumbled over a bowl of vanilla ice cream for a quick dessert sundae.
- Storage: Store the cooled cookies in an airtight container at room temperature. They will stay soft and chewy for up to 5 days. To keep them extra soft, toss a slice of plain bread in the container. The bread will absorb excess air and release moisture, keeping your cookies perfect.
- Freezing: These cookies freeze beautifully. You can freeze the baked cookies in a freezer-safe bag or container for up to 3 months. Thaw them at room temperature or pop them in the microwave for 10-15 seconds for a warm treat.
- Freezing Dough: You can also freeze the unbaked dough balls. Roll them in the cinnamon-sugar, place them on a baking sheet, and freeze until solid. Then, transfer them to a freezer bag. You can bake them directly from frozen, just add 2-3 minutes to the baking time. This is perfect for when you need fresh cookies at a moment’s notice!
- Flavor Development: Honestly, these cookies taste even better the next day. The flavors meld together and the pumpkin spice becomes more pronounced. So, if you can resist eating them all on day one, you are in for a real treat on day two.
Nutritional Information & Benefits
While these are a treat, they aren’t completely devoid of goodness! Here is the estimated nutritional information for one cookie (based on a batch of 24):
| Nutrient | Amount |
|---|---|
| Calories | ~165 |
| Fat | 8g |
| Carbohydrates | 23g |
| Protein | 2g |
| Sugar | 14g |
Health Benefits: Pumpkin is packed with Vitamin A, which is great for your eyes and immune system. It’s also a good source of fiber. The cinnamon in the coating has anti-inflammatory properties and can help regulate blood sugar. So, while you shouldn’t eat the whole batch in one sitting (I’ve been tempted!), you can feel a little better about enjoying one or two.
Dietary Considerations: This recipe can be made gluten-free and dairy-free with easy substitutions. It contains wheat, dairy, and eggs as written. The pumpkin adds moisture, allowing for a lower amount of butter than a traditional cookie, which is a nice bonus.
Conclusion
So, there you have it. My panic-baked, potluck-winning, absolutely perfect pumpkin chocolate chip snickerdoodle cookies. They are soft, chewy, bursting with fall flavor, and so simple to make. This recipe has saved me more times than I can count, and I hope it becomes a staple in your kitchen too.
I encourage you to make these your own. Add more spice, throw in some nuts, or frost them for a special occasion. The best recipes are the ones you tweak and make yours. I absolutely love how these cookies fill my home with the smell of autumn, and how they always, always disappear fast.
Now, I’d love to hear from you! Have you made these cookies? Did you try a fun variation? Let me know in the comments below. Share a photo of your batch and tag me on social media—I love seeing your creations. Happy baking, friends
Frequently Asked Questions
Why did my cookies turn out flat?
The most common reason is that the dough wasn’t chilled enough. The butter melts too quickly in the oven, causing the cookies to spread. Make sure to chill the dough for at least 30 minutes. Also, check that your baking soda and baking powder are fresh.
Can I use pumpkin pie filling instead of pumpkin puree?
No, please don’t! Pumpkin pie filling is pre-sweetened and spiced. Using it will throw off the sugar and spice balance of the recipe, and your cookies will likely be too sweet and dense. Always use 100% pure pumpkin puree.
Can I make the dough ahead of time?
Absolutely! You can make the dough and keep it covered in the refrigerator for up to 3 days. When you’re ready to bake, just roll it into balls, coat it in the cinnamon-sugar, and bake as directed. The flavor actually gets better as it sits.
How do I make these cookies vegan?
To make these vegan, replace the butter with a high-quality vegan butter stick (like Earth Balance), and use a flax egg (1 tablespoon ground flaxseed mixed with 3 tablespoons water, let sit for 5 minutes). Make sure your chocolate chips are vegan-friendly as well.
My cookies are too dry. What went wrong?
Dry cookies are usually a result of over-measuring the flour or over-baking them. Be sure to spoon and level your flour. Also, take the cookies out of the oven when the edges are set but the centers still look soft. They will continue to bake from the residual heat on the pan.
Pin This Recipe!
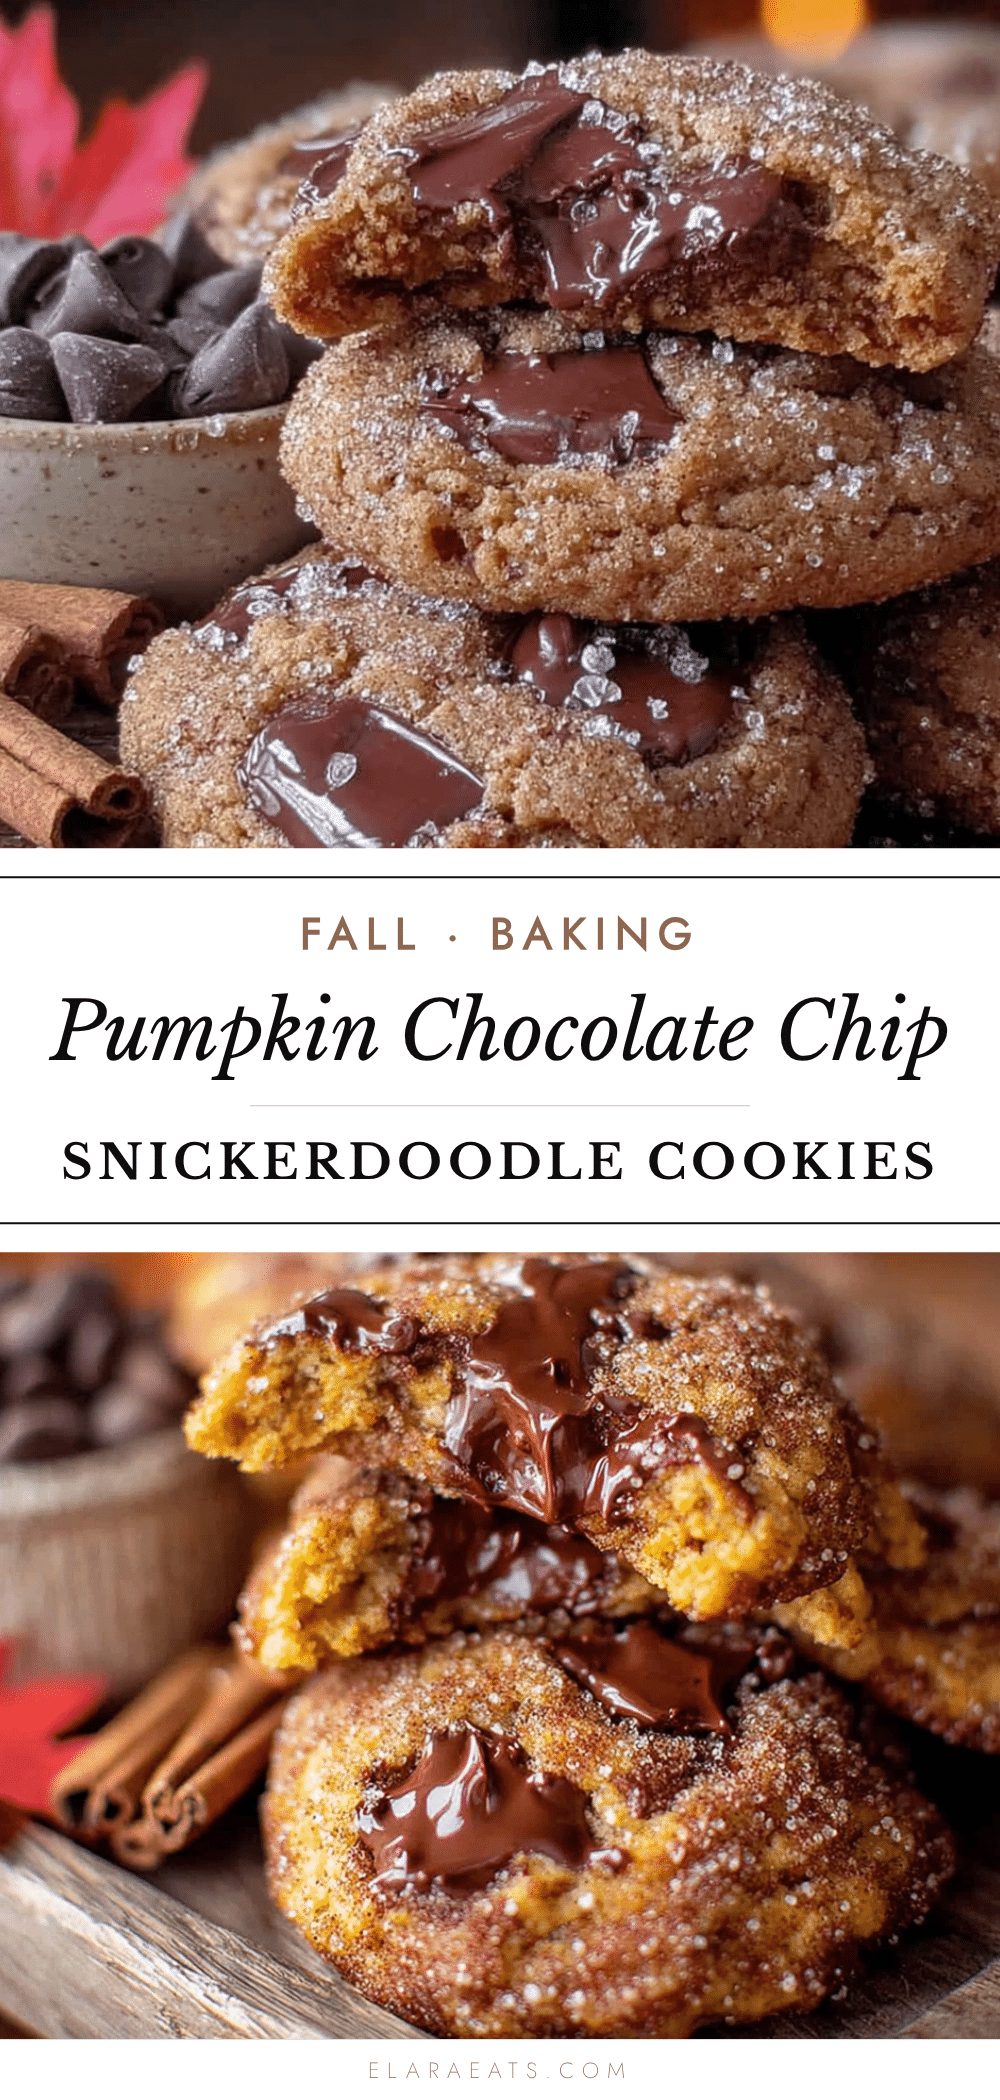
Perfect Pumpkin Chocolate Chip Snickerdoodle Cookies
Soft, chewy pumpkin snickerdoodle cookies loaded with chocolate chips and rolled in cinnamon sugar. A quick and easy fall dessert that’s perfect for bake sales, parties, or cozy nights in.
- Prep Time: 15 minutes
- Cook Time: 12 minutes
- Total Time: 57 minutes (includes 30 minutes chilling)
- Yield: 24 cookies 1x
- Category: Dessert
- Cuisine: American
Ingredients
- 2 ¼ cups (280g) all-purpose flour
- 1 teaspoon baking soda
- ½ teaspoon baking powder
- 1 teaspoon ground cinnamon
- 1 teaspoon pumpkin pie spice
- ½ teaspoon salt
- ½ cup (1 stick, 113g) unsalted butter, softened to room temperature
- ½ cup (100g) granulated sugar
- ½ cup (100g) packed light brown sugar
- ½ cup (120g) pumpkin puree (100% pure pumpkin, not pie filling)
- 1 large egg, at room temperature
- 1 teaspoon vanilla extract
- 1 cup (175g) semi-sweet chocolate chips
- ¼ cup (50g) granulated sugar (for coating)
- 1 ½ teaspoons ground cinnamon (for coating)
Instructions
- Preheat oven to 350°F (175°C). Line baking sheets with parchment paper or silicone mats.
- In a medium bowl, whisk together flour, baking soda, baking powder, cinnamon, pumpkin pie spice, and salt.
- In a large bowl, beat softened butter, granulated sugar, and brown sugar on medium speed for 2-3 minutes until light and fluffy.
- Add pumpkin puree, egg, and vanilla extract to the butter mixture. Beat on low until just combined (mixture may look curdled).
- Gradually add dry ingredients to wet ingredients, mixing on low until just combined. Do not overmix.
- Gently fold in chocolate chips with a rubber spatula until evenly distributed.
- Cover the bowl with plastic wrap and refrigerate for at least 30 minutes (this is essential for thick cookies).
- In a small shallow bowl, mix together ¼ cup granulated sugar and 1 ½ teaspoons cinnamon for the coating.
- Using a cookie scoop (about 1.5 tablespoons), portion the chilled dough and roll into smooth balls. Roll each ball in the cinnamon-sugar mixture until fully coated.
- Place coated dough balls about 2 inches apart on prepared baking sheets. Do not flatten.
- Bake for 10-12 minutes, until edges are set and just starting to turn golden brown. Centers will still look soft.
- Let cookies cool on the baking sheet for 5 minutes, then transfer to a wire rack to cool completely.
Notes
Chilling the dough is crucial for thick, bakery-style cookies. For a softer cookie, bake for 10 minutes; for crispier edges, bake for 12 minutes. Cookies taste even better the next day as flavors meld. Store in an airtight container at room temperature for up to 5 days. To keep soft, add a slice of bread to the container. Freeze baked cookies for up to 3 months, or freeze unbaked dough balls for up to 3 months (bake from frozen, adding 2-3 minutes).
Nutrition
- Serving Size: 1 cookie
- Calories: 165
- Sugar: 14
- Sodium: 115
- Fat: 8
- Saturated Fat: 4
- Carbohydrates: 23
- Fiber: 1
- Protein: 2
Keywords: pumpkin cookies, snickerdoodle, chocolate chip, fall cookies, easy pumpkin recipe, soft cookies, chewy cookies, bake sale cookies