Love this? Save it for later!
Share the inspiration with your friends
I was standing in the spice aisle of our local co-op last January when the smell hit me—a sharp, tangy, slightly medicinal scent that cut right through the air. It was coming from someone’s cart, a jar of dark purple syrup they’d just opened to check the label. And just like that, I was twenty-six again, standing in my neighbor Clara’s tiny kitchen while a pot of something deep and jewel-toned bubbled away on her stove. She was the kind of woman who kept dried herbs in mason jars on every counter and swore by things most people had forgotten. That day, she was making her winter syrup, and I was just there to borrow an egg. I ended up staying three hours.
Clara passed away a few years ago, and honestly, I never got her exact recipe. But I’ve spent the last six winters trying to get as close as I can to that deep, earthy sweetness she bottled. This homemade elderberry syrup for immune support is my best attempt—and maybe you’ve been there, trying to recreate a taste that feels like a hug from someone you miss. It’s taken a lot of failed batches, a few too many sticky stovetop disasters, and one memorable incident where I mistook dried hibiscus for elderberries (don’t ask), but I finally got it right. It’s the kind of thing you make not because you have to, but because it feels good to have it in the fridge when cold season rolls around. I keep making it because it reminds me that some of the best remedies come from slowing down and paying attention.
Why You’ll Love This Recipe
Let me tell you why this homemade elderberry syrup for immune support has become my non-negotiable winter staple. I’ve tested this recipe at least a dozen times, tweaking the honey-to-berry ratio, playing with spice levels, and even experimenting with different simmering times. What I landed on is the sweet spot—literally and figuratively.
- Simple Ingredients: You only need six ingredients, and four of them are probably in your pantry right now. No weird extracts or hard-to-find powders.
- Quick to Make: From start to finish, you’re looking at about 45 minutes. Most of that is hands-off simmering time, so you can fold laundry or finally answer those texts.
- Budget-Friendly: A single batch costs a fraction of what you’d pay for a bottle at the health food store. And you get way more syrup.
- Naturally Sweetened: I use raw honey instead of refined sugar, which adds its own immune-supporting properties. It’s a win-win.
- Kid-Approved: My niece actually asks for it by name. She calls it “purple yum-yum,” and she’s not wrong.
What makes this recipe different from the dozens of others out there is the ginger-cinnamon-clove balance. Most recipes either go heavy on the ginger or skip it entirely. I found that a specific ratio—enough ginger to warm your throat but not burn it—makes this syrup actually pleasant to take daily. Plus, I add a pinch of cloves at the very end of simmering, which gives it that deep, almost smoky undertone that makes you think of holiday kitchens. This isn’t just another syrup recipe; it’s the one I trust enough to give to my own family.
What Ingredients You Will Need
This recipe uses simple, wholesome ingredients that work together to create a syrup that’s both effective and delicious. Most of these are pantry staples once you start making herbal remedies regularly, but they’re all easy to find at any grocery store or online.
- Dried elderberries, 1 cup (I recommend Starwest Botanicals or Frontier Co-op for consistently high-quality berries. Look for deep purple-black berries that aren’t too shriveled.)
- Fresh ginger root, 1 large thumb-sized piece, sliced into thin rounds (no need to peel—just wash it well. The skin adds a little extra bite.)
- Cinnamon sticks, 2 whole (Ceylon cinnamon is milder and sweeter, but Cassia works fine too. I use Ceylon for a more delicate flavor.)
- Whole cloves, 1 teaspoon (adds that warm, almost spicy note. Don’t skip these—they’re the secret to the depth.)
- Raw honey, 1 cup (local honey is ideal for immune support, but any raw, unfiltered honey works. Never use honey that’s been pasteurized—it loses its beneficial properties.)
- Filtered water, 4 cups (tap water with chlorine can affect the taste, so I always use filtered. It matters more than you think.)
A quick note on substitutions: if you’re avoiding honey for dietary reasons, you can use maple syrup or agave nectar instead. The flavor will change slightly—maple adds a woodsy note that actually pairs beautifully with the spices—but the immune-supporting properties will still be there. For a low-sugar version, try monk fruit syrup, though you’ll want to add it to taste since it’s much sweeter than honey.
Equipment Needed
You don’t need fancy equipment for this recipe, which is part of its charm. Here’s what you’ll need:
- Medium saucepan with a lid (stainless steel or enameled cast iron works best. Avoid aluminum, which can react with the berries.)
- Fine-mesh strainer or cheesecloth (I’ve used both. The fine-mesh strainer is easier to clean, but cheesecloth gives you a slightly clearer syrup. Your call.)
- Glass measuring cup or large bowl for collecting the strained liquid
- Glass jar with a tight-fitting lid for storage (I use a 16-ounce mason jar. A swing-top bottle works great too.)
- Wooden spoon for stirring (metal can scratch your pot, and nobody wants that.)
- Funnel (optional but helpful for pouring into jars without making a mess. I learned this the hard way.)
If you don’t have a fine-mesh strainer, you can line a colander with a clean kitchen towel or a few layers of cheesecloth. It’s not fancy, but it works. I actually prefer the towel method sometimes because it catches more of the fine berry sediment.
Preparation Method
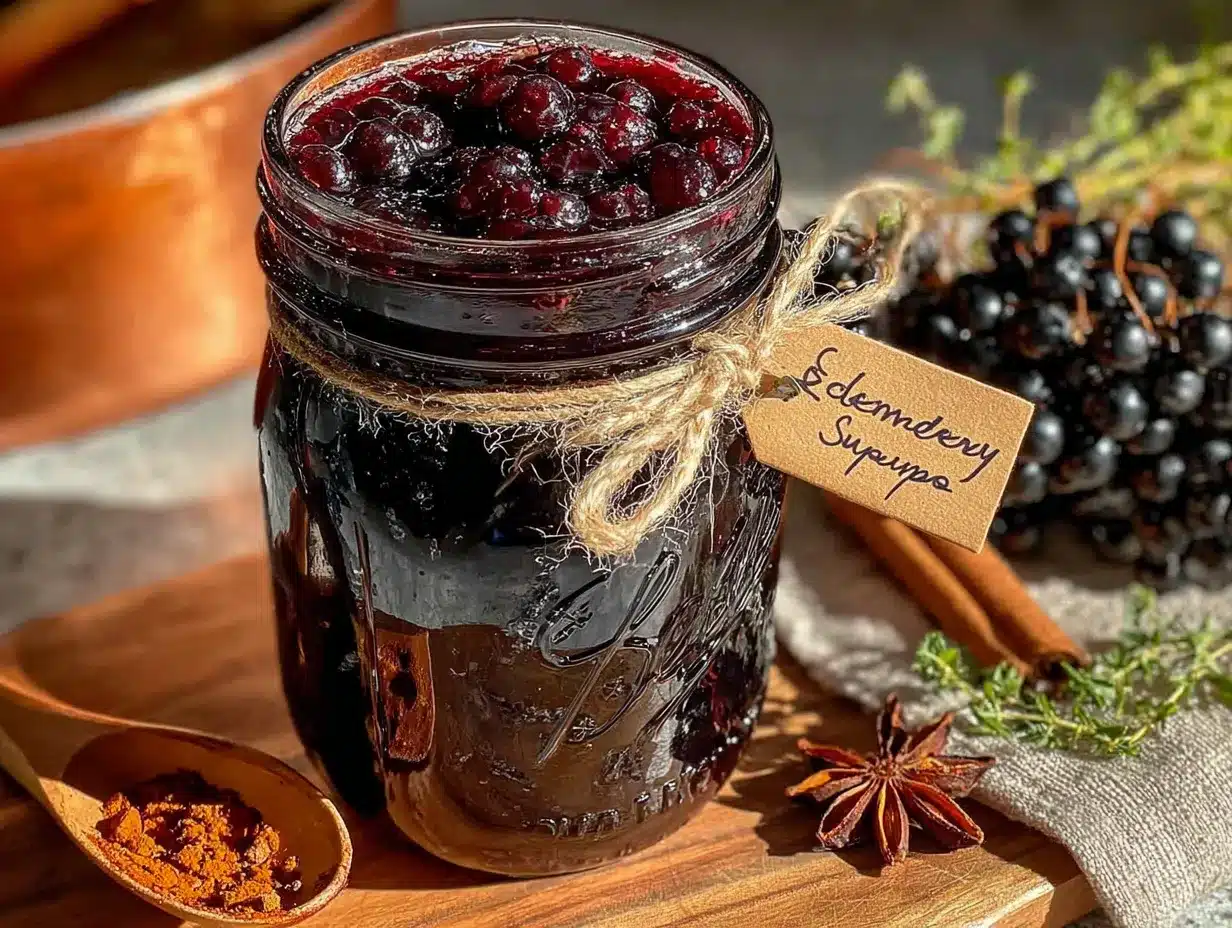
- Combine berries, ginger, cinnamon, and cloves in your saucepan. Add the 4 cups of filtered water. Give everything a quick stir with your wooden spoon. The water will immediately turn a deep purple—that’s the good stuff starting to release.
- Bring the mixture to a boil over medium-high heat. Keep an eye on it; elderberries can foam up a bit. Once it reaches a rolling boil, reduce the heat to low and cover the pot. Let it simmer gently for 30 to 40 minutes. You want the liquid to reduce by about half. The berries will look plump and slightly faded, and your kitchen will smell like a winter spice market.
- Remove the pot from the heat and let it cool slightly. About 10 minutes is enough. You don’t want it piping hot when you strain it, but it shouldn’t be cold either. Warm is perfect.
- Strain the liquid through your fine-mesh strainer or cheesecloth into your glass measuring cup. Press down on the berries with the back of a spoon to extract every last drop of that purple goodness. Don’t rush this step—I usually spend a good 3 to 4 minutes pressing and scraping. Discard the solids (or compost them if you’re fancy).
- Let the strained liquid cool until it’s just warm to the touch. This is important: if you add honey to hot liquid, you’ll destroy its beneficial enzymes and antimicrobial properties. Wait until you can comfortably dip your pinky in without flinching. For me, that’s about 15 to 20 minutes of sitting on the counter.
- Stir in the raw honey. Add it slowly, whisking gently with your spoon until it’s fully dissolved. The syrup will become glossy and slightly thicker. Taste it here—if you want it sweeter, add a little more honey. I find 1 cup is the perfect balance of sweet and tart, but you do you.
- Pour the finished syrup into your glass jar using the funnel. Seal it tightly and let it come to room temperature before refrigerating. It will thicken slightly as it cools.
A word of caution: don’t be tempted to skip the cooling step before adding honey. I did that once during a particularly chaotic morning, and I ended up with a syrup that was still tasty but had lost that raw honey zing. The texture was off too—thinner and less luxurious. Learn from my mistakes.
Cooking Tips & Techniques
Here are some things I wish someone had told me before my first batch. First, don’t crush the elderberries before simmering. I thought I was being clever by breaking them open to release more flavor, but it just made the straining process a nightmare. The berries turned into a muddy paste that clogged every strainer I owned. Keep them whole—they’ll release plenty of goodness on their own.
Second, watch your simmer. A gentle bubble is all you need. If you boil the heck out of the mixture, you’ll end up with a syrup that’s bitter and astringent. The elderberries are delicate, and high heat can break down their beneficial compounds. Low and slow is the way to go.
Third, taste as you go. I know it sounds obvious, but I’ve made so many batches where I just followed the recipe blindly and ended up with something too gingery or not spicy enough. At the 20-minute mark, dip a spoon in and taste the liquid (before adding honey). If the ginger isn’t coming through strongly enough, add a few more slices and let it simmer another 10 minutes. Same with the cloves—if you want more warmth, toss in another pinch.
One more thing: don’t throw away the spent berries and spices immediately. I like to transfer them to a small bowl, cover them with fresh water, and let them sit in the fridge overnight. The next day, I strain that liquid and use it as a base for tea or oatmeal. It’s not as potent as the syrup, but it’s a nice little bonus.
Variations & Adaptations
One of the best things about this homemade elderberry syrup for immune support is how adaptable it is. Here are a few variations I’ve tried and loved:
Spiced Chai Version: Add 2 star anise pods and a teaspoon of cardamom pods along with the other spices. It gives the syrup a warm, almost chai-like flavor that’s incredible stirred into hot water on a cold day. My sister-in-law calls this her “winter hug in a mug.”
Citrus Boost: Add the zest of one orange and one lemon to the simmering liquid. The citrus oils add brightness and extra vitamin C. I do this version when I feel a cold coming on and want something that really punches back.
Alcohol-Free Tincture Alternative: If you want a more concentrated version without using alcohol (which is common in traditional tinctures), simmer the berries for a full 50 minutes instead of 30. The longer cooking time extracts more of the beneficial compounds, giving you a thicker, more potent syrup. You’ll end up with less volume, but it’s stronger per teaspoon.
Low-Sugar Option: Replace half the honey with monk fruit syrup or stevia drops. The texture will be slightly thinner, but the immune benefits remain. I’ve made this for a friend who’s managing blood sugar, and she swears by it.
For those with allergies, this recipe is naturally gluten-free, dairy-free, and nut-free. Just make sure your cinnamon and cloves are from a reputable source if you have sensitivities—some cheaper spices can contain trace amounts of wheat flour as an anti-caking agent.
Serving & Storage Suggestions
This syrup is best served at room temperature or slightly warm. I take mine straight off a spoon—one tablespoon for adults, one teaspoon for kids over age one—but you can also stir it into tea, drizzle it over pancakes, or mix it into yogurt. My husband likes it in his morning oatmeal, which I thought was weird until I tried it. Now I get it.
For storage, keep the syrup in a tightly sealed glass jar in the refrigerator. It will last for 2 to 3 months. I’ve pushed it to 4 months before, and it was still fine, but the flavor starts to fade after the 3-month mark. If you see any mold or fermentation bubbles, toss it and make a fresh batch.
You can freeze this syrup too! Pour it into ice cube trays, freeze until solid, then pop the cubes into a freezer bag. Each cube is roughly one tablespoon, so you can thaw exactly what you need. I do this every fall when elderberries are in season, and I have a year-round supply. Just thaw a cube in the fridge overnight or in a cup of warm tea.
One thing I’ve noticed: the flavors actually deepen after about a week in the fridge. The honey and spices meld together, and the syrup becomes more complex. So don’t worry if it tastes a little sharp on day one—give it time.
Nutritional Information & Benefits
Per one tablespoon serving: approximately 45 calories, 12g carbohydrates (mostly from honey), 0g fat, 0g protein. These are estimates and will vary based on your specific ingredients.
The real magic of this homemade elderberry syrup for immune support lies in what you can’t see on a nutrition label. Elderberries are packed with antioxidants called anthocyanins—the same compounds that give blueberries their superfood status. They also contain flavonoids that have been shown to support healthy immune function by reducing the duration of cold symptoms. The raw honey adds its own antimicrobial properties, while ginger and cinnamon are known for their anti-inflammatory effects.
From a wellness perspective, I see this syrup as a daily insurance policy during cold and flu season. It’s not a cure-all, but it’s a delicious, natural way to give your immune system a little extra support. I personally take it every morning from October through March, and I’ve noticed I get sick less often—and when I do catch something, it’s milder and shorter. That’s enough proof for me.
Conclusion
This homemade elderberry syrup for immune support has become a staple in my kitchen for good reason. It’s simple, effective, and tastes like something you’d actually want to take every day. Whether you’re looking to support your family’s health during cold season or just want a cozy addition to your morning tea, this recipe delivers.
I encourage you to make it your own—adjust the sweetness, play with the spices, or try the citrus version. The best recipes are the ones that evolve with you. And if you end up with a sticky counter and purple-stained fingers, well, that’s just part of the experience.
I’d love to hear how your batch turns out. Drop a comment below with your favorite variation or any questions you have. And if you’re looking for more ways to stay healthy this season, check out our immune-boosting ginger turmeric tea or our healing chicken soup—both are perfect companions to this syrup. Happy simmering, friends!
Frequently Asked Questions
Can I use fresh elderberries instead of dried?
Yes, but you’ll need to adjust the amount. Use 2 cups of fresh elderberries in place of 1 cup dried. Fresh berries have a higher water content, so you may need to simmer them a little longer—about 45 minutes—to get the right consistency. Just make sure you cook fresh elderberries thoroughly, as raw elderberries can cause stomach upset.
How much syrup should I take daily?
For general immune support, adults can take 1 tablespoon per day. For children over age one, stick to 1 teaspoon per day. If you feel a cold coming on, you can increase to 2 tablespoons for adults and 2 teaspoons for kids, but don’t exceed that for more than a few days.
Can I give this syrup to my toddler?
Yes, but only if your child is over one year old due to the honey content (honey can carry botulism spores that are dangerous for infants). For toddlers, start with a half teaspoon to make sure they like the taste and don’t have any reactions. Most kids love the sweet, spicy flavor.
Why did my syrup turn out cloudy?
Cloudiness is usually caused by fine berry particles that made it through the strainer. It’s perfectly safe to consume and doesn’t affect the taste. To get a clearer syrup next time, strain through a coffee filter or an extra layer of cheesecloth. I honestly don’t bother with this step—cloudy syrup works just as well.
Can I make this in a slow cooker?
Absolutely! Combine all ingredients except the honey in a slow cooker and cook on low for 4 to 5 hours. Strain, cool, and add honey as directed. The slow cooker method gives you a deeper flavor because the spices have more time to infuse. I do this when I’m making a double batch for holiday gifts.
Pin This Recipe!
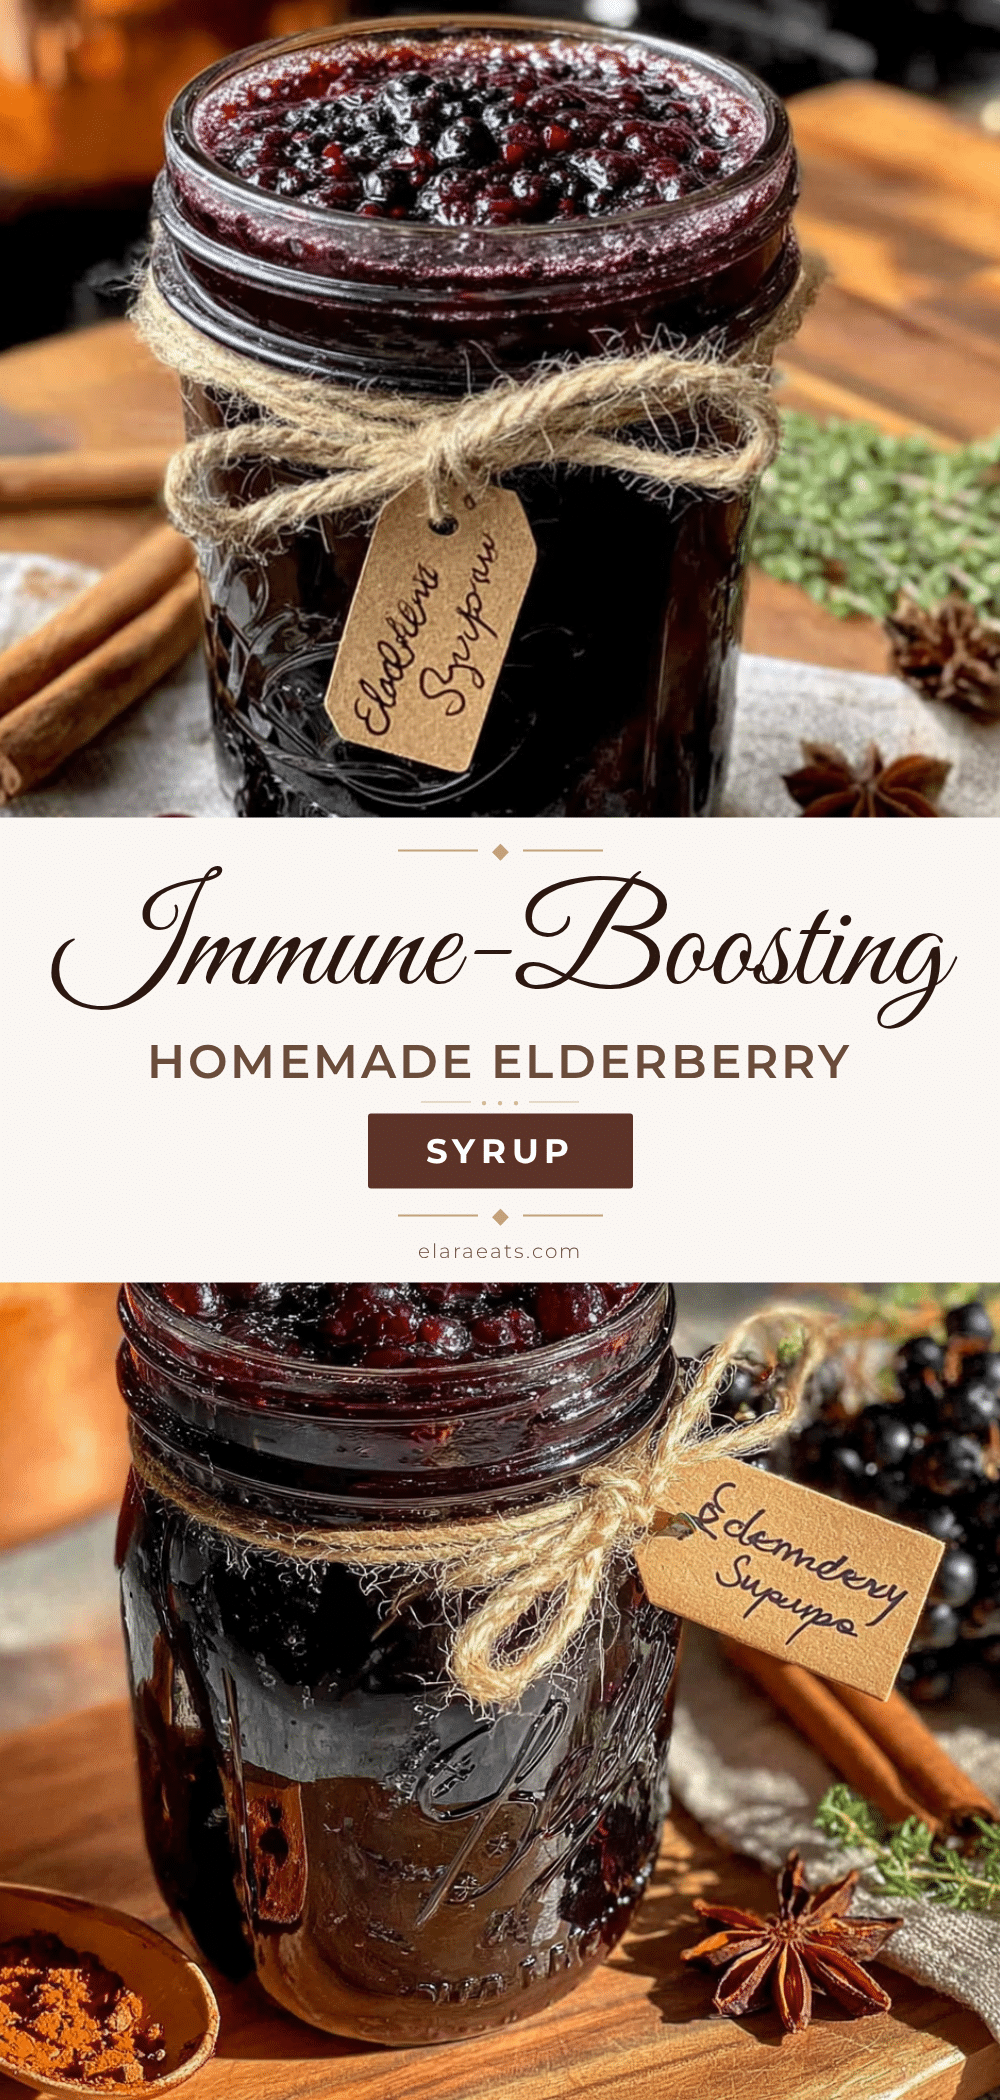
Perfect Immune-Boosting Homemade Elderberry Syrup Recipe
A deeply flavorful, naturally sweetened elderberry syrup made with dried elderberries, fresh ginger, cinnamon, cloves, and raw honey. This immune-supporting syrup is simple to make, budget-friendly, and kid-approved.
- Prep Time: 10 minutes
- Cook Time: 35 minutes
- Total Time: 45 minutes
- Yield: 4 servings 1x
- Category: Condiment
- Cuisine: American
Ingredients
- 1 cup dried elderberries
- 1 large thumb-sized piece fresh ginger root, sliced into thin rounds
- 2 whole cinnamon sticks
- 1 teaspoon whole cloves
- 1 cup raw honey
- 4 cups filtered water
Instructions
- Combine dried elderberries, ginger slices, cinnamon sticks, cloves, and filtered water in a medium saucepan. Stir with a wooden spoon.
- Bring to a boil over medium-high heat, then reduce heat to low, cover, and simmer gently for 30 to 40 minutes until the liquid is reduced by about half.
- Remove from heat and let cool slightly, about 10 minutes.
- Strain the liquid through a fine-mesh strainer or cheesecloth into a glass measuring cup, pressing on the berries to extract all liquid. Discard solids.
- Let the strained liquid cool until just warm to the touch, about 15 to 20 minutes.
- Stir in the raw honey until fully dissolved. Taste and adjust sweetness if desired.
- Pour the syrup into a glass jar using a funnel. Seal tightly and let come to room temperature before refrigerating.
Notes
Do not add honey to hot liquid; let it cool to warm first to preserve beneficial enzymes. For a clearer syrup, strain through a coffee filter or extra cheesecloth. The syrup can be frozen in ice cube trays for up to a year. Flavors deepen after a week in the fridge.
Nutrition
- Serving Size: 1 tablespoon
- Calories: 45
- Sugar: 11
- Carbohydrates: 12
Keywords: elderberry syrup, immune support, homemade syrup, elderberry recipe, natural remedy, cold season, ginger, cinnamon, honey


