Love this? Save it for later!
Share the inspiration with your friends
- Quick & Easy : Comes together in under 30 minutes, perfect for last-minute game day cravings or unexpected guests.
- Simple Ingredients : No fancy grocery trips needed; you likely already have everything in your kitchen.
- Perfect for Game Day : Great for tailgating, Super Bowl parties, or any casual get-together.
- Crowd-Pleaser : Always gets rave reviews from kids and adults alike.
- Unbelievably Delicious : The texture and flavor combo is next-level comfort food.
This isn’t just another nacho recipe. The secret is in the layering and the ranch seasoning—it’s the perfect balance of creamy, crunchy, and savory. I’ve tested this version countless times, and it’s the one that disappears first at every party. Honestly, it’s the kind of dish that makes you close your eyes after the first bite. It’s comfort food reimagined—faster, easier, but with the same soul-soothing satisfaction.
What Ingredients You Will Need
This recipe uses simple, wholesome ingredients to deliver bold flavor and satisfying texture without the fuss. Most of these are pantry staples, making it easy to whip up anytime.
- 1 (13 oz) bag tortilla chips (I recommend Restaurant Style for extra sturdiness)
- 1 lb ground beef (or ground turkey for a leaner option)
- 1 packet (1 oz) ranch seasoning mix (Hidden Valley is my go-to for that classic flavor)
- 2 cups shredded Mexican blend cheese (or cheddar jack)
- 1 cup cooked bacon bits (freshly cooked and crumbled is best, but store-bought works in a pinch)
- 1/2 cup sour cream
- 1/4 cup milk (to thin the ranch drizzle)
- 1/2 cup pickled jalapeños (or fresh, if you prefer less heat)
- 1 cup cherry tomatoes, diced
- 1/2 cup green onions, sliced
- 1/2 cup black olives, sliced (optional, but adds great texture)
- Salt and pepper, to taste
For the ranch drizzle, simply mix the sour cream, milk, and a tablespoon of the ranch seasoning until smooth. It’s that easy. If you want a little extra kick, add a dash of hot sauce to the drizzle. I’ve also swapped the ground beef for shredded chicken when I had leftovers—it works beautifully.
Equipment Needed
- Large baking sheet (or a cast iron skillet for a rustic look)
- Skillet for browning the beef
- Small bowl for the ranch drizzle
- Chef’s knife and cutting board
- Aluminum foil (for easy cleanup—trust me on this one)
If you don’t have a baking sheet, a large oven-safe dish works just fine. I’ve even used a disposable foil pan for tailgating—it’s lightweight and makes cleanup a breeze. For the best results, avoid using a pan that’s too deep, as you want the heat to crisp the edges of the chips.
Preparation Method
- Preheat your oven to 400°F (200°C). Line a large baking sheet with aluminum foil for easy cleanup.
- Cook the ground beef. In a skillet over medium-high heat, brown the ground beef, breaking it apart with a spatula. This should take about 6-8 minutes. Drain any excess fat, then stir in half of the ranch seasoning packet. Set aside.
- Make the ranch drizzle. In a small bowl, whisk together the sour cream, milk, and the remaining ranch seasoning. If it’s too thick, add a splash more milk. Set aside.
- Layer the chips. Spread the tortilla chips evenly on the prepared baking sheet. Make sure they’re in a single layer as much as possible—this ensures every chip gets some topping.
- Add the beef and cheese. Sprinkle the seasoned ground beef over the chips, then top generously with the shredded cheese. Don’t skimp here—the cheese is what holds everything together.
- Bake. Place the baking sheet in the oven and bake for 8-10 minutes, or until the cheese is fully melted and bubbly. Keep an eye on it—you want the cheese melted, not the chips burnt.
- Top with bacon and veggies. Remove from the oven and immediately sprinkle with the bacon bits, diced tomatoes, green onions, jalapeños, and black olives. Drizzle the ranch mixture over the top.
- Serve immediately. Nachos are best enjoyed hot, right out of the oven. I like to serve them with extra sour cream and salsa on the side.
A quick tip: If you’re making a double batch, it’s better to bake them in two separate pans rather than overcrowding one. Overcrowding leads to soggy chips, and nobody wants that.
Cooking Tips & Techniques
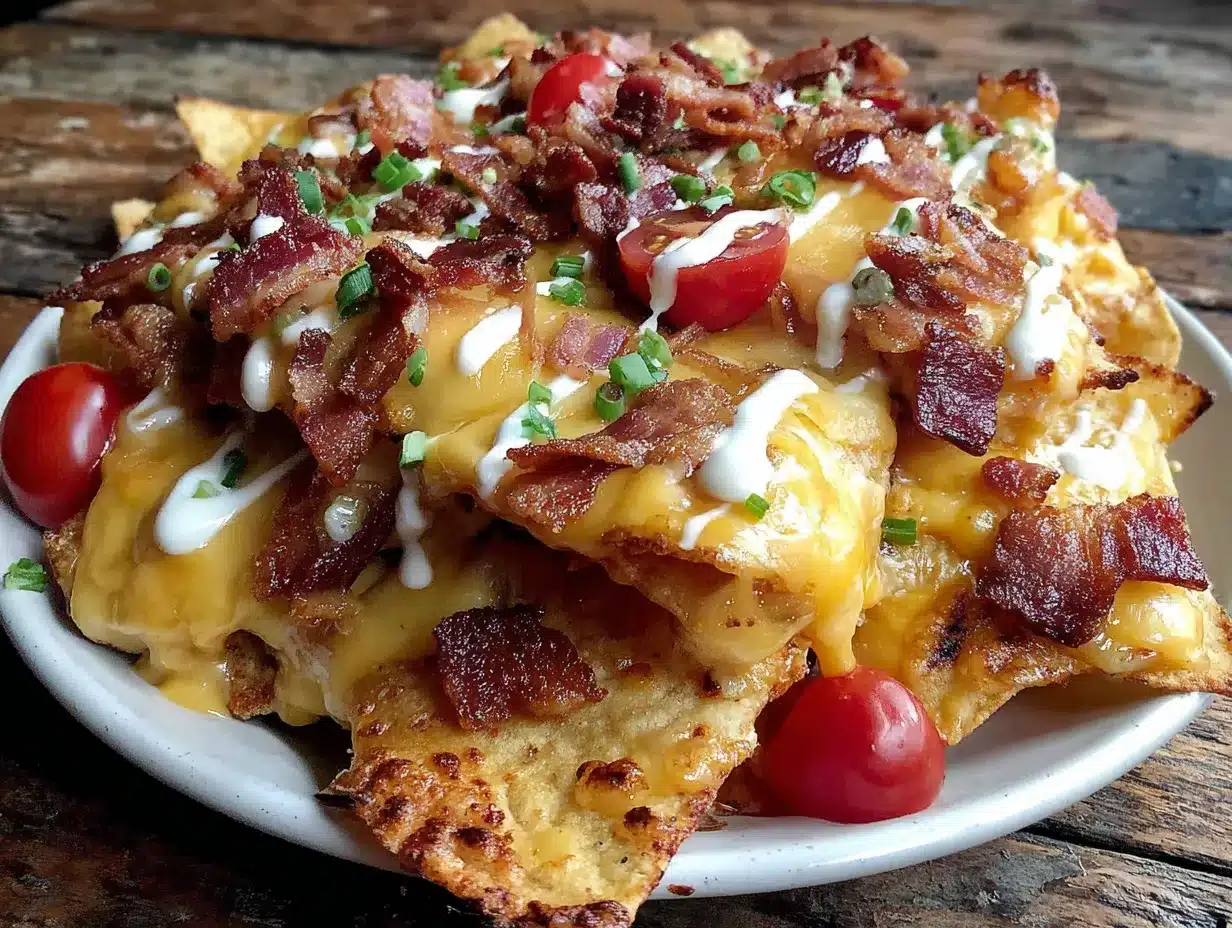
The biggest mistake people make with nachos is overloading them. I learned this the hard way after a particularly sad batch that turned into a cheesy, soggy mess. The trick is to layer thoughtfully—chips, then a moderate amount of toppings, then cheese. You want every chip to have a little something, but not so much that they lose their crunch.
Another pro tip: Don’t skip the foil. It makes cleanup a million times easier, and it also helps the chips crisp up evenly. If you’re using a cast iron skillet, you can skip the foil, but be prepared for a bit of scrubbing.
Timing is everything. I like to prep all the toppings while the beef is cooking, so everything is ready to go when the nachos come out of the oven. This way, the toppings stay fresh and vibrant, not wilted from the heat.
For extra crispy chips, try baking them for 2-3 minutes before adding the toppings. It gives them a head start on crunchiness.
Variations & Adaptations
- Vegetarian Version : Swap the ground beef for black beans or refried beans. The ranch seasoning works beautifully with beans, adding that same savory depth.
- Spicy Kick : Add a diced jalapeño to the beef while it cooks, or use pepper jack cheese instead of Mexican blend. For an extra layer of heat, drizzle with hot sauce before serving.
- BBQ Twist : Replace the ranch seasoning with BBQ seasoning and use pulled pork instead of ground beef. Top with coleslaw for a Southern-inspired version that’s absolutely killer.
- Healthier Option : Use baked tortilla chips, lean ground turkey, and low-fat cheese. The ranch drizzle can be made with Greek yogurt instead of sour cream for a protein boost.
I once tried a breakfast version with scrambled eggs and breakfast sausage instead of beef—it was a hit at a morning tailgate. Don’t be afraid to experiment.
Serving & Storage Suggestions
These nachos are best served immediately, while the chips are still crunchy and the cheese is gooey. I like to set them out on a large platter with small bowls of extra salsa, sour cream, and guacamole on the side. If you’re serving a crowd, consider making multiple batches—trust me, one pan won’t be enough.
For storage, nachos don’t reheat well. The chips lose their crunch, and the toppings get soggy. If you have leftovers, I recommend scraping the toppings off and using them in a quesadilla or on a baked potato. The beef and cheese mixture freezes well for up to 3 months.
If you’re planning ahead, you can prep all the toppings and cook the beef a day in advance. Assemble and bake just before serving for the freshest results.
Nutritional Information & Benefits
While these nachos are definitely a treat, they do offer some nutritional value. The ground beef provides protein and iron, while the tomatoes and jalapeños add a dose of vitamin C. The cheese offers calcium, and the black olives contribute healthy fats.
Per serving (estimated, based on 6 servings):
- Calories: 480
- Protein: 22g
- Fat: 28g
- Carbohydrates: 35g
- Fiber: 3g
For a lighter version, you can reduce the cheese and use Greek yogurt in the drizzle. It won’t be quite as indulgent, but it’ll still hit the spot.
Frequently Asked Questions
Can I make these nachos in advance?
I don’t recommend assembling them fully in advance, as the chips will get soggy. However, you can prep all the toppings and cook the beef ahead of time. Assemble and bake right before serving.
What’s the best way to reheat leftover nachos?
Honestly, they don’t reheat well. The chips lose their crunch. If you have leftovers, I suggest scraping off the toppings and using them in a different dish, like a burrito bowl or a baked potato.
Can I use a different protein?
Absolutely. Shredded chicken, pulled pork, or even chorizo would work beautifully. Just adjust the seasoning to match the protein.
How do I prevent soggy nachos?
Layer your chips in a single layer and don’t overload them with toppings. Also, make sure your beef is drained well before adding it to the chips. Baking the chips for a few minutes before adding toppings also helps.
Can I make this gluten-free?
Yes! Just use gluten-free tortilla chips and check that your ranch seasoning is certified gluten-free. Most brands are, but it’s always good to double-check.
Conclusion
These Loaded Bacon Ranch Tailgate Nachos are more than just a snack—they’re the centerpiece of any good game day spread. The combination of crunchy chips, savory beef, melty cheese, and that creamy ranch drizzle is absolutely irresistible. I’ve made them for Super Bowl parties, casual get-togethers, and even quiet nights in, and they never disappoint.
I’d love to hear how yours turn out. Did you add any fun twists? Share your creations in the comments below, and don’t forget to pin this recipe for your next tailgate. Happy cooking, and may your chips always be crunchy!
Pin This Recipe!
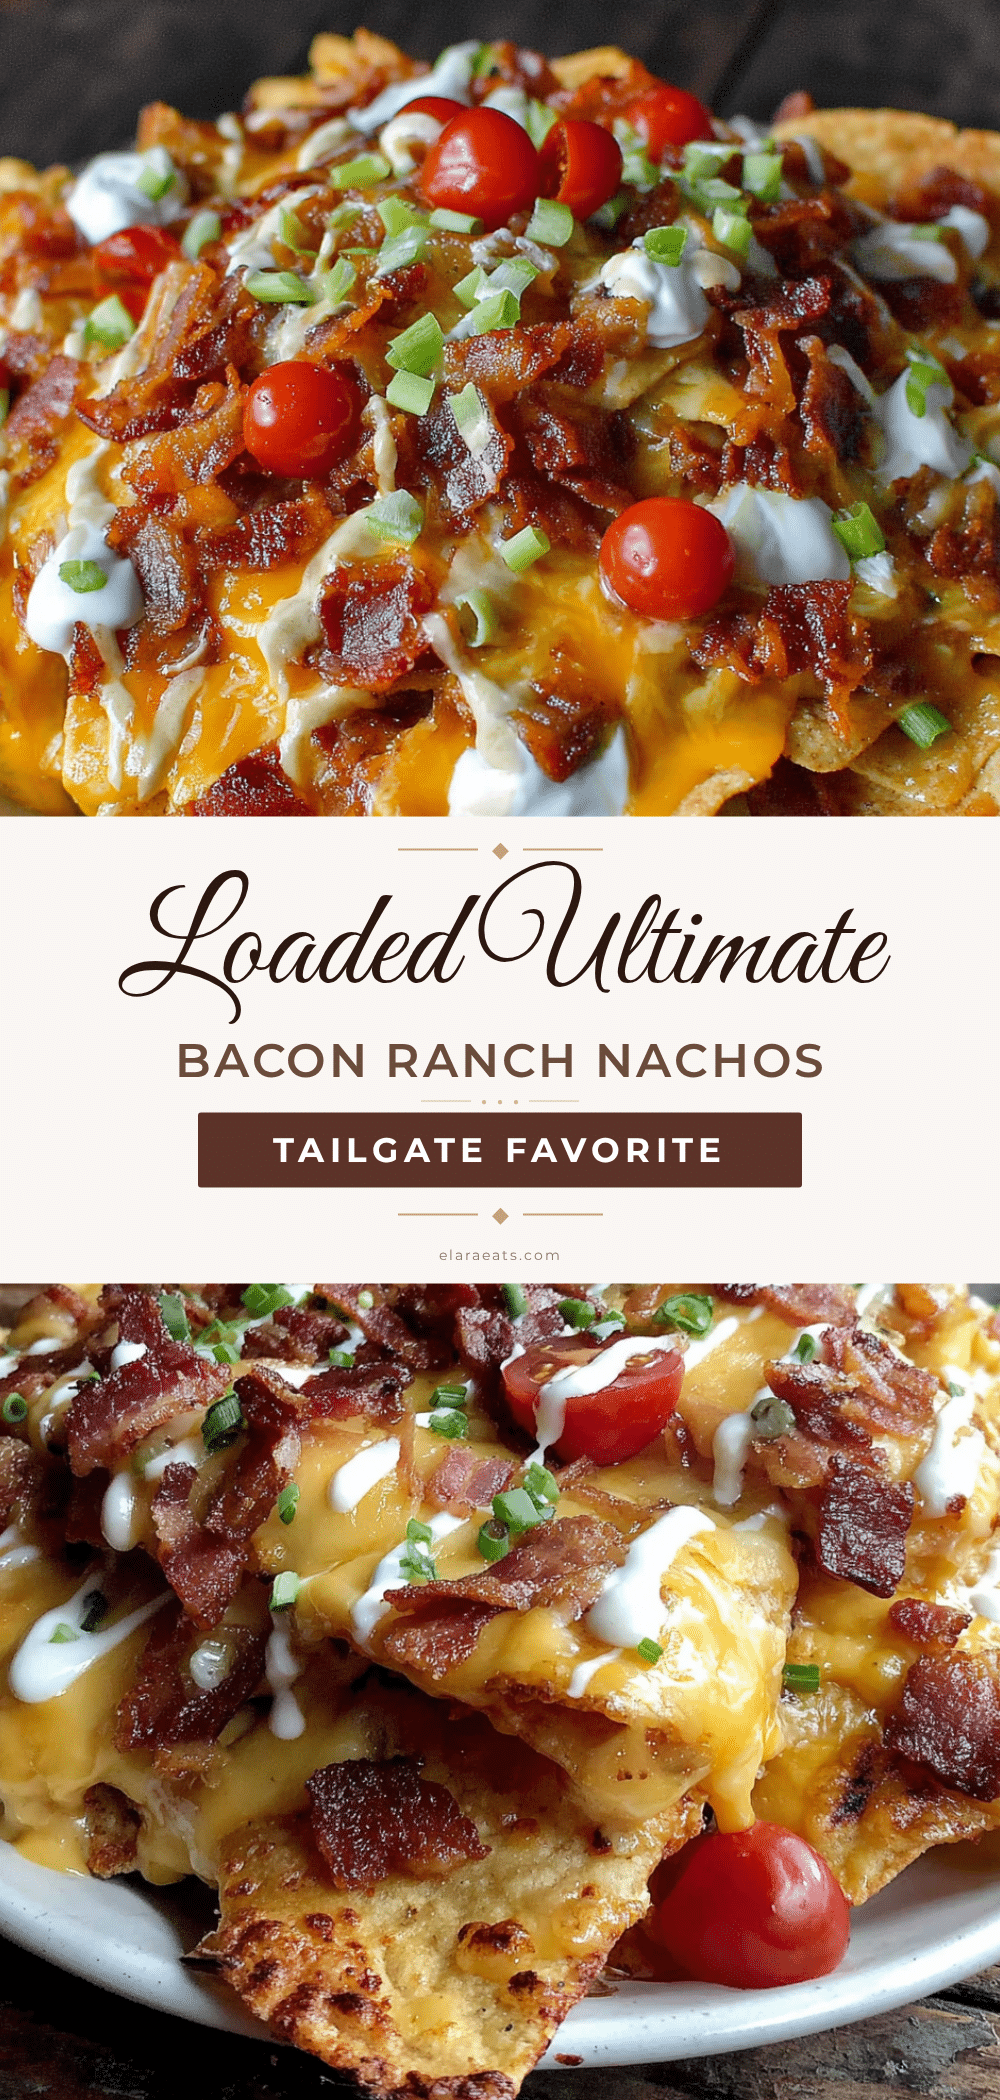
Loaded Bacon Ranch Tailgate Nachos

Quick and easy loaded nachos with seasoned ground beef, crispy bacon, and a creamy ranch drizzle, perfect for game day or any casual gathering.
- Prep Time: 15 minutes
- Cook Time: 15 minutes
- Total Time: 30 minutes
- Yield: 6 servings 1x
- Category: Appetizer
- Cuisine: American
Ingredients
- 1 (13 oz) bag tortilla chips (Restaurant Style recommended)
- 1 lb ground beef (or ground turkey)
- 1 packet (1 oz) ranch seasoning mix
- 2 cups shredded Mexican blend cheese (or cheddar jack)
- 1 cup cooked bacon bits (freshly cooked and crumbled preferred)
- 1/2 cup sour cream
- 1/4 cup milk
- 1/2 cup pickled jalapeños
- 1 cup cherry tomatoes, diced
- 1/2 cup green onions, sliced
- 1/2 cup black olives, sliced (optional)
- Salt and pepper to taste
Instructions
- Preheat your oven to 400°F (200°C). Line a large baking sheet with aluminum foil for easy cleanup.
- Cook the ground beef. In a skillet over medium-high heat, brown the ground beef, breaking it apart with a spatula. This should take about 6-8 minutes. Drain any excess fat, then stir in half of the ranch seasoning packet. Set aside.
- Make the ranch drizzle. In a small bowl, whisk together the sour cream, milk, and the remaining ranch seasoning. If it’s too thick, add a splash more milk. Set aside.
- Layer the chips. Spread the tortilla chips evenly on the prepared baking sheet. Make sure they’re in a single layer as much as possible—this ensures every chip gets some topping.
- Add the beef and cheese. Sprinkle the seasoned ground beef over the chips, then top generously with the shredded cheese. Don’t skimp here—the cheese is what holds everything together.
- Bake. Place the baking sheet in the oven and bake for 8-10 minutes, or until the cheese is fully melted and bubbly. Keep an eye on it—you want the cheese melted, not the chips burnt.
- Top with bacon and veggies. Remove from the oven and immediately sprinkle with the bacon bits, diced tomatoes, green onions, jalapeños, and black olives. Drizzle the ranch mixture over the top.
- Serve immediately. Nachos are best enjoyed hot, right out of the oven. I like to serve them with extra sour cream and salsa on the side.
Notes
For extra crispy chips, bake them for 2-3 minutes before adding toppings. Avoid overcrowding the pan to prevent soggy chips. Leftovers don’t reheat well; scrape off toppings and use in other dishes.
Nutrition
- Serving Size: 1 serving (approxima
- Calories: 480
- Sugar: 4
- Sodium: 980
- Fat: 28
- Saturated Fat: 12
- Carbohydrates: 35
- Fiber: 3
- Protein: 22
Keywords: nachos, tailgate, game day, bacon, ranch, loaded nachos, appetizer