Love this? Save it for later!
Share the inspiration with your friends
I was elbow-deep in a massive pile of laundry last Tuesday—honestly, the kind of chore you just want to disappear from—when my neighbor, a retired plumber named Frank who I usually only see waving from his porch, knocked on my back door holding a jar of bubbling, beige goo.
“You feed that starter of yours?” he asked, nodding toward my kitchen counter. I admitted I had been neglecting it for a few days. He just chuckled and handed me the jar. “Here. Take this discard. It’s the good stuff. Make pancakes with it. Trust me.”
I stood there, holding a jar of sourdough discard from a plumber, feeling a little confused but oddly charmed. I mean, Frank is the guy who fixes my garbage disposal, not the guy who gives me breakfast inspiration. But there I was, laundry forgotten, staring at this potential goldmine. I was skeptical—could a byproduct of bread-making really make a good pancake? Let me tell you, the first bite was a revelation. That subtle tang, the incredible fluffiness… I knew right then that Frank’s offhand tip was a keeper. Maybe you’ve been there, staring at a jar of discard, wondering what to do with it. This recipe is the answer, and it’s been my Saturday morning secret ever since.
Why You’ll Love This Recipe
These aren’t just any pancakes. They are the fluffiest, most forgiving, and most delicious way to use up that sourdough discard sitting in your fridge. After testing this recipe about a dozen times—and yes, having a few flat, sad pancakes along the way—I can confidently say this version is foolproof.
- Quick & Easy: From mixing bowl to plate in under 20 minutes. Perfect for a lazy weekend breakfast or a quick weekday treat when you need a little comfort.
- Simple Ingredients: You likely have all the pantry staples already. The sourdough discard is the star, and everything else is basic kitchen fare. No fancy trips to the store required.
- Perfect for Beginners: If you are new to sourdough, this is the ideal first recipe. It’s nearly impossible to mess up, and it teaches you how discard behaves in a batter.
- Unbelievably Fluffy: The secret is in the reaction between the baking soda and the acidic discard. It creates a lift that makes these pancakes light as air—honestly, they rival any buttermilk pancake I’ve ever had.
- Zero Waste Hero: This is the perfect solution for that jar of discard you feel guilty about throwing away. You are turning a “problem” into a delicious breakfast.
What makes this recipe different from the rest? It’s the balance. Many discard pancake recipes are too dense or too tangy. This one is perfectly balanced, with a subtle sourness that complements the sweetness of the maple syrup. It’s comfort food reimagined—faster, easier, and with that unique, soul-satisfying flavor that only sourdough can provide. Perfect for impressing weekend guests without breaking a sweat, or for turning a simple Tuesday morning into something special.
What Ingredients You Will Need
This recipe relies on simple, wholesome ingredients that work together to create a magical texture. The sourdough discard provides the tang and the lift, while the other ingredients add structure and sweetness. You probably have everything in your pantry right now.
- Sourdough Discard: 1 cup (240g). Unfed, straight from the fridge. It can be cold or at room temperature. This is the star of the show. I find that a slightly thicker discard works best for structure, but a runny one works too.
- All-Purpose Flour: 1 cup (120g). Provides the main structure. You can substitute a 1:1 gluten-free baking flour if needed, but the texture will be slightly different.
- Granulated Sugar: 2 tablespoons (25g). Adds a touch of sweetness and helps with browning. You can use coconut sugar for a less refined option.
- Baking Soda: 1 teaspoon. This is the magic ingredient! It reacts with the acid in the sourdough discard to create bubbles, making the pancakes fluffy. Do not skip this.
- Baking Powder: 1 teaspoon. Adds an extra lift for insurance, ensuring a super fluffy result even with a less active discard.
- Salt: ½ teaspoon. Balances the sweetness and enhances the overall flavor. I prefer fine sea salt for baking.
- Milk: 1 cup (240ml). Adds moisture and helps create the right batter consistency. Any milk works—dairy, oat, or almond. I recommend whole milk for the richest flavor, but I’ve used oat milk many times with great results.
- Egg: 1 large. Binds everything together and adds richness. Let it come to room temperature for the best incorporation.
- Butter: 2 tablespoons (30g), melted, plus more for the pan. Adds flavor and fat, which helps create that golden-brown crust. I use unsalted butter to control the salt level.
- Vanilla Extract: 1 teaspoon (optional but recommended). Adds a lovely warmth that rounds out the tangy flavor.
Equipment Needed
You don’t need a professional kitchen to make these pancakes. The equipment list is short and sweet, which is part of the beauty of this recipe.
- Large Mixing Bowl: For combining your wet and dry ingredients. A glass or stainless steel bowl works perfectly.
- Whisk: Essential for smoothing out any lumps in the batter. A fork can work in a pinch, but a whisk is much better.
- Non-Stick Skillet or Griddle: This is key for even cooking and easy flipping. I have an old cast iron skillet that I love, but a non-stick pan is more forgiving for beginners.
- Spatula: A thin, flexible metal spatula is best for flipping. A silicone one works too, but it can be a bit thicker and harder to get under the pancake.
- Measuring Cups and Spoons: For accuracy. I cannot stress this enough—baking is a science, and precise measurements matter.
- Ladle or ¼-Cup Measure: For portioning the batter onto the pan, ensuring even-sized pancakes.
If you don’t have a griddle, just use a large skillet. You might have to cook in batches, which is totally fine. A tip from my own experience—make sure your pan is preheated properly. A cold pan leads to pancakes that spread too thin and don’t get that beautiful golden color.
Preparation Method
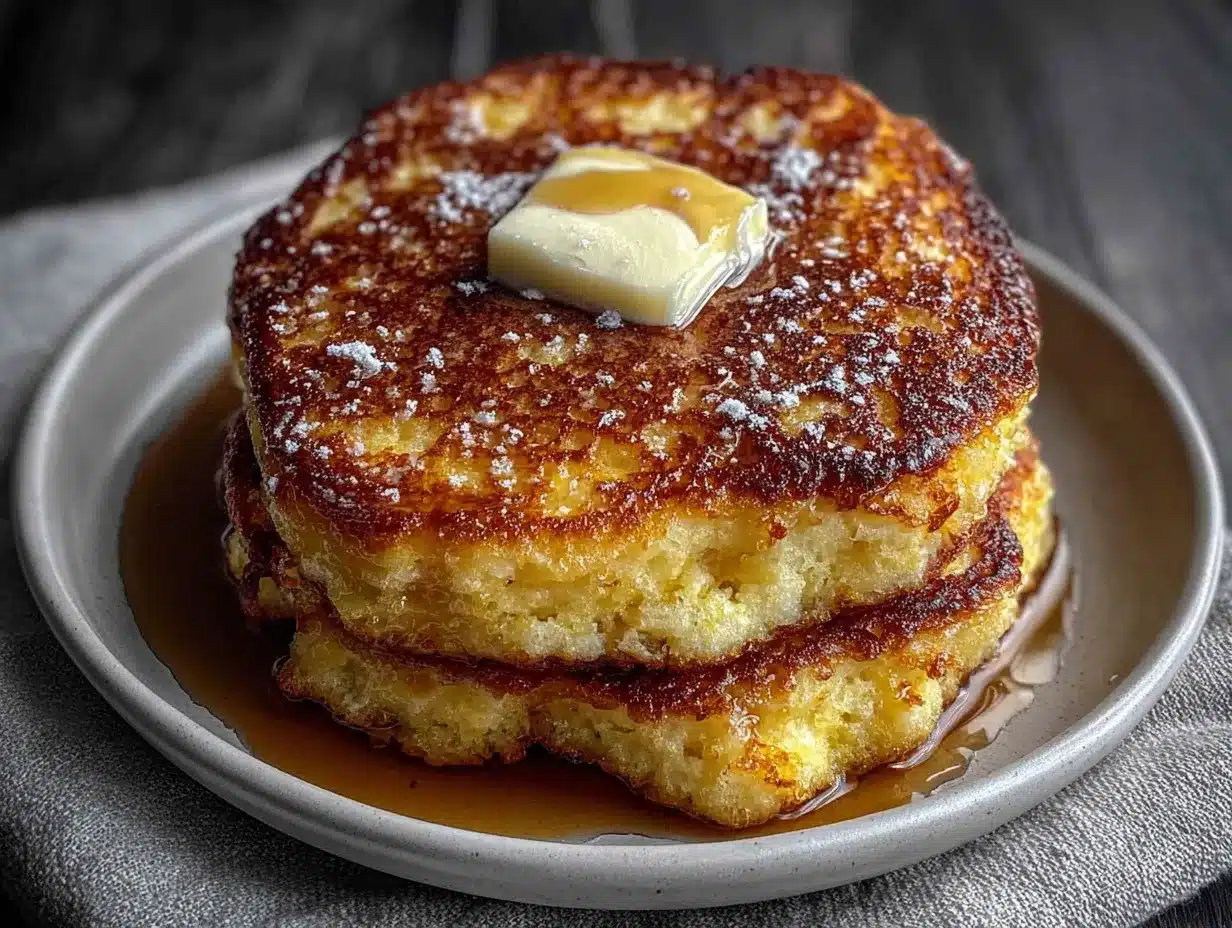
Making these pancakes is incredibly straightforward. The key is to not overmix the batter—lumps are your friends here. Overmixing develops gluten, which can make pancakes tough. Let’s get started.
- Combine the Wet Ingredients: In your large mixing bowl, whisk together the sourdough discard, milk, egg, melted butter, and vanilla extract (if using). Whisk until the egg is fully incorporated and the mixture is a uniform, slightly thick liquid. It should smell wonderfully tangy at this point.
- Mix the Dry Ingredients: In a separate small bowl, whisk together the all-purpose flour, sugar, baking soda, baking powder, and salt. This ensures the leavening agents are evenly distributed, which is crucial for even fluffiness.
- Combine Wet and Dry: Pour the dry ingredients into the bowl with the wet ingredients. Using a rubber spatula or a wooden spoon, gently fold the mixture together. Stop as soon as the flour is incorporated. The batter will be thick and lumpy—that is exactly what you want. Let it rest for 5 minutes. This allows the gluten to relax and the baking soda to start reacting.
- Preheat Your Pan: While the batter rests, place your skillet or griddle over medium heat. Add a small pat of butter and let it melt, swirling to coat the surface. The butter should sizzle gently but not brown immediately. If it burns, your heat is too high.
- Cook the Pancakes: Using a ladle or a ¼-cup measure, pour the batter onto the hot pan. Do not overcrowd the pan—leave at least 2 inches between each pancake. Cook until you see bubbles forming on the surface and the edges look set, about 2-3 minutes. The bottom should be a deep golden brown.
- Flip and Finish: Slide your spatula under the pancake and flip it confidently. Cook for another 1-2 minutes, until the other side is golden brown and the pancake is cooked through. It should feel springy to the touch.
- Keep Warm: Transfer the cooked pancakes to a plate and keep them warm in a 200°F (95°C) oven while you cook the remaining batter. Add a little more butter to the pan between batches as needed.
- Serve Immediately: Stack the pancakes high, add a pat of butter, and drizzle generously with warm maple syrup. Serve right away for the best texture.
A personal tip: I once forgot the baking soda entirely. The pancakes were flat, dense, and sad. It was a hard lesson learned! That reaction between the baking soda and the acidic discard is non-negotiable for fluffiness. Don’t skip it!
Cooking Tips & Techniques
Over the course of making these pancakes more times than I can count, I’ve picked up a few tricks that make a real difference. These tips will help you achieve perfect results every single time.
- The Lumps are Your Friends: I cannot repeat this enough. A smooth batter is a ruined pancake. Overmixing develops gluten, which makes the pancakes tough and rubbery. Stop mixing when you still see a few small streaks of flour.
- Check Your Baking Soda Freshness: Baking soda loses its potency over time. To test if yours is still active, drop a small spoonful into a bowl of vinegar. If it fizzes vigorously, it’s good to go. Stale baking soda is the number one reason for flat pancakes.
- Don’t Press Down on the Pancakes: After flipping, resist the urge to press down on the pancake with your spatula. This squeezes out all the air you worked so hard to create, resulting in a dense, flat pancake. Let it be.
- Manage Your Heat: Medium heat is your sweet spot. If the pancakes are browning too quickly on the outside but are still raw in the middle, your heat is too high. If they are pale and taking forever to cook, your heat is too low. Adjust as you go.
- Let the Batter Rest: That 5-minute rest after mixing is not optional. It gives the baking soda time to react with the discard, creating those initial bubbles that lead to fluffiness. It also allows the flour to fully hydrate, which improves the texture.
I once tried to rush the process and skipped the rest time. The pancakes were noticeably less fluffy. It was a valuable lesson in patience—good things, and fluffy pancakes, take just a few extra minutes.
Variations & Adaptations
One of the best things about this base recipe is how adaptable it is. You can easily tweak it to suit your dietary needs, the season, or just your personal cravings. Here are a few of my favorite ways to change it up.
- Blueberry Bliss: Gently fold 1 cup of fresh or frozen blueberries into the batter just before cooking. The berries burst as they cook, creating little pockets of sweet, jammy goodness. If using frozen blueberries, do not thaw them first—add them straight to the batter to prevent the batter from turning purple.
- Chocolate Chip Dream: Fold in ½ cup of semi-sweet chocolate chips. The slight bitterness of the chocolate pairs beautifully with the tangy sourdough. Use dark chocolate chips for a less sweet, more sophisticated pancake.
- Vegan Adaptation: Replace the egg with a “flax egg” (1 tablespoon ground flaxseed mixed with 3 tablespoons water, left to sit for 5 minutes). Use a plant-based milk like oat or almond, and use coconut oil or vegan butter instead of regular butter. The pancakes will be a little less fluffy but still delicious.
- Gluten-Free Option: Substitute the all-purpose flour with a high-quality 1:1 gluten-free baking blend that contains xanthan gum. I have had good luck with the Bob’s Red Mill brand. The texture will be slightly more delicate, so be gentle when flipping.
- Spiced Pumpkin: Add ¼ cup of pumpkin puree and 1 teaspoon of pumpkin pie spice to the wet ingredients. This makes a fantastic fall breakfast. You may need to add an extra tablespoon of flour to compensate for the extra moisture from the pumpkin.
My personal favorite is the blueberry version. I made it last summer with fresh berries from the farmer’s market, and the way the tart berries played off the tangy sourdough was just perfect. It felt like a real treat.
Serving & Storage Suggestions
These pancakes are best enjoyed fresh off the griddle, but they are also great for meal prep. Here is how to serve and store them for the best experience.
Serving: Serve the pancakes hot, in a tall stack. The classic topping is a pat of butter and a generous drizzle of warm maple syrup. For a more decadent breakfast, add a dollop of whipped cream, a sprinkle of powdered sugar, or a handful of fresh berries. A side of crispy bacon or breakfast sausage is a fantastic savory counterpoint to the sweet, tangy pancakes.
Storage: Let any leftover pancakes cool completely on a wire rack. Do not stack them while they are warm, or they will steam and become soggy. Once cool, place them in a single layer in a freezer-safe zip-top bag or an airtight container. They will keep in the refrigerator for up to 3 days or in the freezer for up to 2 months.
Reheating: For the best texture, reheat the pancakes in a toaster. A quick 1-2 minute cycle will crisp up the edges and warm the center perfectly. You can also reheat them in a 350°F (175°C) oven for about 5-7 minutes, or in a dry skillet over medium heat for 1-2 minutes per side. I find the microwave makes them a bit rubbery, so I avoid it.
A fun fact: these pancakes actually freeze beautifully. I often make a double batch on the weekend and freeze the extras. Then, on busy weekday mornings, I can just pop a couple in the toaster for a breakfast that tastes almost as good as fresh.
Nutritional Information & Benefits
While these are a treat, they also offer some surprising nutritional benefits thanks to the sourdough starter. Here is a general overview of what you are getting in a serving of two pancakes (calculated without toppings).
| Nutrient | Amount per Serving |
|---|---|
| Calories | ~280 kcal |
| Protein | 8g |
| Carbohydrates | 45g |
| Fat | 8g |
| Fiber | 2g |
| Sugar | 8g |
Health Benefits: Sourdough fermentation breaks down phytic acid, a compound that can inhibit the absorption of minerals like iron, zinc, and magnesium. This makes the nutrients in the flour more bioavailable. The fermentation process also creates prebiotics, which are great for your gut health. Additionally, sourdough has a lower glycemic index than regular bread, meaning it causes a slower, more gradual rise in blood sugar. This makes these pancakes a more balanced choice than regular ones.
Dietary Considerations: This recipe is vegetarian. For a vegan option, see the variations section. It contains gluten, dairy, and eggs, but substitutions are available. Always check your specific ingredient labels if you have allergies.
I love knowing that while I am enjoying a delicious, comforting breakfast, I am also doing something good for my digestive system. It feels like a win-win.
Conclusion
These Fluffy Sourdough Discard Pancakes are more than just a way to use up a kitchen byproduct. They are a testament to the fact that the best recipes often come from the most unexpected places—like a jar handed over by a plumber neighbor. They are forgiving, adaptable, and incredibly delicious. Honestly, they have become a staple in my kitchen, and I hope they become one in yours too.
I encourage you to make this recipe your own. Add your favorite mix-ins, adjust the sweetness, or try the vegan version. The beauty of a simple base recipe is that it is a canvas for your creativity. Please come back and leave a comment below to let me know how your pancakes turned out! Did you add chocolate chips? Blueberries? Something totally wild? I would love to hear about your adventures in sourdough pancake making. Happy flipping, friends!
Frequently Asked Questions
Can I use active sourdough starter instead of discard?
Yes, you can! If you use active, bubbly starter, you may find the pancakes are even a little fluffier. However, the flavor will be slightly less tangy. The recipe works perfectly with either, so use what you have on hand.
My pancakes came out flat. What went wrong?
The most common culprit is old baking soda. Make sure your baking soda is fresh and active. Another reason could be overmixing the batter, which deflates the bubbles. Remember, a lumpy batter is a good batter. Also, make sure your pan is hot enough before you pour the batter.
Can I make the batter the night before?
I do not recommend it. The reaction between the baking soda and the acidic discard happens quickly. If you let the batter sit overnight, the bubbles will dissipate, and your pancakes will be flat. For the best results, make the batter fresh and cook it immediately.
Can I make these pancakes without an egg?
Yes, you can! As mentioned in the variations section, you can use a flax egg (1 tablespoon ground flaxseed mixed with 3 tablespoons water) as a substitute. The pancakes will be a bit more delicate and slightly less fluffy, but they will still be delicious.
How do I know when it’s time to flip the pancake?
Look for visual cues. The edges of the pancake will start to look set and dry, and you will see bubbles forming and popping on the surface. When the bubbles are spread across the entire surface and the edges look golden, it is time to flip. This usually takes about 2-3 minutes over medium heat.
Pin This Recipe!
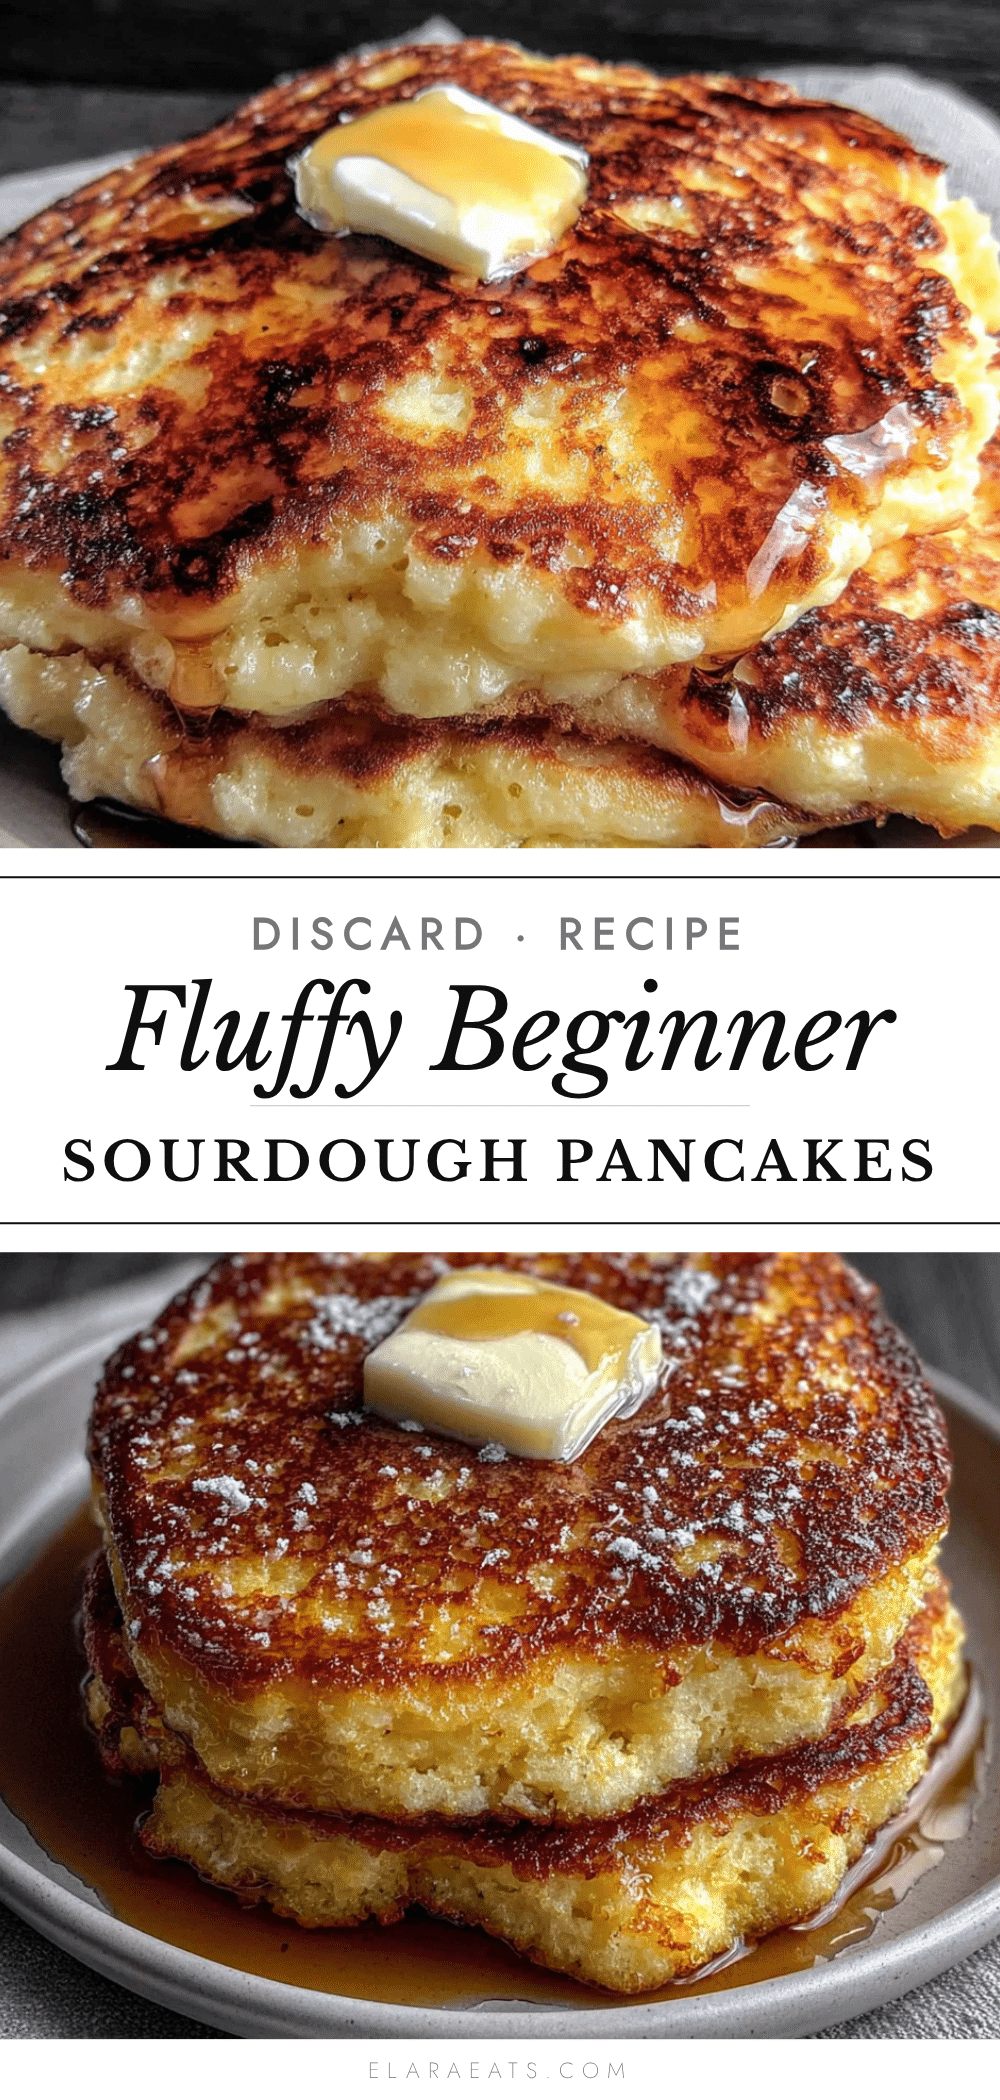
Fluffy Sourdough Discard Pancakes – Easy Beginner Recipe
These are the fluffiest, most forgiving, and most delicious way to use up that sourdough discard sitting in your fridge. From mixing bowl to plate in under 20 minutes, this foolproof recipe is perfect for beginners and yields light, tangy pancakes that rival any buttermilk version.
- Prep Time: 10 minutes
- Cook Time: 10 minutes
- Total Time: 20 minutes
- Yield: 4 servings 1x
- Category: Breakfast
- Cuisine: American
Ingredients
- 1 cup (240g) sourdough discard, unfed
- 1 cup (120g) all-purpose flour
- 2 tablespoons (25g) granulated sugar
- 1 teaspoon baking soda
- 1 teaspoon baking powder
- ½ teaspoon fine sea salt
- 1 cup (240ml) milk (dairy, oat, or almond)
- 1 large egg, room temperature
- 2 tablespoons (30g) unsalted butter, melted, plus more for the pan
- 1 teaspoon vanilla extract (optional)
Instructions
- In a large mixing bowl, whisk together the sourdough discard, milk, egg, melted butter, and vanilla extract (if using) until uniform.
- In a separate small bowl, whisk together the all-purpose flour, sugar, baking soda, baking powder, and salt.
- Pour the dry ingredients into the wet ingredients. Gently fold with a rubber spatula or wooden spoon until just incorporated. The batter will be thick and lumpy. Let it rest for 5 minutes.
- While the batter rests, preheat a non-stick skillet or griddle over medium heat. Add a small pat of butter and swirl to coat.
- Using a ladle or ¼-cup measure, pour batter onto the hot pan, leaving at least 2 inches between pancakes. Cook until bubbles form on the surface and edges look set, about 2-3 minutes.
- Flip the pancake and cook for another 1-2 minutes until golden brown and springy to the touch.
- Transfer cooked pancakes to a plate and keep warm in a 200°F (95°C) oven while cooking remaining batter. Add more butter to the pan between batches as needed.
- Serve immediately stacked high with butter and warm maple syrup.
Notes
Do not overmix the batter; lumps are fine. Ensure baking soda is fresh for maximum fluffiness. Let the batter rest for 5 minutes before cooking. For best results, serve immediately. Leftovers can be stored in the refrigerator for up to 3 days or frozen for up to 2 months; reheat in a toaster or oven.
Nutrition
- Serving Size: 2 pancakes
- Calories: 280
- Sugar: 8
- Sodium: 480
- Fat: 8
- Saturated Fat: 4
- Carbohydrates: 45
- Fiber: 2
- Protein: 8
Keywords: sourdough discard pancakes, fluffy pancakes, easy pancake recipe, beginner sourdough, zero waste breakfast, sourdough starter recipe


