Love this? Save it for later!
Share the inspiration with your friends
My neighbor asked why I couldn’t just skip the ice cream maker and use the whipped cream and sweetened condensed milk I had in my pantry. I started to explain why that wouldn’t work—then stopped. Honestly, I had no good reason other than “that’s not how you make ice cream.” But she was right to question it. That conversation happened on a scorching Tuesday afternoon in July, and I remember standing there with the fridge door open, the cold air hitting my face while I mentally argued with myself. I was trying to teach her how to make a custard-based vanilla, and she was looking at my kitchen like I had lost my mind over something so simple.
I gave in. We dumped a pint of heavy cream into a bowl, added a can of sweetened condensed milk, and I let her stir in a handful of crushed toffee bits she found in the back of my cabinet. I was certain it would be icy and sad. But let me tell you—that first scoop, about six hours later, was so creamy and rich I actually laughed out loud. The texture was silky, not a single ice crystal in sight. It was the kind of moment where you realize you have been overcomplicating something for years for absolutely no reason. Maybe you have been there, stubbornly sticking to a method just because it is the “right” way. I mean, I had a whole shelf of cookbooks telling me I needed eggs and a thermometer and constant stirring. Turns out, I just needed to let someone else take the lead for once.
That day changed how I approach frozen desserts entirely. This easy no-churn salted caramel ice cream is my favorite evolution of that accidental discovery. It has that same impossibly smooth texture, but with ribbons of homemade salted caramel running through it. Every spoonful has that perfect balance of sweet and salty, creamy and rich. It is the kind of dessert that makes you close your eyes on the first bite. And honestly, the fact that it comes together without any special equipment still feels like a small miracle. I keep coming back to this recipe because it never fails to impress, and it reminds me that sometimes the best lessons come from being wrong.
Why You’ll Love This Recipe
This easy no-churn salted caramel ice cream has become my go-to for so many reasons, but let me break down the biggest ones for you. I have tested this recipe at least a dozen times, tweaking the caramel temperature and the whipping time, and I can confidently say this version is foolproof.
- No Ice Cream Maker Required: You do not need any fancy equipment. Just a mixing bowl, a whisk or hand mixer, and a freezer-safe container. That is it.
- Simple Ingredients: Heavy cream, sweetened condensed milk, butter, brown sugar, and salt. These are all pantry and fridge staples you likely have on hand.
- Perfect for Hot Days: When the temperature spikes, this is the recipe you want. No standing over a hot stove for hours. It takes about 15 minutes of active time.
- Crowd-Pleaser: I have brought this to summer barbecues and holiday dinners, and it disappears every single time. Kids and adults both go crazy for it.
- Incredibly Creamy Texture: The no-churn method using whipped cream and sweetened condensed milk creates an ultra-smooth, scoopable texture that rivals any premium store-bought brand.
What makes this recipe different from the dozens of other no-churn ice creams out there is the caramel. I do not just swirl in store-bought sauce. I make a simple stovetop caramel with butter and brown sugar, then finish it with flaky sea salt. It is deeply caramelized, slightly bitter in the best way, and the salt cuts through the sweetness perfectly. This is not just another vanilla base with a drizzle on top. The caramel is woven into every bite, creating ribbons of rich, salty-sweet goodness. It is comfort food reimagined—faster, easier, but with the same soul-soothing satisfaction as a gourmet ice cream shop cone.
What Ingredients You Will Need
This recipe relies on a handful of simple ingredients that work together to create something truly special. The magic is in the technique, not a long list of obscure items.
For the Salted Caramel
- Unsalted butter, ¼ cup (½ stick or 57g): I recommend using a good-quality butter like Kerrygold for the richest flavor. Unsalted is important here because we control the salt separately.
- Light brown sugar, 1 cup packed (200g): Pack it firmly into the measuring cup. Brown sugar adds that deep, molasses-like flavor that white sugar just cannot replicate. Do not substitute with white sugar here—the caramel will not have the same depth.
- Heavy cream, ½ cup (120ml): Use full-fat heavy cream or heavy whipping cream. This gets added to the caramel at the end to create a smooth, pourable sauce.
- Flaky sea salt, 1 teaspoon (like Maldon): This is for finishing the caramel. The large flakes provide little bursts of saltiness that make the flavor pop.
- Vanilla extract, 1 teaspoon: Pure vanilla extract adds warmth and rounds out the caramel flavor. I prefer Nielsen-Massey for its clean taste.
For the Ice Cream Base
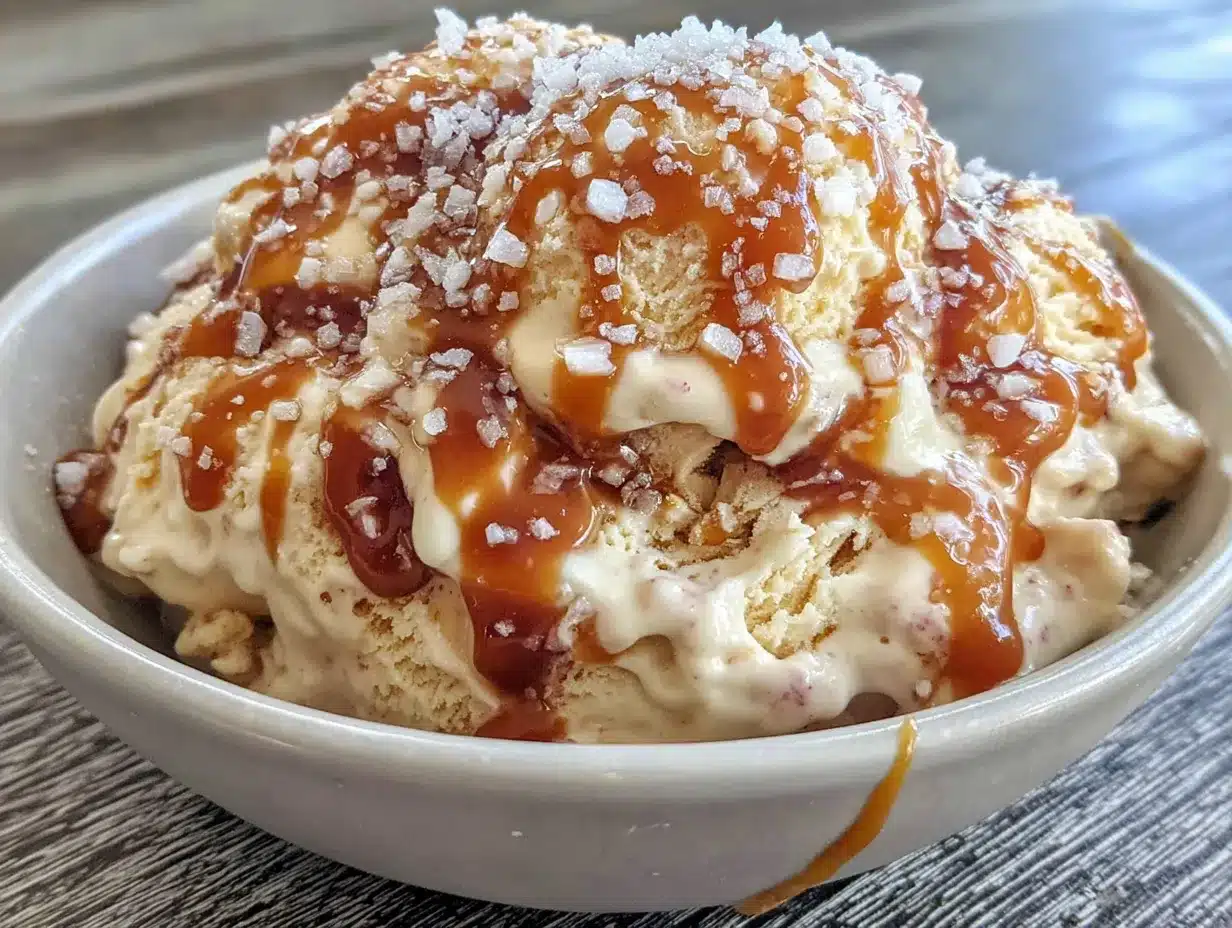
- Heavy cream, 2 cups (480ml): This needs to be very cold. I pop my mixing bowl and beaters in the freezer for about 10 minutes before I start whipping. It makes a huge difference in volume.
- Sweetened condensed milk, one 14-ounce can (397g): This is the secret to the no-churn texture. Do not substitute with evaporated milk or any alternative. The sugar content and thickness are what prevent ice crystals from forming.
- Vanilla extract, 1 teaspoon: Adds a subtle background flavor that complements the caramel.
- Pinch of fine sea salt: Just a small pinch to balance the sweetness of the condensed milk.
Ingredient Selection Tips
For the best results, use a heavy cream with at least 36% milk fat. Cheaper brands with lower fat content will not whip as stiffly and can lead to a denser, icier final texture. When it comes to the sweetened condensed milk, I have tried generic brands and they work fine, but Eagle Brand is my go-to for consistent results. Also, make sure your brown sugar is fresh and soft. If it has hardened into a brick, microwave it for about 10 seconds with a damp paper towel on top to soften it up.
Substitution Guidance
If you are dairy-free, this recipe is a bit tricky because the entire structure relies on dairy. However, you can try using full-fat coconut cream (chilled overnight) in place of the heavy cream and a dairy-free sweetened condensed coconut milk. The texture will be slightly different—more coconut-forward in flavor—but still delicious. For a gluten-free option, everything here is naturally gluten-free, so you are all set.
Equipment Needed
One of the best things about this recipe is how little equipment it requires. You do not need an ice cream maker, a candy thermometer, or any specialized gadgets.
- Large mixing bowl: A stainless steel or glass bowl works best. Avoid plastic bowls as they can retain odors and grease, which will prevent your cream from whipping properly.
- Hand mixer or stand mixer: You can absolutely whip the cream by hand with a whisk, but it will take about 5 to 8 minutes of vigorous arm work. A hand mixer cuts that down to about 2 minutes. I use my trusty KitchenAid hand mixer for this.
- Medium saucepan: For making the caramel. A heavy-bottomed saucepan is ideal because it distributes heat evenly and prevents the sugar from burning in spots.
- Rubber spatula: You will need this for folding the whipped cream into the condensed milk and for scraping every last bit of caramel into the base.
- Freezer-safe container: A standard 9×5-inch loaf pan works perfectly. You can also use a 2-quart rectangular container with a tight-fitting lid. I like using a glass loaf pan because I can see the layers as I build them.
- Plastic wrap or parchment paper: To press directly onto the surface of the ice cream before sealing the lid. This prevents freezer burn.
If you do not have a hand mixer, do not worry. I have made this recipe using just a whisk and a lot of determination. The key is to keep the cream very cold and to use a bowl that has been chilled. As for the saucepan, any medium pot will do, just keep a close eye on the caramel as it cooks—it can go from golden to burnt very quickly.
Preparation Method
This recipe comes together in about 15 minutes of active time. The hardest part is waiting for it to freeze. Let me walk you through each step so you get perfect results every time.
- Make the salted caramel (about 10 minutes): Place a medium saucepan over medium heat. Add the ¼ cup of unsalted butter and let it melt completely. Once melted, add the 1 cup of packed light brown sugar. Stir continuously with a wooden spoon or heat-resistant spatula until the sugar is fully incorporated and the mixture looks like a thick, sandy paste. It will bubble and steam—that is normal. Continue cooking for about 2 minutes, stirring constantly, until the mixture darkens slightly and smells deeply caramelized. Do not walk away at this stage, it can burn quickly.
- Add the cream and vanilla: Slowly pour in the ½ cup of heavy cream while stirring. The mixture will bubble up vigorously, so be careful. Keep stirring until the caramel is smooth and all the sugar has dissolved. Remove the pan from the heat and stir in the 1 teaspoon of vanilla extract and 1 teaspoon of flaky sea salt. Let the caramel cool completely to room temperature. If you add warm caramel to the ice cream base, it will melt the whipped cream and ruin the texture. You can speed this up by placing the saucepan in a shallow ice bath, stirring occasionally.
- Whip the cream (about 3 minutes): Pour the 2 cups of very cold heavy cream into a large chilled mixing bowl. Using a hand mixer on medium-high speed, whip the cream until stiff peaks form. You are looking for peaks that hold their shape when you lift the beaters. Be careful not to over-whip, or you will end up with butter. The cream should look billowy and thick, almost like soft frosting. If you are using a stand mixer, use the whisk attachment and keep an eye on it—it can go from perfect to overdone in seconds.
- Combine the base (about 2 minutes): In a separate large bowl, whisk together the entire can of sweetened condensed milk, 1 teaspoon of vanilla extract, and a pinch of fine sea salt until smooth. Gently fold about one-third of the whipped cream into the condensed milk mixture using a rubber spatula. This lightens the base and makes it easier to fold in the rest. Then, add the remaining whipped cream and fold gently until no white streaks remain. Use a gentle hand here—you want to keep as much air in the mixture as possible for a light, creamy texture.
- Layer the ice cream (about 5 minutes): Spread about one-third of the ice cream base into your freezer-safe container. Drizzle about one-third of the cooled salted caramel over the top. Use a butter knife or skewer to gently swirl the caramel into the base—do not overmix, you want distinct ribbons. Repeat with the remaining base and caramel, creating three layers total. Finish with a final drizzle of caramel on top and a light swirl.
- Freeze (at least 6 hours, preferably overnight): Press a piece of plastic wrap directly onto the surface of the ice cream. This prevents ice crystals from forming on top. Cover with a tight-fitting lid or another layer of foil. Place the container in the coldest part of your freezer (usually the back, not the door). Freeze for at least 6 hours, but overnight is best for a scoopable, creamy texture. If you check it after 4 hours, it will be soft-serve consistency, which is also delicious.
When you are ready to serve, let the container sit at room temperature for about 5 to 10 minutes to soften slightly. This makes scooping much easier and ensures the texture is perfectly creamy. Use a warm ice cream scoop for the cleanest scoops.
Cooking Tips & Techniques
Over the many batches I have made, I have learned a few tricks that make a real difference. Let me share them so you can avoid my early mistakes.
Temperature is everything. Your heavy cream must be very cold. I put my bowl and beaters in the freezer for at least 10 minutes before I start whipping. Warm cream will not whip to stiff peaks and will deflate quickly. Also, the caramel must be completely cool before you swirl it in. I once added slightly warm caramel and ended up with a melted, soupy mess that took forever to freeze properly. Patience here pays off.
Do not over-whip the cream. This is probably the most common mistake. You want stiff peaks, but not dry, grainy cream. Stop the mixer as soon as the peaks hold their shape. If you see the cream starting to look slightly curdled or separated, you have gone too far. Starting over with fresh cream is better than trying to salvage over-whipped cream.
The caramel can be tricky. When you add the heavy cream to the hot butter and sugar mixture, it will bubble up violently. Do not panic—just keep stirring. If the caramel seizes up and forms hard clumps, return the pan to low heat and stir gently until it smooths out. This has happened to me a few times, and it is always fixable. Also, if you prefer a thicker caramel that is more like a ribbon, cook it for an extra minute or two before adding the cream.
Multitasking strategy: I always make the caramel first and set it aside to cool while I whip the cream and mix the base. This way, everything is ready to assemble at the same time. It makes the process feel much faster and less chaotic.
For the best texture: Do not skip the plastic wrap directly on the surface. Air is the enemy of homemade ice cream. If you do not have plastic wrap, you can use a piece of parchment paper cut to fit the surface. This extra step is what keeps your ice cream from developing that icy, freezer-burned top layer.
Variations & Adaptations
One of the reasons I love this recipe is how easy it is to customize. Here are some of my favorite variations.
Chocolate Salted Caramel: Add ¼ cup of unsweetened cocoa powder to the sweetened condensed milk before mixing it with the whipped cream. Whisk until smooth and no lumps remain. The chocolate flavor pairs beautifully with the salted caramel. I like to add a handful of mini chocolate chips at the end for extra texture.
Espresso Salted Caramel: Dissolve 2 teaspoons of instant espresso powder in 1 tablespoon of warm water and stir it into the sweetened condensed milk. The coffee flavor deepens the caramel notes and adds a sophisticated edge. This is my personal favorite for an after-dinner treat.
Nutty Salted Caramel: Toast ½ cup of chopped pecans or walnuts in a dry skillet over medium heat until fragrant, about 3 to 4 minutes. Let them cool completely, then fold them into the ice cream base along with the caramel swirl. The crunch is a wonderful contrast to the creamy texture.
Dairy-Free Adaptation: As I mentioned earlier, you can substitute full-fat coconut cream for the heavy cream and use a dairy-free sweetened condensed coconut milk. The coconut flavor will come through, but it is still incredibly delicious. I recommend adding a teaspoon of coconut extract to boost the flavor.
Less Sweet Version: If you prefer a less sweet ice cream, use ¾ cup of packed brown sugar in the caramel instead of 1 cup. You can also reduce the amount of caramel you swirl in. The base itself is sweet due to the condensed milk, so this adjustment helps balance things out.
Serving & Storage Suggestions
This ice cream is best served slightly softened. Take it out of the freezer about 5 to 10 minutes before you plan to scoop. It should be firm but give easily when you run a spoon through it.
Serving ideas: Scoop it into a waffle cone or a chilled bowl. Drizzle a little extra salted caramel on top and sprinkle with a few more flakes of sea salt. It is also fantastic served alongside a warm brownie or a slice of apple pie. The contrast between the cold, creamy ice cream and the warm, fudgy brownie is absolute perfection. For a simple but elegant dessert, serve it in small glasses with a dollop of whipped cream and a dusting of cocoa powder.
Storage: Keep the ice cream in an airtight container in the back of your freezer, not the door. The door is subject to temperature fluctuations every time you open it, which can lead to ice crystals. Properly stored, this ice cream will stay creamy and delicious for up to 2 weeks. After that, it may start to develop some iciness, but it is still perfectly edible.
Reheating (if needed): If the ice cream becomes too hard after a few days, let it sit at room temperature for 15 to 20 minutes instead of the usual 5 to 10. You can also microwave the container on low power for 10 to 15 seconds to soften it slightly, but be careful not to melt it.
Flavor development: The caramel flavor actually deepens after the ice cream has been in the freezer for a day or two. The saltiness becomes more pronounced and the caramel ribbons firm up into delightful, chewy pockets. I honestly think it tastes even better on day two.
Nutritional Information & Benefits
Let me be upfront—this is a dessert, and it is indulgent. But knowing what is in it is still helpful.
Estimated nutritional values per serving (1/2 cup serving, based on 8 servings per recipe):
- Calories: 410
- Fat: 28g
- Saturated Fat: 17g
- Carbohydrates: 38g
- Sugar: 35g
- Protein: 4g
- Sodium: 280mg
Health benefits of key ingredients: Heavy cream contains fat-soluble vitamins like A, D, E, and K, which are important for immune function and bone health. It is also a source of conjugated linoleic acid (CLA), which has been studied for its potential health benefits. The butter in the caramel provides additional vitamin A. And while the sugar content is high, the small serving size means you can enjoy it in moderation as part of a balanced diet.
Dietary considerations: This recipe is gluten-free and contains no eggs. It is not dairy-free, low-fat, or low-sugar. If you have a dairy allergy or lactose intolerance, please see the dairy-free adaptation above. The caramel contains butter and heavy cream, so it is not suitable for vegans in its traditional form.
Potential allergens: Milk and dairy. The caramel itself is dairy-based. If you are serving this to guests with allergies, always disclose the ingredients.
My personal perspective is that food should be enjoyed. I believe in eating real, whole foods most of the time, but I also believe in treating yourself. A small bowl of this ice cream after a long week is one of life’s simple pleasures. It is worth every calorie.
Conclusion
This easy no-churn salted caramel ice cream is the kind of recipe that makes you feel like a kitchen genius with almost no effort. It is creamy, rich, and packed with those perfect pockets of salty-sweet caramel that make every bite interesting. I love that I can make it on a whim without planning ahead or digging out special equipment. It has saved me more times than I can count when I needed a last-minute dessert for a gathering or just a quiet treat for myself.
I really hope you give this recipe a try. Customize it with your favorite mix-ins—chocolate chunks, toasted nuts, a swirl of peanut butter. Make it your own. That is the beauty of no-churn ice cream, it is endlessly adaptable. And when you take that first scoop and taste how incredibly smooth and flavorful it is, I think you will be just as surprised as I was that first time with my neighbor.
If you make this, please let me know how it turns out! Leave a comment below and tell me what variations you tried. I genuinely love hearing about your kitchen adventures. And do not forget to share this recipe with a friend who needs a little sweetness in their life. Happy scooping, friends!
Frequently Asked Questions
Can I use salted butter in the caramel?
Yes, you can, but reduce or omit the added salt. If using salted butter, skip the 1 teaspoon of flaky sea salt in the caramel and taste it before adding any extra salt. You can always add more at the end.
Why did my ice cream turn out icy?
Icy ice cream usually means the cream was not whipped to stiff enough peaks, or the caramel was not fully cooled before being swirled in. Another common cause is the container not being airtight, allowing freezer air to dry out the surface. Pressing plastic wrap directly onto the surface helps prevent this.
Can I use a different sweetener in the caramel?
Brown sugar is ideal for its flavor and moisture content. You can substitute coconut sugar, but the caramel will be less sweet and have a slightly different flavor. White sugar will work in a pinch, but the caramel will lack that deep, molasses-like richness.
How long does this ice cream keep in the freezer?
It stays creamy and delicious for up to 2 weeks when stored properly in an airtight container with plastic wrap pressed onto the surface. After that, it may develop some ice crystals but is still safe to eat.
Can I double this recipe?
Absolutely. Simply double all the ingredients. Use a larger bowl for whipping the cream and a larger container for freezing. A 9×13-inch baking dish works well for a double batch. Just make sure your container is freezer-safe and has a lid.
Pin This Recipe!
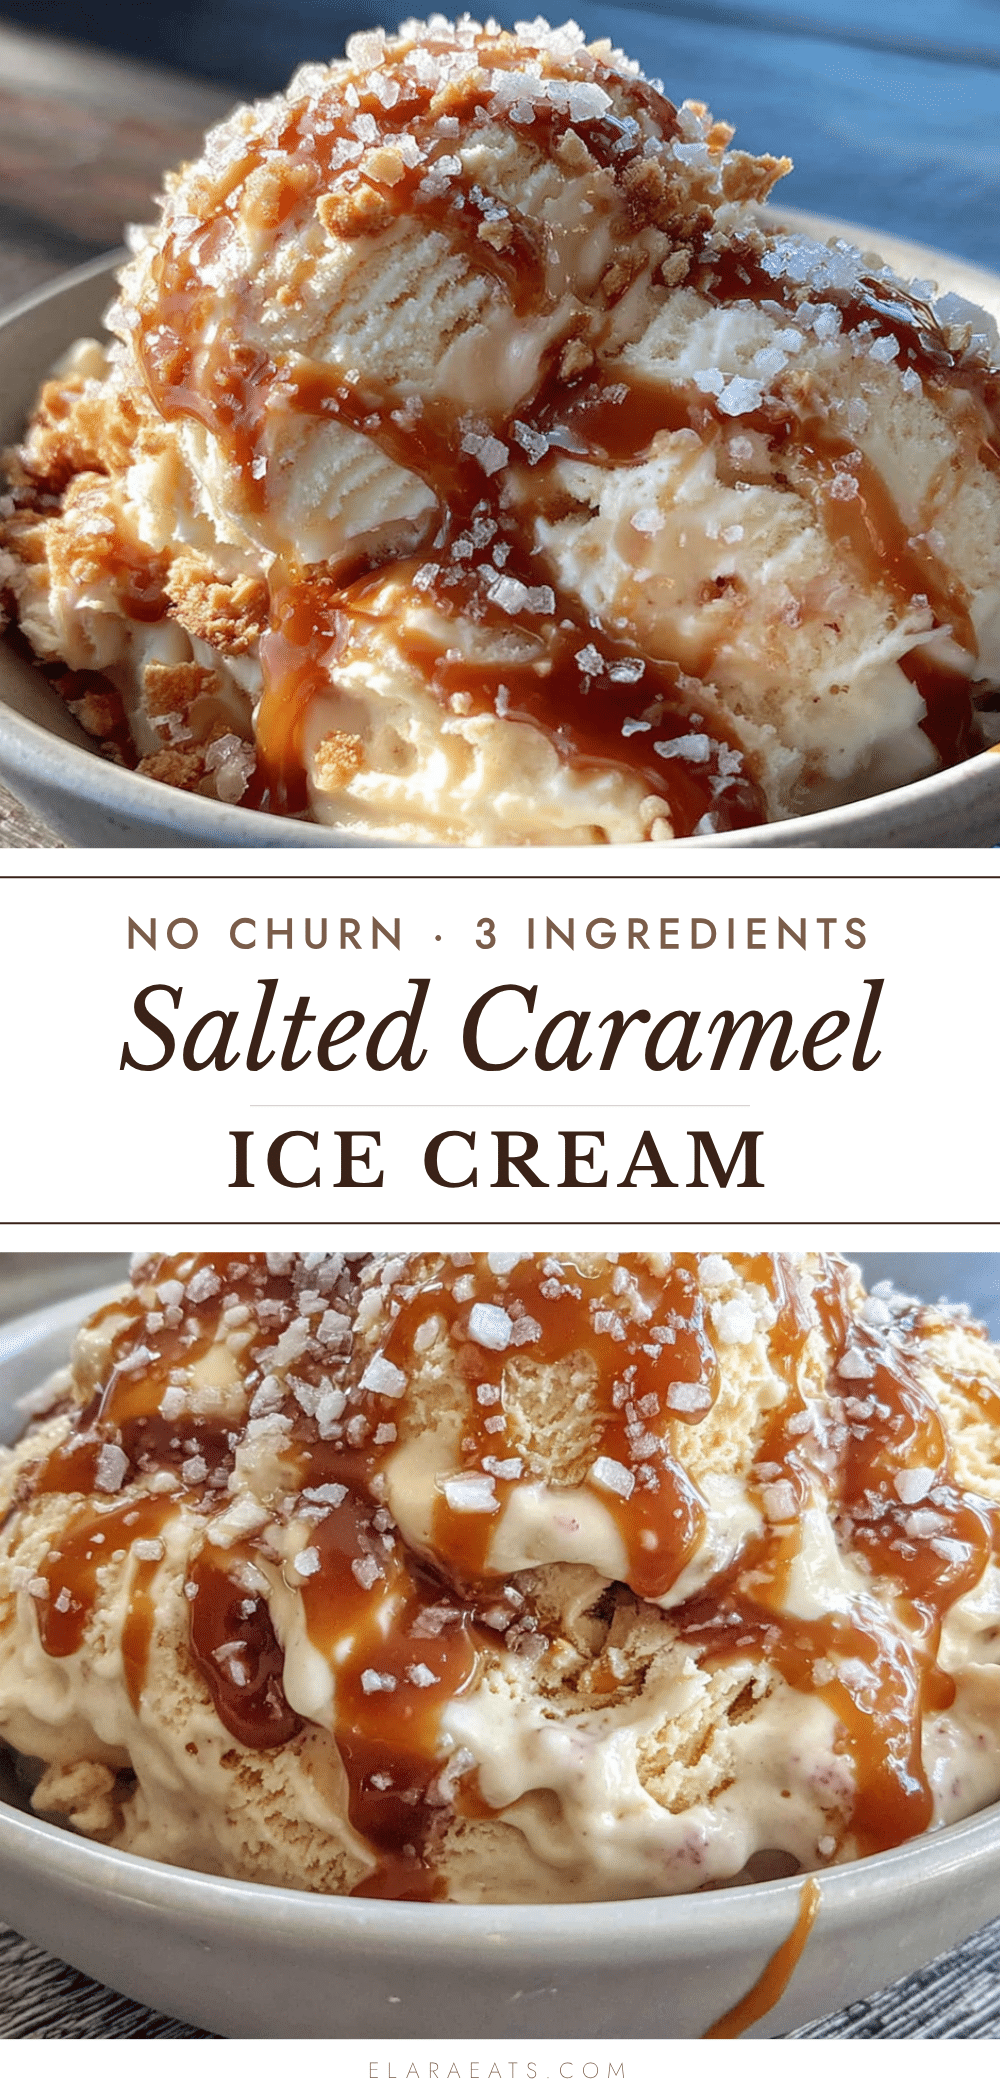
Easy No-Churn Salted Caramel Ice Cream Recipe
This easy no-churn salted caramel ice cream is incredibly creamy and rich, with ribbons of homemade salted caramel running through every bite. No ice cream maker required, just a few simple ingredients and about 15 minutes of active time.
- Prep Time: 15 minutes
- Cook Time: 10 minutes
- Total Time: 6 hours 25 minutes (including freezing time)
- Yield: 8 servings 1x
- Category: Dessert
- Cuisine: American
Ingredients
- For the Salted Caramel:
- ¼ cup (½ stick or 57g) unsalted butter
- 1 cup packed (200g) light brown sugar
- ½ cup (120ml) heavy cream
- 1 teaspoon flaky sea salt (like Maldon)
- 1 teaspoon vanilla extract
- For the Ice Cream Base:
- 2 cups (480ml) heavy cream, very cold
- 1 (14-ounce or 397g) can sweetened condensed milk
- 1 teaspoon vanilla extract
- Pinch of fine sea salt
Instructions
- Make the salted caramel: Place a medium saucepan over medium heat. Add ¼ cup unsalted butter and let it melt completely. Once melted, add 1 cup packed light brown sugar. Stir continuously until the sugar is fully incorporated and the mixture looks like a thick, sandy paste. Continue cooking for about 2 minutes, stirring constantly, until the mixture darkens slightly and smells deeply caramelized.
- Slowly pour in ½ cup heavy cream while stirring. The mixture will bubble up vigorously. Keep stirring until the caramel is smooth and all the sugar has dissolved. Remove from heat and stir in 1 teaspoon vanilla extract and 1 teaspoon flaky sea salt. Let the caramel cool completely to room temperature.
- Whip the cream: Pour 2 cups very cold heavy cream into a large chilled mixing bowl. Using a hand mixer on medium-high speed, whip the cream until stiff peaks form. Be careful not to over-whip.
- Combine the base: In a separate large bowl, whisk together the entire can of sweetened condensed milk, 1 teaspoon vanilla extract, and a pinch of fine sea salt until smooth. Gently fold about one-third of the whipped cream into the condensed milk mixture to lighten it. Then add the remaining whipped cream and fold gently until no white streaks remain.
- Layer the ice cream: Spread about one-third of the ice cream base into a freezer-safe container. Drizzle about one-third of the cooled salted caramel over the top. Use a butter knife or skewer to gently swirl the caramel into the base. Repeat with the remaining base and caramel, creating three layers total. Finish with a final drizzle of caramel on top and a light swirl.
- Freeze: Press a piece of plastic wrap directly onto the surface of the ice cream. Cover with a tight-fitting lid or foil. Place in the coldest part of the freezer and freeze for at least 6 hours, preferably overnight.
Notes
Make sure the heavy cream is very cold for best whipping results. The caramel must be completely cool before swirling into the base to prevent melting. For best texture, freeze overnight. Let the ice cream sit at room temperature for 5-10 minutes before scooping.
Nutrition
- Serving Size: 1/2 cup
- Calories: 410
- Sugar: 35
- Sodium: 280
- Fat: 28
- Saturated Fat: 17
- Carbohydrates: 38
- Protein: 4
Keywords: no-churn ice cream, salted caramel ice cream, easy ice cream, homemade ice cream, no ice cream maker


