Love this? Save it for later!
Share the inspiration with your friends
This was supposed to be a from-scratch pumpkin pie with a homemade crust, the kind my grandmother would have approved of. I had the fresh pumpkin roasted, the heavy cream measured, and the spices all lined up on the counter like little soldiers. But somewhere between the flour sifting and the butter cutting, my toddler decided to “help” by dumping the entire bag of graham cracker crumbs into the dog’s water bowl. I stood there, covered in cinnamon, staring at a bowl of soggy crumbs and an oven that was already preheated, and honestly, I almost just ordered takeout. But I had a can of pumpkin puree staring at me from the counter, and a tub of Cool Whip in the freezer that I’d bought for a different dessert entirely. So I grabbed the cream cheese, threw out the crust plan, and started improvising like a line cook during a dinner rush. What came out of the fridge a few hours later was nothing like the plan — and better. This no-bake pumpkin pie with Cool Whip is now the only pumpkin pie I make. It’s creamy, it’s effortless, and it tastes like you spent hours in the kitchen when you really just chilled it and walked away. Maybe you’ve been there — standing in a messy kitchen, wondering if you should just give up on dessert altogether. This recipe is my way of saying: don’t. The happy accident that became this pie is proof that sometimes the best recipes are the ones you never meant to make.
Why You’ll Love This Recipe
Look, I’ve tested this recipe more times than I care to admit. I made it for Thanksgiving two years ago and my aunt, who is a professional pastry chef and never compliments anything, asked for the recipe. That’s when I knew I had something special. This isn’t just another pumpkin pie recipe — it’s the one that makes people close their eyes after the first bite.
- No Oven Required: Your oven is already full of turkey and stuffing. This pie chills in the fridge while everything else bakes. No fighting for oven space, no worrying about a cracked custard.
- Simple Ingredients: You probably have most of these in your fridge and pantry right now. Cream cheese, pumpkin puree, Cool Whip, and a store-bought graham cracker crust. That’s it. No heavy cream to whip, no eggs to temper.
- Perfect for Busy Holidays: This pie comes together in about 20 minutes of active work. The rest is just chilling time. You can make it the day before and forget about it until dessert time.
- Crowd-Pleaser: Kids love the creamy, mousse-like texture. Adults love the familiar pumpkin spice flavor without the fuss. Even people who “don’t like pumpkin pie” have been converted.
- Unbelievably Creamy: The secret is blending the cream cheese and pumpkin until completely smooth, then folding in the Cool Whip gently. The result is a texture that’s light, airy, and melts in your mouth.
What makes this different from every other no-bake pumpkin pie out there? It’s the balance. Most versions are either too dense from too much cream cheese, or too loose and runny. This one hits that sweet spot — firm enough to slice cleanly, but creamy enough to feel decadent. It’s comfort food reimagined: easier, faster, but with the same soul-soothing satisfaction of a classic pumpkin pie.
What Ingredients You Will Need
This recipe uses simple, wholesome ingredients to deliver that rich, spiced pumpkin flavor without any complicated steps. Most of these are pantry staples you might already have on hand, especially during fall baking season.
- For the Filling:
- 8 ounces cream cheese, softened to room temperature (I recommend Philadelphia brand for the creamiest texture)
- 1 cup canned pumpkin puree (not pumpkin pie filling — look for 100% pure pumpkin, like Libby’s)
- 1/2 cup granulated sugar (adds just the right sweetness without overpowering the pumpkin)
- 1 teaspoon vanilla extract (pure vanilla extract makes a difference here)
- 1 teaspoon pumpkin pie spice (or make your own blend: 1/2 teaspoon cinnamon, 1/4 teaspoon ginger, 1/4 teaspoon nutmeg, pinch of cloves)
- 1/2 teaspoon ground cinnamon (for extra warmth)
- 1 1/2 cups Cool Whip, thawed (the regular or extra creamy variety works great; for a lighter option, use Lite Cool Whip)
- For the Crust:
- 1 store-bought graham cracker crust (9-inch size) — Keebler Ready Crust is my go-to, but any brand works
- Alternatively, you can make your own with 1 1/2 cups graham cracker crumbs, 1/4 cup melted butter, and 2 tablespoons sugar, pressed into a 9-inch pie plate
- For the Topping (optional but highly recommended):
- Additional Cool Whip for piping or dolloping on top
- 1/4 teaspoon pumpkin pie spice or cinnamon for dusting
- Optional: chopped pecans, caramel sauce drizzle, or candied ginger for garnish
Ingredient Tips: Make sure your cream cheese is truly at room temperature — this is the most common mistake. If it’s too cold, you’ll end up with lumpy filling. Let it sit on the counter for at least 30 minutes before starting. For the pumpkin puree, I’ve tried both organic and conventional brands, and honestly, Libby’s gives the smoothest, most consistent texture. If you’re using a different brand, just make sure it’s not pumpkin pie filling, which has added sugar and spices that will throw off the balance. For a dairy-free version, use dairy-free cream cheese and coconut-based whipped topping — just make sure both are room temperature for the best texture.
Equipment Needed
You don’t need a fancy kitchen to pull this off. Here’s what you’ll actually use:
- Electric hand mixer or stand mixer: A hand mixer works perfectly here. I’ve made this with a whisk before when my mixer died mid-recipe, and it took forever and my arm was sore. Trust me, use the mixer.
- Large mixing bowl: Any medium-to-large bowl will do. Glass or stainless steel works best because they don’t retain odors.
- Rubber spatula: For scraping down the sides of the bowl and gently folding in the Cool Whip. A silicone spatula is ideal.
- 9-inch pie plate: If you’re using a store-bought graham cracker crust, it comes in its own aluminum pan. If making your own crust, a standard 9-inch glass pie plate works beautifully.
- Measuring cups and spoons: For accuracy. I’ve eyeballed the spices before and ended up with a pie that tasted like a candle.
- Plastic wrap or aluminum foil: For covering the pie while it chills.
- Optional but nice to have: A piping bag with a star tip for decorating the top with extra Cool Whip. A small offset spatula for smoothing the filling.
I bought a cheap hand mixer from a discount store years ago and it’s still going strong. You really don’t need expensive equipment for this recipe. The one thing I do recommend splurging on is a good rubber spatula — it makes scraping the bowl so much easier and you won’t waste any of that delicious filling.
Preparation Method
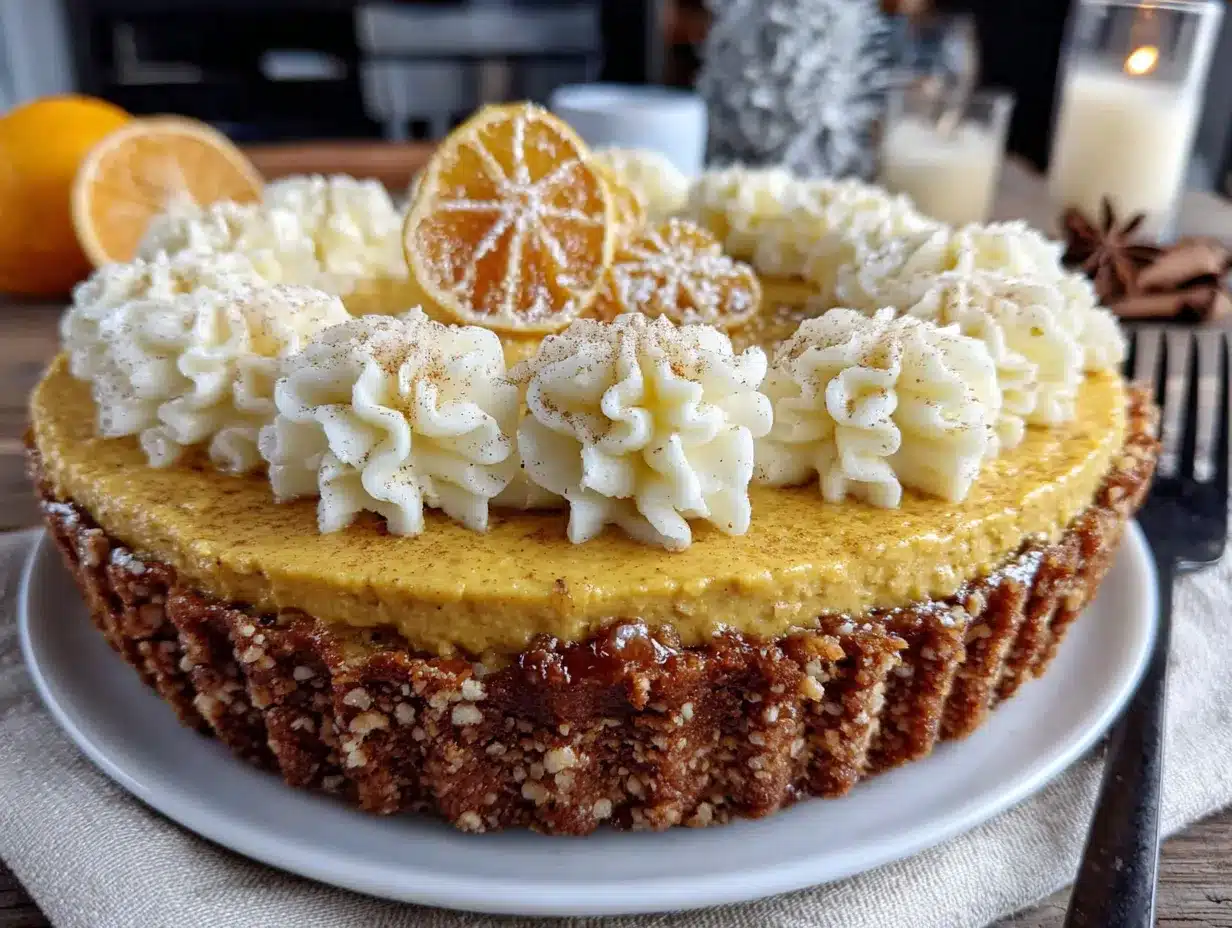
Let me walk you through this step by step. I’ve made this pie at least a dozen times, so I know exactly where things can go wrong and how to fix them.
- Soften the cream cheese: Take your cream cheese out of the fridge at least 30 minutes before starting. If you forgot (I do this all the time), unwrap it, cut it into cubes, and microwave it on 50% power for 10-second intervals until just softened. Do not melt it — melted cream cheese won’t give you that creamy texture.
- Beat the cream cheese: In a large mixing bowl, beat the softened cream cheese with an electric mixer on medium speed until it’s completely smooth and fluffy, about 2 minutes. Scrape down the sides and bottom of the bowl with your spatula at least once. You want zero lumps here — this is the foundation of your pie.
- Add the sugar and spices: Add the granulated sugar, vanilla extract, pumpkin pie spice, and ground cinnamon to the cream cheese. Beat on medium speed until everything is well combined and the mixture looks smooth and glossy, about 1 minute. Stop and scrape the bowl again.
- Mix in the pumpkin: Add the pumpkin puree to the cream cheese mixture. Beat on low speed at first (so the pumpkin doesn’t splatter everywhere), then increase to medium and beat until the mixture is completely uniform in color and texture, about 1-2 minutes. It should be a beautiful, rich orange color. If you see any white streaks of cream cheese, keep mixing.
- Fold in the Cool Whip: This is the most important step. Add the thawed Cool Whip to the pumpkin mixture. Using your rubber spatula, gently fold it in. Start from the bottom of the bowl, scoop up, and turn the mixture over. Rotate the bowl and repeat. Do not stir vigorously — you want to keep the air in the Cool Whip so your pie stays light and mousse-like. Fold just until no white streaks remain. The mixture should look uniform and fluffy.
- Fill the crust: Spoon the filling into your graham cracker crust. Use the spatula to spread it evenly. If you want it to look extra polished, use a small offset spatula to create a smooth surface or gentle swirls on top.
- Chill the pie: Cover the pie loosely with plastic wrap or aluminum foil. Refrigerate for at least 4 hours, but overnight is even better. The filling needs time to set up properly. I’ve tried rushing this and ended up with a pie that fell apart when I sliced it. Patience pays off here.
- Add toppings before serving: Once the pie is fully set, you can pipe or dollop extra Cool Whip around the edges. Dust with a little pumpkin pie spice or cinnamon for a pretty finish. If you’re adding pecans or caramel sauce, do that right before serving so they stay crunchy.
Sensory Cues: When you fold the Cool Whip in, the mixture should feel light and airy, almost like a cloud. When you spoon it into the crust, it should hold its shape but still be soft. After chilling, the pie should feel firm to the touch — when you gently jiggle the pie plate, the center should barely move.
Cooking Tips & Techniques
I’ve messed up this pie in almost every way possible, so let me save you the trouble.
Don’t overmix after adding the Cool Whip. I learned this the hard way. The first time I made this, I was so excited I kept mixing and mixing, and the pie came out dense and almost gluey. The Cool Whip needs to be folded in gently — stop as soon as it’s incorporated. Overmixing deflates all those tiny air bubbles that make the pie light and creamy.
Temperature matters more than you think. Cold cream cheese creates lumps that never fully disappear. Too-warm cream cheese can make the filling too soft to set properly. Room temperature is your sweet spot. Same goes for the Cool Whip — it should be thawed but still cold, not sitting out for hours. Thaw it in the fridge overnight, not on the counter.
Taste as you go. Before you add the Cool Whip, taste the pumpkin-cream cheese mixture. This is your chance to adjust the sweetness or spice level. I like a little extra cinnamon, so I usually add a pinch more. If you prefer a less sweet pie, reduce the sugar to 1/3 cup. Once the Cool Whip is in, you can’t really adjust the flavor without deflating everything.
Make it the day before. This pie actually gets better after a full 24 hours in the fridge. The flavors meld together, the texture firms up perfectly, and it slices like a dream. I always make mine the night before Thanksgiving and it’s one less thing to worry about on the big day.
Slice with a warm knife. Run your knife under hot water, dry it off, then slice. Wipe the blade clean between slices. You’ll get those beautiful, clean pieces that look like they came from a bakery.
Variations & Adaptations
This recipe is incredibly forgiving, so feel free to play around with it. Here are some variations I’ve tried and loved:
- Gluten-Free Version: Use a gluten-free graham cracker crust or make your own with gluten-free cookies. The filling itself is naturally gluten-free, so this is an easy swap.
- Dairy-Free Version: Use dairy-free cream cheese (I like Kite Hill or Miyoko’s) and a coconut-based whipped topping. Let both come to room temperature before mixing. The texture will be slightly different but still delicious.
- Chocolate-Pumpkin Swirl: Melt 1/4 cup of semi-sweet chocolate chips and let it cool slightly. After filling the crust, drop spoonfuls of melted chocolate on top and swirl it with a knife. It looks fancy and tastes amazing.
- Maple Pecan Twist: Replace the granulated sugar with 1/3 cup maple syrup (reduce the Cool Whip to 1 1/4 cups to compensate for the extra liquid). Top with toasted pecans before serving. This is my personal favorite fall variation.
- Pumpkin Chiffon Style: For an even lighter texture, fold in 1 cup of whipped heavy cream (whipped to stiff peaks) along with the Cool Whip. It makes the pie almost ethereally light, like a cloud in a crust.
- Spiced Cookie Crust: Swap the graham cracker crust for a crushed ginger snap or speculoos cookie crust. The spicy cookies complement the pumpkin filling beautifully.
Serving & Storage Suggestions
This pie is best served cold, straight from the fridge. I like to take it out about 10 minutes before slicing, just to take the chill off slightly, but it should still be firm. Serve it on its own, or with a dollop of extra Cool Whip and a dusting of cinnamon on top.
What to serve with it: A cup of hot coffee or spiced chai is perfect alongside. For a full dessert spread, pair it with a classic apple crisp or some pumpkin snickerdoodle cookies. If you’re feeling extra indulgent, drizzle each slice with warm caramel sauce and a sprinkle of flaky sea salt.
Storage: Cover the pie tightly with plastic wrap or aluminum foil and keep it in the refrigerator. It will stay fresh for up to 5 days, though honestly, it rarely lasts that long in my house. The texture remains creamy and doesn’t get watery or weepy, which is a common problem with no-bake pies.
Freezing Instructions: This pie freezes beautifully. Make it as directed, but don’t add any toppings. Wrap the entire pie (still in its pie plate) in a layer of plastic wrap, then a layer of aluminum foil. Freeze for up to 3 months. To serve, thaw overnight in the refrigerator. Add fresh toppings after thawing. The texture stays remarkably creamy — I’ve done this several times for make-ahead holiday prep.
Flavor Development: The spices actually deepen and mellow after a day or two in the fridge. The pie tastes even better on day two than on day one. The pumpkin flavor becomes more pronounced and the sweetness balances out. This is one of those rare desserts that rewards patience.
Nutritional Information & Benefits
Here’s the approximate nutritional breakdown for one slice (based on 8 servings):
- Calories: 310
- Total Fat: 18g
- Saturated Fat: 10g
- Cholesterol: 35mg
- Sodium: 290mg
- Total Carbohydrates: 35g
- Dietary Fiber: 2g
- Sugars: 24g
- Protein: 4g
Health Benefits: Pumpkin is packed with vitamin A (over 200% of your daily needs in one serving), which supports eye health and immune function. It’s also a good source of fiber and antioxidants. The cream cheese adds protein and calcium, while the Cool Whip keeps the fat content lower than a traditional heavy cream-based pie. This isn’t health food by any means, but it’s a more balanced dessert option than many holiday pies.
Dietary Considerations: This recipe is vegetarian. For a gluten-free option, use a gluten-free crust. For a lower-sugar version, use a sugar substitute like monk fruit sweetener in place of the granulated sugar, and use sugar-free Cool Whip. The texture will be slightly different but still very good.
Allergen Note: Contains dairy (cream cheese, Cool Whip) and gluten (graham cracker crust). Not suitable for vegan diets unless substitutions are made.
Frequently Asked Questions
Can I use homemade whipped cream instead of Cool Whip?
Yes, but the texture will be different. Homemade whipped cream is less stable than Cool Whip and may cause the pie to be softer and less sliceable. If you want to use it, whip 1 cup of heavy cream to stiff peaks and fold it in gently. The pie will need at least 6 hours to set, and it won’t hold up as well for leftovers.
Why is my pie filling runny?
This usually happens for one of three reasons: the cream cheese wasn’t fully softened before mixing (causing lumps that never set), the Cool Whip was overmixed (deflating the structure), or the pie wasn’t chilled long enough. Make sure you chill for at least 4 hours, preferably overnight. If it’s still runny after that, try adding an extra 2 ounces of cream cheese next time.
Can I use pumpkin pie filling instead of pumpkin puree?
I don’t recommend it. Pumpkin pie filling already has sugar and spices added, which will throw off the balance of this recipe. You’ll end up with a pie that’s overly sweet and has a strange texture. Stick with 100% pure pumpkin puree for the best results.
How long does this pie last in the fridge?
Up to 5 days, covered tightly. The texture stays creamy and doesn’t get watery. I actually think it tastes better on day two or three because the spices have time to meld together. Just keep it covered so it doesn’t absorb any fridge odors.
Can I make this into mini pies?
Absolutely! Use mini graham cracker crusts (the ones that come in packs of 6) or press your own crust into a muffin tin. The filling will set faster — about 2 hours in the fridge. They’re perfect for parties or portion control. You’ll get about 8-10 mini pies from one batch of filling.
Conclusion
This no-bake pumpkin pie with Cool Whip has become my go-to dessert for every fall gathering, and I honestly don’t see that changing anytime soon. It’s the recipe that taught me that perfectionism in the kitchen is overrated — sometimes the best dishes come from spilled crumbs and melted butter and a toddler who just wanted to help. This pie is creamy, dreamy, and so forgiving that even a beginner can nail it on the first try. I love that I can make it ahead, forget about it, and still get compliments that make me look like a dessert genius. Give it a try, and don’t be afraid to make it your own. Add extra cinnamon, swap the crust, drizzle it with caramel — this recipe loves to be played with. And when you make it, come back and tell me how it turned out. I’d love to hear about your own happy accidents in the kitchen. Happy baking, friend!
Pin This Recipe!
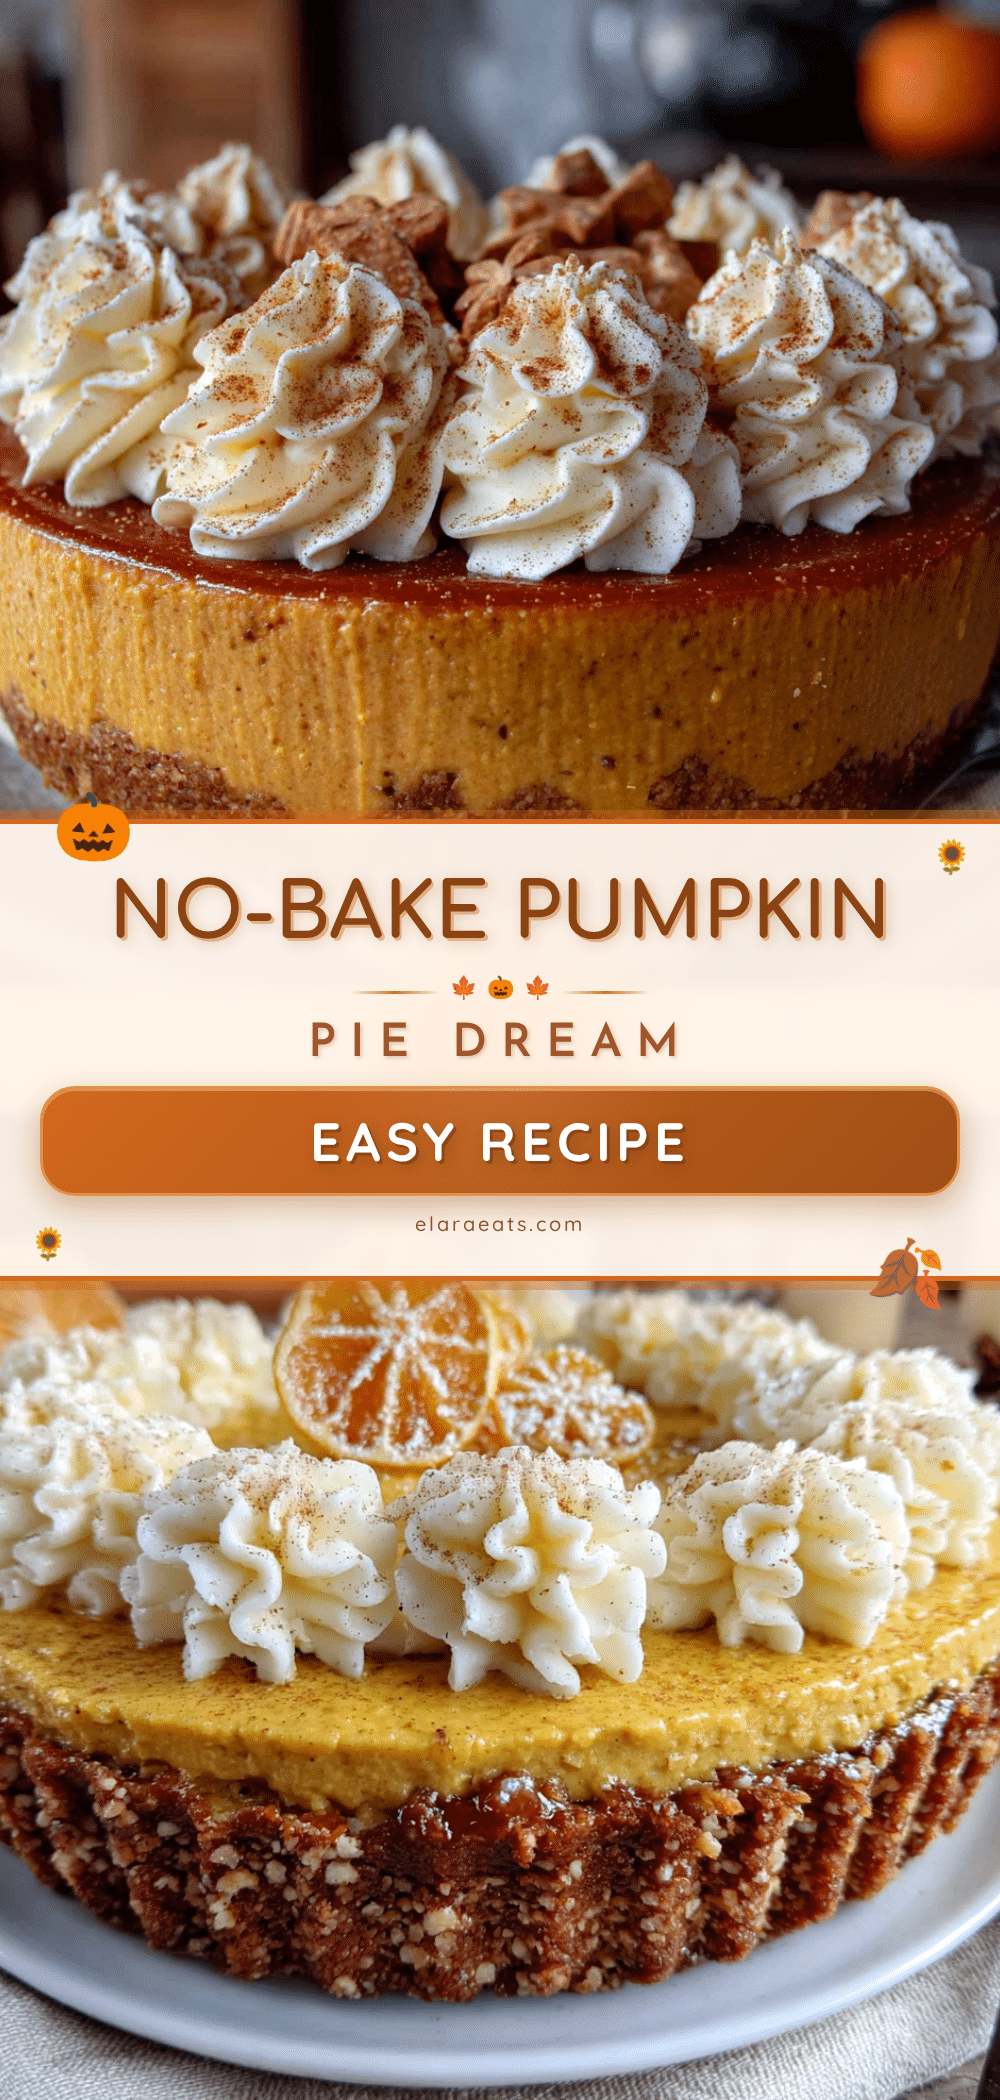
Easy No-Bake Pumpkin Pie with Cool Whip: Best Creamy Dessert

A creamy, effortless no-bake pumpkin pie made with cream cheese, pumpkin puree, and Cool Whip in a graham cracker crust. Perfect for busy holidays when the oven is full, this pie chills in the fridge and tastes like you spent hours in the kitchen.
- Prep Time: 20 minutes
- Cook Time: 0 minutes
- Total Time: 4 hours 20 minutes (includes chilling time)
- Yield: 8 servings 1x
- Category: Dessert
- Cuisine: American
Ingredients
- 8 ounces cream cheese, softened to room temperature
- 1 cup canned pumpkin puree (100% pure pumpkin, not pumpkin pie filling)
- 1/2 cup granulated sugar
- 1 teaspoon vanilla extract
- 1 teaspoon pumpkin pie spice
- 1/2 teaspoon ground cinnamon
- 1 1/2 cups Cool Whip, thawed
- 1 store-bought graham cracker crust (9-inch size)
- Additional Cool Whip for topping (optional)
- 1/4 teaspoon pumpkin pie spice or cinnamon for dusting (optional)
- Chopped pecans, caramel sauce drizzle, or candied ginger for garnish (optional)
Instructions
- Soften the cream cheese: Take cream cheese out of fridge at least 30 minutes before starting. If forgotten, unwrap, cut into cubes, and microwave on 50% power for 10-second intervals until just softened. Do not melt.
- Beat the cream cheese: In a large mixing bowl, beat softened cream cheese with an electric mixer on medium speed until completely smooth and fluffy, about 2 minutes. Scrape down sides and bottom of bowl at least once.
- Add the sugar and spices: Add granulated sugar, vanilla extract, pumpkin pie spice, and ground cinnamon to the cream cheese. Beat on medium speed until well combined and smooth, about 1 minute. Scrape bowl again.
- Mix in the pumpkin: Add pumpkin puree to cream cheese mixture. Beat on low speed first to avoid splattering, then increase to medium and beat until mixture is completely uniform in color and texture, about 1-2 minutes.
- Fold in the Cool Whip: Add thawed Cool Whip to pumpkin mixture. Using a rubber spatula, gently fold it in by scooping from bottom of bowl and turning mixture over. Rotate bowl and repeat. Fold just until no white streaks remain. Mixture should be uniform and fluffy.
- Fill the crust: Spoon filling into graham cracker crust. Use spatula to spread evenly. For a polished look, use a small offset spatula to create smooth surface or gentle swirls on top.
- Chill the pie: Cover pie loosely with plastic wrap or aluminum foil. Refrigerate for at least 4 hours, but overnight is even better for proper setting.
- Add toppings before serving: Once pie is fully set, pipe or dollop extra Cool Whip around edges. Dust with pumpkin pie spice or cinnamon. If adding pecans or caramel sauce, do so right before serving.
Notes
Make sure cream cheese is truly at room temperature to avoid lumps. Do not overmix after adding Cool Whip to keep pie light and airy. Pie actually gets better after 24 hours in the fridge. For clean slices, run knife under hot water and wipe clean between slices. Pie can be frozen for up to 3 months without toppings.
Nutrition
- Serving Size: 1 slice
- Calories: 310
- Sugar: 24
- Sodium: 290
- Fat: 18
- Saturated Fat: 10
- Carbohydrates: 35
- Fiber: 2
- Protein: 4
Keywords: no-bake pumpkin pie, easy pumpkin pie, Cool Whip pumpkin pie, creamy pumpkin dessert, Thanksgiving dessert, no oven pumpkin pie