Love this? Save it for later!
Share the inspiration with your friends
I was elbow-deep in a pile of overgrown zucchini from my neighbor’s garden—the kind of situation where you’re politely smiling while wondering what on earth you’re going to do with twenty pounds of squash—when my mail carrier, a quiet woman named Diane who I usually only exchanged waves with, paused at the gate. She looked at the zucchini mountain, then at me, and said, “You know, what you really need is a good tomato sauce recipe. Roasted. For canning.” I blinked at her, holding a zucchini the size of my forearm. She wasn’t wrong. I did need that. I just didn’t know it yet.
Diane proceeded to describe, in surprising detail, exactly how she roasts her tomatoes every September. She talked about the smell of garlic caramelizing in the oven and the way the sauce turns a deep, almost burgundy color. I was hooked. I scribbled her method on the back of an envelope right there on the driveway. That weekend, I bought a bushel of Roma tomatoes from the farmer’s market, and let me tell you, the result was nothing short of transformative. This wasn’t just any tomato sauce. This was summer, concentrated and bottled.
This homemade roasted tomato sauce for canning has become my late-summer ritual. It’s the recipe that gets me through the gray days of winter. Honestly, it’s less of a chore and more of a meditation—a way to preserve a moment of peak-season flavor. Maybe you’ve been there, staring down a box of tomatoes and feeling a little overwhelmed. Let me walk you through the exact method that Diane shared, refined over a few batches of my own, so you can stock your pantry with the best sauce you’ve ever tasted.
Why You’ll Love This Recipe
This isn’t just another tomato sauce recipe. This is the one that will make you never buy jarred sauce again. I’ve tested this method over three different canning seasons, tweaking the roasting time and the garlic ratio until it was absolutely perfect. The deep, caramelized flavor you get from roasting is something you simply cannot achieve with a stovetop simmer. It’s a game-changer.
- Deep, Complex Flavor: Roasting concentrates the natural sugars in the tomatoes, creating a rich, slightly sweet, and intensely savory sauce that tastes like it simmered all day.
- Simple, Whole Ingredients: You only need tomatoes, garlic, onions, olive oil, and herbs. No preservatives, no added sugars, no weird stabilizers.
- Perfect for Pantry Stocking: This recipe is designed specifically for water bath canning, giving you shelf-stable jars of summer to enjoy all year long.
- Crowd-Pleaser: It’s the sauce that gets rave reviews on pasta, pizza, and in lasagnas. Even picky eaters will ask for seconds.
- Unbelievably Versatile: Use it as a base for soups, stews, or even as a dipping sauce for crusty bread. It’s your secret weapon in the kitchen.
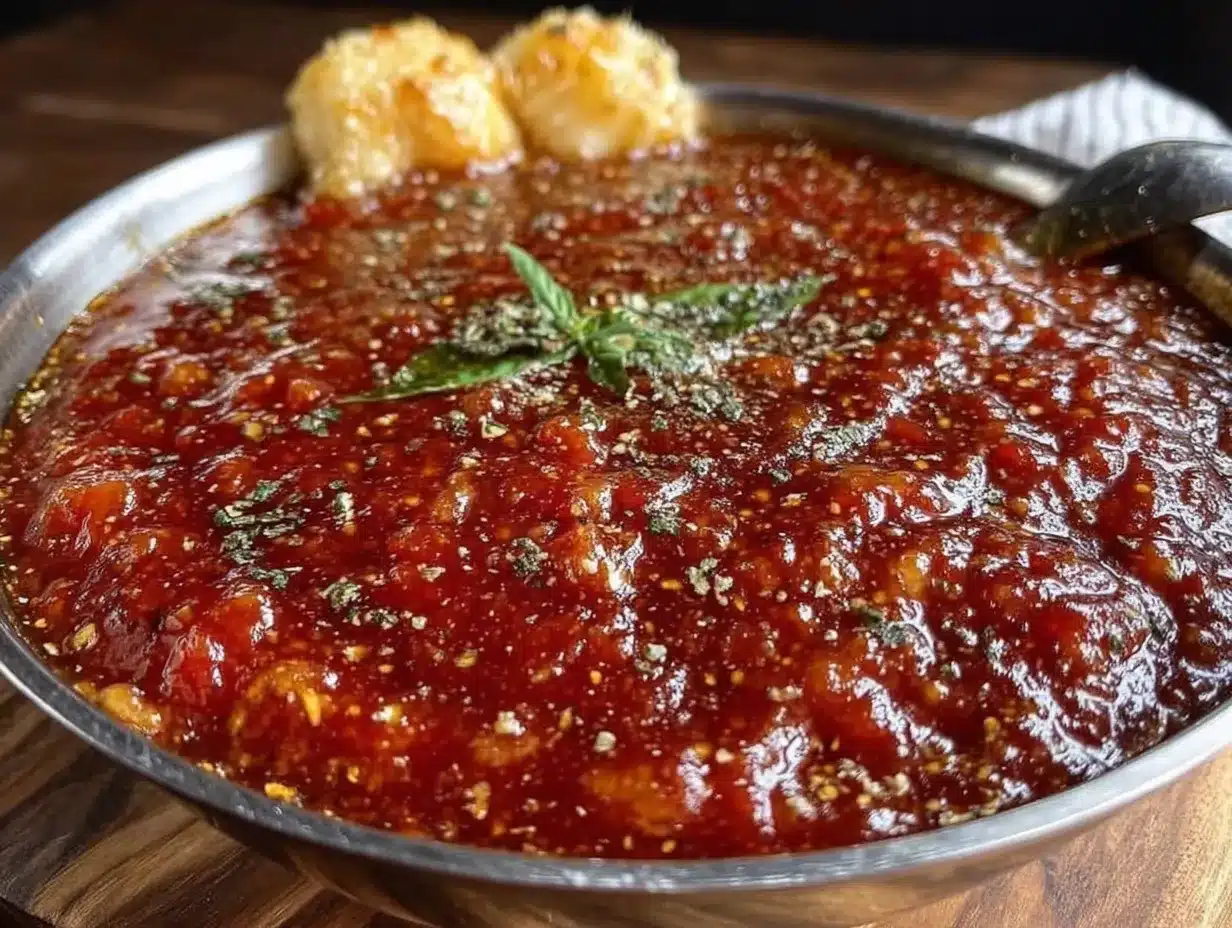
What makes this recipe different from the rest? It’s the roasting technique. Instead of just boiling down tomatoes, we’re coaxing out their deepest flavors in a hot oven. The result is a sauce that has a velvety texture and a smoky-sweet depth that is pure comfort. This is the kind of recipe that makes you close your eyes after the first bite. It’s comfort food reimagined—healthier, more flavorful, and with the same soul-soothing satisfaction. Perfect for impressing dinner guests without any last-minute stress, or turning a simple weeknight pasta into something truly memorable.
What Ingredients You Will Need
This recipe uses simple, wholesome ingredients to deliver bold flavor and satisfying texture without the fuss. Most of these are likely already in your pantry or garden, making this a perfect end-of-summer project.
For the Roasted Tomato Base
- 10 pounds Roma tomatoes (or plum tomatoes), halved lengthwise. Roma tomatoes are preferred for their meaty texture and low moisture content, which yields a thicker sauce.
- 4 large cloves garlic, peeled and left whole. Roasting whole cloves mellows their sharpness into a sweet, buttery paste.
- 2 medium yellow onions, peeled and quartered. Onions add a savory backbone to the sauce.
- 1/4 cup extra virgin olive oil. Use a good quality oil for the best flavor.
- 2 teaspoons kosher salt, plus more to taste. I recommend Diamond Crystal for its clean flavor.
- 1 teaspoon black pepper, freshly ground.
For Finishing and Canning
- 2 tablespoons fresh lemon juice (bottled, for consistent acidity). This is crucial for safe canning.
- 1 teaspoon dried oregano (optional, but adds a classic Italian note).
- 1/2 teaspoon red pepper flakes (optional, for a little heat).
- 1/4 cup fresh basil leaves, chopped (optional, stirred in before canning for a fresh flavor).
Ingredient Selection Tips: Look for tomatoes that are fully ripe, firm, and deeply colored. If you can’t find Roma tomatoes, San Marzano or Amish Paste tomatoes are excellent substitutes. For the best texture, avoid overripe or mushy tomatoes. I personally prefer using organic garlic and onions, as their flavor is noticeably sharper and more complex. If you are using dried herbs, make sure they are not too old—fresh dried oregano makes a big difference.
Equipment Needed
Having the right tools makes the canning process smooth and safe. Here’s what you’ll need to get started.
- Large Rimmed Baking Sheets (2-3): To hold all the tomatoes in a single layer for even roasting. I use sturdy half-sheet pans.
- Food Mill or Immersion Blender: A food mill is ideal for removing skins and seeds, but an immersion blender works in a pinch for a chunkier sauce. A standard blender can also work, but you’ll need to work in batches.
- Large Heavy-Bottomed Pot or Dutch Oven: For simmering the sauce down to the right consistency. An 8-quart pot is a good size.
- Water Bath Canner with Rack: Essential for safe, shelf-stable canning. A deep stockpot with a rack can also work.
- Canning Jars (pint or quart), Lids, and Bands: Standard Mason jars are perfect. Always use new lids for each canning session.
- Canning Tools: A jar lifter, a wide-mouth funnel, and a bubble remover or chopstick are incredibly helpful for safe handling.
- Kitchen Towels: For cleaning jar rims and handling hot jars.
If you don’t have a food mill, don’t worry. I’ve used an immersion blender for years before I got one. The sauce will just have a little more texture from the seeds and skins, which I honestly prefer. Just remember to remove the big pieces of onion skin before blending. A good budget-friendly option for a water bath canner is to use a large stockpot with a folded kitchen towel placed at the bottom to keep the jars from rattling.
Preparation Method
Let’s get to the fun part. This process takes a few hours, but most of it is hands-off oven and stovetop time. The reward is a pantry full of gold.
- Preheat and Prep: Preheat your oven to 400°F (200°C). Wash your tomatoes thoroughly and cut them in half lengthwise. Remove the tough core where the stem was attached. Arrange the tomatoes cut-side down on your rimmed baking sheets. Tuck the quartered onions and whole garlic cloves in between the tomatoes. Drizzle everything with the olive oil and sprinkle with salt and pepper.
- Roast Until Caramelized: Roast the tomatoes for 45-60 minutes, or until the skins are wrinkled and blistered, and the edges of the tomatoes are beginning to brown and caramelize. The onions should be soft and golden. The smell in your kitchen right now is absolutely incredible. Don’t rush this step—the browning is where the flavor lives.
- Cool and Process: Remove the baking sheets from the oven and let the tomatoes cool for about 15 minutes. This makes them easier to handle. Working in batches, transfer the roasted tomatoes, onions, and garlic to your food mill set over a large bowl. Process until only the skins and seeds remain in the mill. If using an immersion blender, carefully transfer the contents of the baking sheets directly into your large pot and blend until smooth. Be careful of the hot juices!
- Simmer the Sauce: Pour the processed sauce into your large heavy-bottomed pot. Bring it to a gentle simmer over medium heat, then reduce the heat to low. Stir in the lemon juice, dried oregano, and red pepper flakes if using. Let the sauce simmer uncovered for 30-45 minutes, stirring occasionally, until it has thickened to your desired consistency. It should coat the back of a spoon. Taste and adjust salt and pepper. If using fresh basil, stir it in during the last 5 minutes of simmering.
- Prepare Your Jars: While the sauce simmers, wash your canning jars, lids, and bands in hot, soapy water. Rinse well. Place the jars in your water bath canner, cover with water, and bring to a simmer (180°F). Keep them hot until ready to fill. Place the lids in a small saucepan of hot water to soften the sealing compound.
- Fill the Jars: Using your jar lifter, remove a hot jar from the canner and place it on a clean kitchen towel. Place the wide-mouth funnel in the jar. Ladle the hot sauce into the jar, leaving 1/2 inch of headspace. Use your bubble remover to gently stir the sauce and release any trapped air bubbles. Wipe the rim of the jar with a clean, damp towel to ensure a perfect seal. Center a lid on the jar and screw the band on until it is fingertip tight.
- Process in Water Bath: Using your jar lifter, carefully lower the filled jars back into the canner. Ensure the jars are covered by at least 1 inch of water. Bring the water to a full rolling boil. Process pint jars for 35 minutes and quart jars for 40 minutes (adjust for your altitude if necessary).
- Cool and Check Seals: After the processing time is up, turn off the heat and let the jars sit in the canner for 5 minutes. Then, using your jar lifter, carefully transfer the jars to a towel-lined countertop. Do not tighten the bands. Let them cool completely for 12-24 hours. You should hear a satisfying “ping” sound as each jar seals. After they are cool, press down on the center of each lid. If it doesn’t pop back, the jar is sealed. Remove the bands, wash the jars, label them with the date, and store them in a cool, dark place.
Troubleshooting Tip: If your sauce seems too thin after simmering, don’t panic. You can continue to simmer it longer to reduce it further, or you can add a tablespoon of tomato paste to help thicken it. Just whisk it in well.
Cooking Tips & Techniques
Over the years, I’ve made a few mistakes so you don’t have to. Here are my best tips for a perfect batch every time.
- Don’t Skip the Roasting: I know it’s tempting to just boil everything, but roasting is the secret to that deep, sweet flavor. I once skipped it because I was short on time, and the sauce was flat and boring. Never again.
- Use a Food Mill for a Silky Sauce: A food mill is a game-changer. It removes the skins and seeds in one step, giving you a perfectly smooth sauce. It’s one of my favorite kitchen tools.
- Watch Your Headspace: Leaving the correct 1/2 inch of headspace is crucial for a good seal. Too little, and the sauce might boil over. Too much, and the jars might not seal properly.
- Acidity is Non-Negotiable: Tomatoes are borderline in acidity for safe canning. Adding the lemon juice is not optional—it ensures the sauce is acidic enough to prevent the growth of harmful bacteria. I always use bottled lemon juice for its consistent pH.
- Multitasking is Key: While the tomatoes are roasting, you can wash and prepare your jars. While the sauce is simmering, you can get your water bath canner ready. This makes the whole process much more efficient and less stressful.
Variations & Adaptations
This recipe is a fantastic base for experimentation. Here are a few of my favorite twists.
- Smoky Roasted Tomato Sauce: Add 1-2 smoked dried chipotle peppers to the pot while the sauce simmers. Remove them before canning. This adds an incredible smoky depth that’s amazing on tacos or in chili.
- Herb-Infused Variation: Tuck a few sprigs of fresh rosemary, thyme, or oregano onto the baking sheets with the tomatoes. The oils from the herbs will infuse the roasting vegetables with a wonderful aroma.
- Spicy Arrabiata Style: Double or triple the red pepper flakes. Add a finely chopped fresh chili pepper, like a serrano or jalapeño, to the simmering sauce for a fiery kick.
- Roasted Vegetable Medley: Before roasting, toss in a chopped red bell pepper, a diced carrot, and a chopped celery stalk with the tomatoes. This adds a natural sweetness and complexity to the sauce.
- Low-Sodium Option: Simply reduce the salt in the recipe. You can always add more salt when you use the sauce later. The flavor from the roasted vegetables will still be fantastic.
I once tried a version where I added a whole head of roasted garlic instead of just the cloves. It was incredibly mellow and sweet, but it made the sauce a bit too mild for my taste. Stick with the four cloves for a perfect balance.
Serving & Storage Suggestions
This sauce is incredibly versatile. Here’s how to make the most of it.
Serving: This sauce is best served warm over your favorite pasta, like spaghetti, penne, or rigatoni. It’s also fantastic as a base for homemade pizza, spooned over polenta, or used in lasagna or baked ziti. For a simple appetizer, warm the sauce and serve it with crusty bread for dipping. The flavors are most vibrant when the sauce is gently reheated, not boiled.
Storage: Sealed jars of this sauce can be stored in a cool, dark place, like a pantry or basement, for up to 18 months. Once opened, store the jar in the refrigerator and use within 5-7 days. The flavor actually deepens and improves after a few weeks of storage.
Freezing: If you don’t want to can the sauce, you can freeze it. Let the sauce cool completely, then pour it into freezer-safe containers or zip-top bags. Leave a little headspace for expansion. It will keep for up to 6 months in the freezer. Thaw overnight in the refrigerator before using.
Reheating: The best way to reheat the sauce is in a saucepan over medium-low heat, stirring occasionally. You can also microwave it in a safe bowl in 30-second intervals. If the sauce seems too thick after reheating, stir in a splash of pasta water or a little olive oil to loosen it up.
Nutritional Information & Benefits
This homemade sauce is not only delicious but also packed with nutrients. Here’s a rough estimate per 1/2 cup serving.
| Nutrient | Amount per Serving |
|---|---|
| Calories | ~70 |
| Fat | 4g |
| Sodium | ~300mg (varies with salt) |
| Carbohydrates | 9g |
| Fiber | 2g |
| Sugar | 6g (natural) |
| Protein | 2g |
| Vitamin C | 20% DV |
| Vitamin A | 15% DV |
Pin This Recipe!
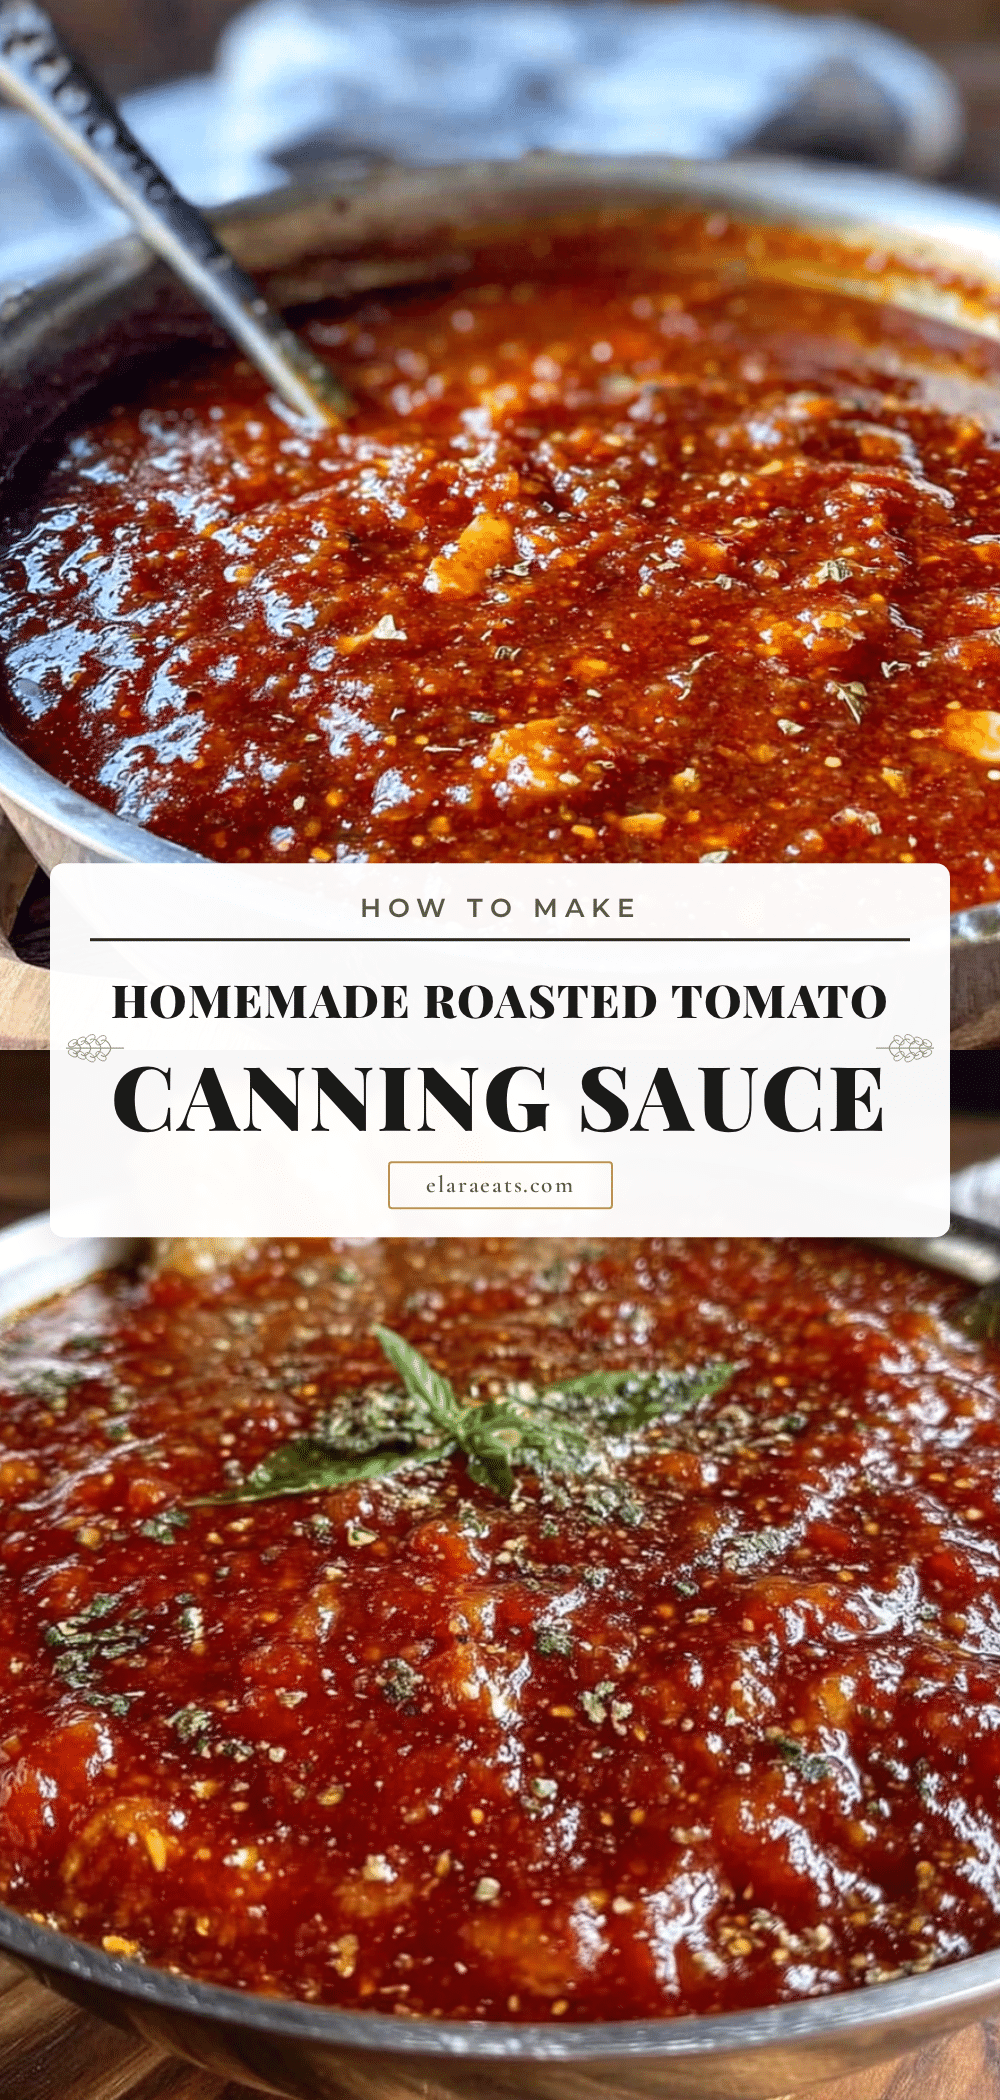
Easy Homemade Roasted Tomato Sauce for Canning
This homemade roasted tomato sauce for canning captures the essence of summer with deep, caramelized flavor from oven-roasted tomatoes. It’s a simple, whole-ingredient recipe designed for water bath canning, giving you shelf-stable jars of rich, versatile sauce to enjoy all year long.
- Prep Time: 20 minutes
- Cook Time: 1 hour 45 minutes
- Total Time: 2 hours 5 minutes
- Yield: 4-5 pints 1x
- Category: Sauce
- Cuisine: Italian-American
Ingredients
- 10 pounds Roma tomatoes (or plum tomatoes), halved lengthwise
- 4 large cloves garlic, peeled and left whole
- 2 medium yellow onions, peeled and quartered
- 1/4 cup extra virgin olive oil
- 2 teaspoons kosher salt, plus more to taste
- 1 teaspoon black pepper, freshly ground
- 2 tablespoons fresh lemon juice (bottled, for consistent acidity)
- 1 teaspoon dried oregano (optional)
- 1/2 teaspoon red pepper flakes (optional)
- 1/4 cup fresh basil leaves, chopped (optional)
Instructions
- Preheat your oven to 400°F (200°C). Wash tomatoes thoroughly and cut them in half lengthwise. Remove the tough core where the stem was attached. Arrange the tomatoes cut-side down on rimmed baking sheets. Tuck the quartered onions and whole garlic cloves in between the tomatoes. Drizzle everything with the olive oil and sprinkle with salt and pepper.
- Roast the tomatoes for 45-60 minutes, or until the skins are wrinkled and blistered, and the edges of the tomatoes are beginning to brown and caramelize. The onions should be soft and golden.
- Remove the baking sheets from the oven and let the tomatoes cool for about 15 minutes. Working in batches, transfer the roasted tomatoes, onions, and garlic to your food mill set over a large bowl. Process until only the skins and seeds remain in the mill. If using an immersion blender, carefully transfer the contents of the baking sheets directly into your large pot and blend until smooth.
- Pour the processed sauce into your large heavy-bottomed pot. Bring it to a gentle simmer over medium heat, then reduce the heat to low. Stir in the lemon juice, dried oregano, and red pepper flakes if using. Let the sauce simmer uncovered for 30-45 minutes, stirring occasionally, until it has thickened to your desired consistency. It should coat the back of a spoon. Taste and adjust salt and pepper. If using fresh basil, stir it in during the last 5 minutes of simmering.
- While the sauce simmers, wash your canning jars, lids, and bands in hot, soapy water. Rinse well. Place the jars in your water bath canner, cover with water, and bring to a simmer (180°F). Keep them hot until ready to fill. Place the lids in a small saucepan of hot water to soften the sealing compound.
- Using your jar lifter, remove a hot jar from the canner and place it on a clean kitchen towel. Place the wide-mouth funnel in the jar. Ladle the hot sauce into the jar, leaving 1/2 inch of headspace. Use your bubble remover to gently stir the sauce and release any trapped air bubbles. Wipe the rim of the jar with a clean, damp towel to ensure a perfect seal. Center a lid on the jar and screw the band on until it is fingertip tight.
- Using your jar lifter, carefully lower the filled jars back into the canner. Ensure the jars are covered by at least 1 inch of water. Bring the water to a full rolling boil. Process pint jars for 35 minutes and quart jars for 40 minutes (adjust for your altitude if necessary).
- After the processing time is up, turn off the heat and let the jars sit in the canner for 5 minutes. Then, using your jar lifter, carefully transfer the jars to a towel-lined countertop. Do not tighten the bands. Let them cool completely for 12-24 hours. You should hear a satisfying ‘ping’ sound as each jar seals. After they are cool, press down on the center of each lid. If it doesn’t pop back, the jar is sealed. Remove the bands, wash the jars, label them with the date, and store them in a coo…
Notes
Don’t skip the roasting step—it’s key for deep flavor. Use bottled lemon juice for consistent acidity in canning. If sauce is too thin, simmer longer or add a tablespoon of tomato paste. For a silky sauce, a food mill is ideal; an immersion blender yields a chunkier texture. Always check jar seals after cooling.
Nutrition
- Serving Size: 1/2 cup
- Calories: 70
- Sugar: 6
- Sodium: 300
- Fat: 4
- Saturated Fat: 0.5
- Carbohydrates: 9
- Fiber: 2
- Protein: 2
Keywords: roasted tomato sauce, canning, homemade, Roma tomatoes, water bath canning, summer recipe, pantry staple


