Love this? Save it for later!
Share the inspiration with your friends
I was standing in my kitchen last Tuesday, staring into the freezer with that familiar 5 PM dread creeping in. You know the feeling—when you’re tired, hungry, and absolutely nothing sounds good. I’d already scrolled through three delivery apps and closed each one in frustration. Then my hand landed on a foil-wrapped bundle buried under a bag of frozen peas. And just like that, I remembered the Sunday afternoon three months ago when I’d made twenty of these bad boys. I pulled one out, microwaved it for two minutes, and honestly? That first bite was better than any takeout I’ve ever ordered. It was like finding a twenty-dollar bill in a coat pocket—unexpected and completely satisfying.
The thing is, I didn’t grow up making freezer burritos. My mom was more of a “cook fresh every night” kind of cook, which I admire now but definitely didn’t appreciate when I was twelve and just wanted a Hot Pocket. It wasn’t until I moved into my first apartment with a roommate who meal-prepped like it was her second job that I discovered the magic of freezer cooking. She’d spend one afternoon a month making burritos, and suddenly dinner was solved for weeks. I thought she was a little crazy at first. But then I tried one. And then I asked for the recipe. And then I started tweaking it.
These Easy Freezer-Friendly Ground Beef and Bean Burritos are the result of years of trial and error. I’ve made them too dry, too wet, too bland, and too spicy. But this version? This is the one. The ground beef gets perfectly seasoned, the beans add that creamy texture, and the cheese melts into everything just right. I’ve handed these to friends after they had babies, brought them to potlucks, and eaten them standing over the sink more times than I’d like to admit. They’re not fancy. But they’re reliable. And sometimes that’s exactly what you need from dinner.
Why You’ll Love This Recipe
Let me tell you why these burritos have become my absolute go-to for busy weeks. I’ve tested this recipe at least a dozen times, tweaking the seasoning ratios and experimenting with different beans and cheeses. What I landed on is a burrito that tastes just as good on day thirty as it does on day one.
- Quick & Easy: From start to finish, these come together in about 45 minutes. That’s one afternoon of work for up to twelve meals. You can’t beat that return on investment.
- Simple Ingredients: Ground beef, canned beans, tortillas, cheese, and a handful of spices. No fancy grocery trips needed—you probably have most of this in your kitchen right now.
- Perfect for Busy Nights: When you’re too tired to cook, too broke for takeout, and too hungry to wait, these burritos save the day. They’re the ultimate emergency meal.
- Crowd-Pleaser: Kids love them, adults love them, and picky eaters somehow find them irresistible. I’ve yet to meet someone who turned down a warm, cheesy burrito.
- Unbelievably Delicious: The secret is in the seasoning blend and the way the beef and beans meld together. It’s not just another boring freezer burrito—it’s the kind that makes you actually look forward to leftovers.
What makes this recipe different from all the other freezer burrito recipes out there? It’s the texture. So many freezer burritos end up soggy or dry after reheating. I’ve figured out the trick to keeping the filling moist without turning the tortilla into a mushy mess. It’s a simple technique—draining the beef well and letting the filling cool slightly before assembling—but it makes all the difference.
Honestly, this recipe isn’t just good—it’s the kind that makes you close your eyes after the first bite. It’s comfort food reimagined for real life. Healthier than fast food, faster than cooking from scratch, and with the same soul-soothing satisfaction. Perfect for impressing guests without stress or turning a simple Tuesday night into something memorable.
What Ingredients You Will Need
This recipe uses simple, wholesome ingredients to deliver bold flavor and satisfying texture without the fuss. Most of these are pantry staples, which means you can whip up a batch whenever the mood strikes without a special trip to the store.
For the Filling
- 1 pound ground beef (80/20 works best—lean enough to not be greasy, but enough fat for flavor)
- 1 medium yellow onion, diced (about 1 cup)
- 3 cloves garlic, minced (fresh is best, but jarred minced garlic works in a pinch)
- 1 can (15 ounces) black beans, drained and rinsed (I prefer Bush’s or Goya for consistent texture)
- 1 can (15 ounces) pinto beans, drained and rinsed (the combo of black and pinto gives the best flavor and texture)
- 1 can (4 ounces) diced green chiles (mild or hot—your call)
- 1 cup shredded cheddar cheese (sharp cheddar adds more flavor, but mild works too)
- 1/2 cup shredded Monterey Jack cheese (adds that melty, stretchy quality)
- 1 tablespoon chili powder
- 1 teaspoon ground cumin
- 1 teaspoon smoked paprika (regular paprika works, but smoked adds depth)
- 1/2 teaspoon garlic powder
- 1/2 teaspoon onion powder
- 1/2 teaspoon salt (plus more to taste)
- 1/4 teaspoon black pepper
- 1/4 cup water or beef broth (helps the seasoning distribute evenly)
For Assembly
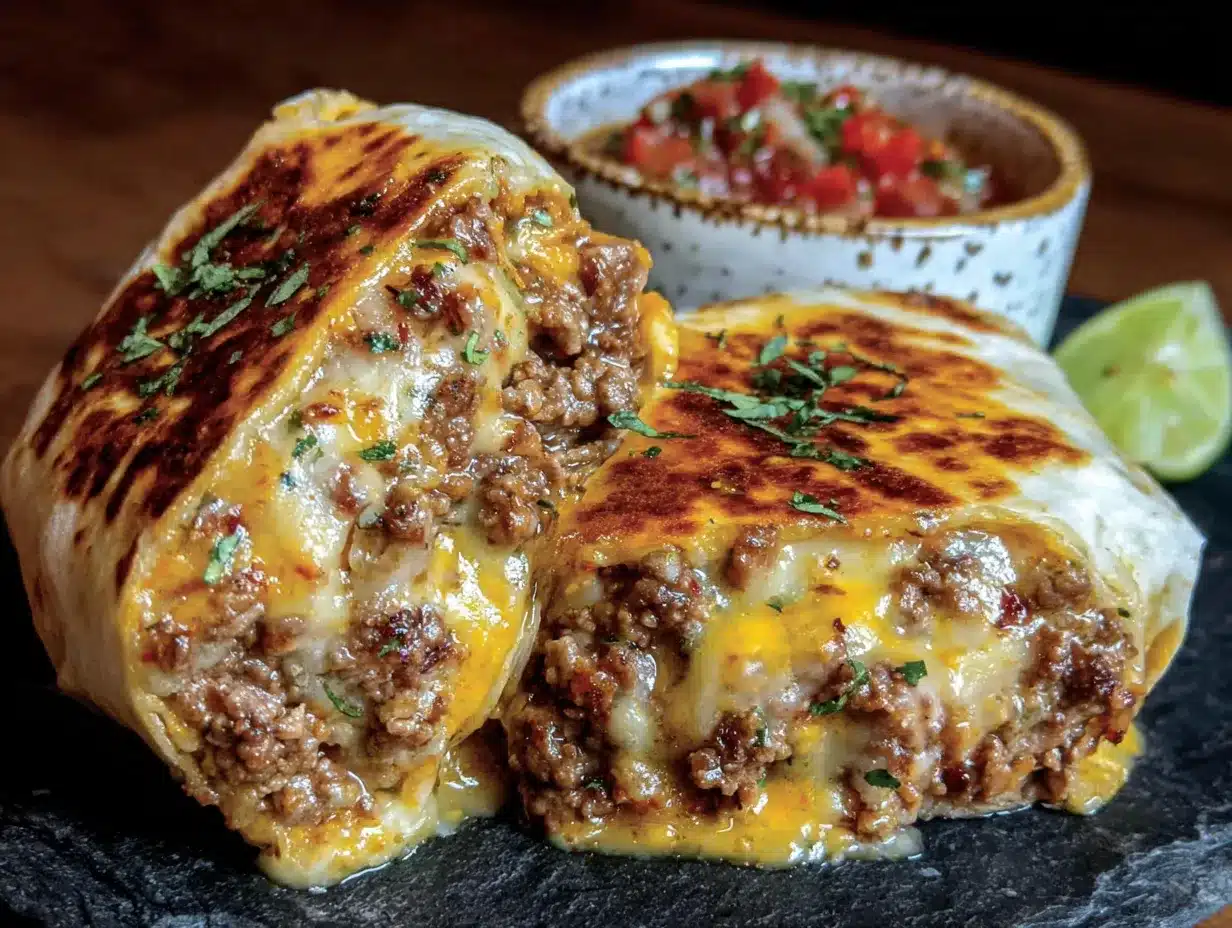
- 8 to 10 large flour tortillas (burrito-size, 10-inch works best—I like Mission or Guerrero brand)
- Optional: 1 cup cooked rice (white or brown—adds bulk and stretches the filling further)
- Optional: 1/2 cup sour cream (adds creaminess, but skip if freezing for longer than a month)
Ingredient Selection Tips
For the best texture, look for firm tortillas that won’t crack when rolled. I’ve found that Mission brand burrito-size tortillas hold up beautifully in the freezer. If you’re using a different brand, warm them slightly before rolling to prevent tearing. For the beans, I recommend draining and rinsing them thoroughly—this removes excess sodium and prevents the filling from becoming too watery. And here’s a little trick I learned the hard way: don’t skip the step of letting the filling cool before assembling. Warm filling creates steam inside the tortilla, which leads to soggy burritos after freezing. Trust me on this one.
Substitution Guidance
If you’re looking to customize, here are some easy swaps. Use ground turkey or chicken instead of beef for a lighter option. Swap the cheddar for pepper jack if you want more heat. For a dairy-free version, use vegan cheese shreds and skip the sour cream. You can also use all black beans or all pinto beans if you don’t have both on hand. The recipe is forgiving—I’ve made it with whatever beans were in the pantry and it always turns out great.
Equipment Needed
You don’t need much fancy equipment to make these burritos, which is part of the beauty. Here’s what you’ll need:
- Large skillet or frying pan (12-inch is ideal for browning the beef evenly)
- Wooden spoon or spatula for breaking up the meat
- Cutting board and knife for dicing the onion
- Can opener (a good one makes a difference—I’ve broken too many cheap ones)
- Colander for draining and rinsing the beans
- Measuring spoons for the spices
- Large mixing bowl for combining the filling
- Baking sheet lined with parchment paper (for freezing the burritos before wrapping)
- Aluminum foil or freezer-safe wrap for storing
- Freezer-safe zip-top bags or containers
If you don’t have parchment paper, wax paper works fine. And if you’re short on freezer space, you can wrap the burritos individually and store them in a large freezer bag. I’ve used both methods and honestly, the bag method is more space-efficient. Just make sure to squeeze out as much air as possible before sealing to prevent freezer burn.
Preparation Method
- Brown the beef (8-10 minutes): Heat your large skillet over medium-high heat. Add the ground beef and cook, breaking it apart with a wooden spoon, until it’s no longer pink. This usually takes about 6 to 8 minutes. Drain off any excess fat—I usually tilt the pan and spoon it out, leaving about a tablespoon for flavor. You want the beef browned but not dry.
- Cook the aromatics (3-4 minutes): Add the diced onion to the skillet with the beef. Cook for 2 to 3 minutes until the onion starts to soften and turn translucent. Add the minced garlic and cook for another 30 seconds until fragrant. Don’t skip this step—raw garlic in a burrito is not pleasant.
- Add the spices (1 minute): Sprinkle the chili powder, cumin, smoked paprika, garlic powder, onion powder, salt, and pepper over the beef mixture. Stir well to coat everything evenly. Let it cook for about a minute to toast the spices—this wakes up their flavor. You’ll smell it when it’s ready.
- Add the beans and liquid (5 minutes): Pour in the drained black beans, pinto beans, and diced green chiles. Add the 1/4 cup of water or beef broth. Stir everything together and let it simmer for 3 to 5 minutes. The liquid will help the seasoning distribute and create a slightly saucy filling. If you’re adding rice, stir it in now.
- Cool the filling (15-20 minutes): Remove the skillet from heat and let the filling cool completely. This is crucial—if you try to assemble burritos with warm filling, the steam will make the tortillas soggy and they won’t freeze well. I usually spread the filling on a baking sheet to speed up cooling. It should be room temperature before you move on.
- Stir in the cheese (2 minutes): Once the filling is cool, stir in the shredded cheddar and Monterey Jack cheese. The residual warmth from the filling will melt the cheese slightly, creating a creamy, cohesive mixture. If you’re using sour cream, stir it in now too.
- Prepare your assembly station (5 minutes): Lay out your tortillas on a clean work surface. If they seem stiff or prone to cracking, warm them in the microwave for 15 to 20 seconds—this makes them more pliable. Place about 1/2 to 2/3 cup of filling in the center of each tortilla. Don’t overfill, or they’ll be impossible to roll.
- Roll the burritos (2-3 minutes each): Fold the sides of the tortilla inward over the filling. Then fold the bottom edge up and over the filling, tucking it snugly. Roll the burrito away from you, keeping it tight. The seam should be on the bottom. If your tortilla is warm and pliable, it should seal itself. If not, you can use a little water on the edge to help it stick.
- Flash freeze (1-2 hours): Place the rolled burritos seam-side down on a parchment-lined baking sheet, making sure they’re not touching. Pop the sheet in the freezer for 1 to 2 hours, or until the burritos are frozen solid. This step prevents them from sticking together when you pack them.
- Wrap and store (10 minutes): Once frozen, wrap each burrito tightly in aluminum foil or freezer wrap. Place the wrapped burritos in a freezer-safe zip-top bag, squeeze out as much air as possible, and seal. Label the bag with the date and contents. They’ll keep for up to 3 months.
Cooking Tips & Techniques
I’ve made more freezer burritos than I can count, and I’ve learned a few things the hard way. Here are my best tips for burrito success.
Don’t skip the draining step. The first time I made these, I didn’t drain the beef well enough, and the filling was greasy. After freezing and reheating, the grease had soaked into the tortilla, making it unpleasantly soggy. Take the extra minute to drain—it’s worth it.
Let the filling cool completely. I know I’ve said this already, but I cannot stress it enough. Warm filling creates steam. Steam creates moisture. Moisture creates soggy burritos. I once rushed this step because I was hungry, and I regretted it when I bit into a sad, wet burrito the next week. Patience pays off.
Toast your tortillas briefly. If you have a gas stove, you can toast each tortilla directly over the flame for about 15 seconds per side. This adds a slight char and makes the tortilla more pliable. It also helps prevent cracking when rolling. Just watch closely—they burn fast.
Use a consistent amount of filling. I use a 1/2 cup measuring cup to scoop the filling for each burrito. This ensures they’re all the same size, which means they’ll freeze and reheat evenly. It also helps with portion control, if that’s something you care about.
Label everything. I know it seems obvious, but I’ve definitely pulled an unlabeled foil packet out of the freezer and wondered if it was a burrito or a leftover enchilada. Write the date and contents on the bag. Your future self will thank you.
Reheat properly. For best results, thaw a burrito in the fridge overnight, then reheat in a skillet over medium heat for 4 to 5 minutes per side. This gives you a crispy exterior and a hot, melty interior. If you’re in a hurry, microwave for 2 to 3 minutes, flipping halfway through. The texture won’t be as good, but it’ll still be delicious.
Variations & Adaptations
One of the best things about this recipe is how adaptable it is. Here are some variations I’ve tried and loved.
Breakfast Burritos: Swap the ground beef for breakfast sausage or bacon. Add scrambled eggs and hash browns. Omit the beans if you want a more traditional breakfast burrito. These are perfect for busy mornings—just grab one from the freezer and microwave.
Vegetarian Version: Skip the ground beef entirely and double the beans. Add a can of corn, some bell peppers, and maybe some zucchini. The texture will be different, but the flavor is still fantastic. I’ve made these for vegetarian friends and they always ask for the recipe.
Spicy Version: Add a diced jalapeño along with the onion. Use pepper jack cheese instead of cheddar. Add a teaspoon of cayenne pepper to the spice mix. For extra heat, include a few dashes of your favorite hot sauce in the filling. My husband loves this version—I can barely handle it, but he inhales them.
Low-Carb Version: Use low-carb tortillas or large lettuce leaves instead of flour tortillas. The filling itself is relatively low-carb if you skip the rice. This version doesn’t freeze as well, so I recommend making it fresh.
Cheesy Enchilada Style: Instead of rolling the burritos for freezing, place them seam-side down in a baking dish, top with enchilada sauce and more cheese, and bake at 375°F for 20 minutes. This turns your freezer burritos into a completely different meal—perfect for when you want something a little more special.
Serving & Storage Suggestions
These burritos are incredibly versatile when it comes to serving. Here’s how I like to enjoy them.
Serving Temperature: I prefer my burritos hot all the way through, with the cheese melted and the tortilla slightly crispy. If you’re microwaving, let them rest for a minute after reheating—the filling gets volcano-hot. If you’re using a skillet, the exterior gets beautifully golden and crunchy.
What to Serve With: A simple side of Mexican rice or cilantro-lime rice is perfect. I also love these with a dollop of sour cream, a spoonful of salsa, or a drizzle of crema. A fresh green salad with avocado and lime dressing balances out the richness. And honestly, sometimes I just eat them plain—they’re that good on their own.
Storage Instructions: As I mentioned, these burritos will keep in the freezer for up to 3 months. Make sure they’re tightly wrapped to prevent freezer burn. I’ve kept them for up to 4 months and they were still good, but the quality starts to decline after the 3-month mark. For best results, eat them within 8 weeks.
Reheating Methods:
- Microwave: Unwrap the burrito and place it on a microwave-safe plate. Microwave on high for 2 to 3 minutes, flipping halfway through. Let it rest for 1 minute before eating.
- Skillet: Thaw the burrito in the fridge overnight. Heat a skillet over medium heat and cook the burrito for 4 to 5 minutes per side, until golden and hot through.
- Oven: Preheat to 350°F. Wrap the frozen burrito in foil and bake for 20 to 25 minutes, then unwrap and bake for 5 more minutes to crisp the outside.
- Air Fryer: Cook at 375°F for 8 to 10 minutes, flipping halfway through. This gives you the crispiest exterior.
Flavor Development: Here’s something interesting—the flavors actually meld and deepen after a few days in the freezer. The spices have time to marry with the beef and beans, and the texture becomes more cohesive. I honestly think these burritos taste better after a week in the freezer than they do fresh. It’s like the filling settles into itself.
Nutritional Information & Benefits
Here’s an approximate nutritional breakdown for one burrito (based on 8 servings, without rice or sour cream):
- Calories: Approximately 450-500
- Protein: 25-30 grams
- Carbohydrates: 40-45 grams
- Fat: 18-22 grams
- Fiber: 8-10 grams
- Sodium: 800-1000 mg (depends on your beans and tortillas)
These burritos are a solid source of protein and fiber, which means they’ll keep you full and satisfied for hours. The black beans and pinto beans are packed with fiber, folate, and magnesium. The beef provides iron and B vitamins. And the cheese adds calcium, of course.
If you’re watching your sodium, use low-sodium beans and skip the added salt in the seasoning. You can also use whole wheat tortillas for extra fiber. For a lower-calorie option, use lean ground beef (93/7) and reduce the cheese to 1/2 cup total. The burritos will still be delicious—just a little lighter.
From a wellness perspective, I love that these burritos let me control exactly what goes into my food. No preservatives, no mystery ingredients, no excessive sodium. Just real food that happens to be freezer-friendly. And that feels good.
Conclusion
So there you have it—my tried-and-true recipe for Easy Freezer-Friendly Ground Beef and Bean Burritos. These have saved me on countless busy nights, and I genuinely believe they can do the same for you. The best part? You can customize them however you like. Make them spicy, make them mild, add rice or skip it—the recipe is yours to play with.
I love these burritos because they represent something I value deeply in my cooking: practicality without sacrificing flavor. They’re not fancy. They’re not complicated. But they’re reliable, delicious, and they make my life easier. And honestly, isn’t that what weeknight dinner should be?
I’d love to hear how these turn out for you. Did you add any fun variations? Did you discover a new favorite reheating method? Drop a comment below and let me know. And if you found this recipe helpful, please share it with a friend who could use a little freezer-friendly love in their life. Happy cooking, friends!
Frequently Asked Questions
Can I use ground turkey instead of ground beef?
Absolutely. Ground turkey works great in this recipe. Just be aware that turkey is leaner, so you may need to add a tablespoon of oil to the pan when browning to prevent it from drying out. The flavor will be slightly different, but still delicious.
How long do these burritos last in the freezer?
Properly wrapped and stored, these burritos will stay fresh for up to 3 months. I recommend eating them within 8 weeks for the best texture and flavor. After that, they’re still safe to eat, but the quality starts to decline.
Can I skip the beans and just use beef?
You can, but I wouldn’t recommend it. The beans add fiber, texture, and help stretch the filling. Without them, you’d need more beef to fill the same number of burritos, and the texture would be denser and less interesting. If you’re not a bean fan, try using refried beans instead—they blend in more seamlessly.
Do I have to flash freeze the burritos before wrapping?
Yes, this step is important. If you skip it, the burritos will stick together when you pack them in a bag. Flash freezing on a baking sheet ensures they freeze individually, so you can grab one at a time without wrestling with a frozen block of burritos.
Can I make these burritos dairy-free?
Yes! Use vegan cheese shreds or skip the cheese entirely. The filling will still be flavorful and satisfying. You can also add a dairy-free sour cream or skip it. Just keep in mind that the texture will be slightly different without the melty cheese binding everything together.
Pin This Recipe!
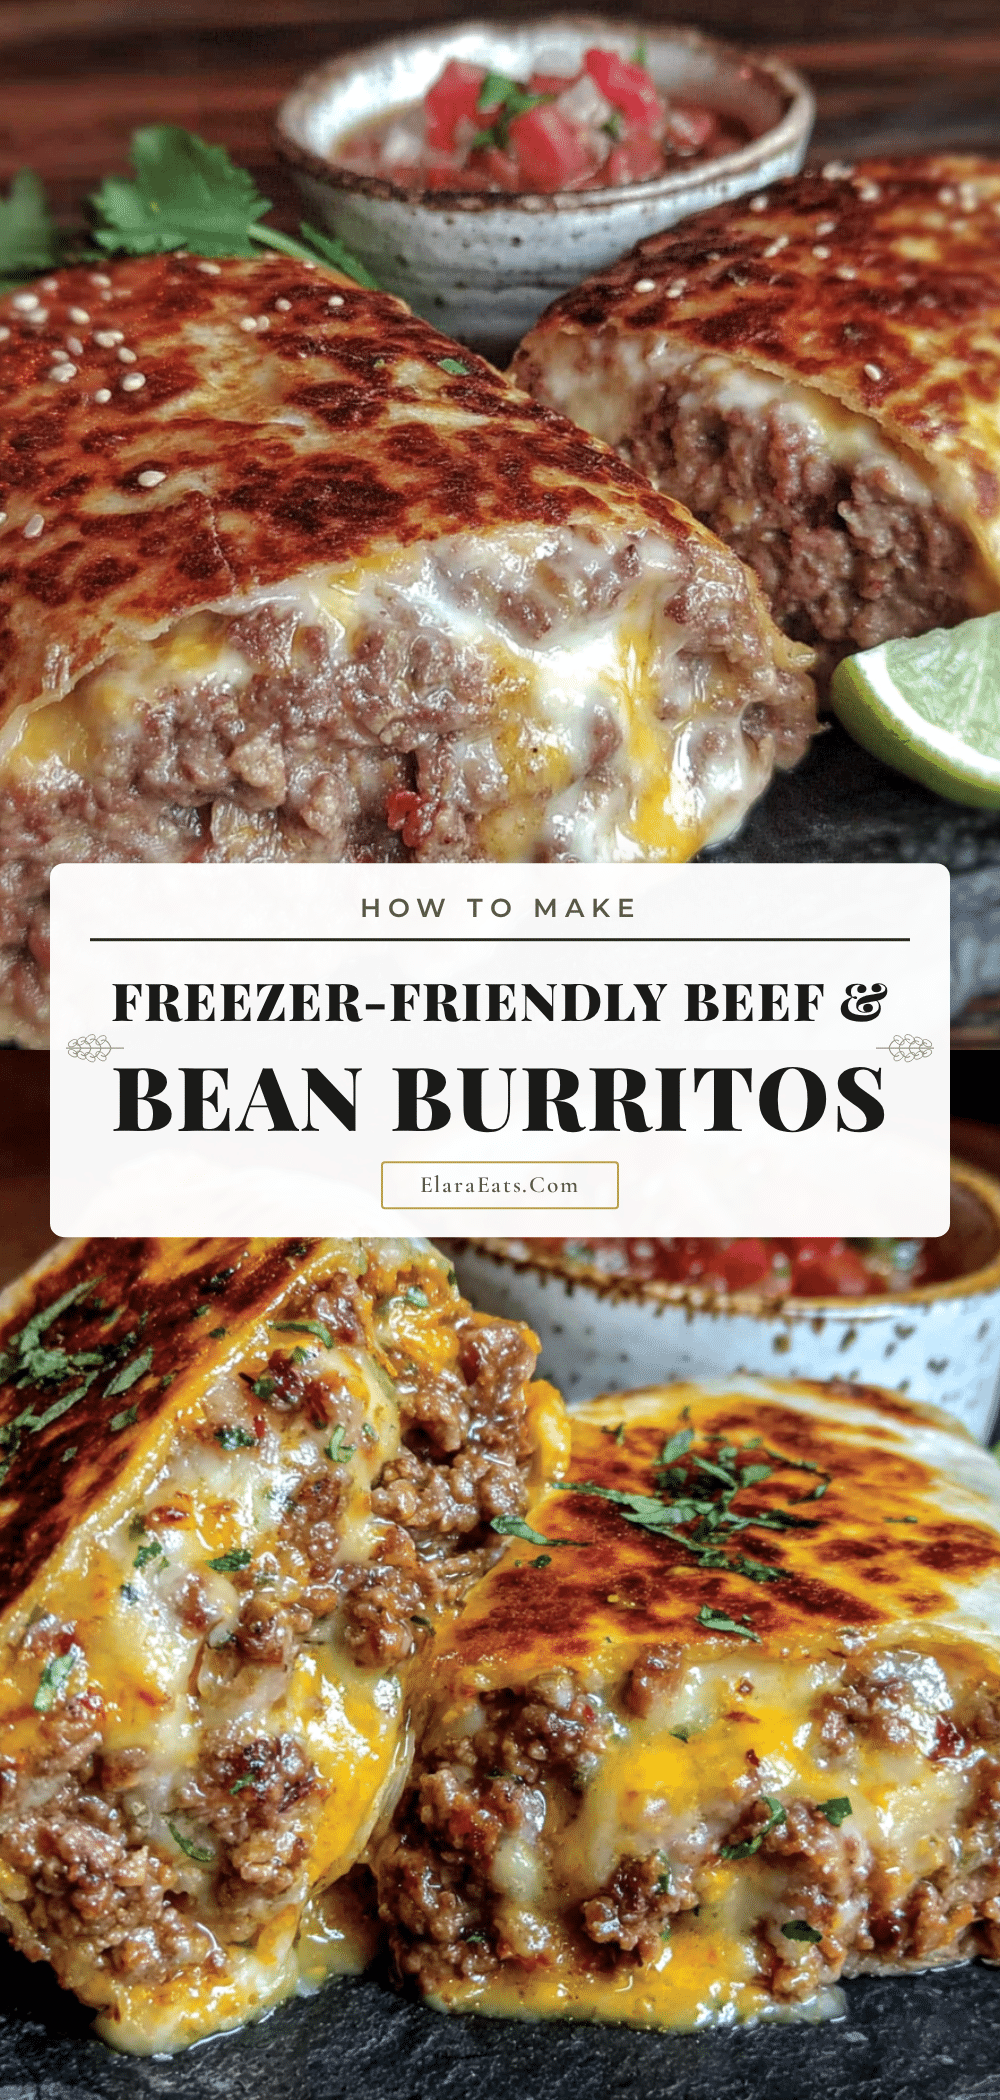
Easy Freezer-Friendly Ground Beef and Bean Burritos

These freezer-friendly burritos are packed with seasoned ground beef, black beans, pinto beans, and melted cheese, making them the perfect quick meal for busy nights. Prep a batch in one afternoon and enjoy up to twelve delicious meals straight from the freezer.
- Prep Time: 15 minutes
- Cook Time: 20 minutes
- Total Time: 45 minutes
- Yield: 8 to 10 servings 1x
- Category: Main Course
- Cuisine: Mexican
Ingredients
- 1 pound ground beef (80/20)
- 1 medium yellow onion, diced (about 1 cup)
- 3 cloves garlic, minced
- 1 can (15 ounces) black beans, drained and rinsed
- 1 can (15 ounces) pinto beans, drained and rinsed
- 1 can (4 ounces) diced green chiles
- 1 cup shredded cheddar cheese
- 1/2 cup shredded Monterey Jack cheese
- 1 tablespoon chili powder
- 1 teaspoon ground cumin
- 1 teaspoon smoked paprika
- 1/2 teaspoon garlic powder
- 1/2 teaspoon onion powder
- 1/2 teaspoon salt
- 1/4 teaspoon black pepper
- 1/4 cup water or beef broth
- 8 to 10 large flour tortillas (burrito-size, 10-inch)
- Optional: 1 cup cooked rice (white or brown)
- Optional: 1/2 cup sour cream
Instructions
- Brown the beef (8-10 minutes): Heat a large skillet over medium-high heat. Add the ground beef and cook, breaking it apart with a wooden spoon, until no longer pink (6-8 minutes). Drain off excess fat, leaving about 1 tablespoon for flavor.
- Cook the aromatics (3-4 minutes): Add the diced onion to the skillet with the beef. Cook for 2-3 minutes until softened. Add the minced garlic and cook for 30 seconds until fragrant.
- Add the spices (1 minute): Sprinkle chili powder, cumin, smoked paprika, garlic powder, onion powder, salt, and pepper over the beef mixture. Stir well and cook for 1 minute to toast the spices.
- Add the beans and liquid (5 minutes): Stir in the drained black beans, pinto beans, and diced green chiles. Add 1/4 cup water or beef broth. Simmer for 3-5 minutes. If using rice, stir it in now.
- Cool the filling (15-20 minutes): Remove from heat and let the filling cool completely to room temperature. Spread on a baking sheet to speed cooling if desired.
- Stir in the cheese (2 minutes): Once cool, stir in the shredded cheddar and Monterey Jack cheese until melted and cohesive. If using sour cream, stir it in now.
- Prepare assembly station (5 minutes): Lay out tortillas. If stiff, microwave for 15-20 seconds to soften. Place about 1/2 to 2/3 cup filling in the center of each tortilla.
- Roll the burritos (2-3 minutes each): Fold sides inward over filling. Fold bottom edge up and over filling, tucking snugly. Roll away from you, keeping tight. Place seam-side down.
- Flash freeze (1-2 hours): Place rolled burritos seam-side down on a parchment-lined baking sheet, not touching. Freeze until solid (1-2 hours).
- Wrap and store (10 minutes): Wrap each frozen burrito tightly in aluminum foil or freezer wrap. Place in a freezer-safe zip-top bag, squeeze out air, seal, and label with date. Store up to 3 months.
Notes
Let the filling cool completely before assembling to prevent soggy burritos. For best reheating, thaw overnight in the fridge and reheat in a skillet for a crispy exterior. Flash freezing prevents burritos from sticking together.
Nutrition
- Serving Size: 1 burrito
- Calories: 475
- Sugar: 3
- Sodium: 900
- Fat: 20
- Saturated Fat: 8
- Carbohydrates: 42
- Fiber: 9
- Protein: 27
Keywords: freezer burritos, ground beef burritos, bean burritos, meal prep, freezer meals, easy dinner, make ahead