Love this? Save it for later!
Share the inspiration with your friends
The office pumpkin spice latte run was in 20 minutes and I had a problem. Everyone was already texting their orders—venti this, extra shot that—and I knew my wallet couldn’t take another week of $7 coffees. I sat there staring at my fridge, feeling that familiar pinch of wanting the seasonal treat but not wanting to pay the seasonal price. I had heavy cream, a can of pumpkin puree from last month’s baking spree, and a bottle of vanilla extract that was probably older than my desk plant.
Honestly, I almost gave up and just ordered black coffee. But then I remembered that cold foam thing everyone was obsessed with. That creamy, cloud-like topping that makes regular coffee feel like a fancy event. I figured, how hard could it be? I mean, I’ve made whipped cream before. This was just whipped cream with pumpkin in it, right? Well, let me tell you—the first batch was a disaster. Too runny, not sweet enough, and it sank straight to the bottom of my mug like a sad little stone.
But I’m stubborn. And cheap. So I tried again. And again. By the third attempt, something clicked. The texture was right, the spice blend was balanced, and when I poured it over my iced coffee, it floated there like a beautiful orange cloud. I took a sip and honestly let out a little gasp in my empty kitchen. It tasted exactly like the real thing—maybe better, because I didn’t have to put on real pants to get it.
That was two autumns ago, and I haven’t bought a pumpkin cold brew since. This Easy Copycat Starbucks Pumpkin Cream Cold Foam has become my fall ritual, my little morning victory over expensive coffee habits. It takes five minutes, uses stuff you probably already have, and makes you feel like you’re treating yourself without actually treating yourself. And honestly? That’s the best kind of win.
Why You’ll Love This Recipe
Let me be real with you—I’ve tested this recipe more times than I care to admit. I’ve made it with different milks, different sweeteners, different spice ratios. I’ve blended it, shaken it, whisked it by hand when my blender was in the dishwasher. What I’m giving you here is the version that actually works. Every. Single. Time.
- Quick & Easy: This comes together in under 5 minutes. No cooking, no complicated steps, no waiting. Just blend and pour.
- Simple Ingredients: You need 6 ingredients max, and chances are you already have most of them in your pantry. No trips to specialty stores required.
- Perfect for Fall Cravings: Whether you’re trying to save money, avoid the drive-thru line, or just want a cozy treat at home, this hits the spot.
- Crowd-Pleaser: I’ve made this for friends, family, and even skeptical coworkers. Everyone asks for the recipe. It’s that good.
- Unbelievably Delicious: The texture is silky and thick, the pumpkin flavor is warm and cozy, and that hint of spice in every sip? Pure comfort.
What makes this different from other copycat recipes I’ve seen online is the texture. I spent weeks figuring out how to get that thick, almost whipped consistency without it separating or turning into soup. The secret is in the ratio of heavy cream to milk and the way you blend it. No weird ingredients, no fancy equipment—just a little technique that makes all the difference.
This isn’t just another pumpkin coffee recipe. This is the one that makes you close your eyes after that first sip. It’s the one that saves you money without making you feel like you’re missing out. It’s the one that turns a regular Tuesday morning into something worth looking forward to.
What Ingredients You Will Need
This recipe uses simple, wholesome ingredients to create that signature Starbucks-style foam without any of the mystery additives. Everything here is probably already in your kitchen, waiting to be turned into something magical.
- Heavy Cream (¼ cup / 60 ml): This is what gives the foam its thick, luxurious texture. Make sure it’s cold—warm cream won’t whip properly. I prefer using heavy cream over whipping cream because it has a higher fat content, which means a more stable foam that holds up longer in your coffee.
- 2% Milk (½ cup / 120 ml): You need some milk to thin out the heavy cream just enough so it pours beautifully over your coffee. Whole milk works great too, but I find 2% gives the best balance of richness and pourability. Avoid skim milk—it’ll make your foam too thin and watery.
- Pumpkin Puree (2 tablespoons / 30 ml): Not pumpkin pie filling! Make sure you grab the 100% pure pumpkin puree. I’ve tested this with both Libby’s and store brands, and honestly, they all work fine. Just don’t accidentally grab the sweetened pie filling—that has added sugar and spices that’ll throw off the balance.
- Maple Syrup (2 tablespoons / 30 ml): This is my secret weapon for that deep, warm sweetness that pairs perfectly with pumpkin. You can use honey or agave in a pinch, but maple syrup adds a subtle richness that really makes the pumpkin flavor shine. Grade A dark amber is my go-to.
- Vanilla Extract (½ teaspoon / 2.5 ml): Pure vanilla extract makes a difference here. I know the imitation stuff is cheaper, but trust me on this one—the real thing adds a depth of flavor that elevates the whole drink. You only need a little, so a bottle lasts forever.
- Pumpkin Pie Spice (½ teaspoon / 2.5 ml): You can buy this pre-mixed, or make your own with cinnamon, nutmeg, ginger, and allspice. I actually prefer making my own because I can adjust the ratios—more cinnamon, less nutmeg. But store-bought works perfectly fine if that’s what you have.
- Pinch of Salt: Don’t skip this! A tiny pinch of salt balances the sweetness and makes all the flavors pop. It’s the difference between “good” and “I can’t stop drinking this.”
For the Coffee Base: You’ll need about 1 cup (240 ml) of strong brewed coffee, cooled. I like using a dark roast for that bold coffee flavor that stands up to the creamy pumpkin foam. Cold brew concentrate works beautifully too—just dilute it with a little water or milk before adding the foam.
Equipment Needed
The beauty of this recipe is that you don’t need much. Here’s what I use:
- A Blender: This is your best bet for getting that perfectly thick, pourable foam. I use a small personal blender (like a NutriBullet) because it’s easier to clean and the smaller container helps the foam whip up faster. A regular blender works too—just make sure you scrape down the sides halfway through.
- A Tall Glass or Mason Jar: If you don’t have a blender, you can actually make this in a mason jar with a tight-fitting lid. Just shake it vigorously for about 2 minutes until it thickens. It’s a great arm workout, honestly.
- A Measuring Cup: For accuracy. I’ve eyeballed this recipe before and ended up with foam that was either too thin or too thick. Measuring makes a difference.
- A Spoon or Spatula: For scraping down the sides of your blender and for gently spooning the foam over your coffee.
- Your Favorite Coffee Mug: This is important! Use a clear glass mug if you want to see those beautiful layers of coffee and pumpkin cream. It makes the whole experience feel more special.
If you’re planning to make this regularly (and trust me, you will), I highly recommend investing in a small frother wand. They’re about $10 on Amazon and make whipping up single servings of foam incredibly easy. But honestly, the blender method works just as well.
Preparation Method
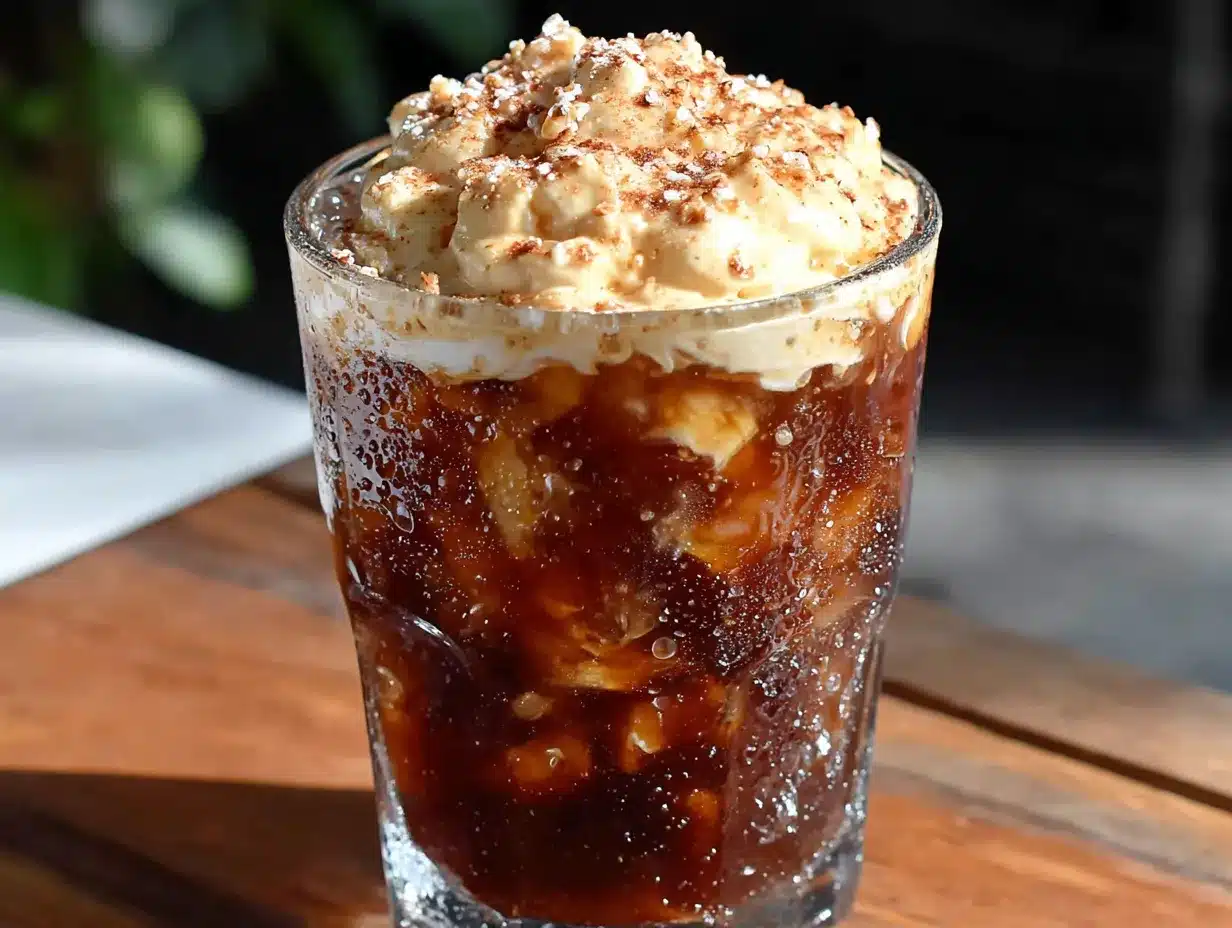
- Brew your coffee base first. You want it to be strong—about double the strength of your regular morning coffee. I use 2 tablespoons of ground coffee per 1 cup of water. Let it cool for at least 5-10 minutes while you make the foam. You don’t want hot coffee melting your beautiful foam immediately.
- Gather your foam ingredients. Take your heavy cream, milk, pumpkin puree, maple syrup, vanilla extract, pumpkin pie spice, and that pinch of salt out of the fridge. Make sure everything is cold—this is crucial for getting the right texture.
- Add everything to your blender. Start with the liquids: pour in the heavy cream and milk first. Then add the pumpkin puree, maple syrup, and vanilla extract. Sprinkle the pumpkin pie spice and salt on top. Don’t stir it—just let the blender do the work.
- Blend on low speed for 10 seconds. This helps combine everything without splashing. You should see the mixture start to turn a beautiful pale orange color. Scrape down the sides with a spatula if you see any pumpkin puree stuck to the edges.
- Increase to medium-high speed and blend for 20-30 seconds. Watch the mixture closely. You’re looking for it to thicken and become slightly frothy on top. It should look like a thick, pourable cream—not quite whipped cream, but definitely thicker than regular milk. If you blend too long, it’ll turn into butter. Trust me, I’ve made that mistake.
- Check the consistency. Dip a spoon into the foam. It should coat the back of the spoon nicely and slowly drip off. If it’s too thin, blend for another 10 seconds. If it’s too thick (like whipped cream), add a splash more milk and pulse a few times.
- Fill your glass with ice. I use about 1 cup of ice cubes. You want enough to chill your coffee without diluting it too much. If you’re using cold brew, you can skip the ice if you prefer a stronger drink.
- Pour your cooled coffee over the ice. Fill the glass about ¾ of the way full. Leave room for that gorgeous foam on top. I usually use about 1 cup of coffee for a standard 16-ounce glass.
- Spoon the pumpkin cream foam over the top. Here’s the trick: use the back of a spoon to gently pour the foam over the coffee. This helps it float on top instead of sinking. Start in the center and work your way outward. You should see a beautiful layer of orange cream sitting on top of the dark coffee.
- Give it a gentle stir if you want. Some people like to mix the foam into their coffee for a creamy pumpkin latte experience. Others prefer to sip through the foam for that first taste of pure pumpkin goodness. I’m in the second camp—that first sip of cold coffee through a layer of sweet, spiced cream is pure magic.
One thing I learned the hard way: don’t skip the cooling step for your coffee. I was impatient once and poured hot coffee over ice, which melted everything immediately. My foam sank, my coffee was watery, and I had to start over. Let your coffee cool, people. It’s worth the extra 5 minutes.
Cooking Tips & Techniques
I’ve made this recipe probably fifty times by now, and I’ve learned a few things the hard way so you don’t have to.
The temperature of your ingredients matters more than you think. I once left my heavy cream out on the counter while I was making breakfast, and when I blended everything up, the foam was thin and watery. Cold cream whips better. Cold milk blends better. Keep everything refrigerated until the moment you’re ready to make your foam.
Don’t over-blend. This is the most common mistake I see people make. You want the foam to be thick and pourable, not stiff like whipped cream. If you blend too long, you’ll end up with butter floating in your pumpkin milk. It’s gross. I’ve done it. Learn from my mistakes and stop blending once the mixture looks like thick cream.
Taste as you go. Everyone’s palate is different. I like my pumpkin spice on the bold side, so I use a full ½ teaspoon. My sister prefers a milder flavor, so she cuts it back to ¼ teaspoon. Start with the measurements I’ve given, taste the foam (yes, it’s safe to taste raw—these are all shelf-stable ingredients), and adjust from there.
Make a double batch. This foam keeps beautifully in the refrigerator for up to 3 days. I often make a double batch on Sunday evening and have pumpkin cream cold foam all week long. Just give it a quick shake or re-blend for 5 seconds before using, as it will separate slightly as it sits.
Use a frother for single servings. If you’re only making one cup of coffee, a handheld milk frother is actually more efficient than a blender. It creates a lighter, airier foam that sits beautifully on top of your coffee. Plus, it’s way easier to clean—just rinse the wand under hot water.
Variations & Adaptations
One of the best things about this recipe is how flexible it is. Here are some variations I’ve tried and loved:
Dairy-Free Version: Swap the heavy cream and milk for full-fat coconut cream and oat milk. The coconut cream gives you that same thick, luxurious texture, and oat milk adds a subtle sweetness that works beautifully with pumpkin. I’ve tested this with almond milk too, but it was too thin—stick with oat or coconut for the best results.
Extra Pumpkin Spice Kick: If you’re like me and can’t get enough of that warm, cozy flavor, add an extra ¼ teaspoon of pumpkin pie spice and a pinch of freshly grated nutmeg on top. The fresh nutmeg makes a surprising difference—it adds this aromatic warmth that store-bought ground nutmeg just can’t match.
Protein-Packed Version: Add a scoop of vanilla or unflavored collagen protein powder to the blender before mixing. It adds a subtle thickness and turns your coffee into a more filling breakfast option. Just make sure to blend thoroughly to avoid any clumps.
Hot Coffee Version: Yes, this works with hot coffee too! Just skip the ice and pour your hot coffee into a mug. Spoon the pumpkin cream foam on top—it’ll slowly melt into the coffee, creating a creamy, dreamy latte experience. The foam won’t hold its shape as long as it does on cold coffee, but the flavor is just as good.
Pumpkin Cream Cold Brew: If you want the true Starbucks experience, use cold brew concentrate instead of regular brewed coffee. The smooth, less acidic flavor of cold brew pairs perfectly with the sweet, creamy pumpkin foam. I like to use a 1:1 ratio of cold brew concentrate to water for a strong, bold base.
Serving & Storage Suggestions
This pumpkin cream cold foam is best enjoyed immediately, right after you’ve spooned it over your coffee. That first sip, when the cold foam hits your lips before the coffee does, is pure perfection. I like to serve mine in a clear glass mug so I can see the beautiful layers—dark coffee at the bottom, creamy orange foam on top, maybe a sprinkle of cinnamon or pumpkin pie spice over everything.
For presentation, try adding a drizzle of maple syrup on top of the foam and swirling it with a toothpick. It looks fancy and adds an extra hit of sweetness. I also love topping it with a few pumpkin seeds (pepitas) for a little crunch—it’s unexpected and delightful.
Storage: If you have leftover foam (unlikely, but possible), store it in an airtight container in the refrigerator for up to 3 days. It will separate as it sits, so give it a good shake or a quick 5-second blend before using it again. The texture won’t be quite as thick as fresh-made foam, but it’s still delicious.
Freezing: I don’t recommend freezing this foam. The texture becomes grainy and watery when thawed, and it loses that beautiful creamy consistency. Make it fresh or refrigerate it—freezing isn’t worth the hassle.
Reheating: If you’re making the hot coffee version and your foam has been in the fridge, just spoon it over your hot coffee and let the heat do the work. No need to microwave the foam—it’ll warm up naturally as it sits on top of your coffee.
Nutritional Information & Benefits
Here’s the honest truth: this is a treat. It’s not health food, but it’s also not as bad as you might think. Here’s a rough breakdown per serving (foam only, without coffee):
- Calories: ~180
- Fat: 14g
- Carbohydrates: 12g
- Protein: 2g
- Sugar: 10g (from maple syrup and natural sugars)
The pumpkin puree in this recipe is actually a nice little nutritional bonus. Pumpkin is packed with Vitamin A, fiber, and antioxidants. It’s also low in calories, so most of the calories here come from the cream and maple syrup—which, let’s be honest, are what make it taste so good.
If you’re watching your sugar intake, you can cut the maple syrup to 1 tablespoon or use a sugar-free alternative like monk fruit sweetener. The flavor won’t be quite as rich, but it’ll still be delicious. For a lower-fat option, try using half-and-half instead of heavy cream—it won’t be as thick, but it’ll still give you that creamy texture with fewer calories.
This recipe is naturally gluten-free and can be made dairy-free with the substitutions I mentioned earlier. Just be aware that the nutritional values will change significantly with those swaps.
Conclusion
Look, I’m not saying this Easy Copycat Starbucks Pumpkin Cream Cold Foam will change your life. But I am saying it’ll change your mornings. It’ll save you money, it’ll impress anyone you make it for, and it’ll give you that cozy fall feeling without having to leave your house or put on shoes.
What I love most about this recipe is how forgiving it is. You can adjust the sweetness, the spice level, the thickness—it’s your foam, and you get to make it exactly how you like it. That’s something you can’t get from a drive-thru window.
So go ahead, give it a try. Make it for yourself on a quiet Tuesday morning. Make it for your friends during a weekend brunch. Make it when you’re craving something warm and familiar and just a little bit special. And when you take that first sip and realize you made something this good in your own kitchen, with your own two hands—well, that’s a pretty great feeling.
I’d love to hear how yours turns out! Drop a comment below and let me know if you tried any variations, or if you have questions I didn’t answer. Happy sipping, friends!
Frequently Asked Questions
Can I make this without a blender?
Absolutely! A mason jar with a tight-fitting lid works great. Just add all the ingredients, screw the lid on tight, and shake vigorously for about 2 minutes. You’ll get a slightly different texture—a bit more frothy and less thick—but it’s still delicious. It’s also a great arm workout!
Why did my foam sink to the bottom of my coffee?
This usually happens for one of two reasons: your coffee was too hot, or your foam wasn’t thick enough. Let your coffee cool for at least 5-10 minutes before adding the foam, and make sure you blend the foam until it’s thick and creamy. If it’s still sinking, try spooning the foam gently over the back of a spoon placed just above the coffee surface.
Can I use pumpkin pie filling instead of pumpkin puree?
I wouldn’t recommend it. Pumpkin pie filling has added sugar, spices, and often stabilizers that throw off the balance of this recipe. It’ll make your foam too sweet and the texture might be off. Stick with 100% pure pumpkin puree for the best results.
How long does the foam last in the fridge?
Up to 3 days in an airtight container. It will separate as it sits, so give it a good shake or a quick 5-second blend before using it again. The texture won’t be quite as perfect as fresh-made foam, but it’s still really good. I often make a double batch on Sunday and use it all week.
Can I make this sugar-free?
Yes! Swap the maple syrup for a sugar-free alternative like monk fruit sweetener, stevia, or sugar-free maple syrup. The flavor will be slightly different—a little less rich and complex—but it’ll still give you that sweet, creamy pumpkin experience. Start with a smaller amount and adjust to taste.
Pin This Recipe!
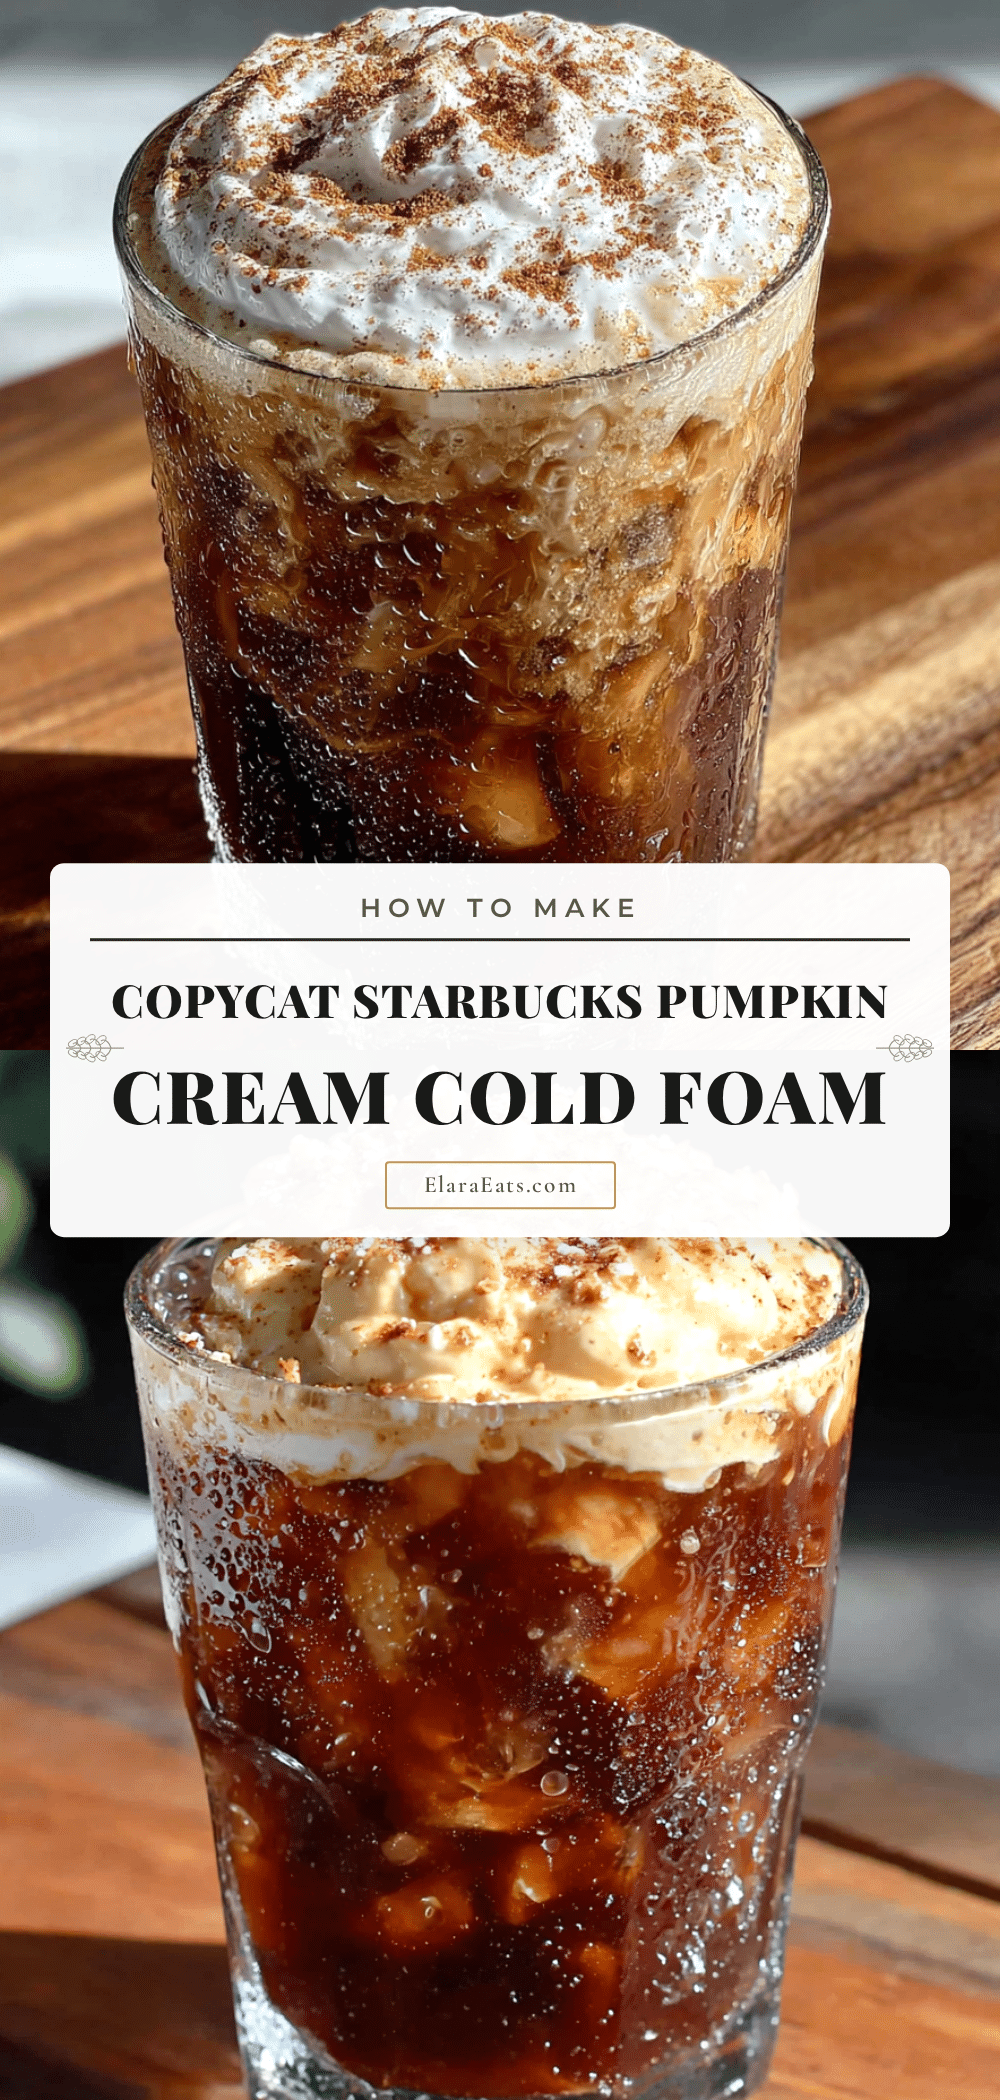
Easy Copycat Starbucks Pumpkin Cream Cold Foam
A quick and easy copycat recipe for Starbucks’ pumpkin cream cold foam that takes just 5 minutes to make with simple ingredients. Save money and enjoy a cozy fall treat at home with this silky, spiced foam that floats beautifully over iced coffee.
- Prep Time: 5 minutes
- Cook Time: 0 minutes
- Total Time: 5 minutes
- Yield: 1 serving 1x
- Category: Beverage
- Cuisine: American
Ingredients
- ¼ cup (60 ml) heavy cream
- ½ cup (120 ml) 2% milk
- 2 tablespoons (30 ml) pumpkin puree (100% pure, not pumpkin pie filling)
- 2 tablespoons (30 ml) maple syrup
- ½ teaspoon (2.5 ml) vanilla extract
- ½ teaspoon (2.5 ml) pumpkin pie spice
- Pinch of salt
- 1 cup (240 ml) strong brewed coffee, cooled
- Ice cubes (about 1 cup)
Instructions
- Brew your coffee base first. Use about 2 tablespoons of ground coffee per 1 cup of water for a strong brew. Let it cool for at least 5-10 minutes while you make the foam.
- Gather your foam ingredients. Make sure the heavy cream, milk, pumpkin puree, maple syrup, vanilla extract, pumpkin pie spice, and salt are all cold.
- Add everything to your blender. Start with the liquids: pour in the heavy cream and milk first. Then add the pumpkin puree, maple syrup, and vanilla extract. Sprinkle the pumpkin pie spice and salt on top. Do not stir.
- Blend on low speed for 10 seconds to combine everything without splashing. Scrape down the sides with a spatula if needed.
- Increase to medium-high speed and blend for 20-30 seconds until the mixture thickens and becomes slightly frothy. It should look like a thick, pourable cream—not quite whipped cream, but definitely thicker than regular milk.
- Check the consistency. Dip a spoon into the foam—it should coat the back of the spoon nicely and slowly drip off. If too thin, blend for another 10 seconds. If too thick, add a splash more milk and pulse a few times.
- Fill your glass with about 1 cup of ice cubes.
- Pour your cooled coffee over the ice, filling the glass about ¾ full.
- Spoon the pumpkin cream foam over the top. Use the back of a spoon to gently pour the foam over the coffee, starting in the center and working outward, so it floats on top.
- Give it a gentle stir if desired, or sip through the foam for the best experience.
Notes
For best results, keep all ingredients cold. Do not over-blend or the mixture may turn into butter. The foam can be stored in an airtight container in the refrigerator for up to 3 days; shake or re-blend before using. For a dairy-free version, use full-fat coconut cream and oat milk. For a sugar-free version, substitute maple syrup with monk fruit sweetener or stevia.
Nutrition
- Serving Size: 1 serving (foam only
- Calories: 180
- Sugar: 10
- Sodium: 50
- Fat: 14
- Saturated Fat: 8
- Carbohydrates: 12
- Fiber: 1
- Protein: 2
Keywords: pumpkin cream cold foam, Starbucks copycat, pumpkin coffee, fall coffee, cold foam, pumpkin spice, easy coffee recipe