Love this? Save it for later!
Share the inspiration with your friends
The potluck was in three hours and I’d completely forgotten. My neighbor Jenna had texted the group chat: “Don’t forget, 6 PM at my place, main dishes only!” I stared at my phone, then at the pantry. Everyone else would be bringing those elaborate, multi-day preparations—I just knew it. Lisa was famous for her slow-braised short ribs. Mark always showed up with some perfectly smoked brisket. And me? I had a pound of ground beef thawing on the counter, a half-empty bag of rice, and a block of cheddar that was probably past its prime.
Honestly, I almost texted back saying I was sick. But desperation makes you creative, you know? I grabbed the biggest skillet I owned and just started throwing things in. Onion, garlic, the ground beef browning away while I tried to figure out what came next. I found a can of diced tomatoes in the back of the cabinet—expiration date was fine, thank goodness—and some chicken broth I’d used for soup last week. The rice went in raw, which felt risky, but I figured it would cook in the liquid. I mean, what did I have to lose?
The whole thing came together in about twenty minutes, maybe less because I was panicking. I threw a generous handful of cheese on top, let it melt, and ran out the door. At Jenna’s, I set my skillet down next to all those fancy dishes and tried to hide in the corner. But guess what happened? People went for it first. Like, they passed right over the short ribs. Someone asked for the recipe before they’d even finished their first bite. I just laughed and said it was nothing—which was true, honestly. But it was also everything. That easy cheesy ground beef and rice skillet became my go-to for every gathering after that. It’s the dish I make when I want to impress people without actually trying too hard. And let me tell you, there’s something special about that.
Why You’ll Love This Recipe
This isn’t just another weeknight dinner recipe—it’s the one that saves you on your busiest days and makes you look like a hero at the same time. I’ve tested this easy cheesy ground beef and rice skillet at least a dozen times (mostly because my family kept requesting it) and every single time, it delivers. Here’s why you’ll absolutely love it:
- Quick & Easy: Comes together in under 20 minutes, perfect for those evenings when you walk through the door starving and need dinner on the table before anyone asks “what’s for dinner?” for the fifth time.
- Simple Ingredients: No fancy grocery trips needed. Ground beef, rice, cheese, and a few pantry staples—that’s it. You likely already have everything in your kitchen right now.
- Perfect for Hosting: This is the dish you bring to potlucks, serve at casual dinner parties, or make when friends pop over unexpectedly. It scales beautifully and always gets devoured.
- Crowd-Pleaser: Kids love the cheesy goodness, adults appreciate the savory flavors, and everyone goes back for seconds. I’ve never seen leftovers of this dish.
- Unbelievably Delicious: The combination of seasoned ground beef, tender rice, and melted cheese creates this comforting, soul-satisfying meal that tastes like you spent way more time on it than you actually did.
What makes this recipe different from all the other skillet dinners out there? It’s the technique. I cook the rice directly in the skillet with the beef and broth, so it absorbs all those amazing flavors while it cooks. No separate pot, no draining, no extra dishes. The rice comes out perfectly tender and infused with the savory goodness of the beef and seasonings. Plus, that final blanket of melted cheese on top? Pure magic.
This is the kind of recipe that makes you close your eyes after the first bite. It’s comfort food at its finest—hearty, cheesy, and deeply satisfying. Perfect for impressing guests without any stress, or turning a regular Tuesday night into something memorable.
What Ingredients You Will Need
This easy cheesy ground beef and rice skillet uses simple, wholesome ingredients to deliver bold flavor and satisfying texture without any fuss. Most of these are pantry staples you probably already have on hand, which makes this recipe perfect for last-minute dinners or unexpected guests.
- Ground Beef (1 lb / 450g): I recommend using 80/20 ground beef for the best flavor. The slight fat content adds richness to the dish. If you prefer leaner meat, 90/10 works too—just add a tablespoon of olive oil to compensate.
- Yellow Onion (1 medium, diced): Adds a sweet, savory base to the dish. You could use white onion or even shallots in a pinch.
- Garlic (3 cloves, minced): Fresh garlic makes a big difference here. Don’t skip it—it adds that aromatic depth that makes the whole kitchen smell amazing.
- Long-Grain White Rice (1 cup / 200g): I prefer long-grain rice like jasmine or basmati for this recipe. They cook up fluffy and separate, not sticky. Avoid instant rice—it will turn mushy.
- Beef Broth (2 cups / 480ml): This is what cooks the rice and infuses it with flavor. I recommend using low-sodium broth so you can control the salt level. Chicken broth works too if that’s what you have.
- Canned Diced Tomatoes (1 can, 14.5 oz / 400g, undrained): Adds acidity and moisture to balance the richness of the beef and cheese. Fire-roasted diced tomatoes add a lovely smoky flavor if you can find them.
- Shredded Cheddar Cheese (1.5 cups / 170g): Sharp cheddar gives the best flavor, but mild cheddar or a Mexican blend works great too. Shred it yourself from a block if you can—it melts so much better than pre-shredded.
- Chili Powder (1 teaspoon): Adds warmth and a mild smoky heat. Not enough to make it spicy, just enough to make it interesting.
- Cumin (1/2 teaspoon): Earthy and slightly nutty, cumin pairs beautifully with the beef and tomatoes.
- Paprika (1/2 teaspoon): I use smoked paprika when I want a deeper, smokier flavor. Regular paprika works perfectly too.
- Salt and Black Pepper (to taste): Season as you go—don’t just add it all at the end. Layering the seasoning makes a huge difference.
- Olive Oil (1 tablespoon): For sautéing the onion and garlic. Avocado oil works too.
- Fresh Parsley (optional, for garnish): Adds a pop of color and freshness. I love the way it looks on top of the cheesy skillet.
Ingredient Selection Tips: When buying ground beef, look for meat that’s bright red and hasn’t been sitting in its own juices too long. For the cheese, I really recommend shredding it yourself—the pre-shredded bags have anti-caking agents that prevent smooth melting. Trust me on this one, I learned the hard way.
Substitution Guidance: Use ground turkey or chicken instead of beef for a lighter version. For a gluten-free option, make sure your broth is certified gluten-free. If you’re dairy-free, use a good melting vegan cheese or omit it entirely—the dish is still delicious without it. Brown rice works but will need about 15-20 minutes more cooking time and extra broth.
Equipment Needed
You don’t need a fancy kitchen to make this easy cheesy ground beef and rice skillet. Here’s what you’ll need:
- Large Skillet or Dutch Oven (12-inch / 30cm): A deep, heavy-bottomed skillet is ideal. Cast iron works beautifully because it holds heat evenly. If you don’t have a large skillet, a Dutch oven or even a large saucepan will work.
- Wooden Spoon or Spatula: For breaking up the ground beef and stirring everything together. A wooden spoon won’t scratch your cookware.
- Cheese Grater: If you’re shredding your own cheese (which I highly recommend), a box grater or microplane does the job quickly.
- Measuring Cups and Spoons: For accurate measurements. I’ve made this enough times to eyeball it, but for the first time, measure carefully.
- Cutting Board and Knife: For dicing the onion and mincing the garlic. A sharp chef’s knife makes prep go faster.
- Lid for Your Skillet: You’ll need this to cover the skillet while the rice cooks. If your skillet doesn’t have a lid, use a baking sheet or aluminum foil tightly sealed.
Budget-Friendly Options: Don’t have a cast iron skillet? No problem. Any non-stick skillet you already own will work perfectly. The key is just making sure it’s large enough to hold everything without spilling over. I’ve made this in a beat-up non-stick pan from college and it turned out just as good.
Preparation Method
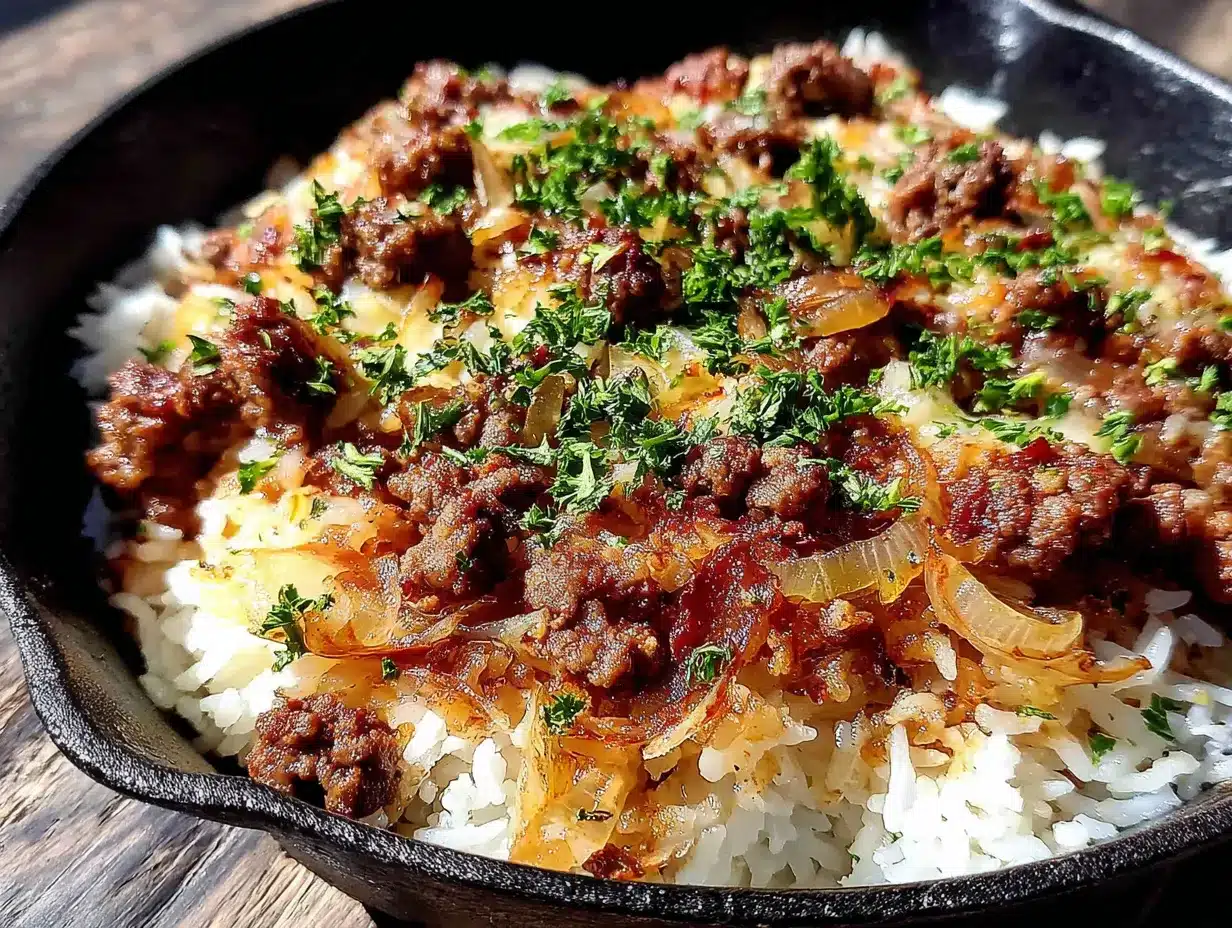
Let me walk you through this step by step. Once you make it, you’ll never need the recipe again—it’s that simple.
- Heat the olive oil (1 minute): Place your large skillet over medium-high heat and add the olive oil. Let it warm up until it shimmers slightly. You want it hot but not smoking.
- Sauté the onion (3-4 minutes): Add the diced onion to the hot oil. Cook, stirring occasionally, until the onion becomes translucent and starts to soften. It should smell sweet and aromatic, not burnt. If it starts browning too fast, lower the heat.
- Add the garlic (30 seconds): Toss in the minced garlic and stir constantly for about 30 seconds. Garlic burns quickly, so keep it moving. The smell should be amazing at this point—that’s how you know you’re on the right track.
- Brown the ground beef (5-6 minutes): Add the ground beef to the skillet. Break it up with your wooden spoon into small crumbles. Let it cook without moving it too much for the first minute or two—this helps it develop a nice brown crust. Then stir and continue cooking until no pink remains. Drain off any excess fat if there’s more than a tablespoon or two. I leave a little bit for flavor.
- Season the meat (1 minute): Sprinkle the chili powder, cumin, paprika, salt, and pepper over the cooked beef. Stir everything together and let it cook for another minute. This toasts the spices and makes them more fragrant. You’ll smell the difference immediately.
- Add rice, tomatoes, and broth (1 minute): Pour in the uncooked rice, the entire can of diced tomatoes (juices and all), and the beef broth. Stir everything together, scraping up any browned bits from the bottom of the pan. Those bits are pure flavor—don’t leave them behind.
- Bring to a boil (2-3 minutes): Turn the heat to high and bring the mixture to a gentle boil. You should see bubbles breaking the surface all over, not just at the edges.
- Cover and simmer (15-18 minutes): Once boiling, reduce the heat to low, cover the skillet with a tight-fitting lid, and let it simmer. Set a timer for 15 minutes. Don’t peek! Every time you lift that lid, steam escapes and your rice takes longer to cook. Trust the process.
- Check the rice (1 minute): After 15 minutes, remove the lid carefully (steam is hot!). The rice should be tender and most of the liquid should be absorbed. If the rice is still a bit firm and there’s still liquid, cover and cook for another 2-3 minutes. If the rice is done but there’s excess liquid, leave the lid off and cook on low for a minute or two to let it evaporate.
- Add the cheese (2 minutes): Sprinkle the shredded cheddar cheese evenly over the top of the skillet. Cover the pan again and let it sit off the heat for about 2 minutes. The residual heat will melt the cheese perfectly into a gooey, golden blanket.
- Garnish and serve (1 minute): Remove the lid, sprinkle with fresh parsley if you’re using it, and serve straight from the skillet. The presentation is gorgeous—all that melted cheese on top of the savory rice and beef. Your guests will think you spent an hour on this.
Sensory Cues: At step 4, the beef should smell rich and savory, not greasy. At step 7, the mixture should look like a slightly soupy risotto before you cover it. At step 9, the rice should be tender but still have a tiny bite to it—not mushy. The cheese at step 10 should be fully melted and slightly stretchy when you lift the lid.
Prep Note: Dice your onion and mince your garlic before you start cooking. This dish moves fast once it gets going, and you don’t want to be chopping while your beef is burning. I learned this lesson the hard way more than once.
Cooking Tips & Techniques
After making this easy cheesy ground beef and rice skillet more times than I can count, I’ve picked up a few tricks that make it even better. Here’s what I wish someone had told me the first time:
Don’t rinse the rice. I know, I know—conventional wisdom says to rinse rice to remove excess starch. But in this recipe, that starch helps thicken the liquid and creates a creamier texture. Leave it unrinsed and thank me later.
Toast the rice briefly. Before adding the liquid, try stirring the raw rice into the seasoned beef for about a minute. It adds a subtle nutty flavor that takes this dish from good to great. I stumbled on this trick by accident when I got distracted one night, and now I do it every time.
Watch your heat. The biggest mistake people make is cooking the rice on too high heat. Once you cover that skillet, keep it on low. If the heat is too high, the liquid will evaporate before the rice is fully cooked, and you’ll end up with crunchy rice and a burnt bottom. I’ve ruined more than one batch this way.
Let it rest. After the cheese melts, let the skillet sit off the heat for another 2-3 minutes before serving. This allows the rice to absorb any remaining liquid and the flavors to meld together. The difference between serving it immediately and letting it rest for a few minutes is noticeable.
Scale it up for crowds. Hosting a dinner party or bringing this to a potluck? This recipe doubles beautifully. Just use a larger skillet or Dutch oven and increase the cooking time by about 5 minutes. I’ve made a triple batch in my biggest pot for family gatherings and it always disappears.
One of my biggest failures: The first time I made this, I used instant rice because I thought it would be faster. Big mistake. It turned into a mushy, unappetizing mess. Stick with long-grain white rice—it’s worth the extra few minutes.
Variations & Adaptations
One of the best things about this easy cheesy ground beef and rice skillet is how adaptable it is. Here are some of my favorite variations:
Mexican Street Corn Version: Add 1 cup of frozen corn kernels along with the broth. Top with crumbled cotija cheese and a drizzle of crema instead of cheddar. A squeeze of lime juice right before serving brightens everything up. I made this for a taco night and it was a huge hit.
Low-Carb Adaptation: Swap the rice for cauliflower rice. Add the cauliflower rice in the last 5 minutes of cooking since it doesn’t need as long. You might need to reduce the broth to about 1 cup since cauliflower releases water as it cooks. The cheese still makes it feel indulgent.
Spicy Southwestern Twist: Add 1 diced jalapeño with the onion, use pepper jack cheese instead of cheddar, and stir in a can of drained black beans with the tomatoes. Top with sliced avocado and a dollop of sour cream. This version has serious kick and is perfect for spice lovers.
Italian-Inspired Version: Replace the chili powder and cumin with 1 teaspoon of dried oregano and 1 teaspoon of dried basil. Use mozzarella or provolone instead of cheddar. Stir in a handful of fresh spinach at the end until it wilts. Serve with grated Parmesan on top. It’s like a deconstructed stuffed pepper—so good.
Vegetarian Option: Skip the ground beef and use two cans of drained and rinsed black beans or pinto beans. Add an extra tablespoon of olive oil and cook the beans with the spices for a few minutes before adding the rice and liquid. You won’t miss the meat, I promise.
Serving & Storage Suggestions
This easy cheesy ground beef and rice skillet is best served hot, straight from the skillet. The cheese should be melted and slightly stretchy, and the rice should be tender and fluffy. Here’s how to make the most of it:
Serving Temperature: Serve immediately while the cheese is hot and gooey. If you’re bringing it to a potluck, keep it covered with foil to retain heat. It stays warm for about 30 minutes in a covered skillet.
What to Serve Alongside: A simple green salad with a tangy vinaigrette cuts through the richness beautifully. Steamed broccoli or roasted green beans add color and nutrition. For a heartier meal, serve with warm tortillas or crusty bread to soak up any extra sauce. I also love serving it with a side of Mexican street corn salad for a complete meal.
Beverage Pairings: A cold beer—lager or pale ale works great—pairs wonderfully with the savory, cheesy flavors. For wine drinkers, a medium-bodied red like Merlot or a fruity Zinfandel is lovely. Non-alcoholic options: sparkling water with lime or a tart lemonade.
Storage Instructions: Store leftovers in an airtight container in the refrigerator for up to 4 days. The flavors actually get better as they meld together overnight. I often make a double batch just for leftovers.
Reheating Methods: The best way to reheat is in a skillet over medium-low heat with a splash of broth or water to loosen it up. Cover and heat for 5-7 minutes, stirring occasionally. You can also microwave individual portions in 30-second bursts, stirring between each. The microwave is faster but the texture isn’t quite as good.
Freezing Instructions: This recipe freezes well for up to 3 months. Let it cool completely, then transfer to a freezer-safe container. To thaw, place it in the refrigerator overnight. Reheat in a skillet as directed above. I’ve pulled this out on busy weeknights and it’s been a lifesaver.
Flavor Development: Like many one-pot dishes, this one tastes even better the next day. The rice continues to absorb the flavors, and everything melds together beautifully. If you can resist eating it all the first night, you’re in for a treat.
Nutritional Information & Benefits
Here’s the nutritional breakdown for one serving of this easy cheesy ground beef and rice skillet (based on 6 servings):
| Nutrient | Amount per Serving |
|---|---|
| Calories | 420 |
| Protein | 28g |
| Carbohydrates | 38g |
| Fat | 18g |
| Saturated Fat | 8g |
| Fiber | 2g |
| Sugar | 3g |
| Sodium | 580mg |
| Iron | 3.5mg |
| Calcium | 220mg |
Health Benefits: This dish provides a good amount of protein from the ground beef, which helps keep you full and supports muscle health. The rice offers energy-rich carbohydrates, perfect for refueling after a long day. Tomatoes add lycopene, an antioxidant linked to heart health. The calcium from the cheese supports bone health.
Dietary Considerations: This recipe is naturally nut-free and egg-free. For a gluten-free version, use certified gluten-free broth. For a lower-sodium option, use low-sodium broth and reduce added salt. To lower the fat content, use lean ground beef and reduced-fat cheese.
Potential Allergens: Dairy (cheese). If you’re lactose intolerant, use lactose-free cheese or a dairy-free alternative. The recipe is free of the top eight allergens except dairy.
My Personal Take: I love that this meal feels indulgent but isn’t actually that bad for you. It’s balanced—protein, carbs, and fat in reasonable amounts. I serve it with a big side of vegetables and feel good about what’s on the table.
Conclusion
This easy cheesy ground beef and rice skillet has become a staple in my kitchen for good reason. It’s the recipe I turn to when I need dinner on the table fast, when I’m hosting friends and want something crowd-pleasing, or when I just need a big bowl of comfort food after a long day. It never lets me down.
What I love most about this dish is how forgiving it is. You can tweak the spices, swap in different veggies, use whatever cheese you have on hand—it always turns out delicious. It’s the kind of recipe that builds your confidence in the kitchen because it’s so hard to mess up. And when you set that skillet on the table with all that melted cheese bubbling on top, everyone thinks you worked way harder than you actually did. That’s the magic of this dish.
I’d love to hear how it turns out for you! Did you try any of the variations? Add your own twist? Drop a comment below and let me know. And if you’re looking for another quick weeknight winner, check out my one-pot creamy Tuscan chicken—it’s another skillet dinner that delivers big flavor with minimal effort. Happy cooking, friends!
Frequently Asked Questions
Can I use brown rice instead of white rice?
Yes, but you’ll need to adjust the cooking time and liquid. Brown rice takes about 35-40 minutes to cook and needs about 1/2 cup more broth. I recommend par-cooking the brown rice first or using quick-cook brown rice to save time.
How do I prevent the rice from getting mushy?
The key is using the right rice-to-liquid ratio and not overcooking it. Long-grain white rice needs exactly 2 cups of liquid per 1 cup of rice. Also, resist the urge to stir once you’ve covered the skillet—stirring releases starch and makes the rice gummy.
Can I make this recipe in advance for a party?
Absolutely! You can make it a day ahead and reheat it in a skillet with a splash of broth. The flavors actually get better overnight. Just add the cheese fresh when you reheat it for that gooey, melty finish.
What can I use instead of ground beef?
Ground turkey, ground chicken, or ground pork all work beautifully. For a vegetarian version, use two cans of black beans or lentils. Just adjust the seasoning to complement your protein choice.
How do I make this recipe spicier?
Add a diced jalapeño with the onion, use 1-2 teaspoons of chili powder instead of 1, or stir in 1/4 teaspoon of cayenne pepper with the other spices. You can also use pepper jack cheese for an extra kick.
Pin This Recipe!
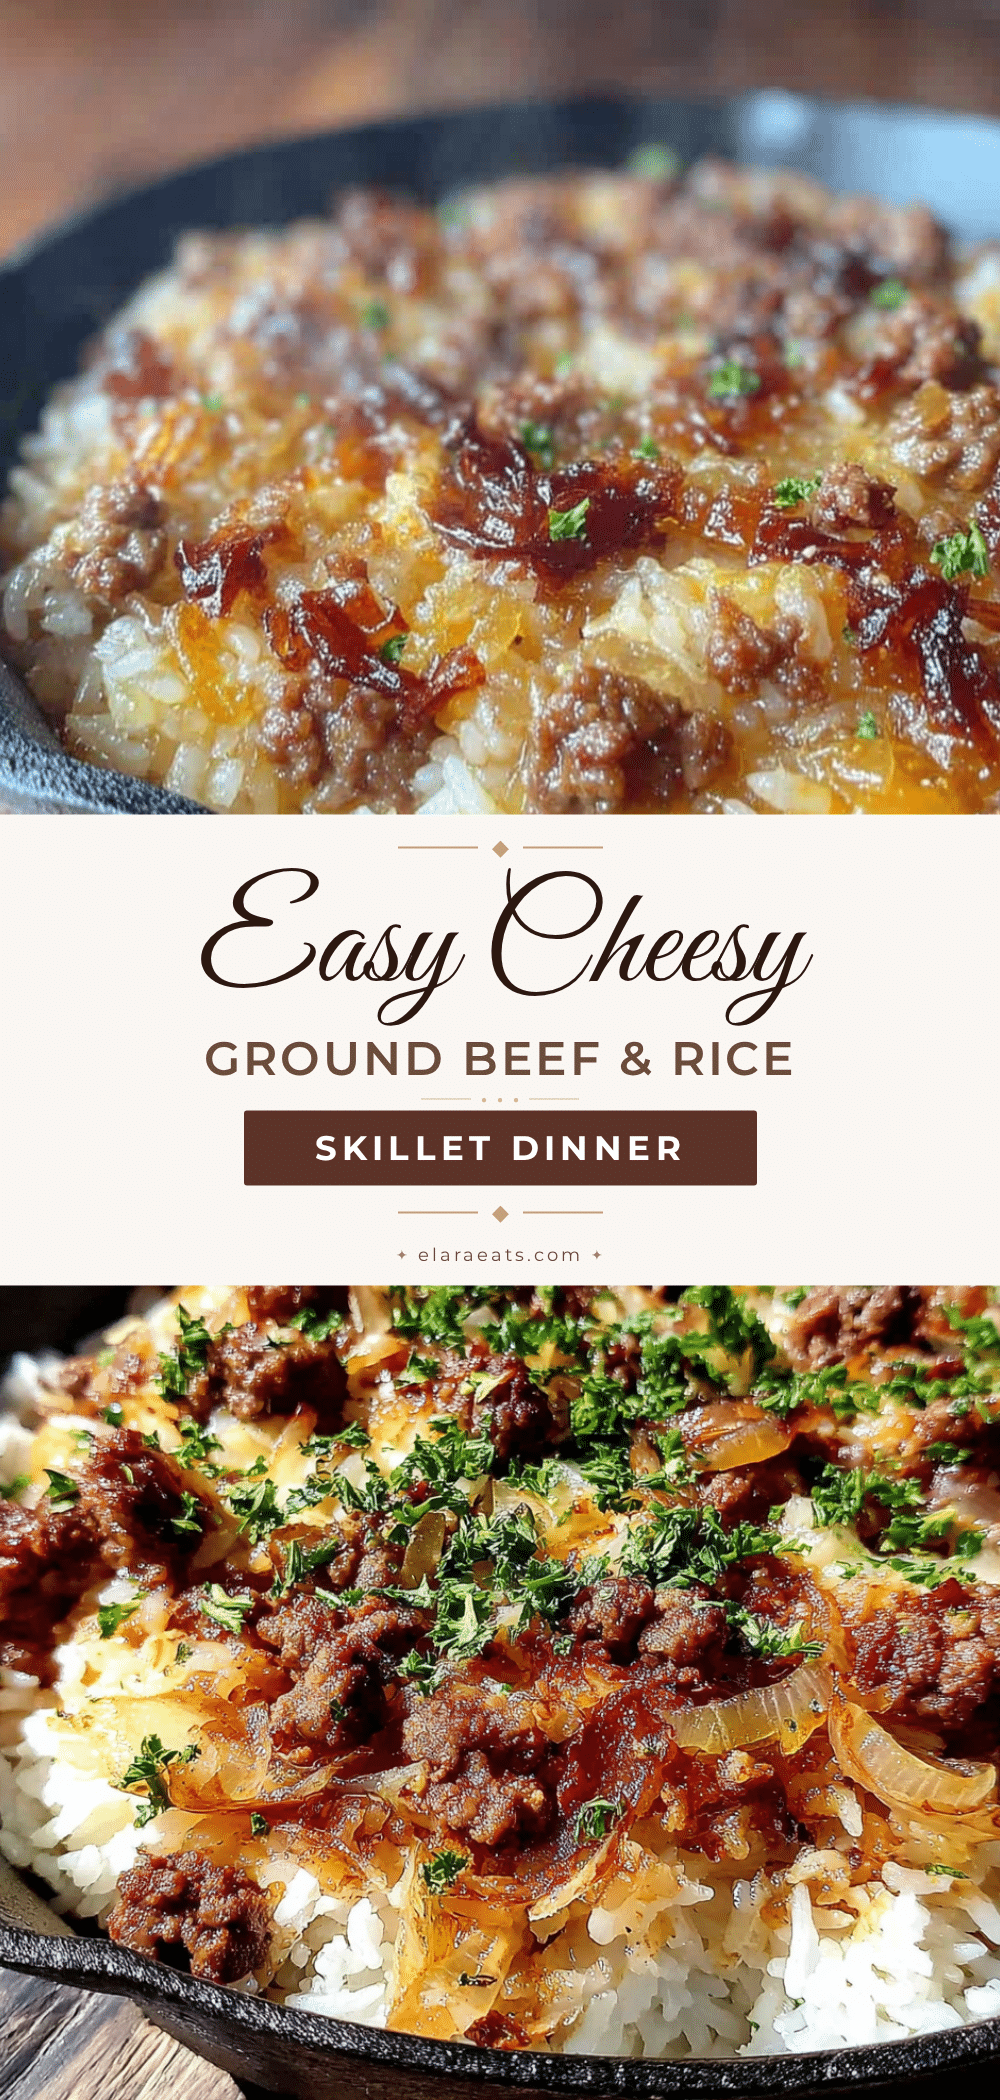
Easy Cheesy Ground Beef and Rice Skillet: Best 20-Minute Dinner

A quick and easy one-pan dinner featuring seasoned ground beef, tender rice, and melted cheddar cheese. Perfect for busy weeknights or potlucks, this comforting skillet meal comes together in under 20 minutes with simple pantry ingredients.
- Prep Time: 5 minutes
- Cook Time: 20 minutes
- Total Time: 25 minutes
- Yield: 6 servings 1x
- Category: Main Course
- Cuisine: American
Ingredients
- 1 lb (450g) ground beef (80/20 recommended)
- 1 medium yellow onion, diced
- 3 cloves garlic, minced
- 1 cup (200g) long-grain white rice (jasmine or basmati)
- 2 cups (480ml) beef broth (low-sodium recommended)
- 1 can (14.5 oz / 400g) diced tomatoes, undrained
- 1.5 cups (170g) shredded cheddar cheese (sharp preferred)
- 1 teaspoon chili powder
- 1/2 teaspoon cumin
- 1/2 teaspoon paprika (smoked or regular)
- Salt and black pepper to taste
- 1 tablespoon olive oil
- Fresh parsley for garnish (optional)
Instructions
- Heat olive oil in a large skillet over medium-high heat until shimmering.
- Add diced onion and sauté for 3-4 minutes until translucent and softened.
- Add minced garlic and stir constantly for 30 seconds until fragrant.
- Add ground beef, breaking it into crumbles. Cook for 5-6 minutes until browned and no pink remains. Drain excess fat if needed.
- Sprinkle chili powder, cumin, paprika, salt, and pepper over the beef. Stir and cook for 1 minute to toast spices.
- Add uncooked rice, undrained diced tomatoes, and beef broth. Stir, scraping up any browned bits from the pan.
- Bring mixture to a gentle boil over high heat (2-3 minutes).
- Reduce heat to low, cover tightly, and simmer for 15-18 minutes without lifting the lid.
- Check rice: it should be tender and most liquid absorbed. If needed, cook 2-3 more minutes covered, or uncover to evaporate excess liquid.
- Sprinkle shredded cheddar cheese evenly over the top. Cover and let sit off heat for 2 minutes until cheese melts.
- Garnish with fresh parsley if desired and serve straight from the skillet.
Notes
Don’t rinse the rice; the starch helps thicken the liquid. Toast the rice briefly in the seasoned beef for extra nutty flavor. Keep heat on low once covered to prevent burning. Let the skillet rest 2-3 minutes after cheese melts for best texture. Doubles easily for crowds.
Nutrition
- Serving Size: 1 serving (about 1.5
- Calories: 420
- Sugar: 3
- Sodium: 580
- Fat: 18
- Saturated Fat: 8
- Carbohydrates: 38
- Fiber: 2
- Protein: 28
Keywords: ground beef and rice skillet, cheesy skillet dinner, 20-minute dinner, one-pot meal, easy weeknight dinner, potluck recipe, comfort food