Love this? Save it for later!
Share the inspiration with your friends
My friend Jen asked me why I couldn’t just skip the pastry crust and press the whole thing into one pan. I started to explain why that wouldn’t work—then stopped. I honestly had no good reason. I’d been making apple desserts the “proper” way for years, rolling out dough, chilling it, hoping it wouldn’t shrink. Jen just wanted something that tasted like fall without the four-hour project. So I tried it her way. And let me tell you, she was right.
The power went out halfway through my first test batch, and I finished the caramel sauce by flashlight. That’s when I knew this recipe was special—it survived a kitchen disaster and still came out incredible. These caramel apple crumble bars are what happen when you stop overthinking and start trusting a simple idea. The buttery shortbread base, the soft spiced apples, the crunchy oat topping, and that ribbon of homemade caramel running through everything—it’s pure comfort in a 9×13 pan.
Maybe you’ve been there, standing in your kitchen on a Tuesday night, craving something warm and apple-filled but not wanting to commit to pie. I mean, who has time for that on a weeknight? These bars are the answer. They come together in about 20 minutes of active work, and the oven does the rest. Your kitchen will smell like a bakery, and you’ll have dessert ready for days.
I keep making these because they remind me that the best recipes don’t come from fancy techniques. They come from someone asking a simple question and being brave enough to try the answer.
Why You’ll Love This Recipe
These easy caramel apple crumble bars have become my most-requested fall dessert, and for good reason. After testing this recipe about seven times (someone had to eat all those bars), I can tell you exactly why it works so well.
- Quick & Easy: From start to oven in under 20 minutes. No rolling pins, no chilling dough, no fuss.
- Simple Ingredients: You probably have everything already—flour, butter, oats, apples, sugar, and caramel bits. No special trips to the store.
- Perfect for Fall Gatherings: Great for Thanksgiving, potlucks, or just a Tuesday night when you need something sweet.
- Crowd-Pleaser: Kids love the caramel, adults love the apple filling, and everyone goes back for seconds.
- Unbelievably Delicious: The contrast between the crisp oat topping and the soft, cinnamon-spiced apples is next-level comfort food.
What makes this recipe different from the rest is the method. Instead of fussing with a separate crust and filling, you press half the crumble mixture into the pan for the base, layer on the apples and caramel, then sprinkle the rest on top. It’s genius in its simplicity. The caramel bits melt into the apples as they bake, creating these little pockets of gooey sweetness that make every bite exciting.
This recipe isn’t just good—it’s the kind that makes you close your eyes after the first bite. It’s comfort food reimagined: faster, simpler, but with the same soul-soothing satisfaction. Perfect for impressing guests without stress, or turning a simple fall evening into something memorable.
What Ingredients You Will Need
This recipe uses simple, wholesome ingredients that work together to create something truly special. Most are pantry staples, which makes these bars perfect for spontaneous baking cravings.
For the Crumble Base & Topping
- All-purpose flour – 2 cups (240g). This gives the crumble structure without making it tough. I use King Arthur Flour for consistent results.
- Old-fashioned rolled oats – 1 ½ cups (135g). Don’t use quick oats here—they’ll turn mushy. The rolled oats give that perfect chewy texture.
- Light brown sugar – 1 cup (200g), packed. Adds moisture and that deep, molasses-like sweetness that pairs perfectly with apples.
- Unsalted butter – 1 cup (226g), cold and cut into small cubes. Cold butter is key—it creates those craggy, buttery clumps that make crumble toppings irresistible.
- Ground cinnamon – 1 teaspoon. I prefer Saigon cinnamon for its bolder flavor.
- Salt – ½ teaspoon. Balances the sweetness and makes the caramel pop.
For the Apple Filling
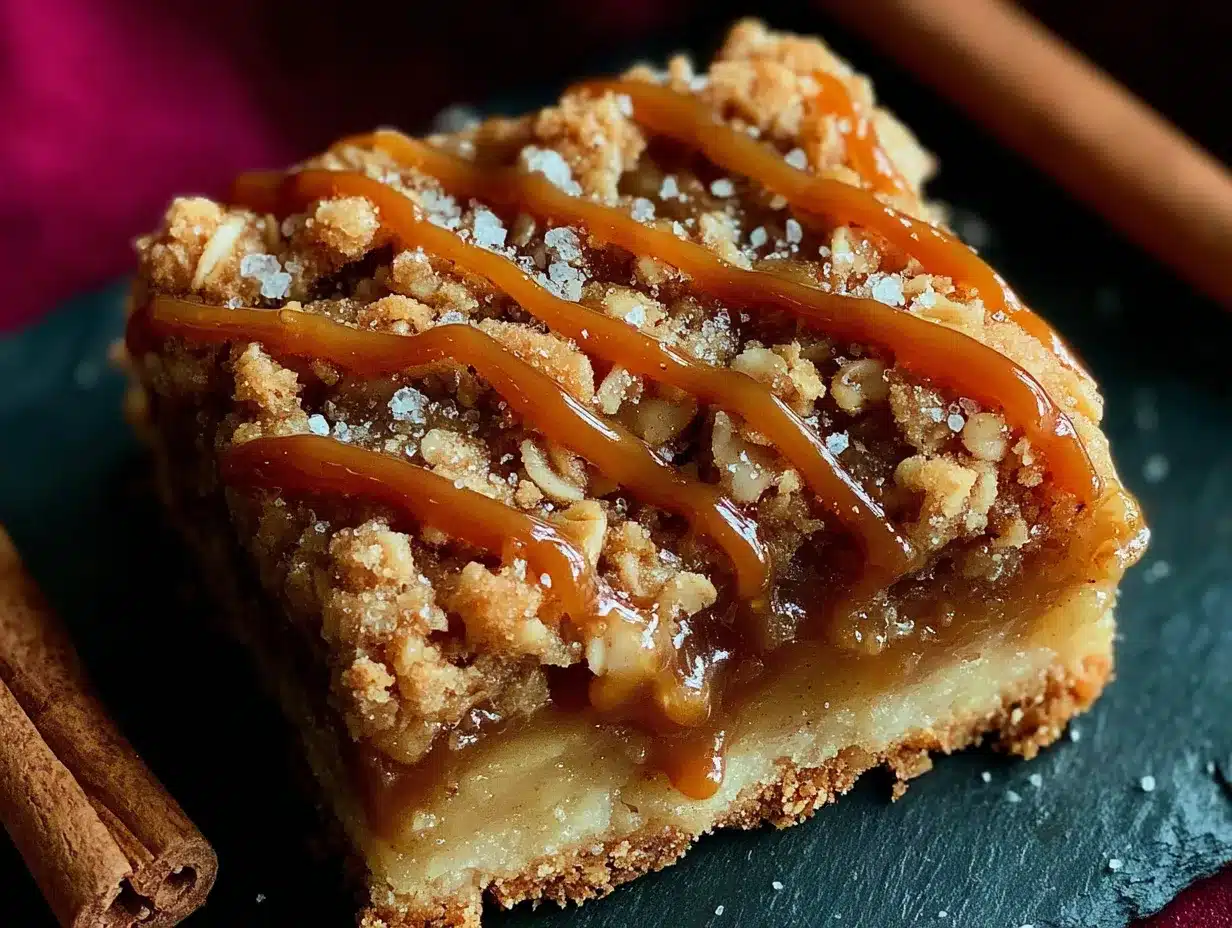
- Apples – 4 medium (about 600g), peeled, cored, and diced into ½-inch pieces. Granny Smith apples are my go-to—they hold their shape and their tartness cuts through the sweetness. Honeycrisp or Braeburn work great too.
- Granulated sugar – ¼ cup (50g). Just enough to coax out the apples’ natural juices.
- Cornstarch – 2 tablespoons. This thickens the apple juices so the filling isn’t runny.
- Lemon juice – 1 tablespoon. Prevents the apples from browning and adds brightness.
- Ground cinnamon – 1 teaspoon.
- Ground nutmeg – ¼ teaspoon. Freshly grated if you have it—the difference is noticeable.
For the Caramel Layer
- Soft caramel candies – 1 cup (about 20-25 unwrapped caramels). I use Kraft caramels because they melt evenly. You can also use caramel bits from the baking aisle.
- Heavy cream – 3 tablespoons (45ml). Helps the caramels melt into a smooth, pourable sauce.
Substitution Tips: For a gluten-free version, swap the all-purpose flour with a 1:1 gluten-free baking blend. Use certified gluten-free oats. If you’re dairy-free, use cold coconut oil instead of butter and full-fat coconut cream instead of heavy cream. The texture will be slightly different, but still delicious.
Equipment Needed
You don’t need fancy equipment for these bars, which is part of their charm. Here’s what you’ll need:
- 9×13-inch baking pan – Metal or glass both work. If using glass, reduce the oven temperature by 25°F to prevent over-browning.
- Parchment paper – Absolutely essential. Line the pan with parchment, leaving overhang on two sides. This lets you lift the entire batch out cleanly for easy cutting.
- Large mixing bowls – One for the crumble, one for the apples.
- Pastry cutter or two forks – For cutting the butter into the flour mixture. Your hands work too, but work quickly so the butter stays cold.
- Small saucepan – For melting the caramel.
- Sharp knife and cutting board – For dicing the apples.
I’ve made these with a $5 thrift-store pan and a butter knife, and they turned out perfect. Don’t let equipment stop you from baking.
Preparation Method
Preheat your oven to 350°F (175°C). Line your 9×13 pan with parchment paper, leaving a 2-inch overhang on the long sides. This little step saves so much frustration later.
- Make the crumble mixture. In a large bowl, whisk together the flour, oats, brown sugar, cinnamon, and salt. Add the cold butter cubes. Using a pastry cutter or your fingertips, work the butter into the dry ingredients until the mixture looks like coarse sand with some pea-sized butter pieces remaining. Don’t overwork it—those little butter clumps create the flaky, tender texture. Set aside 1 ½ cups of this mixture for the topping.
- Press the base. Dump the remaining crumble mixture into your prepared pan. Press it down firmly and evenly with your hands or the bottom of a measuring cup. You want a solid, compact layer—this is your crust. Bake for 12 minutes, until lightly golden and set. Set aside to cool slightly while you prepare the filling.
- Prepare the apples. In a medium bowl, toss the diced apples with granulated sugar, cornstarch, lemon juice, cinnamon, and nutmeg. Make sure every piece is coated. The cornstarch might look powdery at first, but it will dissolve as the apples release their juices during baking.
- Make the caramel sauce. In a small saucepan over low heat, combine the caramel candies and heavy cream. Stir constantly until the caramels are completely melted and the mixture is smooth. This takes about 5 minutes. Don’t rush it—high heat will scorch the caramel. Remove from heat and set aside.
- Layer the filling. Spread the apple mixture evenly over the pre-baked crust. Drizzle the melted caramel over the apples. Don’t worry about covering every apple piece—the caramel will spread as it bakes.
- Add the topping. Sprinkle the reserved crumble mixture evenly over the apples and caramel. Don’t press it down—you want those craggy bits to get crispy. Some apples might peek through, and that’s perfect.
- Bake. Place the pan on the middle rack and bake for 35-40 minutes. The bars are done when the topping is golden brown and the apple filling is bubbly around the edges. Your kitchen will smell like a fall candle, but better.
- Cool completely. This is the hardest step. Let the bars cool in the pan on a wire rack for at least 2 hours. If you cut them while they’re warm, the filling will run everywhere. I learned this the hard way—my first batch looked like apple soup. Patience pays off here.
- Cut and serve. Once completely cool, use the parchment overhang to lift the entire block out of the pan. Place on a cutting board and slice into 12-16 bars using a sharp knife. Wipe the knife clean between cuts for neat edges.
Cooking Tips & Techniques
After making these bars more times than I’d like to admit, I’ve collected a few tricks that make a real difference.
Keep everything cold. The butter, the apples, even your hands if possible. Cold butter creates steam pockets as it bakes, which makes the crumble light and tender. If the butter softens while you’re working, pop the bowl in the fridge for 10 minutes.
Don’t skip the cornstarch. I once thought I could get away with using flour instead. Big mistake. The filling turned into apple-flavored pudding. Cornstarch gives you that perfect, jammy consistency that holds the bars together.
Use a mix of apple varieties. Granny Smith alone works great, but combining them with a sweeter apple like Fuji or Gala adds complexity. The tart apples hold their shape, while the sweet ones break down slightly, creating a more interesting texture.
Watch the caramel. Caramel burns fast. I ruined my first batch by walking away to answer a text. Stay at the stove, stir constantly, and the moment it’s smooth, take it off the heat.
Test for doneness. The topping should be deep golden brown, and you should see bubbles around the edges of the pan. If the topping browns too quickly but the apples aren’t bubbling, tent the pan loosely with foil for the last 10 minutes of baking.
Variations & Adaptations
These bars are wonderfully adaptable. Here are some variations I’ve tried and loved:
Apple Pear Crumble Bars
Replace two of the apples with firm, ripe pears (Bosc or Anjou work well). The pears add a delicate sweetness and a slightly different texture. No need to adjust the sugar—the pears are sweet enough on their own.
Gluten-Free Version
Use a 1:1 gluten-free flour blend and certified gluten-free oats. I’ve had great results with Bob’s Red Mill Gluten-Free 1-to-1 Baking Flour. The texture is slightly more delicate, so let the bars cool completely before cutting.
Vegan Caramel Apple Crumble Bars
Replace the butter with cold coconut oil or vegan butter (I like Miyoko’s). Use full-fat coconut cream instead of heavy cream, and check that your caramel candies are vegan—some brands use dairy. The bars will be a bit less buttery but still delicious.
Nutty Crumble
Add ½ cup of chopped pecans or walnuts to the reserved crumble topping. Toast them first for extra flavor—just 5 minutes in a dry pan over medium heat, stirring constantly.
Slow Cooker Version
Layer everything directly in a slow cooker (no pre-baking the crust). Cook on low for 3-4 hours or high for 1.5-2 hours. Remove the lid for the last 30 minutes to let the topping crisp up. The texture is softer, more like a cobbler, but the flavor is spot-on.
Serving & Storage Suggestions
These bars are incredible warm, but they need to cool completely first. Trust me on this. Once they’ve set, you can gently reheat individual servings in the microwave for 15-20 seconds if you want that warm-from-the-oven experience.
Serving ideas: A scoop of vanilla ice cream is the classic pairing, and for good reason—the cold creaminess balances the warm spiced apples. A drizzle of extra caramel sauce and a sprinkle of flaky sea salt takes them over the top. For a breakfast treat (no judgment), they’re amazing with a cup of strong coffee.
Storage: Keep the bars in an airtight container at room temperature for up to 3 days. Layer them with parchment paper between the bars to prevent sticking. For longer storage, refrigerate for up to a week—the bars will firm up, but they soften again at room temperature.
Freezing instructions: These bars freeze beautifully. Wrap individual bars tightly in plastic wrap, then place them in a freezer-safe bag or container. They’ll keep for up to 3 months. To thaw, leave them at room temperature for about an hour, or pop a frozen bar in the microwave for 30-40 seconds.
The flavors actually get better after a day or two. The apple filling continues to meld with the caramel, and the crumble softens slightly, making every bite more cohesive. If you can resist eating them all on day one, you’re in for a treat on day three.
Nutritional Information & Benefits
These are dessert bars, so let’s be real—they’re not health food. But knowing what’s in them helps with mindful indulgence. Per bar (based on 16 servings): approximately 320 calories, 14g fat, 48g carbohydrates, 3g fiber, 28g sugar, and 4g protein.
The apples bring some redeeming qualities. They’re a good source of fiber and vitamin C, especially if you leave the peels on (though they’re peeled here for texture). The oats provide soluble fiber, which is good for heart health. And honestly, a homemade dessert made with real ingredients is always better than anything processed.
Dietary considerations: This recipe contains gluten and dairy. For gluten-free and vegan options, see the variations section above. The caramel candies typically contain dairy, so check labels if that’s a concern.
My personal take? Life is short. Eat the bar. Pair it with a walk outside to enjoy the fall leaves, and call it balance.
Frequently Asked Questions
Can I use pre-made caramel sauce instead of melting caramels?
You can, but the texture will be different. Jarred caramel sauce is thinner and won’t create those gooey pockets of caramel. If you use it, reduce the amount to about ½ cup and expect a more spread-out caramel layer. The bars will still taste great, just less decadent.
Why did my bars turn out soggy?
This usually happens for one of two reasons: the apples released too much liquid, or the bars weren’t baked long enough. Make sure you’re using the right apple variety (firm, tart apples hold up best) and don’t skip the cornstarch. Also, let the bars cool completely—they firm up as they cool.
Can I make these bars ahead of time?
Absolutely. These are actually better the next day. Bake them a day ahead, let them cool completely, and store them covered at room temperature. They’ll be perfectly set and even more flavorful. You can also freeze them for up to 3 months.
What’s the best way to cut clean bars?
Use a sharp, straight-edged knife and wipe it clean between each cut. For the neatest results, chill the fully cooled bars in the refrigerator for 30 minutes before cutting. This firms up the caramel and makes slicing much easier.
Can I use quick oats instead of rolled oats?
I don’t recommend it. Quick oats are more finely chopped and will absorb too much moisture, resulting in a dense, mushy topping. Rolled oats give you that chewy, textured crumble that makes these bars so good. Stick with old-fashioned rolled oats for the best results.
Conclusion
These easy caramel apple crumble bars are everything I love about fall baking—warm, spiced, buttery, and completely unfussy. They came from a simple question and a willingness to try something different, and now they’re a staple in my kitchen every autumn.
What I love most is how adaptable they are. Swap the apples for pears, add nuts, make them gluten-free, or double the caramel (I won’t tell). The recipe is forgiving, and the results are always crowd-pleasing. That’s the kind of recipe worth holding onto.
I’d love to hear how these turn out for you. Did you try a variation? Did your family fight over the last piece? Drop a comment below and let me know. And if you’re looking for more easy fall desserts, my cinnamon sugar baked apples are another weeknight favorite that comes together in minutes.
Happy baking, friends. May your kitchen smell like apples and cinnamon, and may you always save the corner piece for yourself.
Pin This Recipe!
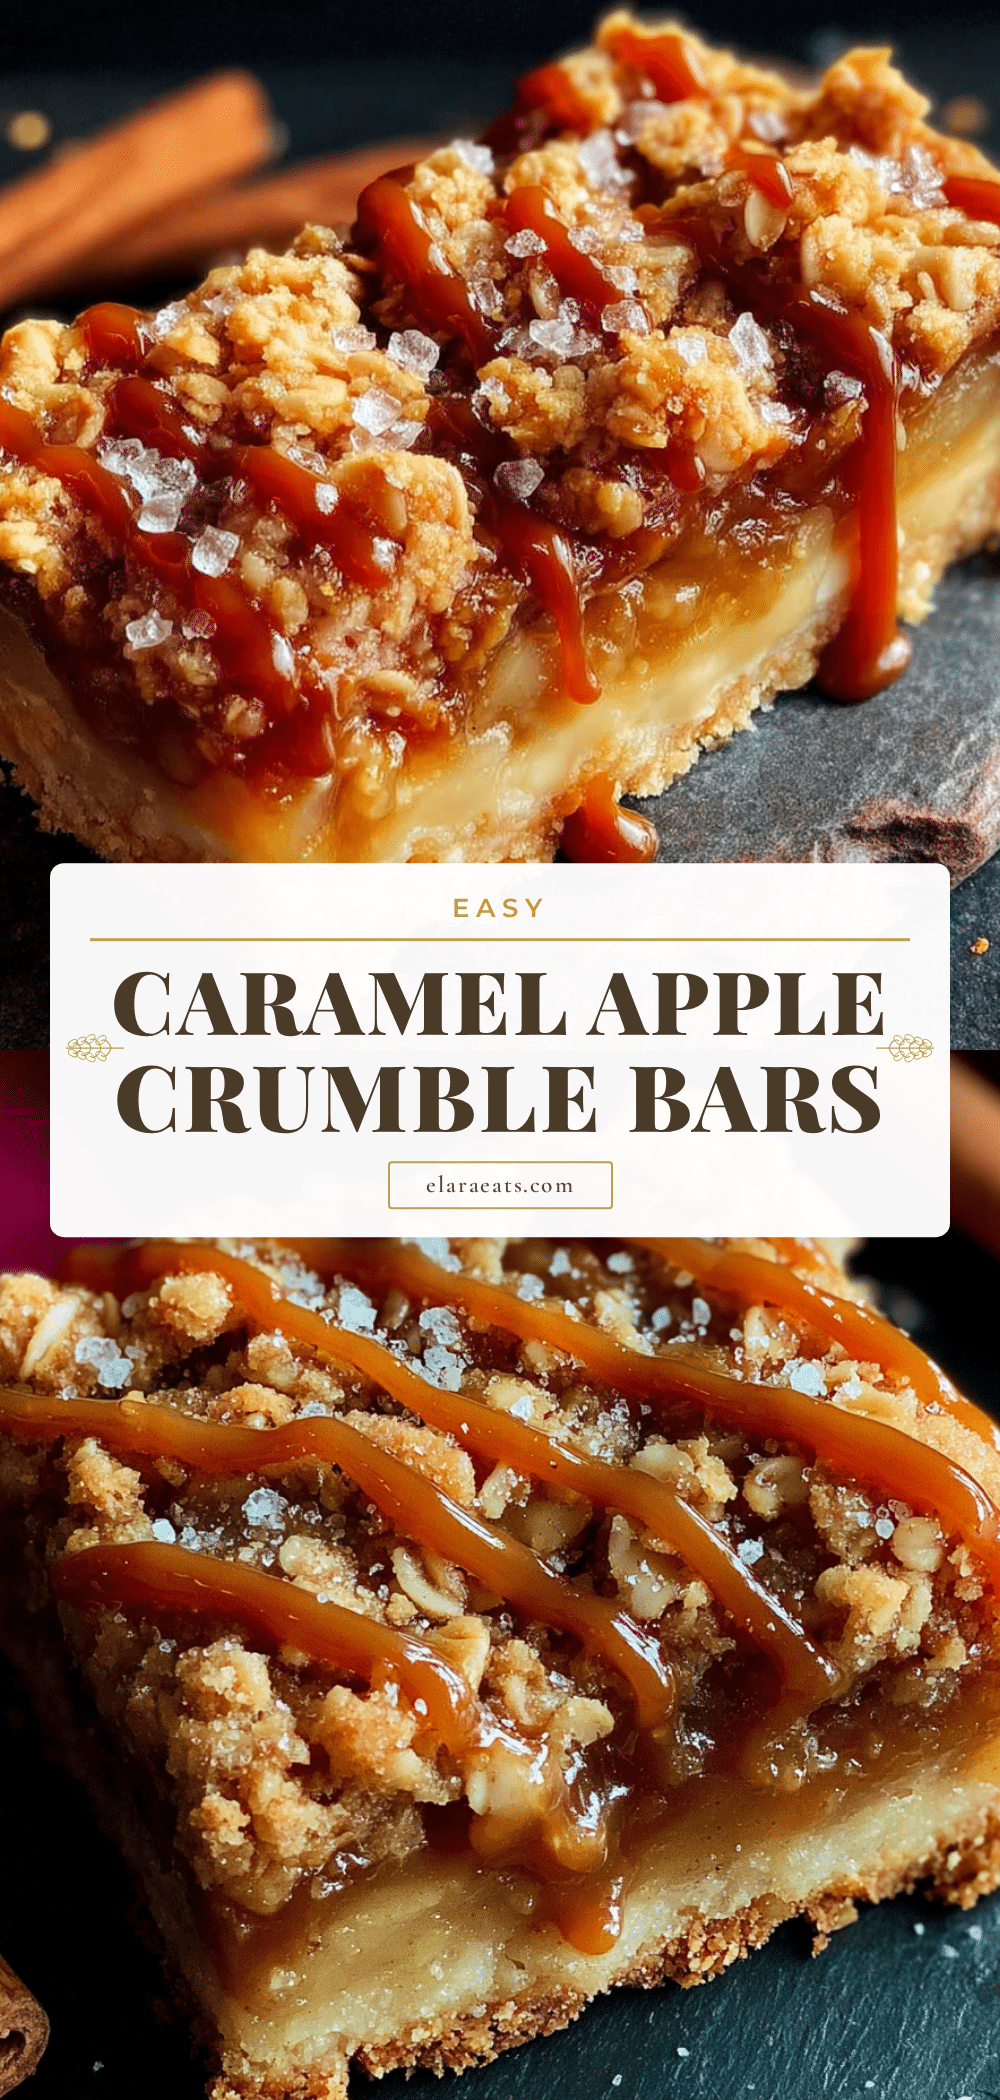
Easy Caramel Apple Crumble Bars: The Best Fall Dessert
These easy caramel apple crumble bars are the ultimate fall dessert—a buttery shortbread base, soft spiced apples, crunchy oat topping, and a ribbon of homemade caramel. They come together in under 20 minutes of active work and are perfect for weeknight cravings or holiday gatherings.
- Prep Time: 20 minutes
- Cook Time: 35-40 minutes
- Total Time: 2 hours 55 minutes (including cooling)
- Yield: 12-16 servings 1x
- Category: Dessert
- Cuisine: American
Ingredients
- 2 cups (240g) all-purpose flour
- 1 ½ cups (135g) old-fashioned rolled oats
- 1 cup (200g) light brown sugar, packed
- 1 cup (226g) unsalted butter, cold and cut into small cubes
- 1 teaspoon ground cinnamon
- ½ teaspoon salt
- 4 medium (about 600g) apples (Granny Smith, Honeycrisp, or Braeburn), peeled, cored, and diced into ½-inch pieces
- ¼ cup (50g) granulated sugar
- 2 tablespoons cornstarch
- 1 tablespoon lemon juice
- 1 teaspoon ground cinnamon
- ¼ teaspoon ground nutmeg
- 1 cup (about 20–25 unwrapped caramels) soft caramel candies
- 3 tablespoons (45ml) heavy cream
Instructions
- Preheat oven to 350°F (175°C). Line a 9×13-inch baking pan with parchment paper, leaving a 2-inch overhang on the long sides.
- Make the crumble mixture: In a large bowl, whisk together flour, oats, brown sugar, cinnamon, and salt. Add cold butter cubes. Using a pastry cutter or your fingertips, work the butter into the dry ingredients until the mixture looks like coarse sand with some pea-sized butter pieces remaining. Set aside 1 ½ cups of this mixture for the topping.
- Press the base: Dump the remaining crumble mixture into the prepared pan. Press it down firmly and evenly. Bake for 12 minutes, until lightly golden and set. Set aside to cool slightly.
- Prepare the apples: In a medium bowl, toss diced apples with granulated sugar, cornstarch, lemon juice, cinnamon, and nutmeg until evenly coated.
- Make the caramel sauce: In a small saucepan over low heat, combine caramel candies and heavy cream. Stir constantly until completely melted and smooth, about 5 minutes. Remove from heat.
- Layer the filling: Spread the apple mixture evenly over the pre-baked crust. Drizzle the melted caramel over the apples.
- Add the topping: Sprinkle the reserved crumble mixture evenly over the apples and caramel. Do not press down.
- Bake: Place pan on the middle rack and bake for 35-40 minutes, until topping is golden brown and apple filling is bubbly around the edges.
- Cool completely: Let bars cool in the pan on a wire rack for at least 2 hours before cutting.
- Cut and serve: Use parchment overhang to lift the entire block out of the pan. Place on a cutting board and slice into 12-16 bars using a sharp knife, wiping clean between cuts.
Notes
Keep butter and apples cold for best texture. Don’t skip the cornstarch—it prevents a runny filling. Let bars cool completely before cutting to avoid the filling running. For gluten-free, use a 1:1 gluten-free flour blend and certified gluten-free oats. For dairy-free, use cold coconut oil instead of butter and full-fat coconut cream instead of heavy cream. Bars can be stored in an airtight container at room temperature for up to 3 days, refrigerated for up to a week, or frozen for up to 3 months.
Nutrition
- Serving Size: 1 bar (based on 16 s
- Calories: 320
- Sugar: 28
- Sodium: 180
- Fat: 14
- Saturated Fat: 8
- Carbohydrates: 48
- Fiber: 3
- Protein: 4
Keywords: caramel apple crumble bars, apple dessert, fall dessert, easy apple bars, crumble bars, apple crumble, caramel apple


