Love this? Save it for later!
Share the inspiration with your friends
I was hauling a too-heavy box of canning jars out of the back of my car when my accountant, Mr. Henderson, appeared from the house next door. He was holding a foil-wrapped baking dish and a pair of those oven mitts shaped like cow heads. “You look like you need this more than I do,” he said, thrusting it into my free hand. I had lived next to him for three years, and our conversations had never gone beyond a wave over the fence or a nod about the weather. But there I was, sweating in my driveway, holding a warm dish that smelled like brown butter and cinnamon.
I didn’t even know he could cook. Honestly, I had him pegged as a frozen-dinner-and-golf-on-Sunday kind of guy. But that first bite of his apple crisp—with the deep, nutty flavor of browned butter running through a crumbly oat topping—made me question everything I thought I knew about my neighbors. The apples were soft but not mushy, the topping was crunchy without being hard, and there was this warmth that went deeper than just the temperature. I asked him for the recipe right there on the driveway, and he laughed. “It’s the brown butter,” he said. “Changes everything.”
I didn’t believe him at first. I mean, brown butter is just melted butter that you cook a little longer, right? But after making this Easy Brown Butter Apple Crisp with Oat Crumble maybe a dozen times since that afternoon, I get it now. That extra step—letting the butter foam and turn golden and smell like toasted nuts—it adds a richness you can’t get any other way. Maybe you’ve been there, standing over a pan of apples, wondering if you should just stick with the same old crisp recipe. Trust me on this one. This is the one that stuck with me, and it’s the one I keep making every single fall.
Why You’ll Love This Recipe
This isn’t just another apple crisp recipe. I’ve tested this one more times than I care to admit—burned several batches of butter, used the wrong apples once (don’t use Red Delicious, seriously), and even forgot the oats entirely one time. But every single version I’ve made since Mr. Henderson handed me that dish has been a hit. Here is why this one works so well for busy weeknights and lazy weekends alike:
- Quick & Easy: From start to table in about 45 minutes, with only 10 minutes of active prep time. The oven does most of the work for you.
- Simple Ingredients: You probably already have apples, butter, oats, flour, and sugar in your kitchen. No fancy extracts or hard-to-find spices required.
- Perfect for Weeknights: This is the kind of dessert you can throw together after dinner while you’re still clearing the plates. It bakes while you do the dishes.
- Crowd-Pleaser: I have served this to kids, grandparents, and picky eaters who “don’t do cooked fruit.” It disappears every time.
- Unbelievably Delicious: The brown butter adds this toasty, almost caramel-like flavor that regular butter just cannot match. It takes a simple dessert and makes it taste like you spent hours in the kitchen.
What makes this recipe different from the rest is that brown butter step. Most apple crisp recipes just melt the butter and mix it in. But by browning it first, you unlock a whole new layer of flavor. It is comfort food reimagined—faster than a pie, simpler than a cobbler, but with the same soul-soothing satisfaction. Perfect for impressing guests without stress, or turning a regular Tuesday night into something a little bit special.
What Ingredients You Will Need
This recipe uses simple, wholesome ingredients to deliver bold flavor and satisfying texture without the fuss. Most of these are pantry staples, which makes this perfect for those evenings when you need dessert but don’t want to make a grocery run.
For the Apple Filling
- 6 medium apples (about 2 pounds), peeled, cored, and sliced into 1/4-inch thick pieces (I prefer Honeycrisp or Granny Smith for the best texture and flavor balance)
- 1/4 cup granulated sugar (adds sweetness without overpowering the apples)
- 2 tablespoons all-purpose flour (helps thicken the juices as the apples bake)
- 1 teaspoon ground cinnamon (the classic warming spice for apple desserts)
- 1/4 teaspoon ground nutmeg (freshly grated if you have it—it makes a difference)
- 1 tablespoon lemon juice (keeps the apples from browning and brightens the flavor)
For the Oat Crumble Topping
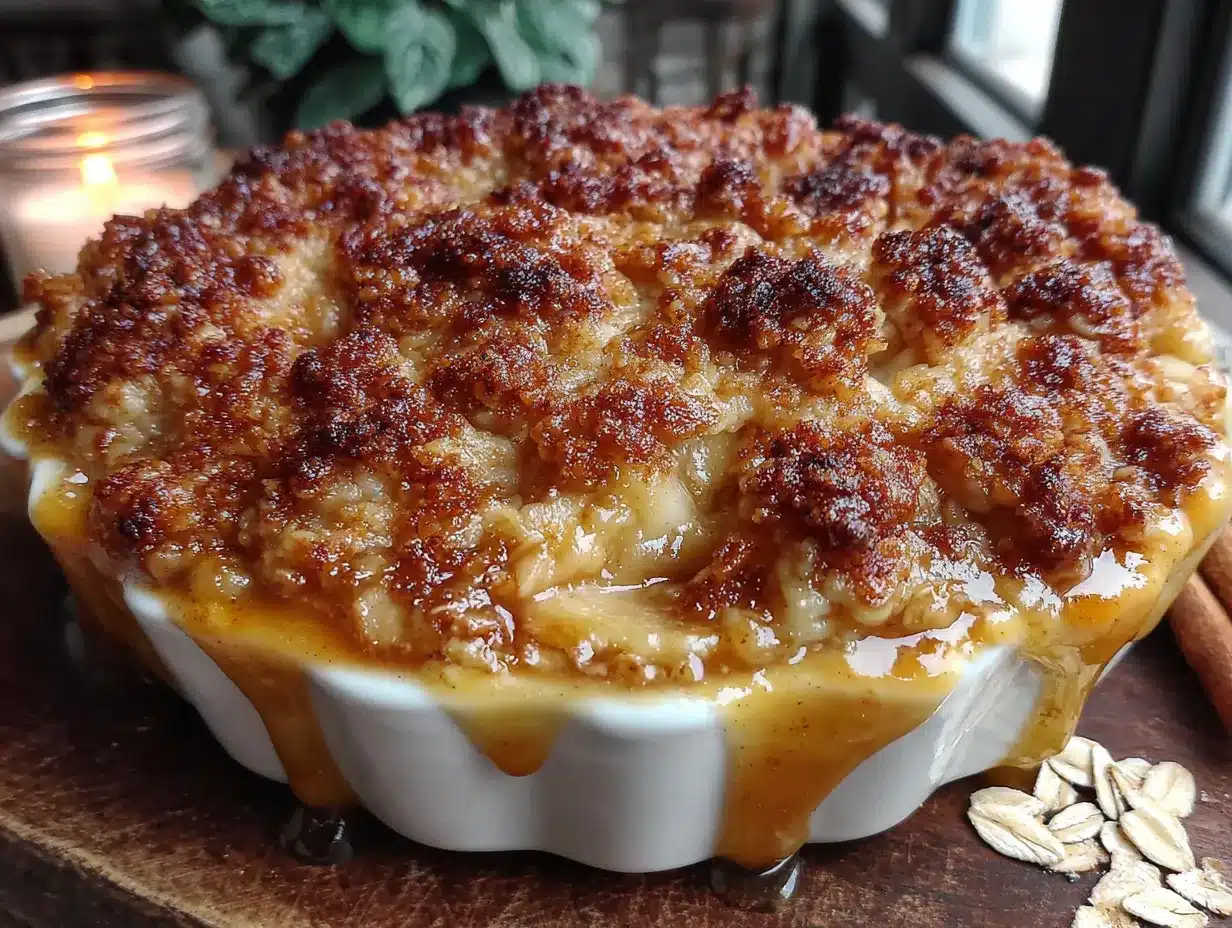
- 1/2 cup unsalted butter (you will brown this first—this is the secret ingredient)
- 3/4 cup old-fashioned rolled oats (not quick oats, they get too mushy; I recommend Bob’s Red Mill for the best texture)
- 1/2 cup all-purpose flour (or use oat flour for a gluten-free option)
- 1/2 cup packed brown sugar (light or dark both work; dark gives a deeper molasses flavor)
- 1/4 teaspoon salt (balances the sweetness and enhances the nutty flavor of the brown butter)
- 1/2 teaspoon ground cinnamon (for extra warmth in the topping)
Substitution Notes
If you need a gluten-free version, swap the all-purpose flour in both the filling and topping with a 1:1 gluten-free baking blend. Use certified gluten-free oats as well. For a dairy-free option, you can use plant-based butter, but keep in mind it browns a little differently and may not get as nutty. I have tried it with coconut oil too—it works, but you lose that brown butter magic. Honestly, if you can tolerate dairy, stick with the real butter for this one. It is worth it.
Equipment Needed
You do not need a lot of fancy equipment for this recipe, which is part of why I love it. Here is what you will need:
- 8×8-inch baking dish (or a 9-inch pie plate works too; just keep an eye on baking time)
- Medium saucepan (for browning the butter—use a light-colored pan so you can see the color change)
- Large mixing bowl (for the apple filling)
- Medium mixing bowl (for the oat crumble)
- Sharp knife and cutting board (for peeling and slicing the apples)
- Wooden spoon or silicone spatula (for stirring the butter as it browns)
- Measuring cups and spoons
- Vegetable peeler (unless you are a pro with a knife—I am not)
If you do not have an 8×8 dish, you can use a cast-iron skillet for a rustic look. I have done it many times, and it works beautifully. Just make sure the skillet is oven-safe. Also, if you do not have a light-colored saucepan for browning butter, just watch it carefully—dark pans make it harder to see when the butter is done, and you might end up with burnt butter. I learned that one the hard way, let me tell you.
Preparation Method
Preheat your oven to 375°F (190°C). This gives it time to come to temperature while you prep everything.
- Brown the butter. Place the 1/2 cup of unsalted butter in a medium saucepan over medium heat. Let it melt completely, then continue cooking, stirring occasionally with a wooden spoon. The butter will foam, then bubble, then start to turn golden. Watch it carefully—once you see brown specks forming at the bottom and it smells nutty and toasty, remove it from the heat immediately. This usually takes about 5-7 minutes. Pour it into a heat-safe bowl to stop the cooking process. Do not walk away from the pan. I burned my first batch answering a text message, and the smell of burnt butter is not pleasant.
- Prepare the apples. While the butter cools slightly, peel, core, and slice your apples into 1/4-inch thick pieces. I like to slice them evenly so they cook at the same rate. Place the sliced apples in a large mixing bowl and toss them with the lemon juice right away to prevent browning.
- Make the filling. Add the granulated sugar, 2 tablespoons flour, 1 teaspoon cinnamon, and 1/4 teaspoon nutmeg to the apples. Toss everything together until the apples are evenly coated. The flour will help thicken the juices as they bake, so do not skip it. Pour the apple mixture into your greased 8×8 baking dish and spread it into an even layer.
- Make the oat crumble. In a medium bowl, combine the rolled oats, 1/2 cup flour, packed brown sugar, 1/4 teaspoon salt, and 1/2 teaspoon cinnamon. Stir with a fork until everything is mixed together. Pour the browned butter over the dry ingredients and stir until the mixture looks like wet sand with some clumps. You want some bigger clumps for texture—do not overmix it into a paste.
- Assemble the crisp. Sprinkle the oat crumble evenly over the apples. Do not press it down—let it sit loosely on top so it gets crispy as it bakes. Some of the apple filling might peek through, and that is perfectly fine.
- Bake. Place the dish on a baking sheet to catch any drips (trust me on this one) and bake for 35-40 minutes. The topping should be golden brown and the apples should be bubbling around the edges. If the topping is browning too quickly but the apples are not done, tent the dish loosely with foil for the last 10 minutes.
- Cool slightly before serving. Let the crisp rest for at least 10-15 minutes after it comes out of the oven. This allows the juices to thicken up a bit. If you serve it too hot, it will be runny. I know it is tempting, but patience pays off here.
Cooking Tips & Techniques
I have made this Easy Brown Butter Apple Crisp with Oat Crumble more times than I can count, and I have definitely made my share of mistakes along the way. Here are the things I wish someone had told me the first time:
- Watch the butter like a hawk. Brown butter goes from perfect to burnt in about 30 seconds. Swirl the pan constantly once it starts foaming. The color change happens fast. If you see black specks instead of brown, you have gone too far. Start over—it is worth it.
- Use a mix of apple varieties. I like using Honeycrisp for sweetness and Granny Smith for tartness. The combination gives you a more complex flavor. If you only use sweet apples, the crisp can taste one-dimensional. If you only use tart apples, you will need extra sugar.
- Do not skip the lemon juice. I know it seems like a small thing, but it does two important jobs: it keeps the apples from turning brown while you prep, and it adds a brightness that balances the sweetness. Your crisp will taste flat without it.
- Let the crisp rest. I cannot stress this enough. The first time I made this, I served it straight out of the oven and ended up with apple soup on everyone’s plates. Giving it 15 minutes to cool allows the juices to thicken into a lovely syrup instead of a puddle.
- Make extra topping. Honestly, the crumble is the best part. I often make 1.5 times the topping recipe because everyone fights over the crispy bits. Just spread it a little thicker and add 5 minutes to the baking time.
Variations & Adaptations
One of the best things about this recipe is how easy it is to change up. Here are some variations I have tried and loved:
- Add some crunch. Toss 1/2 cup of chopped pecans or walnuts into the oat crumble before baking. The nuts toast in the oven and add a wonderful texture. I do this almost every time in the fall.
- Mix in some berries. Add 1 cup of fresh or frozen cranberries to the apple filling for a tart twist. If using frozen berries, add 5 minutes to the baking time. This is my go-to for Thanksgiving.
- Go gluten-free. Swap the all-purpose flour with a 1:1 gluten-free baking blend and use certified gluten-free oats. I have tested this version, and it works beautifully. The texture is slightly different but still delicious.
- Make it dairy-free. Use plant-based butter for browning. It does not brown quite the same way, so add a teaspoon of coconut oil to help it along. The flavor will be different, but it is still a solid dessert.
- Try different fruits. This topping works wonderfully with pears, peaches, or even plums. Just adjust the sugar based on the sweetness of the fruit. For pears, use the same amount of sugar. For peaches in season, reduce the sugar by a tablespoon.
Serving & Storage Suggestions
This crisp is best served warm, with the topping still crispy and the apples soft and tender. Here is how I like to serve it and store it:
- Serving temperature: Warm, after resting for 15 minutes. It is also delicious at room temperature the next day, but the topping will not be as crunchy.
- Toppings: A scoop of vanilla ice cream is the classic choice, but I also love it with a drizzle of heavy cream or a dollop of whipped cream. For a fancy touch, add a sprinkle of flaky sea salt on top—it really brings out the brown butter flavor.
- Storage: Cover the dish tightly with foil or transfer leftovers to an airtight container. It will keep in the refrigerator for up to 4 days. The topping will soften over time, but the flavor gets even better as the apples sit in their juices.
- Reheating: To bring back some of the crunch, reheat individual portions in a 350°F oven for 10 minutes, or in an air fryer at 325°F for 5 minutes. The microwave works in a pinch, but the topping will be soft.
- Freezing: You can freeze the unbaked crisp for up to 3 months. Assemble it in a freezer-safe dish, wrap tightly with plastic wrap and foil, and bake directly from frozen. Add 15-20 minutes to the baking time. Baked crisp also freezes well, but the texture will be softer after thawing.
Nutritional Information & Benefits
This is dessert, so I am not going to pretend it is health food. But it does have some redeeming qualities worth mentioning:
- Estimated per serving (serves 8): 320 calories, 14g fat, 48g carbohydrates, 3g fiber, 3g protein. These values will vary based on your specific ingredients and apple variety.
- Apples are a good source of fiber and vitamin C, especially if you leave the peel on (though I usually peel mine for texture).
- Oats provide soluble fiber, which is great for heart health and keeping you full.
- Brown butter adds a concentrated flavor, meaning you can use less overall butter than some recipes call for while still getting a rich taste.
- Dietary considerations: This recipe can be made gluten-free and dairy-free with the substitutions listed above. It is naturally vegetarian and contains no eggs.
From my perspective, this is a dessert that feels indulgent but uses real, whole ingredients. There are no artificial flavors or preservatives here—just butter, oats, apples, and a little sugar. That is something I can feel good about serving to my family.
Conclusion
Every time I make this Easy Brown Butter Apple Crisp with Oat Crumble, I think about Mr. Henderson standing in my driveway with that foil-wrapped dish. I never would have guessed that my quiet, golf-loving neighbor had this kind of culinary magic up his sleeve. But that is the thing about good recipes—they show up when you least expect them, from people you never expected them from.
This recipe is worth trying because it is simple enough for a Tuesday night but impressive enough for company. The brown butter adds a depth of flavor that makes people ask, “What did you do to this? It tastes amazing!” And you can smile and tell them it is just butter—butter that you took the time to brown. That little extra step makes all the difference.
I would love to hear how this turns out for you. Did you add nuts? Try it with pears? Forget to watch the butter and have to start over? Drop a comment below and let me know. And if you have a recipe that came from an unexpected source, I would love to hear that story too. Until next time, happy baking!
Frequently Asked Questions
Can I use quick oats instead of old-fashioned rolled oats?
You can, but I do not recommend it. Quick oats are cut into smaller pieces and will absorb more moisture, resulting in a softer, less crunchy topping. Old-fashioned rolled oats give the crumble that wonderful texture that makes this crisp so satisfying. If quick oats are all you have, reduce the butter by one tablespoon to keep the topping from getting too dense.
Do I have to peel the apples?
Not necessarily, but I recommend it for this recipe. The peels can become tough and chewy during baking, and they prevent the apples from breaking down into that soft, tender texture you want in a crisp. If you are short on time or want extra fiber, you can leave the peels on—just make sure to slice the apples very thin so the peels soften more easily.
Why did my topping turn out soggy?
Soggy topping usually means one of two things: either the apples released too much liquid (which can happen if you used very juicy apple varieties like McIntosh), or the topping was pressed down too firmly onto the apples. Make sure to sprinkle the topping loosely over the filling, and let the crisp rest after baking so the juices have time to thicken. If you consistently have this problem, try adding an extra tablespoon of flour to the apple mixture.
Can I make this ahead of time?
Absolutely! You can assemble the entire crisp up to 24 hours in advance, cover it, and keep it in the refrigerator. When you are ready to bake, add about 10 minutes to the baking time since you are starting from cold. You can also brown the butter and prep the apples a day ahead—just store the apples in a bowl of water with a squeeze of lemon juice to keep them from browning.
What is the best apple for apple crisp?
I have tested this with many varieties, and my top picks are Honeycrisp, Granny Smith, and Braeburn. Honeycrisp holds its shape well and has a nice sweetness. Granny Smith provides a tart contrast that balances the sweet topping. A mix of the two gives you the best of both worlds. Avoid Red Delicious and Gala—they break down too quickly and can turn mushy.
Pin This Recipe!
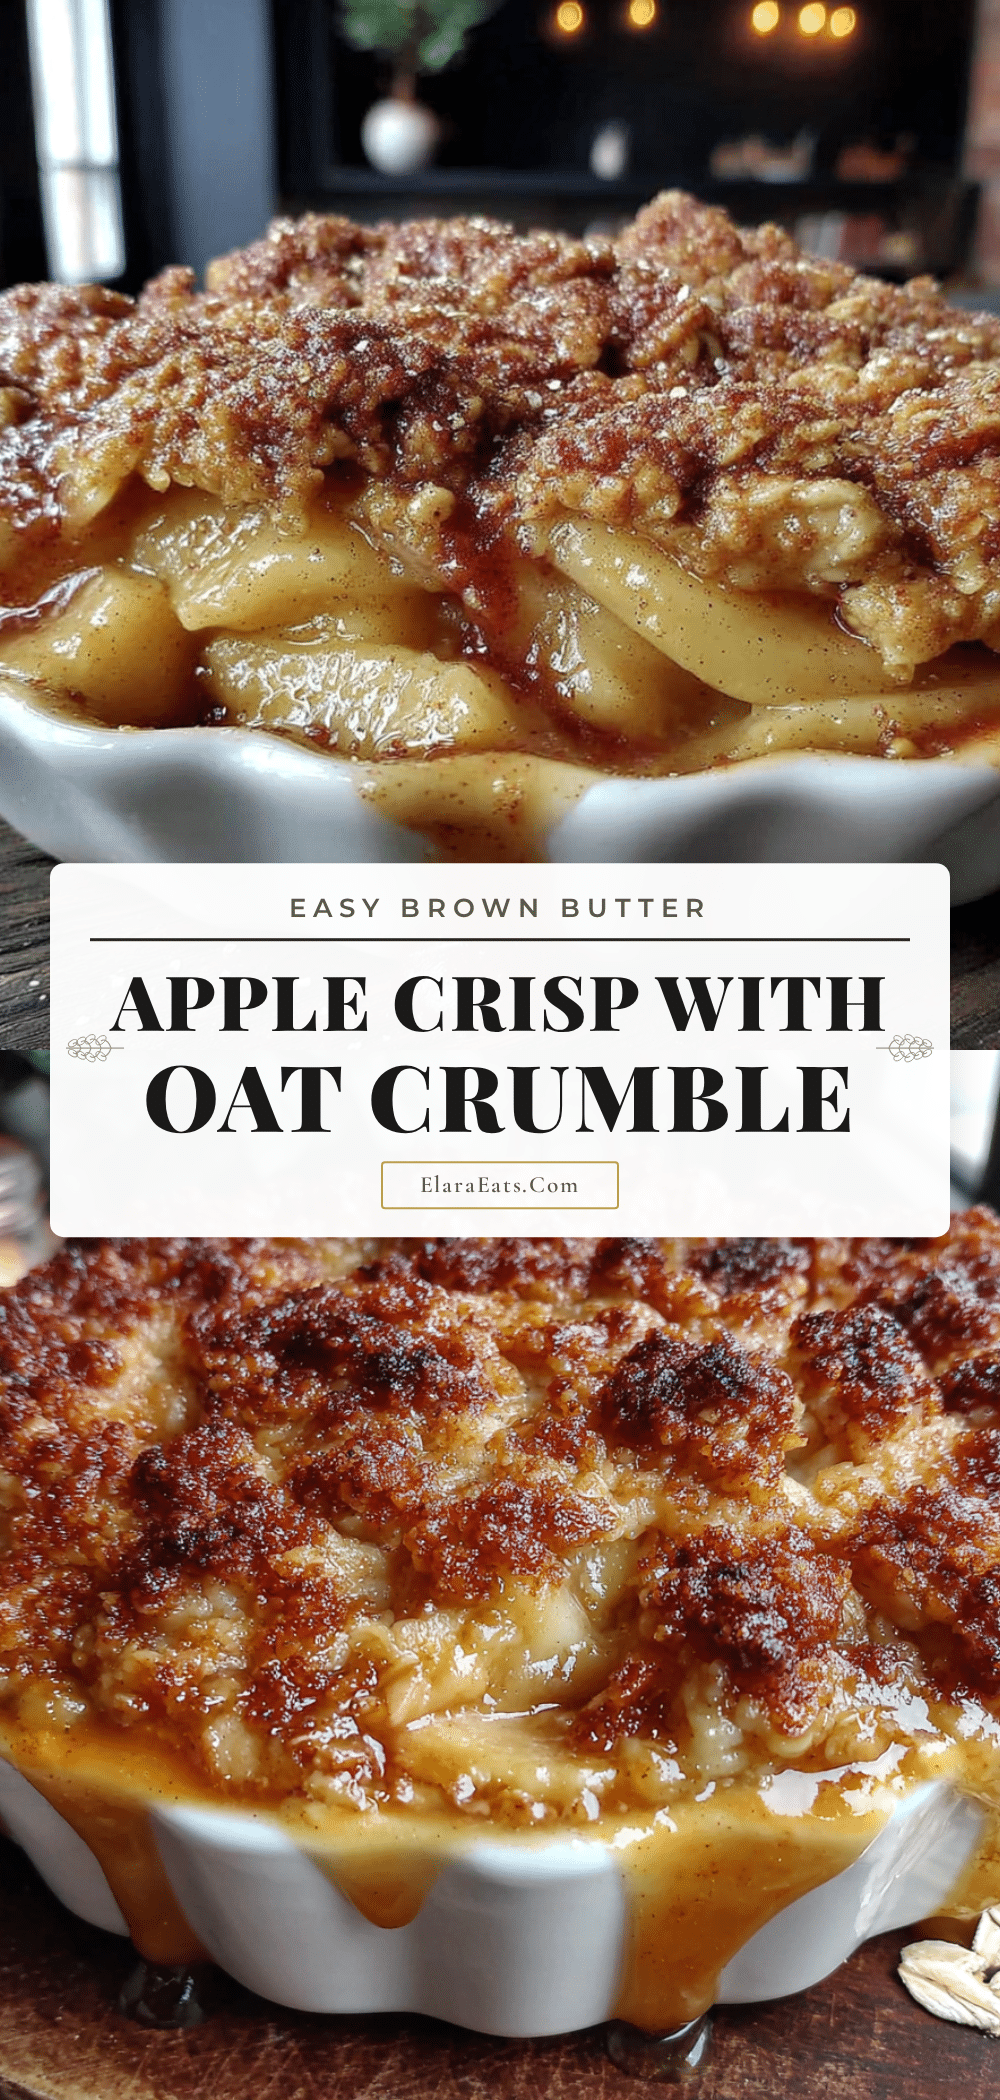
Easy Brown Butter Apple Crisp with Oat Crumble Recipe

This easy apple crisp features a nutty brown butter oat crumble topping over tender, spiced apples. It’s a quick and delicious dessert perfect for weeknights or special occasions.
- Prep Time: 10 minutes
- Cook Time: 35-40 minutes
- Total Time: 45-50 minutes
- Yield: 8 servings 1x
- Category: Dessert
- Cuisine: American
Ingredients
- 6 medium apples (about 2 pounds), peeled, cored, and sliced into 1/4-inch thick pieces (Honeycrisp or Granny Smith recommended)
- 1/4 cup granulated sugar
- 2 tablespoons all-purpose flour
- 1 teaspoon ground cinnamon
- 1/4 teaspoon ground nutmeg
- 1 tablespoon lemon juice
- 1/2 cup unsalted butter
- 3/4 cup old-fashioned rolled oats
- 1/2 cup all-purpose flour
- 1/2 cup packed brown sugar (light or dark)
- 1/4 teaspoon salt
- 1/2 teaspoon ground cinnamon
Instructions
- Preheat oven to 375°F (190°C).
- Brown the butter: Place 1/2 cup unsalted butter in a medium saucepan over medium heat. Melt completely, then continue cooking, stirring occasionally, until it foams, bubbles, turns golden, and smells nutty (about 5-7 minutes). Remove from heat immediately and pour into a heat-safe bowl to stop cooking.
- Prepare the apples: While butter cools, peel, core, and slice apples into 1/4-inch thick pieces. Toss with lemon juice in a large bowl to prevent browning.
- Make the filling: Add granulated sugar, 2 tablespoons flour, 1 teaspoon cinnamon, and 1/4 teaspoon nutmeg to the apples. Toss until evenly coated. Pour into a greased 8×8-inch baking dish and spread evenly.
- Make the oat crumble: In a medium bowl, combine rolled oats, 1/2 cup flour, brown sugar, 1/4 teaspoon salt, and 1/2 teaspoon cinnamon. Stir with a fork. Pour browned butter over dry ingredients and stir until mixture resembles wet sand with some clumps.
- Assemble the crisp: Sprinkle oat crumble evenly over apples. Do not press down.
- Bake: Place dish on a baking sheet and bake for 35-40 minutes, until topping is golden brown and apples are bubbling around the edges. If topping browns too quickly, tent loosely with foil for last 10 minutes.
- Cool slightly: Let crisp rest for at least 10-15 minutes before serving to allow juices to thicken.
Notes
Watch the butter carefully as it browns; it can go from perfect to burnt in 30 seconds. Use a mix of apple varieties for best flavor. Let the crisp rest before serving to avoid runny juices. For extra crunch, add 1/2 cup chopped pecans or walnuts to the topping.
Nutrition
- Serving Size: 1 serving
- Calories: 320
- Sugar: 30
- Sodium: 150
- Fat: 14
- Saturated Fat: 8
- Carbohydrates: 48
- Fiber: 3
- Protein: 3
Keywords: apple crisp, brown butter, oat crumble, easy dessert, fall dessert, apple dessert


