Love this? Save it for later!
Share the inspiration with your friends
I was standing in line at the hardware store, of all places, holding a bag of lightbulbs and a new drill bit, when the man in front of me turned around and asked if I liked crispy chicken skin. He was wearing a paint-splattered flannel and had the patient, weathered look of someone who fixes things for a living. His name was Frank, the local plumber, and he had just spent thirty minutes describing the exact method for getting air fryer chicken thighs so crunchy they “sounded like stepping on autumn leaves.” I mean, who gets cooking advice from a plumber named Frank in the lighting aisle? Honestly, it was the last place I expected to find dinner inspiration, but there I was, nodding along while he drew diagrams on the back of a receipt.
Frank’s secret, it turned out, wasn’t complicated at all. It was about patting the chicken dry with paper towels until your hands hurt, then letting the skin sit uncovered in the fridge for an hour. He called it “the waiting game.” I almost forgot his instructions by the time I got home, but something about that crispy air fryer chicken thighs image stuck in my head. That night, I tried it with a simple garlic butter sauce, and let me tell you, the sound of that first bite was exactly what Frank promised. Maybe you’ve been there—chasing that perfect crunch without deep frying, wondering if it’s even possible. It is, and it starts with a plumber named Frank.
Why You’ll Love This Recipe
These crispy air fryer chicken thighs with garlic butter are the kind of recipe that makes you feel like a kitchen genius without actually working hard. I’ve tested this method at least a dozen times, tweaking temperatures and timing, and this version is the one that delivers every single time. Here’s why it works:
- Quick & Easy: From start to finish, you are looking at about 20 minutes of active time. The air fryer does all the heavy lifting while you prep a quick salad or steam some veggies.
- Simple Ingredients: Chicken thighs, garlic, butter, salt, pepper, and a few pantry staples. No weird grocery store hunts or expensive specialty oils.
- Perfect for Busy Weeknights: This is my go-to when I have zero energy but still want something that feels like a real dinner. It’s also great for meal prep since the chicken reheats beautifully.
- Crowd-Pleaser: I have served these to picky eaters, health-conscious friends, and my dad who swears by fried chicken. Everyone goes quiet after the first bite, which is the highest compliment.
- Unbelievably Delicious: The skin gets shatteringly crisp while the meat stays juicy and tender. The garlic butter pools in the crevices and creates this savory, golden crust that is next-level comfort food.
What makes this recipe different from the rest is the two-step drying process and the timing of the garlic butter. Most recipes brush the butter on before cooking, which makes the skin soggy. Here, you add it at the very end, letting the heat melt it into the crispy crevices without ruining the crunch. It’s a small tweak that changes everything. Honestly, this isn’t just another chicken recipe—it is the one that makes you close your eyes after the first bite and forget about takeout forever.
What Ingredients You Will Need
This recipe uses simple, everyday ingredients to create something that tastes far more complex than it is. Most of these are pantry staples, so you likely already have everything on hand. The key is choosing good quality chicken and fresh garlic for the best flavor.
- Bone-in, skin-on chicken thighs (about 4-6 thighs, roughly 2 pounds total) – The bone keeps the meat moist during cooking, and the skin is what gets that incredible crunch. Look for thighs that are similar in size so they cook evenly. I prefer organic or free-range chicken when I can find it, but conventional works just fine.
- Unsalted butter (3 tablespoons, melted) – Unsalted gives you control over the salt level. If you only have salted butter, reduce the added salt by about ¼ teaspoon.
- Fresh garlic (4-5 cloves, minced) – Please don’t use the jarred stuff here. Fresh garlic makes a huge difference in flavor. It gets fragrant and slightly sweet as it cooks in the butter.
- Salt (1 teaspoon, plus more for seasoning) – I use fine sea salt for even distribution. Kosher salt works too, but you might need a bit more.
- Black pepper (½ teaspoon, freshly ground) – Freshly ground pepper has more punch than pre-ground. It’s worth the extra few seconds.
- Garlic powder (1 teaspoon) – This is different from fresh garlic. It adds a deep, roasted garlic flavor that complements the fresh garlic in the butter.
- Paprika (1 teaspoon) – Use sweet paprika for color and mild sweetness, or smoked paprika if you want a subtle smoky depth. Both work great.
- Dried thyme (½ teaspoon) – Thyme and chicken are a classic pair. It adds a subtle earthy note that makes the dish feel more grown-up. You can substitute dried oregano or rosemary if that’s what you have.
- Olive oil (1 tablespoon) – Just a little helps the seasoning stick and encourages browning. Avocado oil works too if you prefer a neutral flavor.
- Fresh parsley (optional, for garnish) – A sprinkle of green at the end makes everything look prettier. Flat-leaf parsley has a milder flavor than curly.
I recommend using Kirkland Signature or Bell & Evans chicken thighs for consistent quality. For the butter, Kerrygold adds a richness that really shines here. If you need a dairy-free option, use a high-quality vegan butter or ghee (which is lactose-free but not dairy-free).
Equipment Needed
You don’t need a lot of fancy tools for this recipe, which is part of the beauty. Here is what you will need:
- Air fryer – Any basket-style or oven-style air fryer works. I use a 5.8-quart Cosori model, and it fits 4-6 thighs comfortably. If yours is smaller, cook in batches to avoid overcrowding.
- Paper towels – Lots of them. Drying the chicken skin thoroughly is non-negotiable for crispiness. I go through at least 4-5 sheets per batch.
- Small bowl – For mixing the garlic butter and the dry seasoning.
- Tongs – For flipping the chicken safely without tearing the skin. Silicone-tipped tongs are gentle on the air fryer basket coating.
- Instant-read thermometer – This is my favorite tool for avoiding dry chicken. It takes the guesswork out of cooking. A simple digital one costs about $10 and lasts for years.
- Basting brush (optional) – For brushing the garlic butter on at the end. A silicone brush works best and is easy to clean.
- Cutting board and knife – For mincing garlic and chopping parsley.
If you don’t have an air fryer, you can use a convection oven set to 400°F, but the cooking time will be longer (about 25-30 minutes) and the skin won’t be quite as crispy. I have tried both methods, and the air fryer wins every time for texture.
Preparation Method
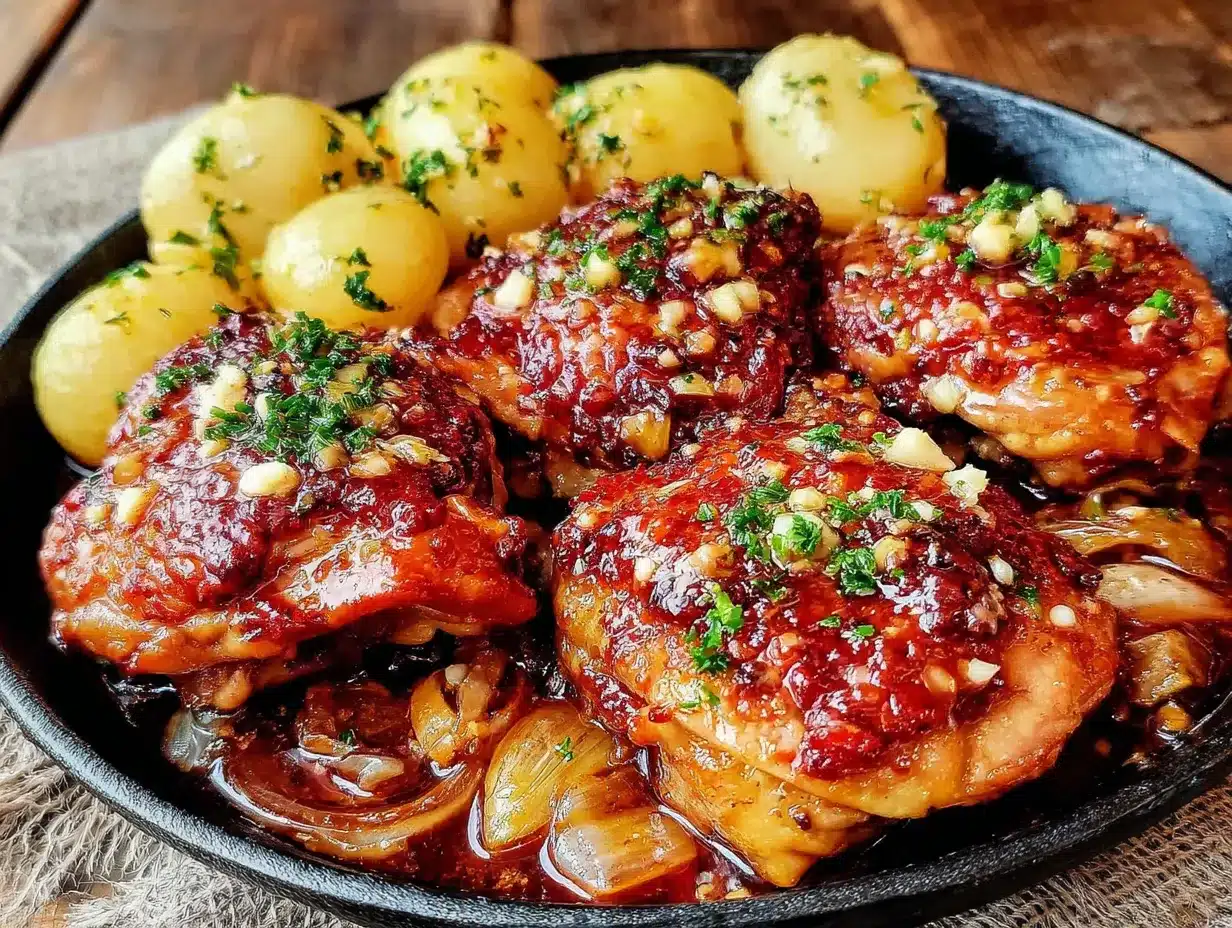
Let’s get cooking. This method is straightforward, but a few small details make a big difference. Follow these steps, and you will have the crispiest air fryer chicken thighs of your life.
- Prep the chicken. Start by patting the chicken thighs dry with paper towels. I mean really dry—press firmly and use fresh towels until no moisture remains on the surface. This is the most important step for crispy skin. Place the dried thighs on a plate, uncovered, and refrigerate for 30-60 minutes if you have time. This dries the skin even further. If you are in a hurry, skip the fridge rest and move to step 2.
- Season the chicken. In a small bowl, mix together 1 teaspoon salt, ½ teaspoon black pepper, 1 teaspoon garlic powder, 1 teaspoon paprika, and ½ teaspoon dried thyme. Drizzle the chicken thighs with 1 tablespoon olive oil and rub it all over. Then sprinkle the seasoning mixture evenly over both sides of each thigh, making sure to get some under the skin if possible. Let the chicken sit at room temperature for 10-15 minutes while the air fryer preheats.
- Preheat the air fryer. Set your air fryer to 380°F (193°C) and let it preheat for 3-5 minutes. Preheating ensures the chicken starts cooking immediately, which helps the skin crisp up faster.
- Arrange the chicken. Place the seasoned chicken thighs in the air fryer basket, skin side down, in a single layer. Do not overcrowd—leave at least ½ inch of space between each piece for air circulation. If you need to cook in batches, that’s fine. It’s better than soggy chicken.
- Cook the first side. Air fry at 380°F for 12 minutes. The skin should be golden brown and starting to crisp. If your air fryer runs hot, check at 10 minutes to avoid burning.
- Flip and continue cooking. Using tongs, carefully flip each thigh so the skin side is facing up. Cook for another 8-10 minutes at 380°F. The internal temperature should reach 175-185°F (80-85°C) when measured at the thickest part, away from the bone. Dark meat is forgiving and actually tastes better when cooked a bit higher than white meat.
- Make the garlic butter. While the chicken finishes cooking, melt 3 tablespoons unsalted butter in a small bowl in the microwave (about 20-30 seconds). Stir in the minced fresh garlic. Let it sit so the garlic infuses the butter.
- Brush with garlic butter. As soon as the chicken comes out of the air fryer, brush the garlic butter generously over the crispy skin. The residual heat will melt the butter into every crevice without making the skin soggy. Sprinkle with fresh parsley if desired.
- Rest before serving. Let the chicken rest for 5 minutes before serving. This allows the juices to redistribute and the butter to soak in. Trust me, this short wait is worth it.
Visual cue: The skin should look deep golden brown with darker spots where the seasoning caramelized. When you tap it with a fork, it should sound crisp, not soft. The meat should be opaque all the way through and pull away from the bone easily.
Cooking Tips & Techniques
I have made this recipe enough times to learn a few things the hard way. Here are my best tips for guaranteed success:
- Dry the skin obsessively. I cannot stress this enough. Moisture is the enemy of crispiness. If you are short on time, use extra paper towels and press firmly. If you have time, the fridge rest is a game-changer. I once skipped this step when I was in a rush, and the skin came out chewy and disappointing. Never again.
- Don’t skip the flip. Cooking skin side down first renders the fat and starts the crisping process. Flipping it halfway ensures even cooking and prevents the skin from burning. I forgot to flip once and ended up with one side perfect and the other side pale.
- Use an instant-read thermometer. Chicken thighs are forgiving, but undercooked poultry is no joke. The thermometer takes away all the guesswork. Insert it into the thickest part without touching the bone. Aim for 175°F for the juiciest results.
- Batch cooking is okay. If your air fryer is small, cook in batches. Overcrowding traps steam and makes the skin soft. It’s better to take an extra 15 minutes than to serve disappointing chicken. I have a small air fryer, so I usually cook 3 thighs at a time.
- Let the garlic butter sit. Don’t brush the butter on immediately after making it. Let the minced garlic sit in the warm butter for a few minutes to infuse the flavor. If you brush it on right away, the garlic flavor is weaker.
- Reheating tip: To reheat leftovers, place them back in the air fryer at 350°F for 3-4 minutes. The microwave will make the skin soggy. Trust me on this one—I learned the hard way.
One mistake I made early on was using too much oil. I thought more oil would make the skin crispier, but it actually made it greasy. A light drizzle is all you need. The chicken’s own fat does most of the work.
Variations & Adaptations
This recipe is incredibly versatile. Here are some ways to change it up based on what you have or what you are craving:
- Spicy version: Add ½ teaspoon cayenne pepper or red pepper flakes to the seasoning mix. For extra heat, drizzle with sriracha or chili oil before serving. I tried this with gochujang (Korean chili paste) mixed into the butter, and it was incredible.
- Lemon herb twist: Replace the dried thyme with dried rosemary or oregano. Add 1 tablespoon lemon zest to the garlic butter and squeeze fresh lemon juice over the finished chicken. The brightness cuts through the richness beautifully.
- Honey garlic variation: Add 1 tablespoon honey to the garlic butter before brushing. The sweetness caramelizes slightly and creates a sticky, glossy finish. Just be careful not to add it too early, or it will burn in the air fryer.
- Dairy-free option: Substitute the butter with a high-quality vegan butter or use olive oil infused with garlic. The texture will be slightly different, but the flavor is still fantastic.
- Boneless thighs: If you only have boneless, skin-on thighs, reduce the cooking time to 10 minutes per side at 375°F. Boneless thighs cook faster, so keep an eye on the internal temperature.
- Asian-inspired: Swap the paprika and thyme for 1 teaspoon five-spice powder and 1 tablespoon soy sauce. Brush with a mixture of melted butter, minced garlic, and a splash of rice vinegar at the end.
I have personally tried the lemon herb variation with fresh rosemary from my garden, and it is now my second favorite way to make these. The lemon zest adds a freshness that balances the richness of the butter.
Serving & Storage Suggestions
These crispy air fryer chicken thighs are incredibly versatile when it comes to serving. Here is how to make the most of them:
Serving temperature and presentation: Serve the chicken hot, straight from the air fryer, with the garlic butter still glistening on the skin. Arrange on a platter with a sprinkle of fresh parsley and lemon wedges on the side. The contrast of golden brown chicken and bright green herbs makes for a gorgeous presentation that looks like you spent hours on it.
Complementary dishes: These thighs pair beautifully with simple sides that let the chicken shine. Try them with roasted asparagus, a crisp green salad with vinaigrette, or creamy mashed potatoes to soak up the garlic butter. For a low-carb option, serve with cauliflower rice or sautéed zucchini noodles. A side of crusty bread is also amazing for mopping up the buttery juices.
Beverage pairings: A light, crisp white wine like Sauvignon Blanc or a dry Riesling cuts through the richness. For beer drinkers, a pale ale or pilsner works well. If you prefer red, go with a light-bodied Pinot Noir.
Storage instructions: Store leftover chicken in an airtight container in the refrigerator for up to 4 days. The garlic butter will solidify, but that’s normal. For longer storage, freeze the cooked chicken thighs in a single layer on a baking sheet, then transfer to a freezer bag for up to 3 months. Thaw overnight in the refrigerator before reheating.
Reheating methods: The air fryer is your best friend here. Reheat at 350°F for 3-4 minutes until the skin crisps up again. The oven works too—place on a wire rack over a baking sheet at 375°F for 8-10 minutes. Avoid the microwave at all costs; it turns the crispy skin into rubber.
Flavor development: Interestingly, the flavors deepen after a day in the fridge. The garlic and herbs meld together, and the chicken becomes even more tender. I actually look forward to leftovers because they taste different—in a good way.
Nutritional Information & Benefits
Here is the estimated nutritional breakdown per serving (based on 2 thighs per serving, using unsalted butter and bone-in, skin-on chicken thighs):
| Nutrient | Amount per Serving |
|---|---|
| Calories | 420-480 kcal |
| Protein | 32-35 g |
| Fat | 32-36 g |
| Saturated Fat | 12-14 g |
| Carbohydrates | 2-3 g |
| Fiber | 0 g |
| Sugar | 0 g |
| Sodium | 650-750 mg |
Health benefits of key ingredients: Chicken thighs are an excellent source of protein, iron, and B vitamins, which support energy metabolism and red blood cell production. Garlic is known for its anti-inflammatory and immune-boosting properties, thanks to compounds like allicin. Butter provides fat-soluble vitamins A, D, E, and K, though it should be enjoyed in moderation.
Dietary considerations: This recipe is naturally gluten-free, keto-friendly, and low-carb (only 2-3g carbs per serving). It is not dairy-free due to the butter, but you can easily substitute with vegan butter or olive oil. The recipe contains no nuts, eggs, or soy, making it suitable for most common allergies.
Personal wellness perspective: I love that this recipe lets me enjoy something indulgent without feeling heavy or guilty. The air fryer cuts down on oil significantly compared to deep frying, and the protein keeps me full for hours. It is comfort food that works with a balanced lifestyle, not against it.
Conclusion
These crispy air fryer chicken thighs with garlic butter are proof that the best recipes often come from the most unexpected places. Who knew a plumber in the hardware store would change the way I cook chicken forever? The method is simple, the ingredients are humble, but the result is nothing short of spectacular. That first bite—crunchy, buttery, garlicky, and juicy—is the kind of moment that makes you forget about takeout menus for good.
I hope you give this recipe a try and make it your own. Maybe you will add extra garlic like I do, or try the spicy version with a drizzle of honey. The beauty of this dish is that it is forgiving and adaptable. Don’t be afraid to experiment and see what works for your taste. And if you discover a variation you love, I would genuinely love to hear about it. Drop a comment below and share your twist on these crispy air fryer chicken thighs. Your feedback helps other home cooks find their perfect version too.
Thank you for stopping by and spending some time in my little corner of the internet. Now go preheat that air fryer—dinner is calling, and it is going to be amazing.
Frequently Asked Questions
Can I use boneless, skinless chicken thighs for this recipe?
You can, but you will miss out on the crispy skin that makes this recipe special. Boneless, skinless thighs will cook faster (about 10-12 minutes total at 375°F) and will not get that shatteringly crisp texture. If you use them, consider adding a breadcrumb coating for crunch.
Why is my chicken skin not crispy?
The most common reason is moisture. If you did not pat the skin dry enough, steam will build up and prevent crisping. Other factors include overcrowding the basket (which traps steam) or not cooking at a high enough temperature. Make sure your air fryer is fully preheated and the chicken is in a single layer.
Can I make this recipe ahead of time for meal prep?
Absolutely. Cook the chicken as directed, let it cool completely, and store in an airtight container in the fridge for up to 4 days. Reheat in the air fryer at 350°F for 3-4 minutes to restore the crispiness. I often make a double batch on Sunday for easy lunches during the week.
What is the best way to reheat leftover chicken thighs?
The air fryer is the best method for maintaining crispiness. Reheat at 350°F for 3-4 minutes. The oven also works well—place on a wire rack over a baking sheet at 375°F for 8-10 minutes. Avoid the microwave, as it will make the skin soft and rubbery.
Can I use frozen chicken thighs directly in the air fryer?
I do not recommend it for this recipe. Frozen chicken releases a lot of moisture as it thaws, which will prevent the skin from getting crispy. If you are in a pinch, thaw the chicken completely in the refrigerator overnight, then pat it very dry before following the recipe as written.
Pin This Recipe!
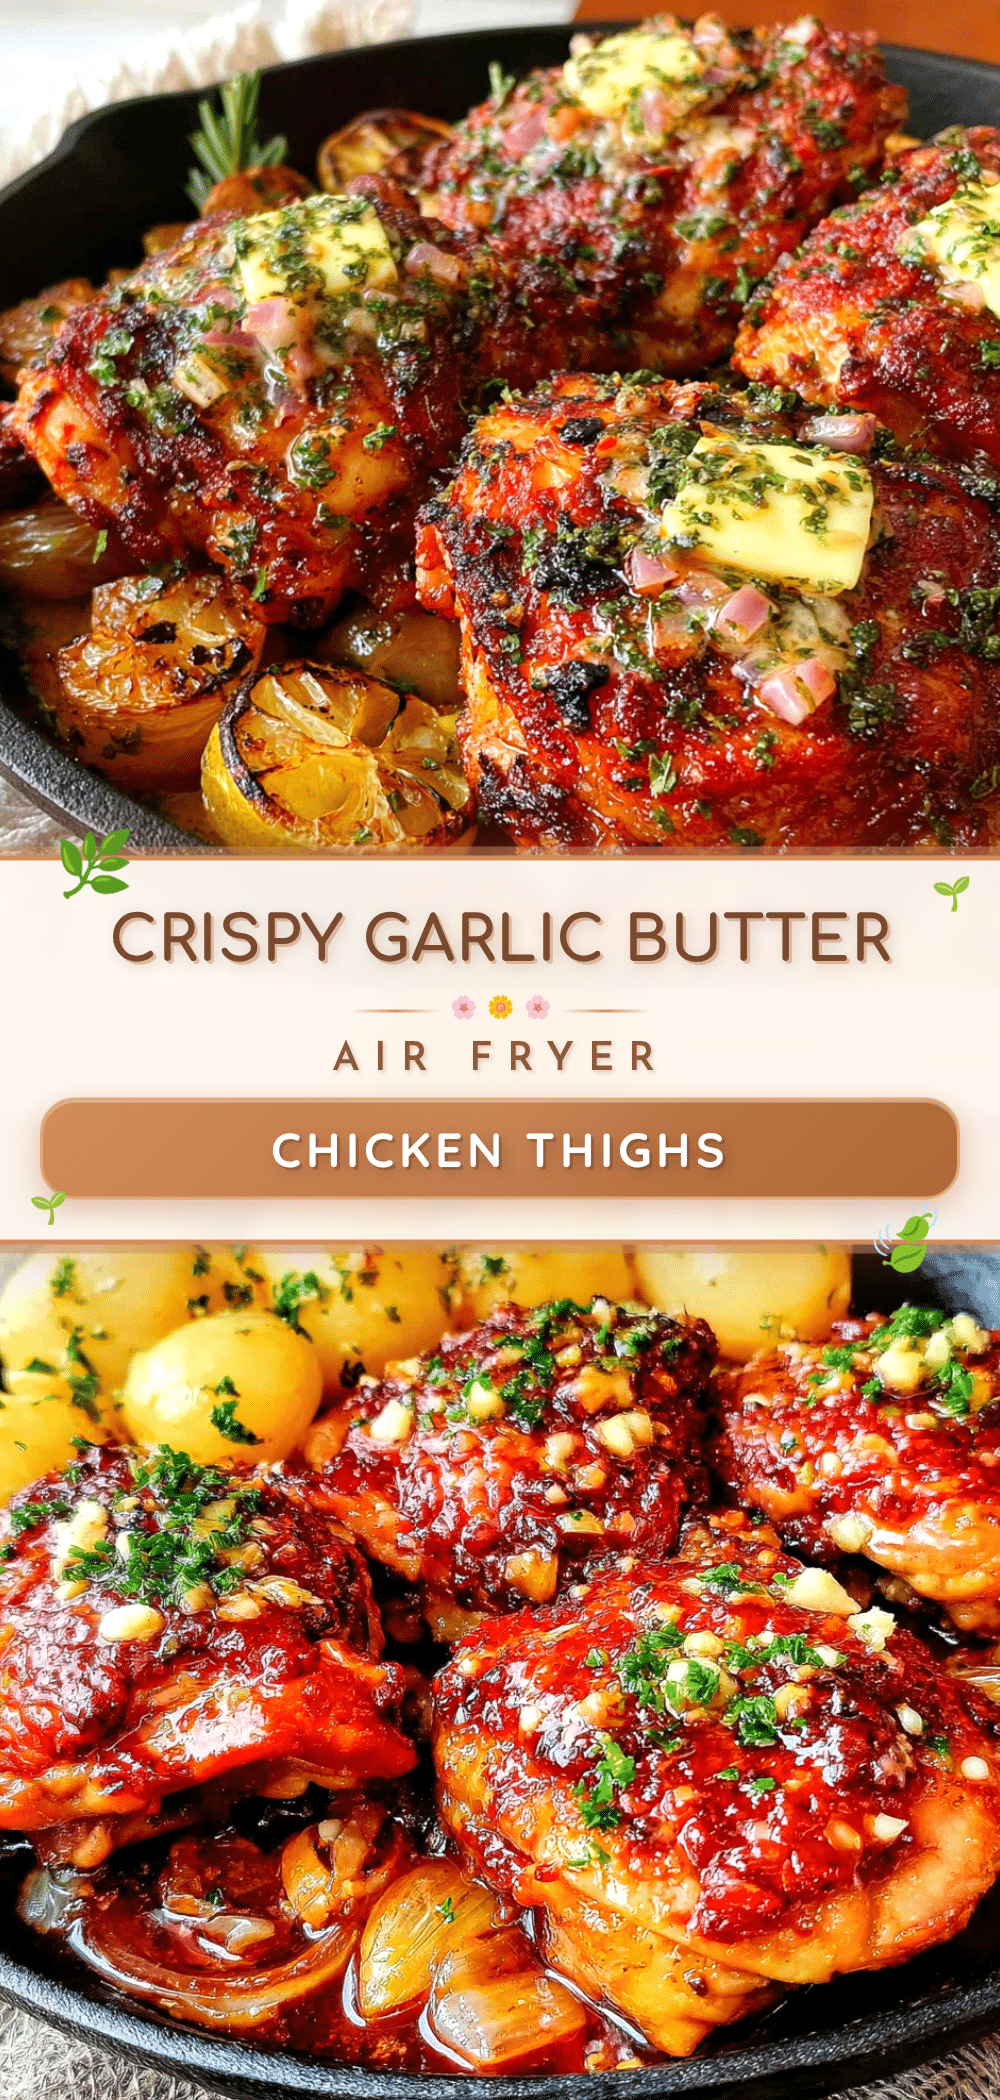
Crispy Air Fryer Chicken Thighs with Garlic Butter – Easy, 20-Minute Recipe

These crispy air fryer chicken thighs with garlic butter are the kind of recipe that makes you feel like a kitchen genius without actually working hard. The skin gets shatteringly crisp while the meat stays juicy and tender, and the garlic butter pools in the crevices for a savory, golden crust.
- Prep Time: 20 minutes
- Cook Time: 20 minutes
- Total Time: 40 minutes
- Yield: 4 servings
- Category: Main Course
- Cuisine: American
Ingredients
- Bone-in, skin-on chicken thighs (4-6 thighs, about 2 pounds total)
- Unsalted butter (3 tablespoons, melted)
- Fresh garlic (4-5 cloves, minced)
- Salt (1 teaspoon, plus more for seasoning)
- Black pepper (½ teaspoon, freshly ground)
- Garlic powder (1 teaspoon)
- Paprika (1 teaspoon)
- Dried thyme (½ teaspoon)
- Olive oil (1 tablespoon)
- Fresh parsley (optional, for garnish)
Instructions
- Prep the chicken: Pat the chicken thighs dry with paper towels until no moisture remains. Place on a plate, uncovered, and refrigerate for 30-60 minutes if possible.
- Season the chicken: In a small bowl, mix salt, black pepper, garlic powder, paprika, and dried thyme. Drizzle chicken with olive oil and rub all over. Sprinkle seasoning evenly over both sides of each thigh. Let sit at room temperature for 10-15 minutes while the air fryer preheats.
- Preheat the air fryer to 380°F (193°C) for 3-5 minutes.
- Arrange the chicken in the air fryer basket, skin side down, in a single layer without overcrowding.
- Cook at 380°F for 12 minutes until skin is golden brown and starting to crisp.
- Flip the chicken using tongs so skin side is up. Cook for another 8-10 minutes at 380°F until internal temperature reaches 175-185°F (80-85°C).
- While chicken finishes, melt butter in a small bowl (20-30 seconds in microwave). Stir in minced garlic and let sit to infuse.
- As soon as chicken comes out, brush garlic butter generously over the crispy skin. Sprinkle with fresh parsley if desired.
- Let the chicken rest for 5 minutes before serving.
Notes
Dry the skin obsessively for maximum crispiness. Don’t skip the flip halfway through. Use an instant-read thermometer for perfect doneness. Batch cook if necessary to avoid overcrowding. Let garlic butter sit before brushing to infuse flavor. Reheat leftovers in the air fryer at 350°F for 3-4 minutes.
Nutrition
- Serving Size: 2 thighs
- Calories: 420480
- Sodium: 650750
- Fat: 3236
- Saturated Fat: 1214
- Carbohydrates: 23
- Protein: 3235
Keywords: air fryer chicken thighs, crispy chicken thighs, garlic butter chicken, easy chicken recipe, weeknight dinner, keto chicken, gluten-free chicken