Love this? Save it for later!
Share the inspiration with your friends
There used to be a tiny bakery tucked behind a laundromat on the west side of town called “The Gilded Crumb” that made a pumpkin snickerdoodle that ruined me for all other cookies. When they closed their doors three years ago—just a handwritten sign taped to the window saying “Thank you for the sweet years”—I honestly felt a little dramatic about how sad I was. I mean, it was just a cookie, right? Wrong.
After fourteen attempts—fourteen, let me tell you, my coworkers were very patient taste-testers—I finally cracked the code. The secret was brown butter. That nutty, toasty depth was what made their cookie taste like autumn had been distilled into a single bite. I spent a whole Saturday staring at my kitchen counter, butter bubbling in the pan, trying to remember that first bite from years ago. My dog watched me from the doorway like I’d lost my mind.
The funny thing is, I almost gave up after attempt number eleven. The cookies were either too cakey or too flat, the pumpkin flavor got lost, or the brown butter just disappeared into the dough. But then I realized I was overthinking it. The magic was in the method—browning the butter just right, chilling the dough long enough, and using a specific ratio of pumpkin to flour that kept things soft without being gummy. Maybe you’ve been there, chasing a recipe from a place that no longer exists, wondering if you’ll ever get it right.
This recipe is the one. It’s the one I make on the first cool day of October, the one my kids fight over before they’ve even cooled, the one that makes the whole house smell like someone hugged a pumpkin spice candle. Honestly, I keep making it because it reminds me that some good things can be recreated—even if the original bakery is gone.
Why You’ll Love This Recipe
These Cozy Brown Butter Pumpkin Snickerdoodle Cookies aren’t just another pumpkin cookie recipe floating around the internet. They’re the result of serious trial and error, tested on real families (mine included), and tweaked until every single bite delivered that nostalgic bakery feeling. I’ve made these for school bake sales, Thanksgiving dessert tables, and random Tuesday afternoons when I needed a little comfort.
- Quick & Easy: From start to finish, you’re looking at about 35 minutes of active time. The dough needs a quick chill, but that’s mostly hands-off.
- Simple Ingredients: No weird specialty flours or hard-to-find extracts. Butter, pumpkin puree, sugar, cinnamon—stuff you probably already have.
- Perfect for Fall Gatherings: These cookies scream autumn. They’re great for pumpkin carving parties, Thanksgiving potlucks, or just because it’s October.
- Crowd-Pleaser: My neighbor’s kid, who “doesn’t like pumpkin stuff,” ate four of them before I could say a word. They’re that good.
- Unbelievably Delicious: The brown butter adds this deep, nutty richness that regular snickerdoodles just don’t have. The pumpkin keeps them soft and tender. It’s a texture and flavor combo that’s honestly next-level comfort food.
What makes this recipe different? It’s the brown butter technique combined with the perfect pumpkin-to-flour ratio. Most pumpkin cookies turn out like little cake pucks. Not these. They’re chewy on the edges, soft in the middle, and rolled in a cinnamon-sugar mixture that gives them that signature crackly top. I tested this recipe with my friend who’s a pastry chef, and even she said the texture was spot-on.
This isn’t just good—it’s the kind of cookie that makes you close your eyes after the first bite. It’s comfort food reimagined, but still simple enough for a Tuesday night. Perfect for impressing guests without stress, or turning an ordinary evening into something a little more special.
What Ingredients You Will Need
This recipe uses simple, wholesome ingredients to deliver bold flavor and satisfying texture without the fuss. Most of these are pantry staples, especially if you do any fall baking. The star of the show is the brown butter, which transforms ordinary cookie dough into something truly special.
- 1 cup (226g) unsalted butter – This is for browning. Don’t use salted butter here; you want control over the salt level. I personally use Kerrygold when I can, but any good unsalted butter works.
- 1 cup (200g) granulated sugar – For the dough. Adds sweetness and helps with spreading.
- 1/2 cup (100g) packed light brown sugar – Adds moisture and a hint of molasses flavor that pairs beautifully with the brown butter.
- 1/2 cup (120g) pumpkin puree – Make sure it’s pure pumpkin puree, not pumpkin pie filling. I recommend Libby’s for consistent results. Pat it with a paper towel to remove excess moisture (this is a game-changer).
- 1 large egg – Room temperature, please. Cold egg will seize up the brown butter.
- 2 teaspoons vanilla extract – Pure vanilla, not imitation. It makes a difference.
- 2 1/4 cups (280g) all-purpose flour – Spoon and level it. Don’t scoop directly from the bag or you’ll get too much flour.
- 1 teaspoon baking soda – For lift and spread.
- 1/2 teaspoon baking powder – Helps them puff up just a little.
- 1/2 teaspoon salt – Balances the sweetness and enhances the brown butter flavor.
- 1 1/2 teaspoons ground cinnamon – For the dough. Warm and essential.
- 1/2 teaspoon ground nutmeg – Freshly grated if you have it, but pre-ground works fine.
- 1/4 teaspoon ground ginger – Adds a little warmth without being spicy.
- 1/4 teaspoon ground cloves – Just a pinch. It rounds out the pumpkin spice flavor.
For the Cinnamon-Sugar Coating:
- 1/4 cup (50g) granulated sugar
- 1 1/2 teaspoons ground cinnamon
Ingredient Tips: If you want to swap the all-purpose flour for a gluten-free blend, use one that includes xanthan gum. I’ve tried Bob’s Red Mill 1-to-1 and it worked well, though the cookies were slightly less tender. For a dairy-free option, use a high-quality vegan butter stick (not spreadable tub butter) for browning—Miyoko’s works great. The pumpkin puree can be substituted with mashed butternut squash or sweet potato in a pinch, though the flavor will shift slightly.
Equipment Needed
You don’t need a fancy kitchen to make these cookies, which is part of why I love this recipe. Here’s what you’ll need:
- Large skillet or saucepan – Light-colored is best so you can see the butter browning. I use a stainless steel pan. Avoid dark nonstick pans; they make it hard to gauge color.
- Mixing bowls – One large, one medium. I have a set of glass nesting bowls that have lasted me years.
- Whisk – For combining dry ingredients.
- Wooden spoon or silicone spatula – For mixing the dough. A spatula is gentler on the dough.
- Baking sheets – Two standard half-sheet pans work perfectly. Line them with parchment paper or silicone baking mats.
- Cookie scoop – A 1.5-tablespoon scoop makes uniform cookies. If you don’t have one, two spoons work fine.
- Cooling rack – Essential for getting those crispy edges. I learned the hard way that letting cookies cool on the pan makes them soggy on the bottom.
- Plastic wrap – For chilling the dough. Reusable beeswax wrap works too.
Budget-Friendly Tip: If you don’t have a cookie scoop, use a measuring tablespoon and your hands. It’s not as pretty, but the cookies taste the same. I actually prefer using my hands sometimes—it feels more connected to the process.
Preparation Method
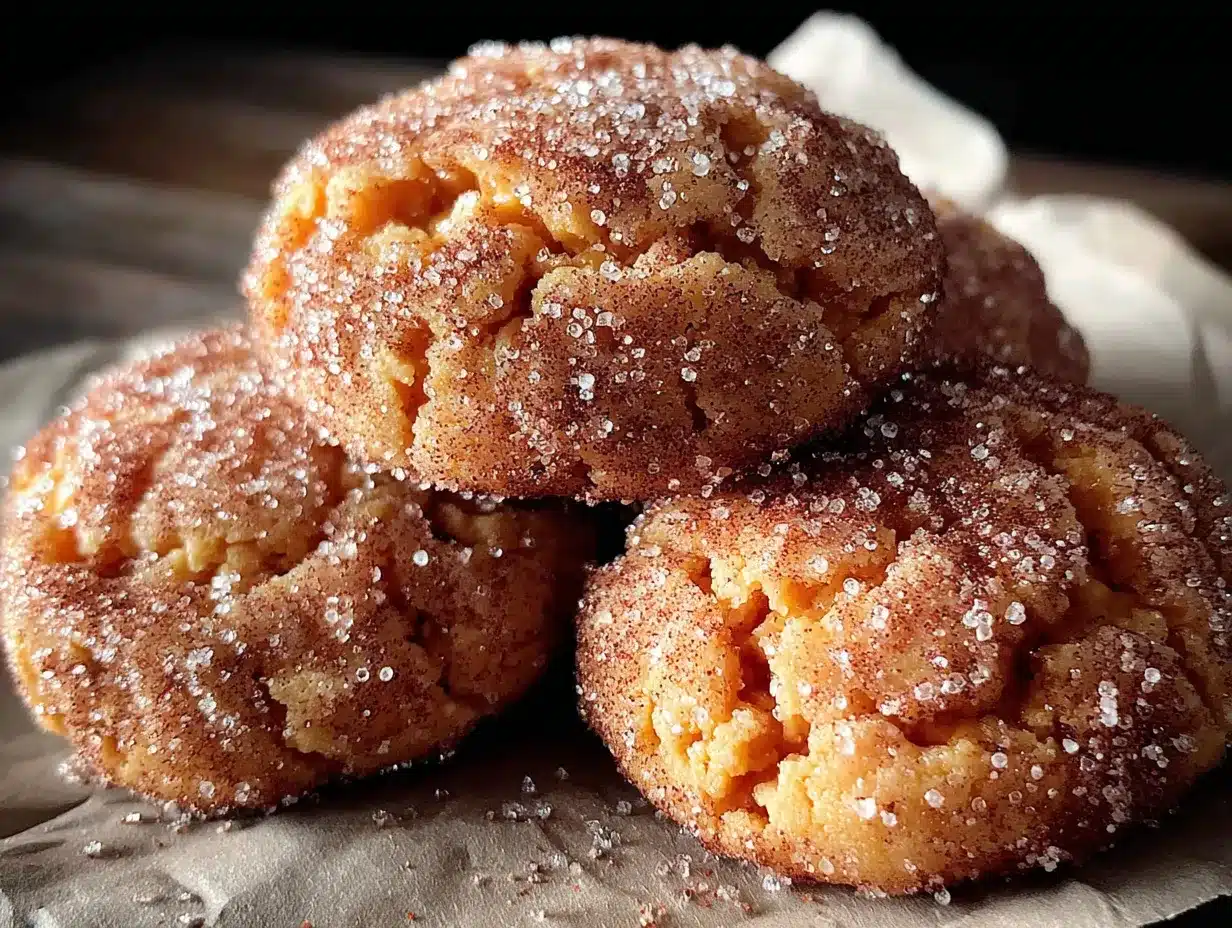
Let’s get these Cozy Brown Butter Pumpkin Snickerdoodle Cookies into your kitchen. Follow these steps carefully, and you’ll have bakery-quality cookies in no time.
- Brown the butter: Place the 1 cup of unsalted butter in a light-colored skillet or saucepan over medium heat. Stir occasionally as it melts. It will foam up, then subside, and you’ll see brown specks forming at the bottom. This takes about 5-7 minutes. Once it smells nutty and the specks are amber-colored, remove it from the heat immediately. Pour it into a heat-safe bowl to stop the cooking process. Let it cool for 10 minutes. Don’t skip the cooling—hot butter will cook your egg.
- Mix the wet ingredients: In a large bowl, combine the cooled brown butter, 1 cup granulated sugar, and 1/2 cup packed light brown sugar. Whisk until smooth and well combined, about 1 minute. Add the 1/2 cup pumpkin puree (make sure you’ve patted it dry with a paper towel), 1 large egg, and 2 teaspoons vanilla extract. Whisk again until everything is fully incorporated. The mixture will look a little grainy from the sugars—that’s normal.
- Combine the dry ingredients: In a separate medium bowl, whisk together 2 1/4 cups all-purpose flour, 1 teaspoon baking soda, 1/2 teaspoon baking powder, 1/2 teaspoon salt, 1 1/2 teaspoons cinnamon, 1/2 teaspoon nutmeg, 1/4 teaspoon ginger, and 1/4 teaspoon cloves. Make sure there are no lumps. This ensures even distribution of the leavening agents and spices.
- Combine wet and dry: Gradually add the dry ingredients to the wet ingredients, stirring with a wooden spoon or silicone spatula until just combined. Do not overmix—stop as soon as no streaks of flour remain. Overmixing will make the cookies tough. The dough will be soft and slightly sticky, which is exactly what you want.
- Chill the dough: Cover the bowl with plastic wrap and refrigerate for at least 30 minutes, or up to 2 hours. Chilling is non-negotiable here. It solidifies the brown butter, prevents the cookies from spreading too much, and deepens the flavors. I once skipped this step and ended up with flat, greasy cookies. Learn from my mistake.
- Preheat and prepare: About 10 minutes before you’re ready to bake, preheat your oven to 350°F (175°C). Line two baking sheets with parchment paper or silicone mats.
- Make the cinnamon-sugar coating: In a small bowl, mix 1/4 cup granulated sugar with 1 1/2 teaspoons cinnamon. Set aside.
- Shape and coat the cookies: Using a 1.5-tablespoon cookie scoop or your hands, portion out the dough into balls about 1.5 inches in diameter. Roll each ball between your palms to smooth them out. Then roll each ball generously in the cinnamon-sugar mixture until fully coated. Place them on the prepared baking sheets, spacing them about 2 inches apart. You should get about 24 cookies.
- Bake: Bake one sheet at a time for 10-12 minutes. The cookies will look puffed and slightly cracked on top. The edges should be set but the centers will still look soft and slightly underdone. That’s perfect—they’ll continue to set as they cool. For softer cookies, bake for 10 minutes. For slightly crisper edges, go to 12 minutes.
- Cool: Let the cookies rest on the baking sheet for 5 minutes. This allows them to firm up enough to transfer. Then move them to a wire cooling rack to cool completely. The centers will sink slightly and form those beautiful crinkles. If you try to move them too early, they’ll fall apart. Trust the 5-minute rule.
Sensory Cues: When the butter is browning, you’ll smell a nutty, toasty aroma that’s unmistakable. The dough should feel soft and pliable after chilling, not sticky. When the cookies are done, the edges will be lightly golden and the tops will have a delicate crackle pattern. The kitchen will smell like a fall candle come to life.
Cooking Tips & Techniques
After those fourteen failed attempts, I learned a few things the hard way. Here’s what I wish someone had told me before I started:
Don’t skip patting the pumpkin puree dry. Pumpkin has a lot of water, and extra moisture makes cookies cakey instead of chewy. Just press a paper towel gently onto the surface of the measured puree and absorb the excess liquid. It takes five seconds and makes a huge difference.
Watch the butter like a hawk. Brown butter can go from perfect to burnt in about 30 seconds. Once you see those brown specks and smell that nutty aroma, pull it off the heat immediately. Pour it into a cold bowl to stop the cooking. I’ve ruined a whole batch of butter by walking away to answer a text. Don’t be me.
Chill the dough, seriously. I know it’s tempting to skip this step when you’re craving cookies right now, but the 30-minute chill is what gives you that perfect texture. Without it, the cookies spread into thin, greasy discs. With it, they’re thick, soft, and have those gorgeous crinkly tops. I’ve tested both ways. Chilled wins every time.
Use a cookie scoop for even sizing. Uniform cookies bake evenly. If some are bigger than others, you’ll end up with burnt edges and raw centers. A scoop also makes the rolling and coating process faster. If you don’t have one, use a measuring tablespoon and shape them with your hands.
Bake one sheet at a time. If you put two sheets in the oven, the top one will bake faster and the bottom one will be uneven. Your oven might be different, but mine definitely can’t handle two at once. It adds 10 extra minutes but the results are worth it.
Let them cool on the sheet. Those 5 minutes of resting on the hot baking sheet are crucial. The cookies finish setting up, and the centers become perfectly soft. If you move them too soon, they’ll crumble. I’ve done it. It’s sad.
Variations & Adaptations
One of the best things about this recipe is how flexible it is. Here are some ways to make it your own:
Gluten-Free Version: Substitute the all-purpose flour with a 1-to-1 gluten-free baking blend that contains xanthan gum. I’ve used King Arthur Measure for Measure with great results. The cookies will be slightly more delicate, so handle them gently. Add an extra tablespoon of flour if the dough feels too sticky.
Dairy-Free Version: Use a high-quality vegan butter stick for browning. Miyoko’s European Style Cultured Vegan Butter works beautifully. It browns similarly to dairy butter and gives a rich flavor. Just be aware that vegan butter can behave a little differently—chill the dough for the full 2 hours for best results.
Spice It Up: If you love a stronger pumpkin spice flavor, add 1/4 teaspoon of cardamom or allspice to the dry ingredients. I tried this once on a whim and it was incredible. You can also increase the cinnamon to 2 teaspoons if you’re a cinnamon fanatic like me.
Add Mix-Ins: Fold in 1/2 cup of white chocolate chips or chopped pecans after combining the wet and dry ingredients. The white chocolate adds a creamy sweetness that pairs beautifully with the brown butter. Pecans add a nice crunch. I made a batch with both once and they disappeared in an hour.
Pumpkin Spice Coating: Instead of just cinnamon-sugar, mix 1/4 cup sugar with 1 teaspoon cinnamon, 1/2 teaspoon nutmeg, and 1/4 teaspoon ginger. It gives the outside an extra layer of fall flavor that’s absolutely delightful.
Make Them Smaller: For bite-sized cookies, use a 1-tablespoon scoop and bake for 8-9 minutes. Perfect for parties or lunchbox treats. You’ll get about 36 mini cookies.
Serving & Storage Suggestions
These cookies are best served slightly warm, when the brown butter flavor is at its peak and the centers are soft and gooey. If you can wait 10 minutes after they come out of the oven, that’s the sweet spot. Serve them on a pretty plate with a glass of cold milk or a warm mug of chai tea. They also pair beautifully with a scoop of vanilla ice cream for an easy dessert.
For a cozy presentation: Stack the cookies on a rustic wooden board or a ceramic plate. Sprinkle a little extra cinnamon-sugar on top for visual appeal. Add a few cinnamon sticks and star anise around the plate for a fall-themed look that’s perfect for Pinterest.
Storage: Store the cooled cookies in an airtight container at room temperature for up to 5 days. Place a slice of bread in the container to keep them soft—the bread absorbs excess air and releases moisture. Replace the bread slice every other day. Honestly, these cookies rarely last more than 2 days in my house, but the bread trick works if you need it.
Freezing: You can freeze the baked cookies for up to 3 months. Layer them between sheets of parchment paper in a freezer-safe container. Thaw at room temperature for about 30 minutes before serving. To refresh them, pop them in a 300°F (150°C) oven for 5 minutes.
Freezing the Dough: This is my favorite trick. Shape the dough into balls, roll them in the cinnamon-sugar coating, and place them on a baking sheet in the freezer for 1 hour. Then transfer the frozen dough balls to a freezer bag. When you’re ready to bake, just place them on a lined baking sheet and add 2-3 minutes to the baking time. Fresh cookies in 15 minutes, anytime you want them.
Flavor Development: These cookies actually taste better the next day. The brown butter flavor deepens and the spices meld together overnight. If you can resist eating them all on day one, you’re in for a treat on day two.
Nutritional Information & Benefits
Here’s the approximate nutritional breakdown for one cookie (based on 24 cookies):
| Nutrient | Amount per Cookie |
|---|---|
| Calories | 165 |
| Total Fat | 8g |
| Saturated Fat | 5g |
| Cholesterol | 28mg |
| Sodium | 95mg |
| Total Carbohydrates | 22g |
| Dietary Fiber | 1g |
| Sugars | 13g |
| Protein | 2g |
These cookies aren’t health food, but they do have some redeeming qualities. The pumpkin puree adds Vitamin A and fiber, while the brown butter provides a small amount of Vitamin A and healthy fats. The cinnamon has anti-inflammatory properties and may help with blood sugar regulation. Plus, there’s something to be said for the mental health benefits of a warm, homemade cookie on a chilly day.
Dietary Considerations: This recipe contains gluten, dairy, and eggs. For gluten-free and dairy-free adaptations, see the variations section above. The cookies are nut-free as written, making them safe for school bake sales (just double-check your ingredients if cross-contamination is a concern).
Conclusion
These Cozy Brown Butter Pumpkin Snickerdoodle Cookies are more than just a recipe—they’re a little piece of autumn that you can bake in your own kitchen. They’re the cookies I make when I want to feel connected to that long-gone bakery, when I want to fill my house with the smell of brown butter and cinnamon, and when I want to see my family’s faces light up after the first bite. They’re simple enough for a Tuesday, special enough for a holiday, and forgiving enough for a beginner baker.
I hope you give these a try and make them your own. Maybe you’ll add white chocolate chips, or double the cinnamon, or serve them with a scoop of ice cream. That’s the beauty of a good recipe—it’s a starting point, not a rulebook. The brown butter does the heavy lifting, and the pumpkin keeps everything soft and tender. You really can’t go wrong.
If you make these cookies, I’d love to hear about it. Leave a comment below and tell me how they turned out, or share a photo on Pinterest with your own twist. Did you add pecans? Use a different spice blend? Bake them for a special occasion? I read every comment and I genuinely love seeing what you create. Until next time, happy baking—and may your kitchen always smell like brown butter and cinnamon.
Frequently Asked Questions
Can I use salted butter instead of unsalted for browning?
You can, but reduce the added salt in the recipe to 1/4 teaspoon. Salted butter has varying salt levels depending on the brand, so it’s harder to control the final flavor. Unsalted butter gives you more precision, which is especially important in a recipe where the butter is the star.
Why did my cookies turn out flat?
This usually happens for one of three reasons: the dough wasn’t chilled long enough, the butter was too warm when you mixed it, or you used too much pumpkin puree without patting it dry. Make sure you chill the dough for at least 30 minutes, let the brown butter cool before adding the egg, and always blot the pumpkin puree with a paper towel to remove excess moisture.
Can I make the dough ahead of time?
Absolutely. You can refrigerate the dough for up to 48 hours before baking. In fact, the flavor improves as it sits. Just let the dough sit at room temperature for 10 minutes before scooping if it’s too firm. You can also freeze the shaped, coated dough balls for up to 3 months (see storage section above).
How do I know when the cookies are done baking?
Look for set edges and puffed, slightly cracked tops. The centers should look soft and a little underdone—they’ll continue to set as they cool on the baking sheet. If the edges are brown, they’re overbaked. For soft and chewy cookies, err on the side of underbaking. For crisper cookies, add a minute or two.
Can I use pumpkin pie spice instead of individual spices?
Yes! Substitute the cinnamon, nutmeg, ginger, and cloves with 2 1/2 teaspoons of pumpkin pie spice. The flavor will be slightly different depending on the blend, but it works beautifully. I’ve done this when I’m out of one of the individual spices and the cookies turned out just as delicious.
Pin This Recipe!
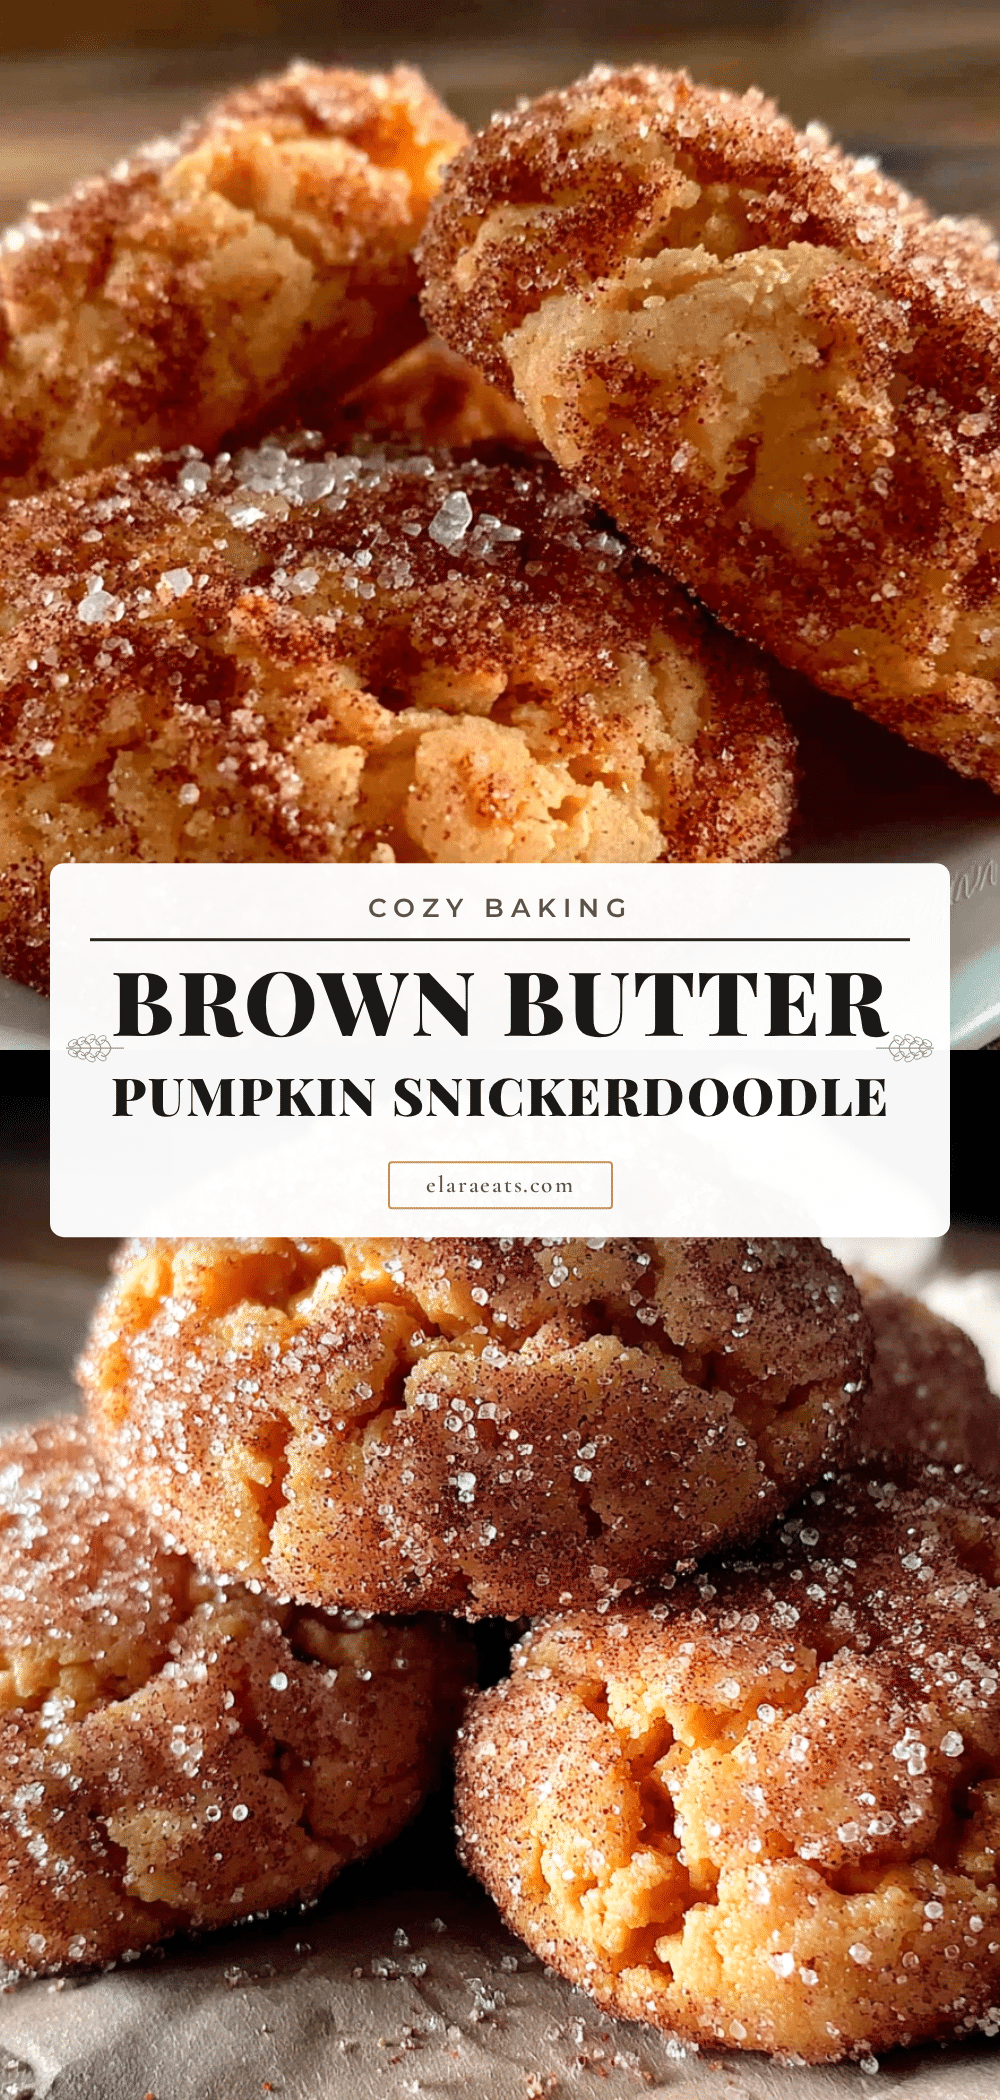
Cozy Brown Butter Pumpkin Snickerdoodle Cookies: Best Easy Recipe
These Cozy Brown Butter Pumpkin Snickerdoodle Cookies are soft, chewy, and rolled in cinnamon sugar, with a nutty depth from brown butter. Perfect for fall gatherings, they’re easy to make with simple ingredients and deliver bakery-quality flavor.
- Prep Time: 35 minutes
- Cook Time: 10-12 minutes per batch
- Total Time: 1 hour 15 minutes (including chilling)
- Yield: 24 cookies 1x
- Category: Dessert
- Cuisine: American
Ingredients
- 1 cup (226g) unsalted butter
- 1 cup (200g) granulated sugar
- 1/2 cup (100g) packed light brown sugar
- 1/2 cup (120g) pumpkin puree (patted dry)
- 1 large egg (room temperature)
- 2 teaspoons vanilla extract
- 2 1/4 cups (280g) all-purpose flour
- 1 teaspoon baking soda
- 1/2 teaspoon baking powder
- 1/2 teaspoon salt
- 1 1/2 teaspoons ground cinnamon
- 1/2 teaspoon ground nutmeg
- 1/4 teaspoon ground ginger
- 1/4 teaspoon ground cloves
- 1/4 cup (50g) granulated sugar (for coating)
- 1 1/2 teaspoons ground cinnamon (for coating)
Instructions
- Brown the butter: Place 1 cup unsalted butter in a light-colored skillet or saucepan over medium heat. Stir occasionally as it melts. It will foam, then subside, and brown specks will form at the bottom (about 5-7 minutes). Once it smells nutty and the specks are amber, remove from heat immediately. Pour into a heat-safe bowl to stop cooking. Let cool for 10 minutes.
- Mix the wet ingredients: In a large bowl, combine cooled brown butter, 1 cup granulated sugar, and 1/2 cup packed light brown sugar. Whisk until smooth (about 1 minute). Add 1/2 cup pumpkin puree (patted dry), 1 large egg, and 2 teaspoons vanilla extract. Whisk until fully incorporated.
- Combine the dry ingredients: In a separate medium bowl, whisk together 2 1/4 cups all-purpose flour, 1 teaspoon baking soda, 1/2 teaspoon baking powder, 1/2 teaspoon salt, 1 1/2 teaspoons cinnamon, 1/2 teaspoon nutmeg, 1/4 teaspoon ginger, and 1/4 teaspoon cloves.
- Combine wet and dry: Gradually add dry ingredients to wet ingredients, stirring with a wooden spoon or silicone spatula until just combined. Do not overmix. The dough will be soft and slightly sticky.
- Chill the dough: Cover the bowl with plastic wrap and refrigerate for at least 30 minutes, or up to 2 hours.
- Preheat and prepare: About 10 minutes before baking, preheat oven to 350°F (175°C). Line two baking sheets with parchment paper or silicone mats.
- Make the cinnamon-sugar coating: In a small bowl, mix 1/4 cup granulated sugar with 1 1/2 teaspoons cinnamon.
- Shape and coat the cookies: Using a 1.5-tablespoon cookie scoop or your hands, portion dough into balls about 1.5 inches in diameter. Roll each ball in the cinnamon-sugar mixture until fully coated. Place on prepared baking sheets, spacing 2 inches apart (about 24 cookies).
- Bake: Bake one sheet at a time for 10-12 minutes. Cookies will look puffed and slightly cracked on top; edges should be set but centers soft. For softer cookies, bake 10 minutes; for crisper edges, 12 minutes.
- Cool: Let cookies rest on the baking sheet for 5 minutes, then transfer to a wire cooling rack to cool completely.
Notes
Don’t skip patting the pumpkin puree dry to avoid cakey cookies. Watch the brown butter carefully—it can burn in 30 seconds. Chilling the dough is essential for thick, crinkly tops. Bake one sheet at a time for even results. Let cookies cool on the sheet for 5 minutes before transferring.
Nutrition
- Serving Size: 1 cookie
- Calories: 165
- Sugar: 13
- Sodium: 95
- Fat: 8
- Saturated Fat: 5
- Carbohydrates: 22
- Fiber: 1
- Protein: 2
Keywords: pumpkin snickerdoodle, brown butter cookies, fall cookies, pumpkin cookies, snickerdoodle recipe, easy cookie recipe