Love this? Save it for later!
Share the inspiration with your friends
My neighbor swore she hated pumpkin desserts. For years. Every fall, she’d politely decline a slice of pie or a muffin, claiming the flavor was “too much.” Then, one rainy Thursday last October, I dropped off a pan of these pumpkin cheesecake bars just to be neighborly. I didn’t mention what was in them. I just said, “Here, something cozy for the rain.” I found her standing at my door the next morning, empty pan in hand, asking for the recipe. She’d eaten two. For breakfast. She looked almost annoyed about it. Honestly, I think she was mad at how good they were.
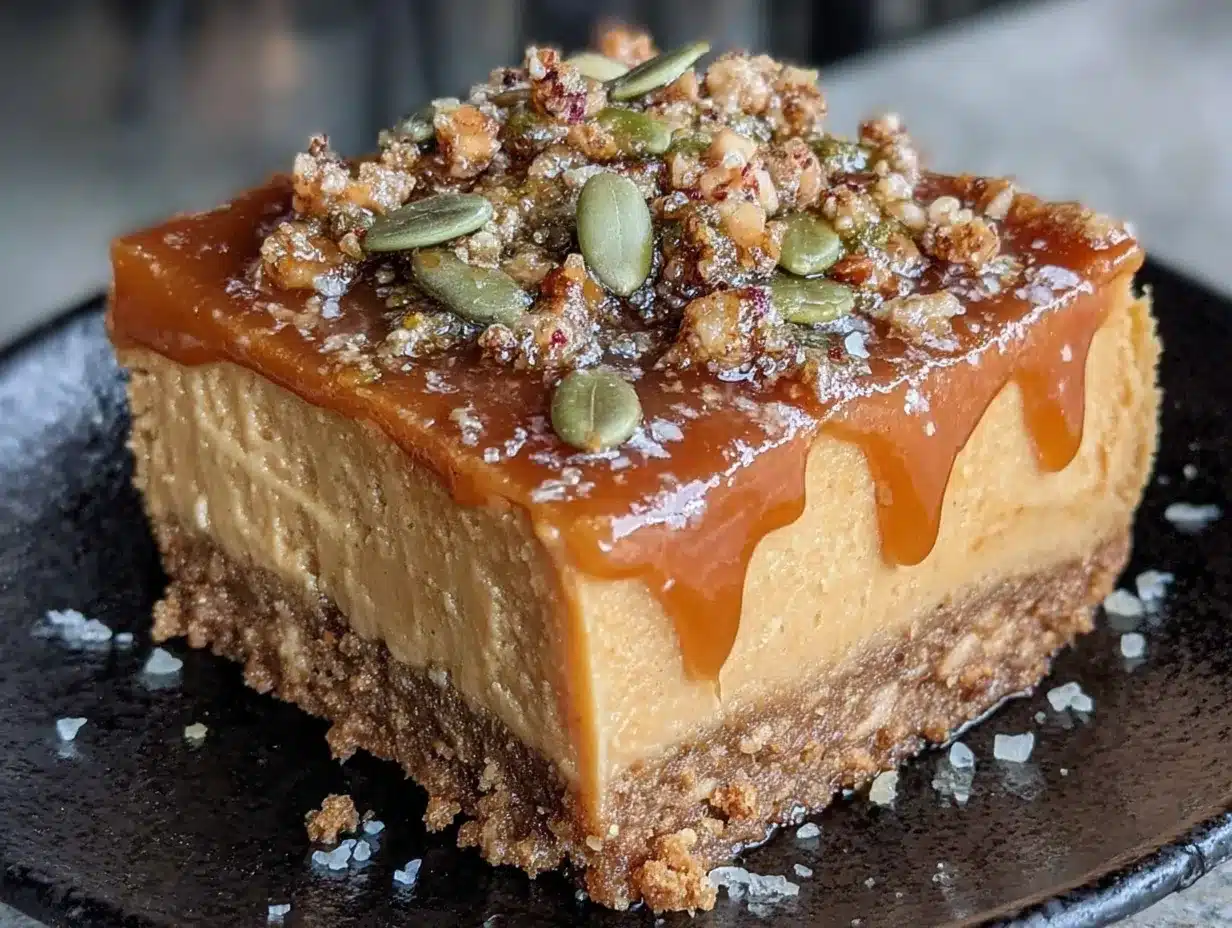
That’s the thing about these bars. They sneak up on you. The pumpkin is there, sure, but it’s not shouting. It’s wrapped up in this creamy, tangy cheesecake layer and sitting on top of a buttery, spiced graham cracker crust. It’s the kind of dessert that makes you close your eyes after the first bite, not because it’s fancy, but because it just feels right. You know that feeling? When the weather turns cold and you just need something that feels like a hug?
I’ve been making these for years, and they’ve become my go-to for everything from Thanksgiving dessert tables to quiet Tuesday nights with a cup of tea. They’re forgiving, they’re beautiful, and they taste like you spent way more time on them than you actually did. Let me tell you, there’s nothing better than pulling a pan of these out of the oven, the whole kitchen smelling like cinnamon and nutmeg, and knowing you’ve got something special waiting for you. Maybe you’ve been burned by dry pumpkin bars before. I get it. I have too. But these are different. This is the one that changed my neighbor’s mind, and honestly, it might just change yours too.
Why You’ll Love These Pumpkin Cheesecake Bars
I’ve tested this recipe more times than I can count. I’ve made it with full-fat cream cheese, low-fat cream cheese, and even a block that I accidentally left out too long. It still worked. That’s the kind of recipe this is—forgiving, reliable, and absolutely delicious. Here’s why it stands out from the rest.
- Simple Ingredients: You probably already have most of these in your pantry. No weird extracts or hard-to-find spices. Just good, honest baking staples.
- No Water Bath Required: I hate dealing with water baths. They leak, they’re fussy, and they steam up your oven. These bars bake up perfectly smooth without one. It’s a game-changer.
- Perfect for Fall Gatherings: Whether it’s a Friendsgiving potluck or a cozy dinner party, these bars travel well and slice beautifully. They always get rave reviews.
- That Graham Crust: It’s not just a crust—it’s a buttery, spiced foundation that holds everything together. I’ve had people ask for the crust recipe alone.
- Unbelievably Creamy: The secret is a little cornstarch and room-temperature ingredients. It makes the filling silky and smooth, not dense or heavy.
This isn’t just another pumpkin dessert. It’s the one that makes you forget about pumpkin pie entirely. The tangy cream cheese cuts through the sweetness of the pumpkin, and the crust adds that salty-sweet crunch that keeps you coming back for “just one more bite.” It’s comfort food reimagined—familiar, but somehow better than you remembered.
What Ingredients You Will Need
This recipe uses simple, wholesome ingredients to create something truly special. Most of these are pantry staples, which makes this a great last-minute dessert option. Here’s what you’ll need and why each one matters.
For the Graham Cracker Crust
- 1 ½ cups graham cracker crumbs (about 12 full sheets, crushed fine) — I like to use Nabisco brand for a consistent texture. You can pulse them in a food processor or crush them in a zip-top bag with a rolling pin.
- ¼ cup granulated sugar — Just enough to sweeten the crust without making it candy-like.
- ½ cup unsalted butter, melted — This binds the crumbs and adds that rich, buttery flavor. Use salted butter if that’s what you have, just skip the pinch of salt.
- ½ teaspoon ground cinnamon — A little warmth in the crust that pairs perfectly with the pumpkin.
- Pinch of salt — Balances the sweetness and enhances the butter flavor.
For the Cheesecake Filling
- 16 ounces cream cheese, softened — Two 8-ounce blocks. Make sure they’re at room temperature. Cold cream cheese leads to a lumpy filling. I recommend Philadelphia for the creamiest results.
- ¾ cup granulated sugar — Sweetens the filling without overpowering the tanginess of the cream cheese.
- 2 large eggs, room temperature — Room temperature eggs incorporate more evenly into the batter, giving you a smoother texture.
- 1 teaspoon vanilla extract — Pure vanilla extract makes a difference here. Avoid imitation vanilla if you can.
- 1 tablespoon all-purpose flour — This helps stabilize the cheesecake and prevents cracking. Cornstarch works too.
For the Pumpkin Layer
- 1 cup pumpkin puree — Not pumpkin pie filling. Make sure you grab the 100% pure pumpkin puree. I like Libby’s for its consistent thickness.
- ½ cup brown sugar, packed — Adds a deeper, molasses-like sweetness that complements the pumpkin.
- 1 large egg, room temperature — Helps bind the pumpkin layer.
- 1 teaspoon pumpkin pie spice — You can use a store-bought blend or make your own with cinnamon, nutmeg, ginger, and cloves.
- ½ teaspoon ground cinnamon — For extra warmth.
- ¼ teaspoon salt — Brings out all the flavors.
Equipment Needed
- 9×13-inch baking pan — This is the perfect size for these bars. A metal pan works best for even baking.
- Parchment paper — Line your pan with parchment, leaving some overhang on the long sides. This makes lifting the bars out a breeze.
- Large mixing bowls — You’ll need separate bowls for the crust, cheesecake filling, and pumpkin layer.
- Hand mixer or stand mixer — A hand mixer works great here. You don’t need anything fancy.
- Food processor or zip-top bag — For crushing the graham crackers. I’ve used a rolling pin and a zip-top bag more times than I can count.
- Spatula — A good rubber spatula is your best friend for scraping down the sides of the bowl.
Preparation Method
Let’s get baking. This recipe comes together in about 20 minutes of active prep time. The hardest part is waiting for them to chill.
Step 1: Preheat and Prep the Pan
Preheat your oven to 350°F (175°C). Line your 9×13-inch baking pan with parchment paper, leaving about 2 inches of overhang on the long sides. This will make lifting the bars out so much easier later. Lightly spray the parchment with non-stick cooking spray.
Step 2: Make the Crust
In a medium bowl, combine the graham cracker crumbs, ¼ cup sugar, ½ teaspoon cinnamon, and a pinch of salt. Pour in the melted butter and stir with a fork until all the crumbs are evenly moistened. They should look like wet sand. Press the mixture firmly and evenly into the bottom of your prepared pan. I use the bottom of a measuring cup to really pack it down. Bake for 10 minutes, then set aside to cool slightly while you make the filling.
Step 3: Make the Cheesecake Filling
In a large bowl, beat the softened cream cheese with an electric mixer on medium speed until smooth and creamy, about 2 minutes. Scrape down the sides of the bowl. Add the ¾ cup granulated sugar and beat until combined. Add the eggs one at a time, beating on low after each addition until just incorporated. Don’t overmix. Stir in the vanilla and the tablespoon of flour. The mixture should be smooth and silky. Set aside.
Step 4: Make the Pumpkin Layer
In a separate medium bowl, whisk together the pumpkin puree, brown sugar, 1 egg, pumpkin pie spice, cinnamon, and salt until smooth. It should smell like fall in a bowl.
Step 5: Layer the Fillings
Pour the cheesecake filling over the pre-baked crust and spread it into an even layer. Then, dollop the pumpkin mixture on top in spoonfuls. Use a butter knife or a skewer to gently swirl the two layers together. Don’t over-swirl—you want distinct ribbons of pumpkin and cheesecake. A few gentle figure-eights will do the trick.
Step 6: Bake
Bake for 35 to 40 minutes, or until the edges are set and the center is just slightly jiggly. It will firm up as it cools. If the top starts to brown too quickly, tent the pan loosely with foil for the last 10 minutes.
Step 7: Cool and Chill
Let the bars cool completely on a wire rack. Once they’re at room temperature, cover the pan with plastic wrap and refrigerate for at least 4 hours, or overnight. This is the hardest step, but it’s non-negotiable. The bars need time to set properly. Once chilled, use the parchment overhang to lift the entire slab out of the pan. Slice into squares with a sharp knife, wiping the blade clean between cuts for neat edges.
Cooking Tips & Techniques
I’ve made these bars at least a dozen times, and I’ve learned a few things along the way. First, don’t skip the room temperature step. Cold cream cheese creates lumps, and cold eggs can cause the batter to curdle. It’s a small thing that makes a huge difference. I once tried to speed things up by microwaving my cream cheese, and it melted in spots. The texture was off. Learn from my mistakes.
Second, press that crust firmly. If it’s too loose, it will crumble when you cut the bars. I use the bottom of a flat measuring cup to really pack it down. It takes an extra 30 seconds, but it’s worth it. Third, don’t over-swirl the pumpkin and cheesecake layers. A few gentle passes is all you need. You want distinct layers, not a muddy mess.
Finally, be patient with the chilling time. I know it’s tempting to dig in after an hour, but the bars won’t hold their shape. Trust me, I’ve been there. Four hours is the minimum, but overnight is best. The flavors meld together and the texture becomes perfectly creamy.
Variations & Adaptations
One of the best things about this recipe is how easy it is to adapt. For a gluten-free version, use gluten-free graham crackers or crushed gluten-free cookies. I’ve made it with Kinnikinnick brand graham-style crumbs, and it worked beautifully. For a nutty twist, swap half the graham cracker crumbs for finely chopped pecans or walnuts. The crunch is amazing.
If you want a little extra indulgence, drizzle the finished bars with a simple caramel sauce or a dollop of whipped cream. I’ve also added a handful of mini chocolate chips to the pumpkin layer before swirling. It sounds weird, but chocolate and pumpkin are a surprisingly good match. For a lower-sugar version, you can reduce the sugar in the cheesecake filling to ½ cup. The bars will still be plenty sweet from the crust and the pumpkin layer.
One of my favorite variations is adding a splash of bourbon to the pumpkin layer. Just a tablespoon. It adds a warm, grown-up depth that’s perfect for holiday gatherings. I tried it one year when I was out of vanilla, and it was a happy accident.
Serving & Storage Suggestions
These bars are best served cold, straight from the fridge. The texture is firm and creamy, like a classic cheesecake. If you prefer a softer bite, let them sit at room temperature for 10 to 15 minutes before serving. I like to top each bar with a small dollop of whipped cream and a light dusting of cinnamon. It looks pretty on a plate and adds a little something extra.
For storage, keep the bars in an airtight container in the refrigerator for up to 5 days. They actually get better after a day or two as the flavors meld together. You can also freeze them for up to 3 months. Wrap individual bars tightly in plastic wrap, then place them in a freezer-safe bag. To thaw, just transfer them to the fridge overnight. I’ve done this for holiday prep, and they taste just as fresh.
If you’re serving these at a party, slice them ahead of time and arrange them on a platter. They look gorgeous with their swirled top and golden crust. I once brought them to a Friendsgiving, and someone asked if they were from a bakery. That’s the kind of compliment that sticks with you.
Nutritional Information & Benefits
While these are definitely a treat, they’re not without some redeeming qualities. Pumpkin is packed with vitamin A and fiber, which is good for your immune system and digestion. The cream cheese provides a decent amount of calcium and protein, and the eggs add a little more protein to the mix. One bar (based on 12 servings) contains approximately 320 calories, 18 grams of fat, 36 grams of carbohydrates, and 5 grams of protein. These numbers are estimates and will vary based on your specific ingredients.
For those with dietary restrictions, this recipe can be adapted. Use a gluten-free crust for a gluten-free option. To make it dairy-free, substitute the cream cheese with a high-quality dairy-free alternative like Kite Hill or Miyoko’s and use a plant-based butter for the crust. I’ve tested it with Miyoko’s cream cheese, and the texture was slightly softer but still delicious.
Frequently Asked Questions
Can I use a different crust?
Absolutely. A shortbread crust or a gingersnap crust would work wonderfully here. Gingersnaps add an extra layer of spice that pairs beautifully with the pumpkin.
Why did my cheesecake crack?
Cracks usually happen when the cheesecake is overbaked or when it cools too quickly. Make sure you pull it out of the oven when the center is still slightly jiggly. Let it cool slowly on the counter before refrigerating.
Can I make these in a different pan size?
Yes, but you’ll need to adjust the baking time. A 9×9-inch pan will yield thicker bars and will need about 45 to 50 minutes of baking time. An 8×8-inch pan will need even longer. Keep an eye on the center.
Can I use fresh pumpkin puree?
You can, but fresh pumpkin puree has a higher water content than canned. You’ll need to strain it through a cheesecloth or a clean kitchen towel to remove excess liquid, or your bars might turn out watery.
How do I get clean slices?
Use a sharp knife and wipe it clean with a damp paper towel between each cut. For the cleanest slices, chill the bars thoroughly first. A warm knife can also help—run it under hot water and dry it off before slicing.
Conclusion
These pumpkin cheesecake bars are the kind of recipe that becomes a tradition. They’re easy enough for a weekday baking project, but impressive enough for a holiday table. The buttery graham crust, the creamy cheesecake, the spiced pumpkin swirl—it all comes together in a way that feels both familiar and special. I’ve made them for potlucks, for Thanksgiving, and for no reason at all, and they’ve never let me down.
I hope you give them a try. And if you do, I’d love to hear about it. Leave a comment below and let me know how they turned out. Did you add a twist? Did your picky neighbor eat two for breakfast? Share your stories—I read every single one. Until then, happy baking, and may your kitchen always smell like cinnamon and butter.
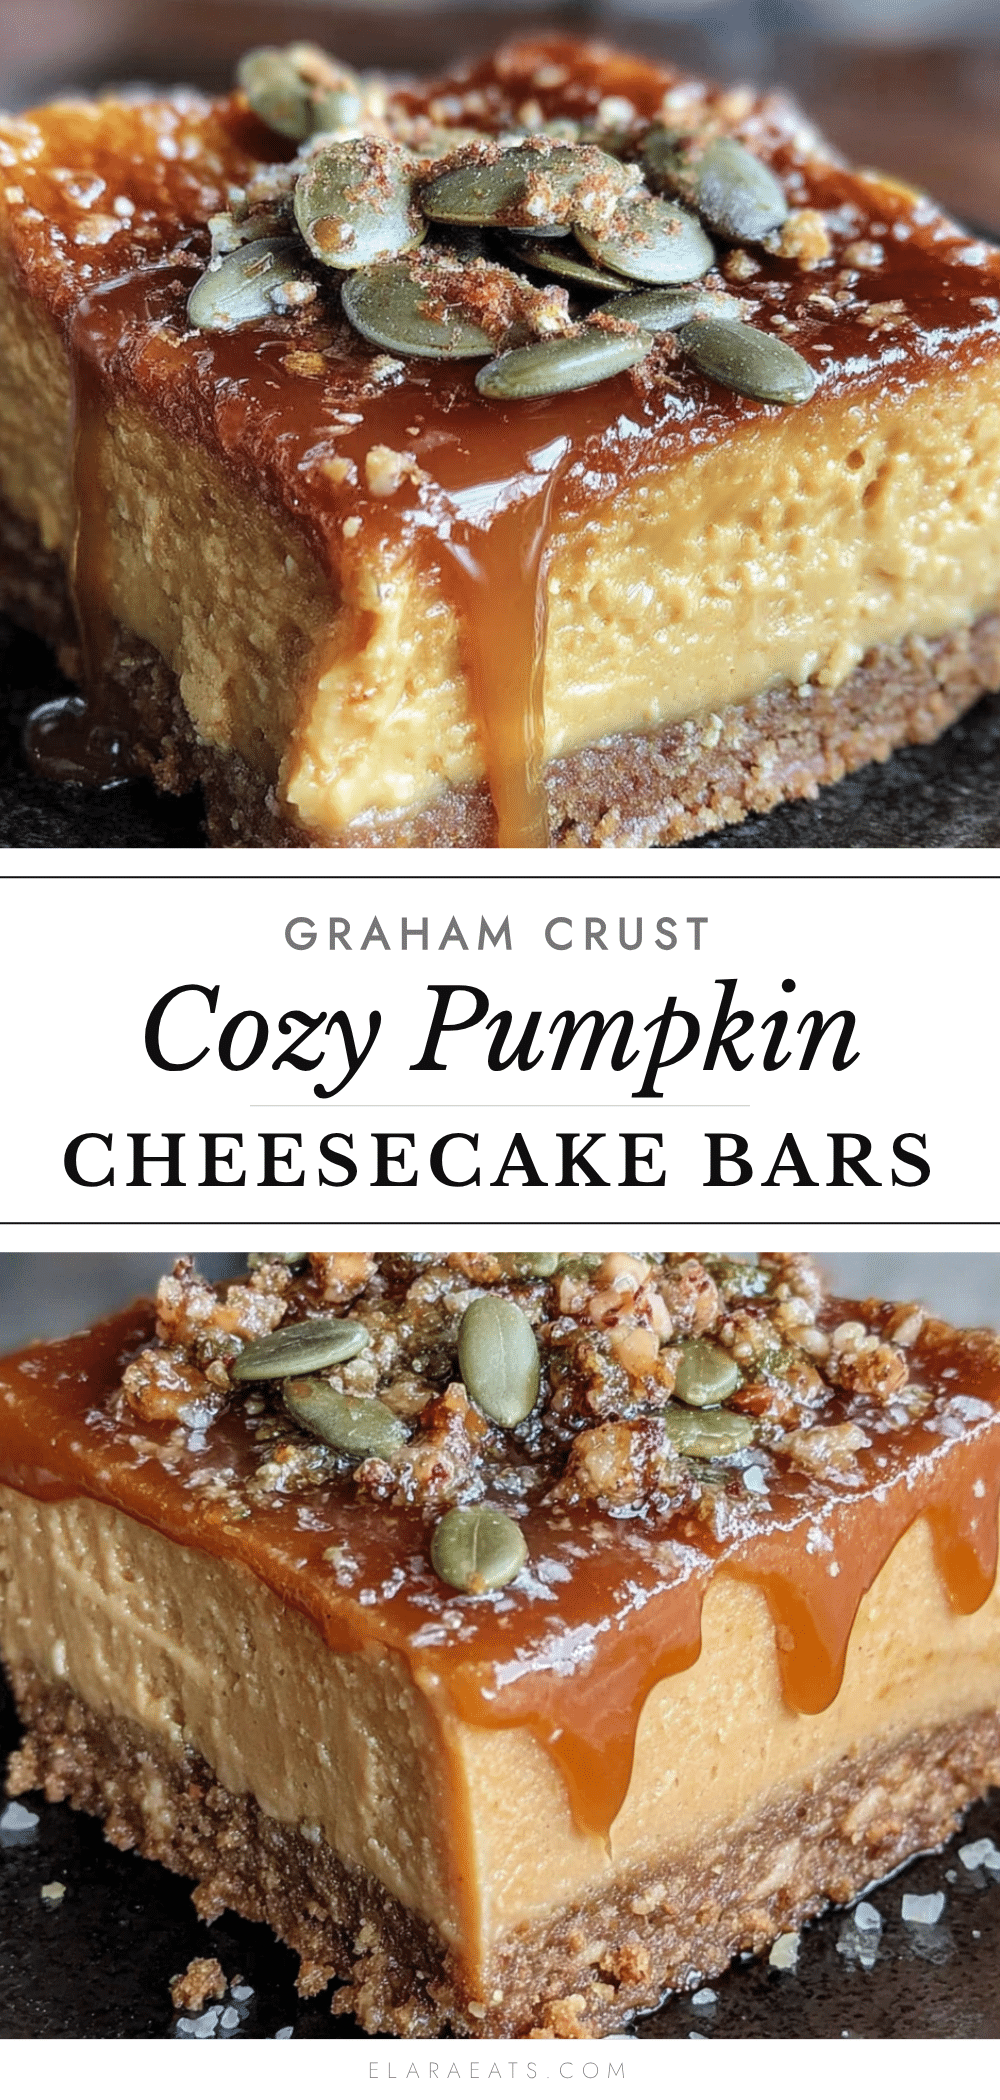
Pin This Recipe!
Best Easy Pumpkin Cheesecake Bars with Graham Crust
These pumpkin cheesecake bars feature a buttery, spiced graham cracker crust, a creamy cheesecake layer, and a swirled pumpkin topping. They’re easy to make, require no water bath, and are perfect for fall gatherings.
- Prep Time: 20 minutes
- Cook Time: 35 minutes
- Total Time: 4 hours 55 minutes (includes chilling)
- Yield: 12 servings 1x
- Category: Dessert
- Cuisine: American
Ingredients
- 1 ½ cups graham cracker crumbs (about 12 full sheets, crushed fine)
- ¼ cup granulated sugar
- ½ cup unsalted butter, melted
- ½ teaspoon ground cinnamon
- Pinch of salt
- 16 ounces cream cheese, softened
- ¾ cup granulated sugar
- 2 large eggs, room temperature
- 1 teaspoon vanilla extract
- 1 tablespoon all-purpose flour
- 1 cup pumpkin puree (not pumpkin pie filling)
- ½ cup brown sugar, packed
- 1 large egg, room temperature
- 1 teaspoon pumpkin pie spice
- ½ teaspoon ground cinnamon
- ¼ teaspoon salt
Instructions
- Preheat oven to 350°F (175°C). Line a 9×13-inch baking pan with parchment paper, leaving overhang on the long sides. Lightly spray with non-stick cooking spray.
- In a medium bowl, combine graham cracker crumbs, ¼ cup sugar, ½ teaspoon cinnamon, and a pinch of salt. Pour in melted butter and stir until crumbs are evenly moistened. Press firmly into the bottom of the prepared pan. Bake for 10 minutes, then set aside to cool slightly.
- In a large bowl, beat softened cream cheese with an electric mixer on medium speed until smooth, about 2 minutes. Add ¾ cup granulated sugar and beat until combined. Add eggs one at a time, beating on low after each addition. Stir in vanilla and flour until smooth. Set aside.
- In a separate medium bowl, whisk together pumpkin puree, brown sugar, 1 egg, pumpkin pie spice, cinnamon, and salt until smooth.
- Pour cheesecake filling over the pre-baked crust and spread evenly. Dollop pumpkin mixture on top in spoonfuls. Gently swirl with a butter knife or skewer to create ribbons.
- Bake for 35 to 40 minutes, until edges are set and center is slightly jiggly. Tent with foil if top browns too quickly.
- Cool completely on a wire rack, then cover and refrigerate for at least 4 hours or overnight. Use parchment overhang to lift bars out, then slice into squares.
Notes
Make sure cream cheese and eggs are at room temperature for a smooth filling. Press the crust firmly to prevent crumbling. Do not over-swirl the layers. Chill for at least 4 hours for clean slices. For gluten-free, use gluten-free graham crackers. For a nutty twist, replace half the graham cracker crumbs with finely chopped pecans or walnuts.
Nutrition
- Serving Size: 1 bar
- Calories: 320
- Sugar: 24
- Sodium: 280
- Fat: 18
- Saturated Fat: 10
- Carbohydrates: 36
- Fiber: 2
- Protein: 5
Keywords: pumpkin cheesecake bars, pumpkin bars, cheesecake bars, fall dessert, graham cracker crust, easy pumpkin dessert


