Love this? Save it for later!
Share the inspiration with your friends
I had a firm policy against canning for years. It seemed like a complicated science experiment that required a special degree and a lot of rubber gloves. Then a neighbor handed me a jar of her homemade preserves one Tuesday afternoon, and I nearly fell over. The texture was soft, the flavor was pure fruit, and there was this subtle warmth I couldn’t place. She finally admitted it was a split vanilla bean, and that was it. I was hooked before I even asked for the recipe.
So I went home, bought too many pears, and made a glorious mess of my kitchen. The first batch was too runny, the second was too stiff, and the third—well, the third was just right. That was the moment I realized you don’t need a pantry full of equipment or a weekend-long project. You just need a small batch of ripe pears, a vanilla bean, and a little patience.
This small batch vanilla pear preserves recipe is the one that changed my mind about preserving fruit. It’s simple enough for a Tuesday night, but special enough to give as a gift. Maybe you’ve been there—intimidated by the idea of canning, or just not sure where to start. Honestly, I get it. But let me tell you, once you taste this, you’ll understand why I keep a jar in my fridge at all times.
Why You’ll Love This Recipe
This isn’t just another fruit preserve recipe. It’s the kind that makes you want to eat it straight from the jar with a spoon. Here’s why this one stands out from the rest:
- Quick & Easy: Comes together in under an hour, perfect for a lazy Sunday afternoon or a last-minute hostess gift.
- Simple Ingredients: No fancy pectin or mysterious additives. You likely already have everything in your kitchen except the vanilla bean.
- Perfect for Gift-Giving: Tie a ribbon around the jar and you’ve got a homemade present that looks like it came from a fancy boutique.
- Crowd-Pleaser: I’ve yet to meet someone who doesn’t love the combination of sweet pears and warm vanilla.
- Unbelievably Delicious: The texture is soft and spreadable, with little chunks of pear that melt on your tongue. The vanilla adds a cozy depth that plain pear jam just can’t match.
What makes this recipe different is the technique. Instead of using commercial pectin, we rely on the natural pectin in the pears and a slow simmer to achieve that perfect set. It’s a more forgiving method, and it lets the fruit flavor shine through without any artificial taste.
This recipe also taps into something deeper. It’s the kind of food that makes you close your eyes after the first bite. It’s comfort in a jar—a little taste of fall that you can enjoy year-round. Perfect for slathering on fresh bread, stirring into yogurt, or spooning over vanilla ice cream.
What Ingredients You Will Need
This recipe uses simple, wholesome ingredients to deliver bold flavor and satisfying texture without the fuss. Most of these are pantry staples, which makes this an easy project to tackle on a whim.
- 2 pounds ripe but firm pears (about 4-5 medium pears, peeled, cored, and diced into ½-inch pieces). I prefer Bartlett or Bosc pears for their sweet flavor and good texture. (Look for pears that yield slightly to gentle pressure near the stem.)
- 1 ½ cups granulated sugar (adds sweetness and helps with preservation). You can reduce this slightly if your pears are very sweet, but don’t go below 1 cup or the preserves may not set properly.
- 1 vanilla bean (split lengthwise, seeds scraped). This is where the magic happens. I recommend using a plump, moist vanilla bean from Madagascar for the best floral notes. Avoid imitation vanilla extract here—it won’t give you the same depth.
- 2 tablespoons fresh lemon juice (about half a lemon). This adds brightness and helps balance the sweetness. It also helps the preserves set by providing natural acidity.
- ¼ cup water (helps the pears cook down without burning before they release their own juices).
Ingredient Selection Tips: For the best flavor, use pears that are ripe but still firm. Overly soft pears will turn into mush, while underripe pears won’t have enough natural sweetness. If you can’t find a vanilla bean, you can substitute 1 teaspoon of pure vanilla extract added at the very end of cooking—but honestly, the bean makes a noticeable difference.
Substitution Guidance: For a lower-sugar version, you can use a no-sugar-needed pectin following the package directions, but the texture will be slightly different. You can also swap the granulated sugar with coconut sugar, though the color will be darker and the flavor will have a slight caramel note.
Equipment Needed
You don’t need a lot of fancy gear for this recipe, which is part of why I love it. Here’s what you’ll need:
- Large heavy-bottomed pot or Dutch oven (4-quart size works perfectly). The heavy bottom helps distribute heat evenly and prevents scorching.
- Wooden spoon or silicone spatula for stirring. I prefer a wooden spoon because it doesn’t scratch your pot and it feels right for the job.
- Sharp knife and cutting board for prepping the pears.
- Small bowl for the vanilla bean seeds.
- Glass jars with lids (two 8-ounce jars or one 16-ounce jar). Make sure they’re clean and sterilized. You can sterilize them by boiling them in water for 10 minutes or running them through the dishwasher on a hot cycle.
- Canning funnel (optional but helpful for transferring the preserves into jars without making a mess).
- Tongs for handling hot jars.
Budget-Friendly Options: If you don’t have a Dutch oven, any heavy-bottomed pot will work—just keep a closer eye on it to prevent sticking. You can also reuse jars from store-bought pasta sauce or pickles, as long as they’re thoroughly cleaned and have tight-fitting lids.
Preparation Method
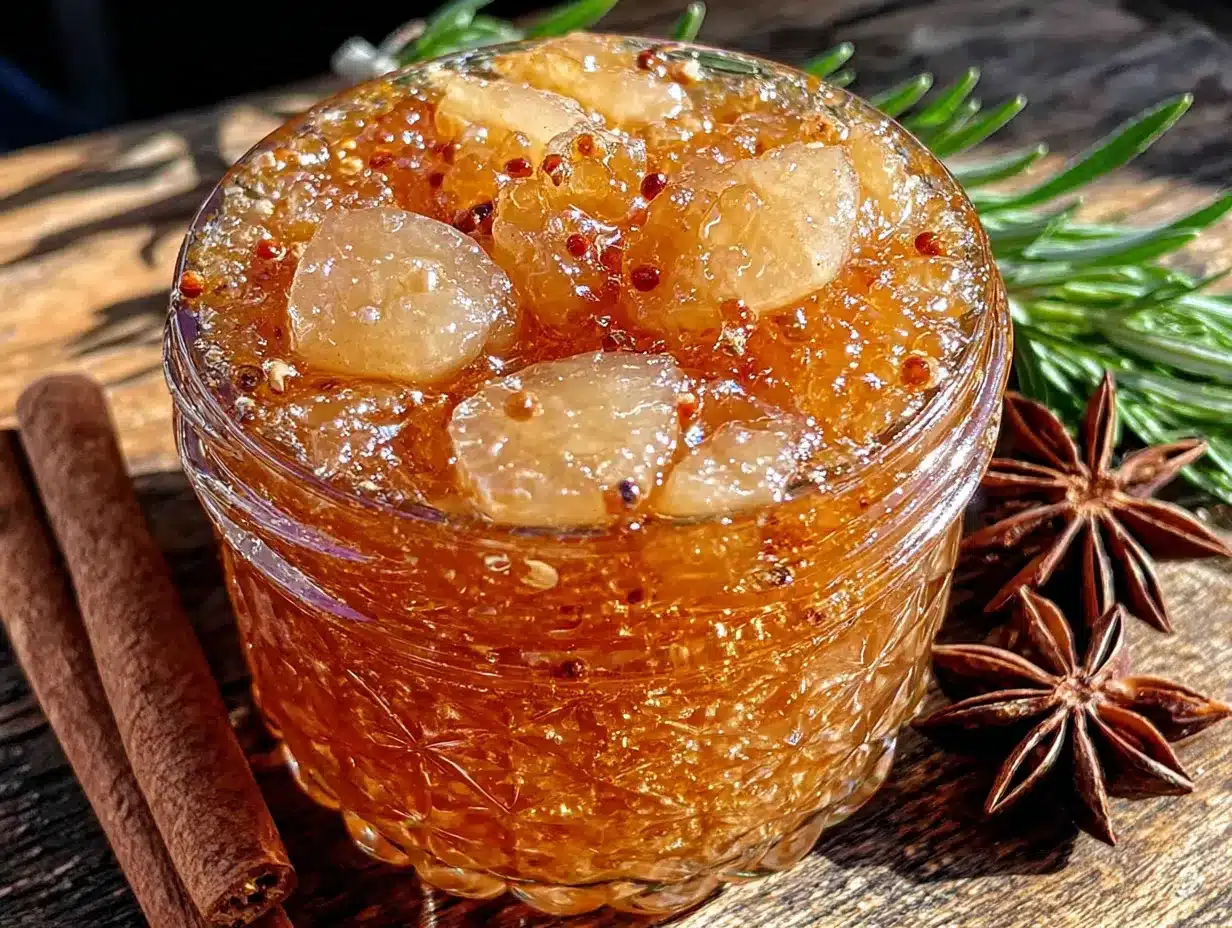
This method is straightforward, but I’ll walk you through every step so you feel confident. Take your time, and don’t rush the simmering—that’s where the flavor develops.
- Prepare the pears: Peel the pears, cut them in half, and remove the cores with a melon baller or small spoon. Dice the pears into ½-inch pieces. You should have about 4 cups of diced fruit. (Pro tip: work quickly and toss the diced pears with a little lemon juice to prevent browning.)
- Split the vanilla bean: Using a sharp paring knife, split the vanilla bean lengthwise down the center. Use the back of the knife to scrape out the tiny black seeds. Don’t discard the pod—it still has tons of flavor and will go into the pot.
- Combine ingredients: In your large pot, combine the diced pears, sugar, lemon juice, water, vanilla bean seeds, and the empty vanilla pod. Stir everything together with your wooden spoon until the sugar starts to dissolve.
- Maceration (resting) time: Let the mixture sit for 15-20 minutes. This allows the sugar to draw out the pears’ natural juices, which helps everything cook more evenly. You’ll notice the pears start to look glossy and the sugar turns syrupy.
- Start cooking: Place the pot over medium-high heat and bring the mixture to a boil, stirring occasionally. Once it reaches a full rolling boil (bubbles that don’t stop when you stir), reduce the heat to medium-low.
- Simmer and stir: Let the preserves simmer gently for 25-35 minutes, stirring every few minutes to prevent sticking. You’ll notice the mixture thickening and the pears becoming translucent. The color will deepen to a lovely golden amber.
- Check for doneness: To test if your preserves are ready, place a small plate in the freezer for a few minutes. Drop a teaspoon of the hot preserves onto the cold plate. Let it sit for 30 seconds, then push it with your finger. If it wrinkles and doesn’t run back together, it’s done. If it’s still runny, cook for another 5 minutes and test again.
- Remove the vanilla pod: Fish out the empty vanilla bean pod with your tongs. Rinse it off and let it dry—you can bury it in a jar of sugar to make vanilla sugar later!
- Ladle into jars: Using your canning funnel, carefully ladle the hot preserves into your sterilized jars, leaving about ¼ inch of headspace at the top. Wipe the rims clean with a damp paper towel, then screw on the lids.
- Process or refrigerate: If you plan to store the preserves at room temperature, process the jars in a boiling water bath for 10 minutes. If you’re going to eat them within a few weeks, just let them cool to room temperature on the counter, then refrigerate.
Sensory Cue: As the preserves cook, your kitchen will fill with the most incredible aroma—sweet pears mingling with warm vanilla. It smells like autumn in a pot, and honestly, it’s one of my favorite parts of making this recipe.
Cooking Tips & Techniques
I’ve made this recipe more times than I can count, and I’ve learned a few things along the way. Here are my best tips for success:
- Don’t skip the maceration step: Letting the pears sit with the sugar draws out their natural juices, which means you need less added water. This concentrates the flavor and helps the preserves set properly.
- Use a wide pot: A wider surface area means faster evaporation, which means your preserves will thicken more quickly. A narrow, deep pot will take longer and may result in overcooked fruit.
- Watch for scorching: Sugar burns easily, especially once the mixture thickens. Stir frequently, especially toward the end of cooking. If you notice dark spots forming on the bottom, reduce the heat immediately.
- Trust the cold plate test: I’ve ruined batches by relying on visual cues alone. The cold plate test is foolproof. It takes an extra minute, but it saves you from ending up with pear syrup instead of preserves.
- Let the flavors meld: The preserves taste good right away, but they’re even better after a day or two in the fridge. The vanilla flavor deepens and the pears soften further. So if you can wait, do it.
Common Mistake: The first time I made this, I walked away from the pot for “just a second” to answer the phone. I came back to a scorched mess that smelled like burnt sugar and regret. Now I set a timer and stay nearby. Learn from my mistake—don’t multitask during the last 10 minutes of cooking.
Variations & Adaptations
This recipe is wonderfully flexible. Here are a few ways to make it your own:
- Spiced Pear Preserves: Add 1 cinnamon stick, 3 whole cloves, and a star anise to the pot while the preserves simmer. Remove the spices before jarring. It’s like autumn in a jar.
- Ginger-Pear Preserves: Add 2 tablespoons of finely grated fresh ginger along with the pears. The spicy kick pairs beautifully with the sweet vanilla.
- Low-Sugar Version: Reduce the sugar to ¾ cup and add 1 tablespoon of Pomona’s Universal Pectin (follow the package directions for low-sugar recipes). The texture will be a bit looser, but the flavor will still be fantastic.
- Honey-Sweetened Preserves: Replace the granulated sugar with 1 cup of honey. Keep in mind that honey is sweeter than sugar, so you may want to start with ¾ cup and adjust to taste. The preserves will be darker and have a more complex flavor.
- Boozy Pear Preserves: Stir in 2 tablespoons of bourbon or brandy during the last 5 minutes of cooking. The alcohol mostly cooks off, leaving behind a warm, grown-up flavor.
Personal Variation: I once added a pinch of smoked sea salt to the pot just before jarring, and it was a revelation. The salt enhances the sweetness and adds a subtle smokiness that makes the preserves incredible on a cheese plate.
Serving & Storage Suggestions
These preserves are incredibly versatile. Here’s how I love to use them:
- On Toast or Biscuits: Spread generously on warm, buttered toast, scones, or flaky biscuits. It’s my go-to breakfast on a cozy morning.
- With Cheese: Pair with brie, camembert, or aged cheddar on a cheese board. The sweetness of the pears cuts through the richness of the cheese perfectly.
- Over Yogurt or Oatmeal: Swirl a spoonful into plain Greek yogurt or warm oatmeal for an instant flavor upgrade.
- As a Glaze: Warm a few tablespoons and brush over roasted pork, chicken, or salmon during the last few minutes of cooking. It adds a beautiful shine and a sweet-savory flavor.
- In Cocktails: Stir a spoonful into sparkling water or use it to sweeten a bourbon or gin cocktail. The vanilla and pear notes are lovely with spirits.
Storage Instructions: If you processed the jars in a water bath, they’ll keep in a cool, dark pantry for up to 1 year. Once opened, store in the refrigerator and use within 3 weeks. If you skipped the water bath, store the jars in the refrigerator immediately and use within 3 weeks. You can also freeze the preserves in freezer-safe containers for up to 6 months—just leave some headspace for expansion.
Flavor Development: The preserves will continue to thicken slightly as they cool and set. The flavor also deepens over time, so if you can resist, let them sit for at least 24 hours before digging in.
Nutritional Information & Benefits
While preserves are a treat, they do offer some nutritional benefits thanks to the pears. Here’s a quick look:
- Calories: Approximately 50 calories per tablespoon.
- Fiber: Pears are a good source of dietary fiber, which supports digestive health. Each tablespoon contains about 1 gram of fiber.
- Vitamin C: Pears provide a modest amount of vitamin C, an antioxidant that supports immune function. The lemon juice adds a little extra.
- Antioxidants: Pears contain flavonoids and other antioxidants that help fight inflammation and oxidative stress.
Dietary Considerations: This recipe is naturally gluten-free, dairy-free, and vegan (as long as you use granulated sugar, which is typically vegan-friendly). The only potential allergen is the pears themselves, which are not a common allergen.
Personal Wellness Perspective: I love that this recipe lets me control exactly what goes into my food. No high-fructose corn syrup, no artificial preservatives, no mysterious “natural flavors.” Just fruit, sugar, vanilla, and a little lemon. It’s a small way to eat a little more intentionally, and it tastes so much better than anything you can buy at the store.
Conclusion
This small batch vanilla pear preserves recipe is proof that you don’t need a lot of time or fancy equipment to make something truly special. It’s the kind of recipe that feels both simple and luxurious—a little jar of homemade goodness that makes everything it touches taste better.
I hope you’ll give it a try, and more importantly, I hope you’ll make it your own. Add a cinnamon stick if that feels right, or leave out the vanilla if you want a pure pear flavor. The beauty of small-batch preserving is that there’s no pressure—just a pot of fruit and a little bit of time.
I’d love to hear how your batch turns out. Did you try a variation? Did you give it as a gift? Let me know in the comments below, and don’t forget to share this recipe with a friend who needs a little homemade sweetness in their life.
Frequently Asked Questions
Can I use canned pears instead of fresh?
I don’t recommend it. Canned pears are already cooked and packed in syrup, which throws off the sugar balance and the texture. Fresh pears give you the best flavor and the most control over the final result.
Do I have to use a vanilla bean, or can I use extract?
You can use 1 teaspoon of pure vanilla extract, but add it at the very end of cooking so the alcohol doesn’t cook off completely. The flavor won’t be quite as deep as with a vanilla bean, but it’s still delicious.
Why didn’t my preserves set?
This usually happens for one of three reasons: you didn’t cook it long enough, your pears were too ripe and low in natural pectin, or you reduced the sugar too much. Try cooking it for another 5-10 minutes and testing again with the cold plate test.
Can I double this recipe?
Absolutely. Just keep in mind that a larger batch will take longer to cook down. Use a larger pot and be patient—the cooking time may increase by 10-15 minutes.
How long do these preserves last?
If canned properly in a water bath, they’ll keep for up to 1 year in a cool, dark pantry. Once opened, refrigerate and use within 3 weeks. If you skip the water bath, keep them in the fridge and use within 3 weeks.
Pin This Recipe!
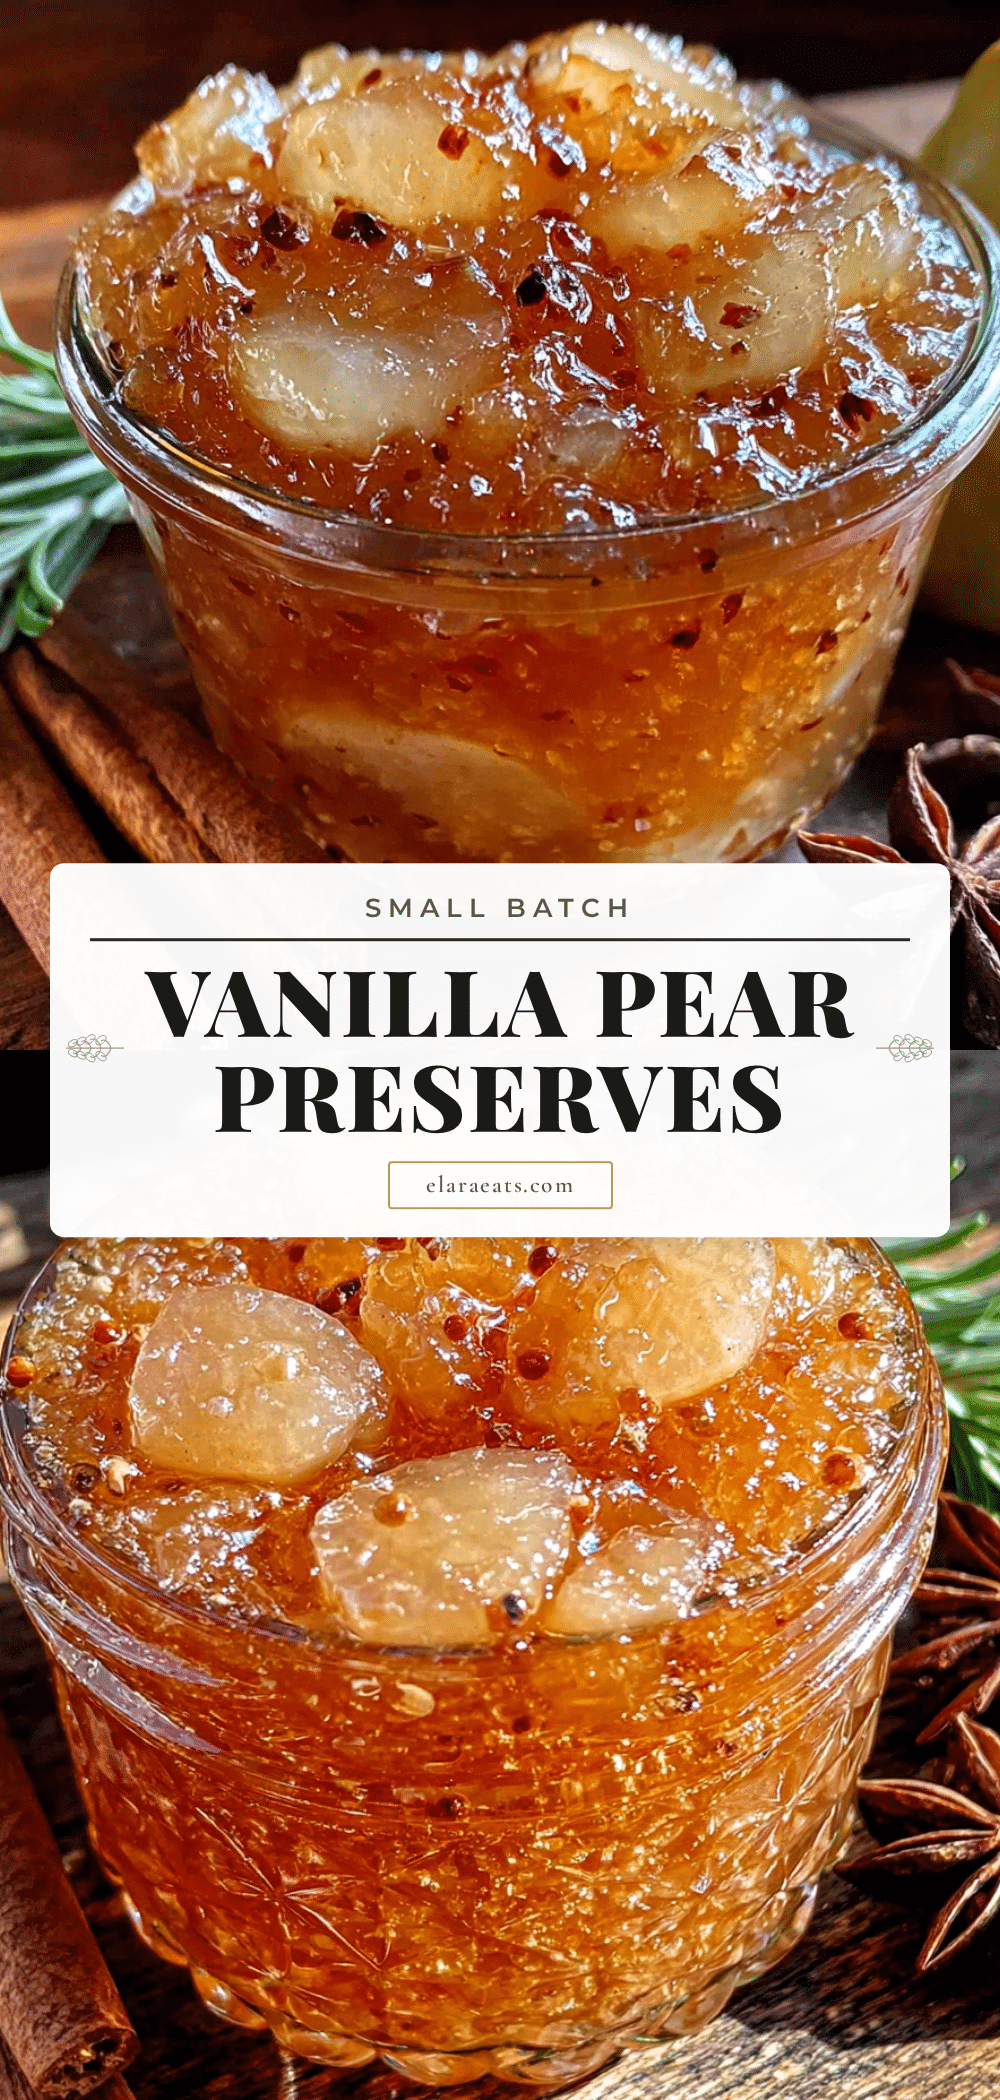
Small Batch Vanilla Pear Preserves – Easy Homemade Recipe
This small batch vanilla pear preserves recipe is simple enough for a Tuesday night, but special enough to give as a gift. It uses ripe pears, a vanilla bean, and a little patience to create a soft, spreadable preserve with a cozy depth of flavor.
- Prep Time: 20 minutes
- Cook Time: 30 minutes
- Total Time: 50 minutes
- Yield: 2 cups (about 2 eight-ounce jars) 1x
- Category: Preserves
- Cuisine: American
Ingredients
- 2 pounds ripe but firm pears (about 4–5 medium pears, peeled, cored, and diced into ½-inch pieces)
- 1 ½ cups granulated sugar
- 1 vanilla bean (split lengthwise, seeds scraped)
- 2 tablespoons fresh lemon juice (about half a lemon)
- ¼ cup water
Instructions
- Prepare the pears: Peel the pears, cut them in half, and remove the cores. Dice the pears into ½-inch pieces. You should have about 4 cups of diced fruit. (Pro tip: work quickly and toss the diced pears with a little lemon juice to prevent browning.)
- Split the vanilla bean: Using a sharp paring knife, split the vanilla bean lengthwise down the center. Use the back of the knife to scrape out the tiny black seeds. Don’t discard the pod—it still has tons of flavor and will go into the pot.
- Combine ingredients: In your large pot, combine the diced pears, sugar, lemon juice, water, vanilla bean seeds, and the empty vanilla pod. Stir everything together with your wooden spoon until the sugar starts to dissolve.
- Maceration (resting) time: Let the mixture sit for 15-20 minutes. This allows the sugar to draw out the pears’ natural juices, which helps everything cook more evenly. You’ll notice the pears start to look glossy and the sugar turns syrupy.
- Start cooking: Place the pot over medium-high heat and bring the mixture to a boil, stirring occasionally. Once it reaches a full rolling boil (bubbles that don’t stop when you stir), reduce the heat to medium-low.
- Simmer and stir: Let the preserves simmer gently for 25-35 minutes, stirring every few minutes to prevent sticking. You’ll notice the mixture thickening and the pears becoming translucent. The color will deepen to a lovely golden amber.
- Check for doneness: To test if your preserves are ready, place a small plate in the freezer for a few minutes. Drop a teaspoon of the hot preserves onto the cold plate. Let it sit for 30 seconds, then push it with your finger. If it wrinkles and doesn’t run back together, it’s done. If it’s still runny, cook for another 5 minutes and test again.
- Remove the vanilla pod: Fish out the empty vanilla bean pod with your tongs. Rinse it off and let it dry—you can bury it in a jar of sugar to make vanilla sugar later!
- Ladle into jars: Using your canning funnel, carefully ladle the hot preserves into your sterilized jars, leaving about ¼ inch of headspace at the top. Wipe the rims clean with a damp paper towel, then screw on the lids.
- Process or refrigerate: If you plan to store the preserves at room temperature, process the jars in a boiling water bath for 10 minutes. If you’re going to eat them within a few weeks, just let them cool to room temperature on the counter, then refrigerate.
Notes
Don’t skip the maceration step—it draws out the pears’ natural juices. Use a wide pot for faster evaporation. Watch for scorching, especially toward the end. The cold plate test is foolproof for checking doneness. The preserves taste even better after a day or two in the fridge as the vanilla flavor deepens.
Nutrition
- Serving Size: 1 tablespoon
- Calories: 50
- Sugar: 12
- Carbohydrates: 13
- Fiber: 1
Keywords: vanilla pear preserves, small batch preserves, homemade jam, pear jam, vanilla bean preserves, easy preserves recipe, gift jam


