Love this? Save it for later!
Share the inspiration with your friends
My neighbor, a guy named Dave, wasn’t trying to impress anyone. I’d stopped by to borrow his leaf blower—mine had given up the ghost mid-yard—and a smell hit me before I even got to his garage door. It was warm, nutty, and sweet, like a candy shop had somehow taken root in his suburban two-car. I found him in the kitchen, not even looking at what his hands were doing, just scooping this dark, crumbly mixture into little balls while half-watching a pre-season game on a tiny TV in the corner.
“What is that?” I asked, probably a little too eagerly. He just shrugged, wiped a smear of chocolate off his thumb, and said, “Oh, just some peanut butter football bites. The kids inhale them.” He tossed me one, still warm from his hands, and honestly, let me tell you—it was a revelation. The texture was perfect: dense but not heavy, with a little crunch that gave way to a creamy, salty-sweet center. I stood there in his messy kitchen, eating three more while he talked about his HOA disputes, and I knew I had to get the recipe.
The beauty of these no-bake peanut butter football bites is that they’re not precious. Dave wasn’t fussing over measurements or chilling times; he was just making something delicious for his family on a random Tuesday. That’s the energy I wanted to capture. Maybe you’ve been there, standing in someone else’s kitchen, watching them throw together something incredible without a second thought. That’s exactly what this recipe is. It’s the kind of snack you make when you want to show up to a party with something impressive but you also want to keep your sanity. You know that feeling when you need a win in the kitchen without a lot of effort? These bites are that win.
Why You’ll Love This Recipe
I’ve made these no-bake peanut butter football bites about a dozen times since that day in Dave’s kitchen, tweaking the ratios until they were just right. I’m not a professional chef, but I’ve tested enough recipes to know when something is foolproof. This one is it. Here’s why you’re going to want these in your regular rotation:
- No Baking Required : We’re not turning on the oven. These come together in about 20 minutes of active work. Just mix, shape, and let them chill. Perfect for hot days or when you need a last-minute treat.
- Simple Pantry Ingredients : You probably have everything you need already. Peanut butter, oats, honey, chocolate chips—these are staples, not specialty items you have to hunt down at a fancy store.
- Perfect for Game Day or Any Day : They look like little footballs, which makes them a total crowd-pleaser for Super Bowl parties or tailgates. But honestly, I make them for no reason at all. They’re great for lunchboxes, post-workout snacks, or a sweet craving without the guilt.
- Crowd-Pleaser Guaranteed : I brought a batch to a work potluck, and they were gone in 15 minutes. A coworker who “doesn’t like peanut butter” even asked for the recipe. It’s the texture—crunchy on the outside from the chocolate, soft and chewy on the inside.
- Unbelievably Satisfying : The flavor combo is next-level comfort food. The saltiness of the peanut butter with the sweetness of the honey and the dark chocolate—it’s a perfect balance. You won’t believe something this easy can taste this good.
What makes these different from other no-bake bites? It’s the technique. I use a little trick of toasting the oats first—just a minute in a dry pan—to bring out their nutty flavor. It’s a tiny step, but it makes a huge difference. Plus, the football shape isn’t just for looks; it makes them easier to dip in chocolate and gives you that perfect ratio of coating to filling. This isn’t just another version of a protein ball—it’s the best version.
What Ingredients You Will Need
This recipe uses simple, wholesome ingredients to deliver bold flavor and satisfying texture without the fuss. Most of these are pantry staples, so you might not even need a grocery trip.
- Rolled Oats (1 ½ cups / 135g): Use old-fashioned rolled oats, not instant. They give the bites a better texture—chewy but not mushy. I prefer Bob’s Red Mill for consistency. For a gluten-free option, make sure your oats are certified gluten-free.
- Creamy Peanut Butter (1 cup / 240g): Natural peanut butter works, but you’ll need to stir it well and it might make the mixture a bit oilier. I recommend a standard processed peanut butter like Skippy or Jif for the best texture—it holds the bites together better. Avoid the “no-stir” natural kinds that have separated oil.
- Honey (⅓ cup / 110g): This is our sweetener and binder. Maple syrup works as a substitute, but the bites will be a little softer. Use a runny honey for easier mixing.
- Chocolate Chips (1 cup / 175g): Semi-sweet or dark chocolate chips are ideal for coating. Milk chocolate makes them too sweet in my opinion. I use Ghirardelli 60% cacao chips for a rich, not-too-sweet coating.
- Coconut Oil (1 tablespoon / 15ml): This is the secret to a smooth, shiny chocolate coating. It helps the chocolate set with a nice snap. Refined coconut oil has no coconut flavor; unrefined adds a subtle coconut taste that pairs well with the peanut butter.
- Flaxseed Meal (2 tablespoons / 14g): This is optional, but I love adding it for a little extra fiber and a nutty flavor. It also helps bind the mixture. You can substitute with chia seeds or just leave it out.
- Salt (¼ teaspoon): Don’t skip this. A little salt enhances the peanut butter flavor and balances the sweetness. If your peanut butter is already salted, you can reduce this to a pinch.
Ingredient Selection Tip: For the best texture, look for a peanut butter that isn’t too oily. If your mixture seems too wet after mixing, add another tablespoon of oats. If it’s too dry, add a teaspoon of honey or a splash of milk.
Equipment Needed
You don’t need a fancy kitchen for these no-bake peanut butter football bites. Here’s what you’ll need:
- Large Mixing Bowl: Any bowl will do, but a wide, shallow one makes mixing easier. I use a glass Pyrex bowl.
- Small Skillet: For toasting the oats. A non-stick pan works best to prevent sticking.
- Measuring Cups and Spoons: For accuracy. Eyeballing it can lead to a dry or sticky mixture.
- Parchment Paper or Silicone Mat: Essential for lining your baking sheet so the bites don’t stick during chilling.
- Baking Sheet: A standard half-sheet pan works perfectly.
- Microwave-Safe Bowl: For melting the chocolate. A glass measuring cup is great because it has a spout for easy dipping.
- Fork or Skewer: For dipping the bites in chocolate. A fork works, but a skewer gives you more control. I’ve used a chopstick in a pinch.
- Refrigerator: You’ll need space to chill the bites for at least 30 minutes. Make sure your baking sheet fits flat.
Budget-Friendly Tip: Don’t have a silicone mat? Parchment paper is cheap and works just as well. If you don’t have a microwave, you can melt the chocolate in a double boiler on the stovetop—just be careful not to get any water in the chocolate, or it will seize.
Preparation Method
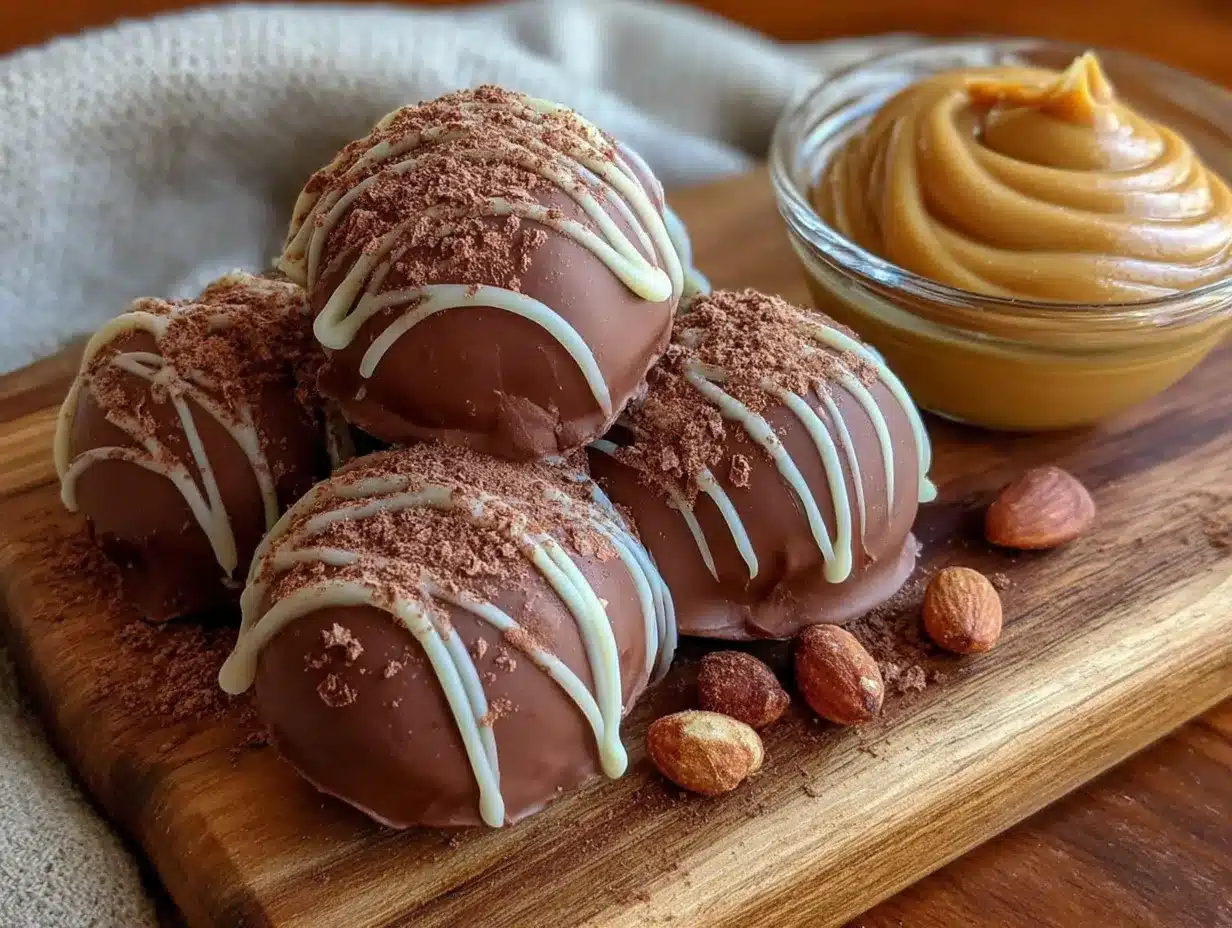
Let’s get into the nitty-gritty. I’ve broken this down into clear steps with all the little details I’ve learned from making these about a dozen times. Don’t rush—the chilling steps are important.
- Toast the Oats (2 minutes): Place your 1 ½ cups of rolled oats in a dry skillet over medium heat. Stir them constantly—don’t walk away! You’re looking for them to become fragrant and just slightly golden, about 2-3 minutes. You’ll smell a nutty aroma when they’re done. Let them cool completely on a plate. This step is optional, but I promise it adds a depth of flavor that makes these bites taste “baked.”
- Mix the Base (5 minutes): In your large mixing bowl, combine the cooled oats, 1 cup of creamy peanut butter, ⅓ cup of honey, 2 tablespoons of flaxseed meal (if using), and ¼ teaspoon of salt. Use a sturdy spatula or your hands—yes, clean hands work best—to mix everything together. It will look crumbly at first, but keep pressing and folding. It should come together into a dough that holds its shape when squeezed. If it’s too dry, add a teaspoon of honey. If it’s too sticky, add a tablespoon of oats.
- Shape the Footballs (10 minutes): Line your baking sheet with parchment paper. Scoop out about 1 ½ tablespoons of the mixture (I use a small cookie scoop for uniformity). Roll it into a ball first, then pinch the ends to form an oval shape—like a football. Press gently to flatten the bottom slightly so they sit flat. Place them on the prepared baking sheet. You should get about 16-18 bites. Pop the baking sheet into the refrigerator for 15 minutes. This firms them up so they don’t fall apart when you dip them in chocolate.
- Melt the Chocolate (3 minutes): While the bites are chilling, make your chocolate coating. Place 1 cup of chocolate chips and 1 tablespoon of coconut oil in a microwave-safe bowl. Microwave in 30-second bursts, stirring well after each, until the chocolate is completely smooth and glossy. Be careful not to overheat it—chocolate can burn easily. If it looks grainy, you’ve gone too far. Start over with fresh chips.
- Dip the Bites (10 minutes): Take the chilled bites out of the fridge. Using a fork or skewer, dip each bite into the melted chocolate, turning to coat completely. Let the excess drip off back into the bowl. Place the coated bite back on the parchment paper. If you want to add a little detail, use a toothpick to draw a small white chocolate “stitching” line down the center of each football while the chocolate is still wet. I use a tiny squeeze bottle for this, but a ziplock bag with a tiny corner cut off works too.
- Final Chill (30 minutes): Return the baking sheet to the refrigerator. Let the bites set for at least 30 minutes, or until the chocolate is firm and snaps when you bite into it. If you’re in a hurry, you can pop them in the freezer for 15 minutes, but watch them—they can get too hard.
Sensory Cues: When you’re mixing the base, it should feel like a stiff cookie dough. When you dip the bites, the chocolate should flow like thick syrup—not too runny, not too thick. The finished bites should have a shiny, hard shell that doesn’t stick to your fingers.
Cooking Tips & Techniques
I’ve had my share of failures in the kitchen, and these no-bake peanut butter football bites have taught me a few things. Here are my hard-earned tips:
- Don’t Skip the Chill: The first time I made these, I was impatient. I skipped the initial 15-minute chill before dipping, and the bites crumbled right into the chocolate. It was a mess. That short chill firms up the peanut butter mixture so it holds its shape. Trust the process.
- Use Room Temperature Peanut Butter: Cold peanut butter is stiff and hard to mix. Let it sit out for 15 minutes before you start. It will blend much more smoothly with the honey and oats.
- Toast the Oats Evenly: I once burned a batch of oats because I got distracted by a phone call. The bites had a bitter, smoky taste. Stir constantly, and don’t leave the pan unattended. The oats go from golden to burnt in about 30 seconds.
- Thin the Chocolate if Needed: If your chocolate coating is too thick for dipping, add another ½ teaspoon of coconut oil. It will make the coating thinner and easier to work with. If it’s too thin, add a few more chocolate chips and stir until melted.
- Work in Batches: Don’t take all the chilled bites out of the fridge at once. They warm up quickly and can get soft. Work with 4-5 at a time, keeping the rest cold. This makes dipping much easier.
Variations & Adaptations
One of the best things about this recipe is how flexible it is. I’ve tried several variations, and they’ve all been winners. Here are some ideas to make it your own:
- Vegan Version: Swap the honey for maple syrup or agave nectar. Use dairy-free chocolate chips (like Enjoy Life brand) and make sure your peanut butter contains no dairy. The texture will be slightly softer, but just as delicious.
- Crunchy Peanut Butter Twist: Use crunchy peanut butter instead of creamy for extra texture. The little peanut pieces add a nice crunch that contrasts with the smooth chocolate coating. I did this for a party, and people loved the surprise.
- Add-Ins: Fold in ¼ cup of mini chocolate chips, shredded coconut, or chopped peanuts before shaping. For a festive touch, add a pinch of cinnamon or a dash of vanilla extract. I once added a tablespoon of cocoa powder to the base for a double-chocolate version—it was divine.
- Protein Boost: Replace ¼ cup of the oats with a scoop of your favorite vanilla or chocolate protein powder. You might need to add an extra tablespoon of honey to keep the mixture from being too dry. These make a great post-workout snack.
- Different Coatings: Not a fan of chocolate? Roll the shaped bites in cocoa powder, powdered sugar, or crushed graham crackers instead. For a white chocolate version, use white chocolate chips and a tiny bit of coconut oil.
Serving & Storage Suggestions
These no-bake peanut butter football bites are best served cold or at cool room temperature. The chocolate shell should be firm and snappy, and the inside should be soft and chewy. Here’s how to serve and store them:
- Serving Temperature: Take them out of the refrigerator about 5 minutes before serving. This takes the edge off the chill without making the chocolate melt. On a warm day, serve them straight from the fridge to prevent them from getting too soft.
- Presentation Ideas: Arrange them on a platter lined with a green napkin to look like a football field. You can also stack them in a small bowl for a casual look. For parties, stick a little flag toothpick in each one with a team name.
- Complementary Dishes: These pair perfectly with a cold glass of milk, a hot cup of coffee, or a tall glass of iced tea. For a game day spread, serve them alongside spicy buffalo wings or salty pretzels—the sweet and salty combo is unbeatable.
- Refrigerator Storage: Store the bites in an airtight container in the refrigerator for up to 2 weeks. Layer them between sheets of parchment paper to prevent them from sticking together. They actually get better after a day or two as the flavors meld.
- Freezer Storage: These freeze beautifully. Place the bites in a single layer on a baking sheet and freeze until solid, then transfer them to a freezer-safe bag or container. They’ll keep for up to 3 months. You can eat them straight from the freezer—they’re like little ice cream bites!
- Reheating: No need to reheat. Just let them sit at room temperature for 5-10 minutes if frozen. For a warm treat, microwave one for 10 seconds—the chocolate gets slightly melty, and the inside becomes gooey.
Nutritional Information & Benefits
These no-bake peanut butter football bites are a healthier alternative to store-bought candy bars. Here’s the estimated nutritional breakdown per bite (based on 16 servings):
| Nutrient | Amount per Bite |
|---|---|
| Calories | 185 |
| Total Fat | 11g |
| Saturated Fat | 4g |
| Carbohydrates | 19g |
| Fiber | 3g |
| Sugar | 11g |
| Protein | 6g |
Health Benefits: Peanut butter is a great source of plant-based protein and healthy monounsaturated fats, which are good for heart health. Oats provide soluble fiber, which helps with digestion and keeps you feeling full. The dark chocolate coating contains antioxidants called flavonoids, which can help reduce inflammation. These bites are also a good source of energy, making them a smart pre-workout or mid-afternoon snack.
Dietary Considerations: This recipe is naturally gluten-free if you use certified gluten-free oats. It’s also vegetarian. For a vegan option, use the substitutions mentioned in the variations section. The main allergens are peanuts, oats, and chocolate (which may contain dairy).
Conclusion
These no-bake peanut butter football bites are exactly what I love about simple cooking. They’re unpretentious, forgiving, and deeply satisfying. That day in Dave’s kitchen, I wasn’t looking for a recipe—I was just borrowing a leaf blower. But I walked away with something better: a snack that has become a staple in my home. I love that I can whip them up in under 30 minutes, that they make my kitchen smell amazing, and that they always, always disappear fast.
I hope you give them a try and make them your own. Maybe you’ll add a little cinnamon, or swap in almond butter, or shape them into little circles instead of footballs. That’s the beauty of a recipe like this—it’s a starting point, not a rulebook. I’d love to hear how yours turn out. Did you try a fun variation? Did your kids help shape them? Drop a comment below and let me know. And if you’re looking for another easy treat, you might also enjoy my crispy chocolate peanut butter cups—they use a similar technique and are just as addictive.
Happy snacking, friends. You’ve got this!
Frequently Asked Questions
Can I use almond butter instead of peanut butter?
Absolutely. Almond butter works great as a substitute. Just note that it has a slightly different consistency—it can be oilier—so you might need to add an extra tablespoon of oats to firm up the mixture. The flavor will be milder and nuttier.
My mixture is too dry and crumbly. What did I do wrong?
This usually happens if your peanut butter is too thick or if you over-measured the oats. Don’t worry—just add a teaspoon of honey or a splash of milk (dairy or non-dairy) and mix again until it comes together. You can also add a tiny bit more peanut butter.
How do I make the chocolate coating perfectly smooth?
The key is the coconut oil. It helps the chocolate melt evenly and sets with a shiny finish. Also, make sure your bowl is completely dry—any water will cause the chocolate to seize and become grainy. If it does seize, you can’t fix it; start over with fresh chocolate.
Can I make these ahead of time for a party?
Yes, and I actually recommend it. These bites taste even better after a day in the fridge because the flavors have time to meld. You can make them up to 3 days in advance. Store them in an airtight container in the refrigerator, and just transfer them to a serving platter before your guests arrive.
My chocolate coating is cracking. How do I prevent that?
This can happen if the bites are too cold when you dip them, or if the chocolate is too thick. Make sure your bites are chilled but not frozen solid—15 minutes in the fridge is perfect. Also, ensure your chocolate is thin enough by adding a little more coconut oil if needed. If the coating cracks after setting, it’s usually because the bite expanded slightly as it warmed up. It’s purely cosmetic, so don’t stress about it.
Pin This Recipe!
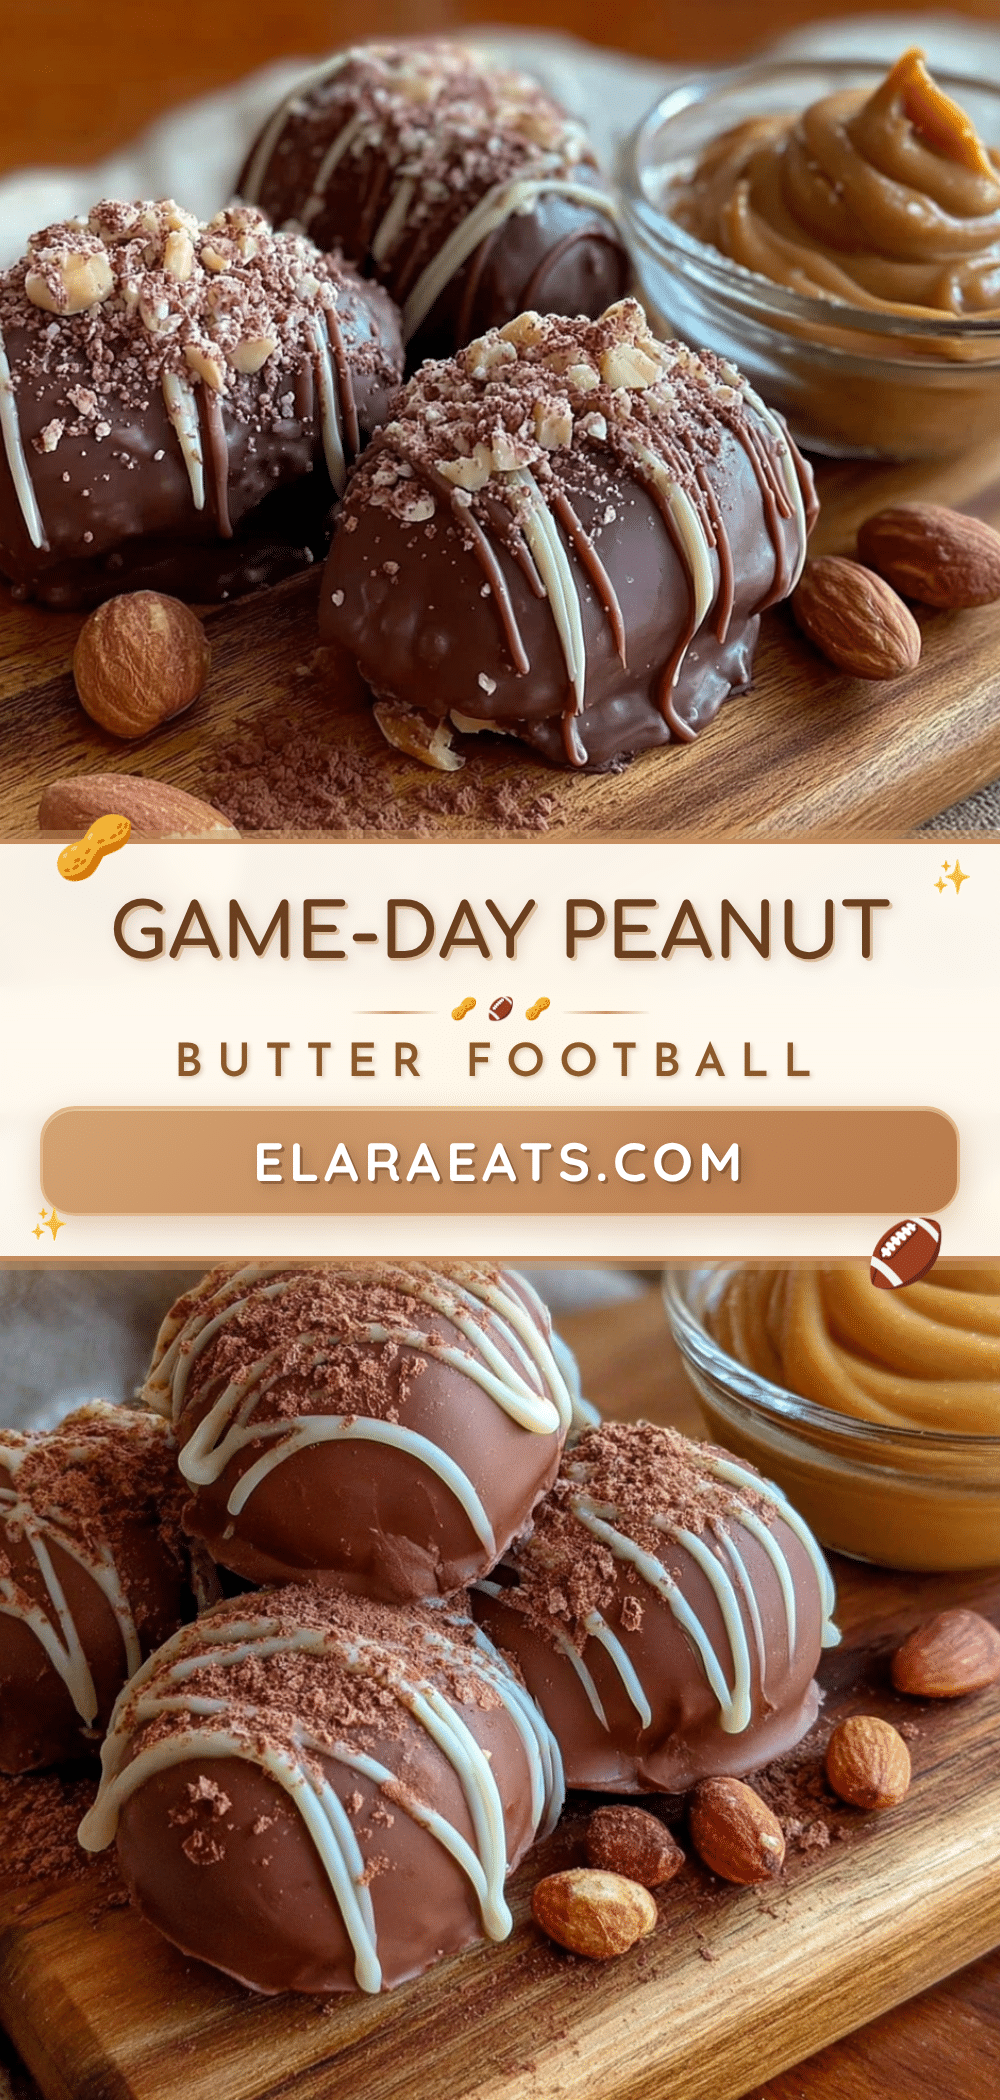
No-Bake Peanut Butter Football Bites

These no-bake peanut butter football bites are a perfect game day snack, combining a dense, chewy peanut butter and oat center with a smooth dark chocolate coating. Easy to make with simple pantry ingredients, they’re a crowd-pleaser that comes together in under 30 minutes.
- Prep Time: 20 minutes
- Cook Time: 5 minutes
- Total Time: 25 minutes (plus 45 minutes chilling)
- Yield: 16-18 bites 1x
- Category: Snack
- Cuisine: American
Ingredients
- 1 ½ cups (135g) rolled oats
- 1 cup (240g) creamy peanut butter (e.g., Skippy or Jif)
- ⅓ cup (110g) honey
- 1 cup (175g) semi-sweet or dark chocolate chips (e.g., Ghirardelli 60% cacao)
- 1 tablespoon (15ml) coconut oil
- 2 tablespoons (14g) flaxseed meal (optional)
- ¼ teaspoon salt
Instructions
- Toast the oats: Place rolled oats in a dry skillet over medium heat. Stir constantly for 2-3 minutes until fragrant and slightly golden. Let cool completely on a plate.
- Mix the base: In a large bowl, combine cooled oats, peanut butter, honey, flaxseed meal (if using), and salt. Mix with a spatula or clean hands until a dough forms that holds its shape when squeezed. If too dry, add a teaspoon of honey; if too sticky, add a tablespoon of oats.
- Shape the footballs: Line a baking sheet with parchment paper. Scoop about 1 ½ tablespoons of mixture, roll into a ball, then pinch ends to form an oval football shape. Flatten bottom slightly. Place on baking sheet. Refrigerate for 15 minutes.
- Melt the chocolate: In a microwave-safe bowl, combine chocolate chips and coconut oil. Microwave in 30-second bursts, stirring after each, until smooth and glossy.
- Dip the bites: Remove chilled bites from fridge. Using a fork or skewer, dip each bite into melted chocolate, coating completely. Let excess drip off, then place back on parchment. Optionally, add a white chocolate ‘stitching’ line down the center while wet.
- Final chill: Return baking sheet to refrigerator for at least 30 minutes, until chocolate is firm. For quicker set, freeze for 15 minutes.
Notes
Toast oats for deeper flavor. Chill bites before dipping to prevent crumbling. Use room temperature peanut butter for easier mixing. If chocolate is too thick, add more coconut oil. Store in airtight container in fridge for up to 2 weeks or freeze for up to 3 months.
Nutrition
- Serving Size: 1 bite
- Calories: 185
- Sugar: 11
- Sodium: 85
- Fat: 11
- Saturated Fat: 4
- Carbohydrates: 19
- Fiber: 3
- Protein: 6
Keywords: no-bake, peanut butter, football bites, game day snack, easy snack, chocolate, oats


