Love this? Save it for later!
Share the inspiration with your friends
“You know that feeling when you want something crunchy and comforting but don’t want to haul out the fryer?” That was me last Saturday evening, standing in a slightly messy kitchen with a cracked bowl in one hand and a panko breadcrumb bag in the other. I was trying to satisfy a serious chicken nugget craving without the usual guilt trip. Honestly, I wasn’t expecting much—just a quick fix to stop my teenager from hovering around and asking if dinner was ready yet. But what came out of the oven? Pure magic.
It all started when I stumbled upon an old cooking magazine at a local thrift shop—yes, thrift shops are treasure troves for food inspiration—and there it was: a recipe for baked chicken nuggets with a crispy panko coating. I was skeptical, because let’s face it, baked nuggets often end up soggy or disappointing. But something about the method made me pause. Maybe it was the double coating trick or the promise of crispy edges without frying. So, I gave it a shot with some boneless chicken breasts, my trusty seasoning mix, and a handful of pantry staples.
It wasn’t perfect on the first try—I forgot to spray the baking sheet, and the nuggets stuck a bit—but that gave me a chance to tweak and experiment. After a couple of adjustments, I nailed it. These nuggets have the kind of crunch that makes you close your eyes on the first bite, and the inside stays juicy and tender. My son, who usually snubs anything “healthy,” was sneaking seconds before I even sat down. If you’ve ever been there, trying to make a healthier version of a classic comfort food without sacrificing flavor, you know how big of a win that is. This recipe stayed with me because it’s simple, satisfying, and honestly, a little bit addictive.
Why You’ll Love This Recipe
When it comes to chicken nuggets, this healthy baked chicken nuggets recipe really stands out. I’ve tested it multiple times on busy weeknights, lazy Sundays, and even casual get-togethers, and it never fails to impress. Here’s why you’ll want to keep it in your regular rotation:
- Quick & Easy: From prep to plate in under 30 minutes, making it perfect for those hectic evenings when you don’t want to slave over the stove.
- Simple Ingredients: No exotic items required—just everyday staples like chicken breast, panko breadcrumbs, and a few spices you probably already have.
- Perfect for Family Meals: Whether it’s lunchboxes, dinner, or snack time, these nuggets are a hit with kids and grown-ups alike.
- Crowd-Pleaser: I’ve brought these to potlucks and casual parties, and they always disappear fast—no complaints about being “too healthy” here.
- Unbelievably Delicious: The panko coating crisps to golden perfection, and the chicken inside stays tender and juicy, offering a satisfying texture contrast.
What makes this recipe different is the way the panko coating is treated—it’s lightly sprayed with oil, which you wouldn’t expect, but it’s the secret to that unbeatable crunch without frying. Plus, the seasoning blend is balanced enough to please picky eaters but flavorful enough to feel special. Honestly, this recipe isn’t just a healthier take; it’s a better take. It’s the kind of comfort food that feels like a treat but leaves you feeling good afterward. If you’ve been hunting for a baked nugget recipe that doesn’t compromise texture or taste, this one’s for you.
What Ingredients You Will Need
This healthy baked chicken nuggets recipe calls for straightforward, wholesome ingredients that come together to create bold flavor and a satisfying crunch without any fuss. Most are pantry staples, with a few easy swaps if you want to customize or accommodate dietary preferences.
- Chicken breasts (about 1 pound / 450 grams, boneless and skinless, cut into nugget-sized pieces) – I prefer fresh chicken from trusted sources, but frozen works too if thawed properly.
- Panko breadcrumbs (1 ½ cups / 150 grams) – Japanese-style breadcrumbs give the best crispiness; I usually grab the Kikkoman brand for consistent results.
- All-purpose flour (½ cup / 60 grams) – Helps the coating stick; whole wheat flour works if you want a nuttier flavor.
- Eggs (2 large, beaten) – Acts as a binder for the coating.
- Olive oil spray or any light cooking spray – Crucial for crisping the panko without frying.
- Garlic powder (1 teaspoon) – Adds a savory kick.
- Onion powder (1 teaspoon) – Enhances the overall flavor.
- Paprika (1 teaspoon) – Gives a subtle smokiness and color.
- Salt (½ teaspoon) – To taste.
- Black pepper (¼ teaspoon) – Freshly ground if possible.
- Optional: Grated Parmesan cheese (¼ cup / 20 grams) – For a richer flavor in the coating.
For substitutions, you can swap all-purpose flour with almond flour for a gluten-free version, and use dairy-free cheese or omit Parmesan entirely. If you want a little heat, a pinch of cayenne pepper does wonders. During summer, fresh herbs like parsley or thyme chopped finely can be stirred into the panko for a fresh twist.
Equipment Needed
- Baking sheet – A rimmed baking sheet works best to catch any drips or crumbs. I recommend lining it with parchment paper or a silicone mat for easy cleanup and to prevent sticking.
- Mixing bowls – You’ll need at least two: one for the flour and spices, another for the beaten eggs, and a third for the panko coating.
- Tongs or fork – For dipping and turning the chicken pieces without making a mess.
- Wire rack (optional) – Placing nuggets on a wire rack over the baking sheet helps air circulate, making the coating crispier on all sides.
- Cooking spray – Essential for that golden crunch; I like using avocado oil spray for its high smoke point.
If you don’t have a wire rack, simply flipping the nuggets halfway through baking works well, too. For a budget-friendly option, foil can be a stand-in for parchment paper, but expect a bit more cleanup. Over the years, I’ve found that investing in a good silicone mat is worth it—it makes baking nuggets a breeze and keeps the coating intact.
Preparation Method
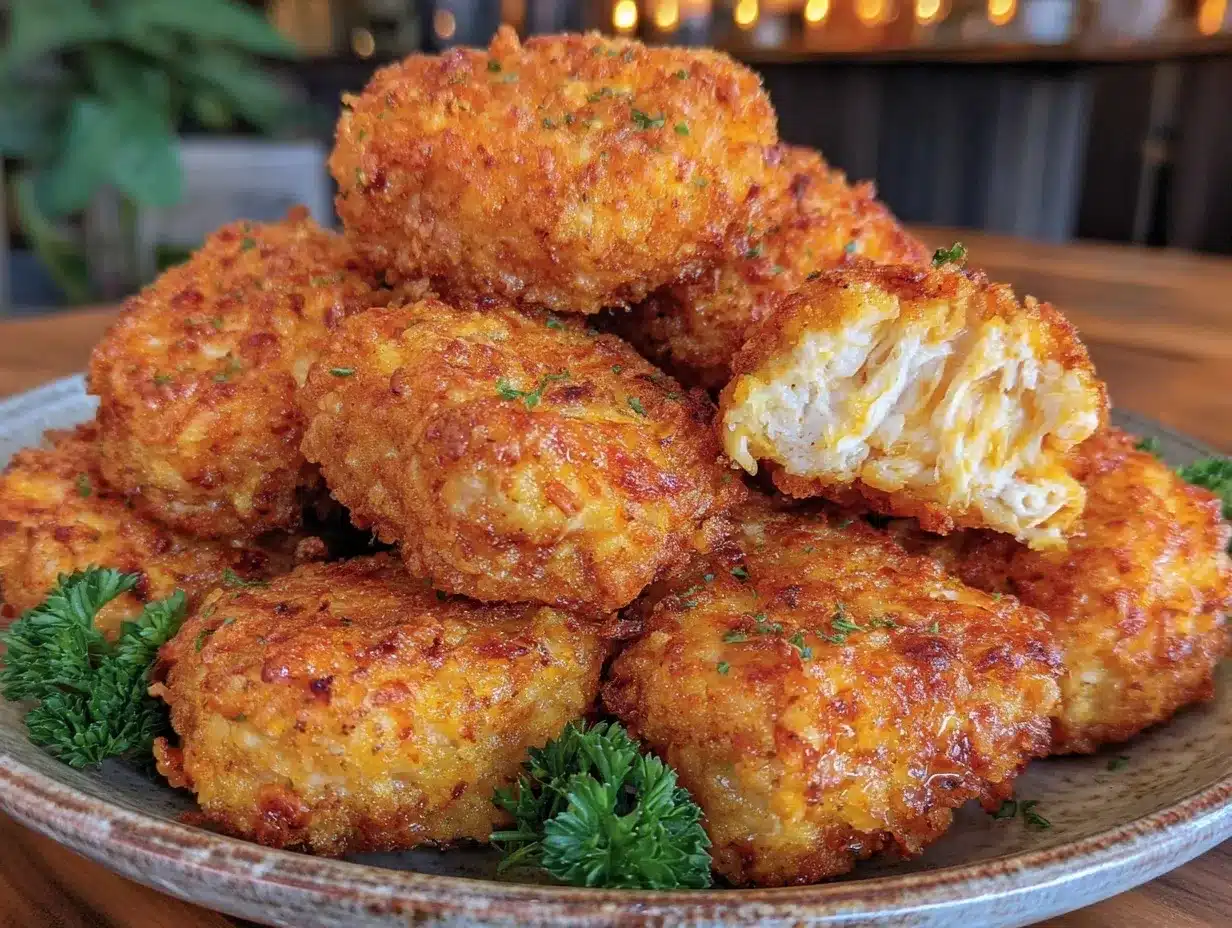
- Preheat your oven to 400°F (200°C). Line your baking sheet with parchment paper or a silicone mat, and if using, place a wire rack on top. This helps the nuggets crisp evenly.
- Prepare your coating stations: In the first bowl, mix the flour, garlic powder, onion powder, paprika, salt, and black pepper. In the second bowl, beat the eggs until smooth. In the third bowl, combine panko breadcrumbs and Parmesan cheese if using.
- Cut the chicken breasts into bite-sized pieces, roughly 1 to 1.5 inches (2.5 to 3.5 cm). Try to keep pieces uniform so they bake evenly.
- Coat the chicken: Dip each piece first into the seasoned flour mixture, shaking off any excess. Then, dunk it in the beaten eggs, letting the excess drip off. Finally, press the piece into the panko mixture, coating it thoroughly. For extra crunch, repeat the egg and panko step once more.
- Place the coated nuggets onto the wire rack or directly onto the lined baking sheet. Make sure they don’t touch, giving them room to crisp.
- Lightly spray the nuggets with olive oil or avocado oil spray. This step might feel odd, but it’s key to achieving that golden, crispy texture.
- Bake the nuggets in the preheated oven for 15 minutes. After that, flip each nugget over, spray the other side lightly, and bake for another 10-12 minutes, or until the internal temperature reaches 165°F (74°C) and the coating is crisp and golden brown.
- Remove from oven and let the nuggets rest for 5 minutes to lock in the juices before serving.
If your coating feels soggy after baking, try using the wire rack next time or increase the spray oil slightly. The double coating step really helps with crunch, but don’t overdo it or the nuggets get too thick. I learned that the hard way after a few too many dense bites! You want a light, crisp shell that shatters just right.
Cooking Tips & Techniques
Making healthy baked chicken nuggets that are crispy and juicy takes a bit of know-how. Here are some tips I’ve picked up over the years:
- Use panko, not regular breadcrumbs. Panko has a coarser texture that crisps up better in the oven.
- Don’t skip the oil spray. This little step tricks the oven into crisping the coating like it’s fried, without all the grease.
- Cut uniform pieces. If your chicken chunks vary wildly in size, some will overcook while others are underdone.
- Double dip for crunch. Coating the nuggets twice with egg and panko helps build up a thicker crust that holds up well to baking.
- Flip midway. Baking on one side only can lead to uneven crisping; turning them halfway helps both sides brown evenly.
- Don’t overcrowd the pan. Crowding traps steam and ruins crispness.
One time, I tried baking these nuggets straight on the pan without parchment or a rack, and let me just say, it was a sticky, crumbly mess. Lesson learned: prep your baking surface carefully. Also, timing matters—oven temps vary, so keep an eye on the nuggets starting around 20 minutes to avoid drying them out.
Variations & Adaptations
This recipe is pretty flexible, so feel free to customize based on your preferences or what you have on hand. Here are some ideas:
- Spicy Kick: Add a teaspoon of cayenne pepper or smoked chipotle powder to the flour mix for a smoky heat.
- Gluten-Free: Swap all-purpose flour for almond flour or a gluten-free flour blend, and use gluten-free panko breadcrumbs.
- Herb-Infused: Mix in fresh chopped herbs like parsley, thyme, or rosemary into the panko for an aromatic touch.
- Dairy-Free: Omit Parmesan or replace it with nutritional yeast for a cheesy flavor without dairy.
- Air Fryer Adaptation: Cook the nuggets in an air fryer at 400°F (200°C) for 10-12 minutes, shaking halfway through for crispiness.
Personally, I like adding a touch of lemon zest to the panko mixture during summer months—it brightens the flavor and pairs nicely with a garlic aioli dip. Feel free to experiment and find your favorite version!
Serving & Storage Suggestions
These healthy baked chicken nuggets are best served hot and fresh from the oven, ideally with your favorite dipping sauces like honey mustard, spicy mayo, or classic ketchup. I like to plate them alongside crunchy celery sticks and a light salad for a balanced meal.
If you’re prepping ahead or have leftovers, store them in an airtight container in the refrigerator for up to 3 days. To reheat and keep them crispy, pop them in a preheated oven at 375°F (190°C) for about 8-10 minutes. Avoid microwaving if you want to preserve the crunch.
These nuggets also freeze beautifully. Lay them out on a baking sheet in a single layer to freeze, then transfer to a sealed bag or container. Reheat straight from frozen in the oven for about 15 minutes at 400°F (200°C). The flavor actually deepens a bit after resting, so they’re perfect for meal prep.
Nutritional Information & Benefits
This recipe offers a healthier alternative to traditional fried chicken nuggets, cutting down on fat and calories without skimping on taste. On average, a serving of these baked nuggets (about 4-5 pieces) contains approximately 250 calories, 25 grams of protein, 10 grams of fat (mostly from the light oil spray and chicken), and minimal carbs thanks to the lean chicken and modest breadcrumb coating.
Chicken breast is a great source of lean protein, which supports muscle maintenance and keeps you fuller longer. The use of panko breadcrumbs and baking instead of frying reduces saturated fat and calories, making this dish a good choice for balanced eating. Plus, the spices add antioxidants and flavor without added sodium.
For those watching gluten intake, it’s easy to swap to gluten-free options. Just watch out for possible allergens like eggs if you’re cooking for sensitive eaters.
Conclusion
Honestly, this healthy baked chicken nuggets recipe with crispy panko coating has become a staple in my kitchen for so many reasons. It’s reliable, quick, and hits that perfect balance of crunch and juiciness without the guilt of frying. Whether you’re feeding a hungry family, prepping snacks for the week, or just want a satisfying meal with minimal fuss, this recipe has your back.
Feel free to tweak the seasonings or try the variations to make it your own—cooking should always be a little bit fun and totally your style. I love how this recipe manages to feel like comfort food but with a healthy twist, and I think you will too.
When you try this recipe, I’d love to hear how it turns out for you! Leave a comment below with your favorite tweaks or any questions you have. Sharing your experience helps all of us get better in the kitchen.
Now, go on—grab that chicken and get baking. Your next crispy, healthy nugget craving is just a recipe away!
FAQs About Healthy Baked Chicken Nuggets with Crispy Panko Coating
Can I use chicken thighs instead of chicken breasts?
Yes! Chicken thighs are juicier and can add more flavor, but they might take a couple of extra minutes to cook through. Just cut them into similar-sized pieces and watch the internal temperature.
How do I make these nuggets gluten-free?
Swap the all-purpose flour with almond flour or a gluten-free flour blend and use gluten-free panko breadcrumbs. The cooking method stays the same.
Can I prepare these nuggets ahead of time?
Absolutely. You can assemble and coat the nuggets, then refrigerate them on the baking sheet for a few hours before baking. Just add a few extra minutes to the cooking time if baking from cold.
What dipping sauces pair best with these nuggets?
Honey mustard, garlic aioli, barbecue sauce, or even a simple ketchup work great. For a healthier option, try Greek yogurt mixed with lemon and herbs.
Is it okay to freeze the cooked nuggets?
Yes! Freeze them in a single layer first, then transfer to a freezer-safe container. Reheat in the oven from frozen for best texture.
Pin This Recipe!
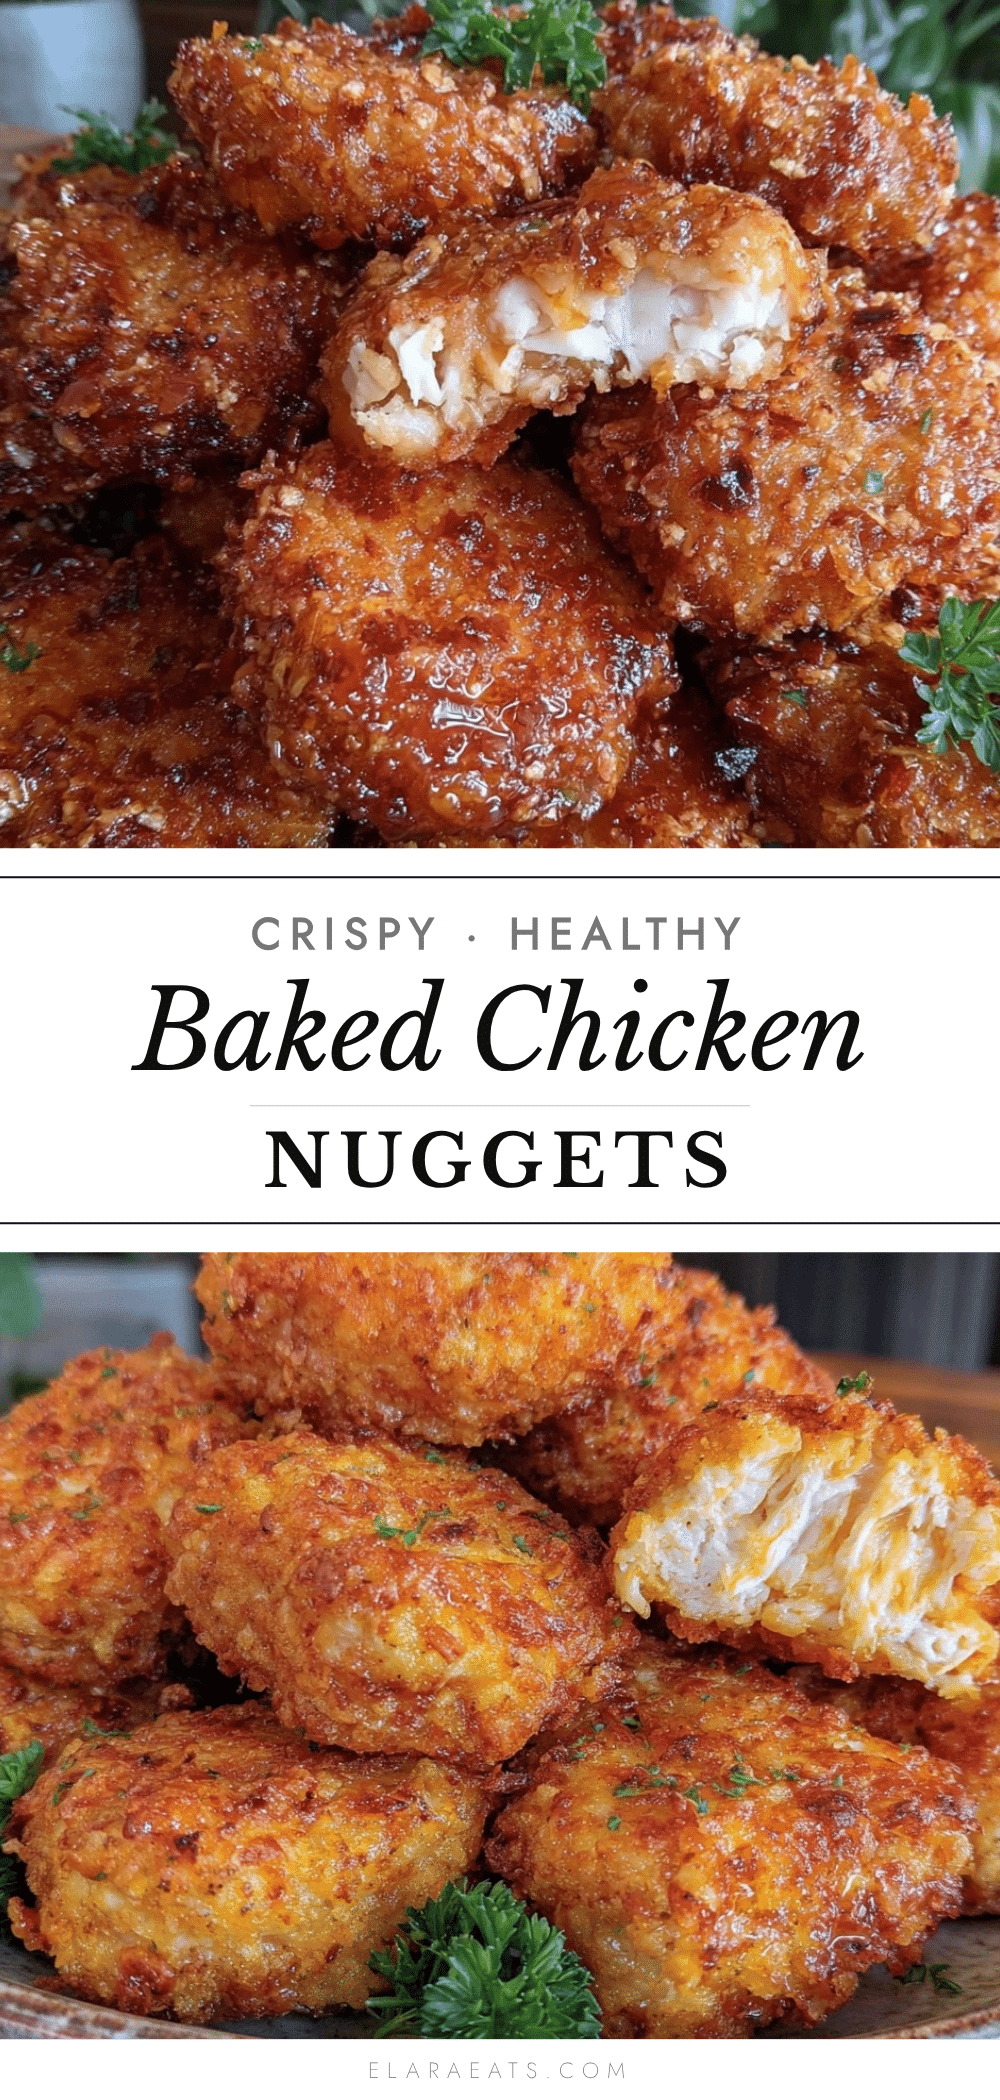
Healthy Baked Chicken Nuggets Recipe Easy Crispy Panko Coating
A healthier take on classic chicken nuggets with a crispy panko coating baked to golden perfection, offering a crunchy exterior and juicy interior without frying.
- Prep Time: 10 minutes
- Cook Time: 27 minutes
- Total Time: 37 minutes
- Yield: 4 servings 1x
- Category: Main Course
- Cuisine: American
Ingredients
- 1 pound boneless, skinless chicken breasts, cut into nugget-sized pieces
- 1 ½ cups panko breadcrumbs (about 150 grams)
- ½ cup all-purpose flour (about 60 grams)
- 2 large eggs, beaten
- Olive oil spray or any light cooking spray
- 1 teaspoon garlic powder
- 1 teaspoon onion powder
- 1 teaspoon paprika
- ½ teaspoon salt
- ¼ teaspoon black pepper
- Optional: ¼ cup grated Parmesan cheese (about 20 grams)
Instructions
- Preheat your oven to 400°F (200°C). Line a baking sheet with parchment paper or a silicone mat, and if using, place a wire rack on top.
- Prepare your coating stations: In the first bowl, mix the flour, garlic powder, onion powder, paprika, salt, and black pepper. In the second bowl, beat the eggs until smooth. In the third bowl, combine panko breadcrumbs and Parmesan cheese if using.
- Cut the chicken breasts into bite-sized pieces, roughly 1 to 1.5 inches.
- Coat the chicken pieces by dipping each first into the seasoned flour mixture, shaking off excess, then dunking into the beaten eggs, letting excess drip off, and finally pressing into the panko mixture to coat thoroughly. For extra crunch, repeat the egg and panko step once more.
- Place the coated nuggets onto the wire rack or directly onto the lined baking sheet, ensuring they do not touch.
- Lightly spray the nuggets with olive oil or avocado oil spray.
- Bake the nuggets for 15 minutes. Flip each nugget over, spray the other side lightly, and bake for another 10-12 minutes or until the internal temperature reaches 165°F (74°C) and the coating is crisp and golden brown.
- Remove from oven and let the nuggets rest for 5 minutes before serving.
Notes
Use panko breadcrumbs for best crispiness. Lightly spray the nuggets with oil to achieve a fried-like crunch without frying. Cutting chicken into uniform pieces ensures even cooking. Double coating with egg and panko enhances crunch. Flip nuggets halfway through baking for even browning. For gluten-free, substitute all-purpose flour with almond or gluten-free flour and use gluten-free panko. To keep nuggets crispy when reheating, avoid microwaving; reheat in oven at 375°F for 8-10 minutes.
Nutrition
- Serving Size: About 4-5 pieces per
- Calories: 250
- Sugar: 1
- Sodium: 400
- Fat: 10
- Saturated Fat: 1.5
- Carbohydrates: 10
- Fiber: 1
- Protein: 25
Keywords: healthy chicken nuggets, baked chicken nuggets, crispy chicken nuggets, panko chicken nuggets, easy chicken nuggets, healthy dinner, kid-friendly recipe


