Love this? Save it for later!
Share the inspiration with your friends
Introduction
“You won’t believe what happened when I tried making sourdough without gluten,” my friend Nina said over the phone last spring. Honestly, I was skeptical. I mean, sourdough, with its chewy, tangy crumb, seemed inseparable from traditional wheat flour. But Nina was determined—her son’s gluten intolerance meant no more regular bread in their house, and she was on a mission. Fast forward a few weeks later, and I found myself standing in her kitchen, watching a bubbly, fragrant jar of what she called her “easy gluten-free sourdough starter with rice flour.”
It smelled like a bakery and looked alive, with tiny bubbles dancing just below the surface. Nina spilled the story: she’d started with just rice flour and water, feeding it every day, watching it grow, sometimes forgetting to stir it (because, let’s be real, life gets busy). At one point, she accidentally left it out overnight during a heatwave, and instead of ruining it, the starter seemed to perk up more than ever. That’s when she knew she had a winner. Maybe you’ve been there—wanting that homemade bread experience but stuck because gluten isn’t an option. Well, this starter recipe is the answer. It’s simple, forgiving, and makes gluten-free sourdough bread that’s actually worth writing home about.
Let me tell you, this easy gluten-free sourdough starter with rice flour has become my go-to for baking bread that feels both comforting and uniquely wholesome. Whether you’re a seasoned baker or just curious about gluten-free baking, this recipe will surprise you with how approachable and rewarding it can be.
Why You’ll Love This Recipe
After testing numerous gluten-free sourdough starters (and trust me, there were some messy failures!), this rice flour starter consistently wins for taste, texture, and ease. Here’s why it might become your favorite too:
- Quick & Easy: Gets lively within 5 to 7 days, perfect for busy schedules or last-minute baking plans.
- Simple Ingredients: Only rice flour and water needed—no exotic items or pricey mixes.
- Perfect for Gluten-Free Baking: Finally, a sourdough starter that respects dietary needs without compromising flavor.
- Crowd-Pleaser: My family (including picky eaters) loves the light tang and soft crumb it produces.
- Unbelievably Delicious: The gentle fermentation brings out a complex, slightly nutty flavor that beats store-bought gluten-free bread hands down.
What sets this starter apart? It’s the use of rice flour, which creates a smooth texture and consistent fermentation without the heaviness some gluten-free blends can cause. Plus, the forgiving nature of this starter means even if you forget a feeding or two (guilty as charged), it bounces back. This isn’t just any gluten-free starter—it’s the one I rely on when I want homemade bread that feels soulful and satisfying, yet easy enough for a weekday bake.
What Ingredients You Will Need
This easy gluten-free sourdough starter with rice flour recipe uses minimal, pantry-friendly ingredients to get you started on your homemade bread journey. The ingredients work together to encourage natural fermentation and create a lively starter that’s ready to bake with.
- Brown Rice Flour – 1 cup (120g): I recommend Bob’s Red Mill for consistent texture and natural nuttiness.
- Filtered Water – 1 cup (240ml): Room temperature, chlorine-free water is best to avoid inhibiting wild yeast growth.
- Optional: A pinch of sugar (about 1/8 tsp): Some bakers add this to jumpstart fermentation, but it’s not necessary.
Tip: You can swap brown rice flour for white rice flour if you prefer a milder flavor, though the fermentation might take an extra day or two. Always use organic or unbleached rice flour for best results.
Equipment Needed
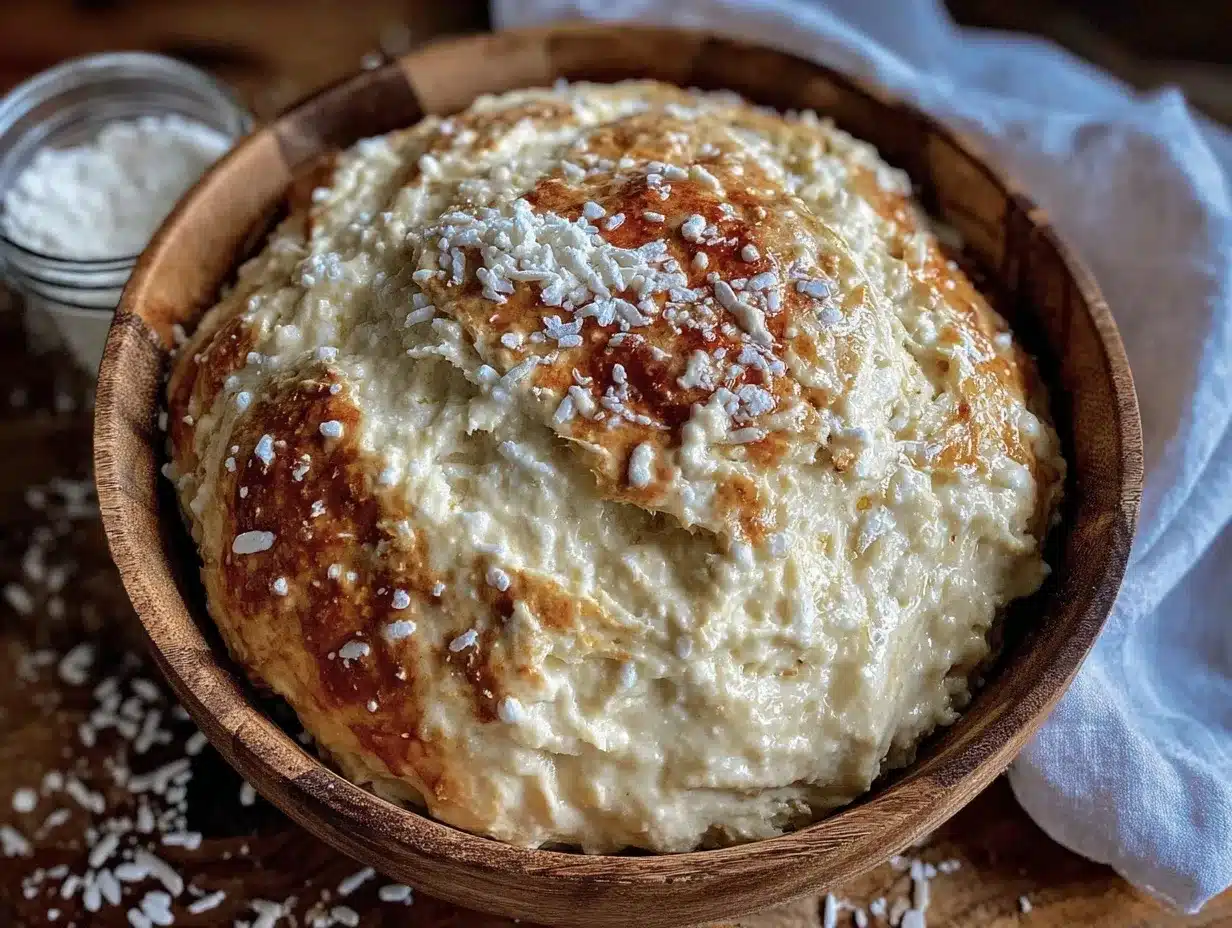
- Glass Jar or Container (at least 1-quart capacity): Clear glass helps you see the bubbles forming. Avoid metal containers as they can react with the starter.
- Kitchen Scale: Measuring ingredients by weight ensures accuracy and success.
- Wooden Spoon or Spatula: For mixing. I prefer silicone spatulas for easy scraping.
- Breathable Cover: A clean kitchen towel or coffee filter secured with a rubber band allows airflow while keeping dust out.
- Measuring Cups: Useful for water measurements if you don’t have a scale handy.
If you don’t have a kitchen scale, measuring cups work fine—just be mindful that flour can pack differently. Also, I keep extra jars on hand for storing the starter or discarding excess during feedings. Bonus tip: a small spray bottle filled with water helps keep the starter surface moist if your kitchen air is dry.
Preparation Method
- Day 1: Combine Ingredients – In your glass jar, mix 1/2 cup (60g) brown rice flour and 1/2 cup (120ml) filtered water until smooth. The consistency should be like thick pancake batter. Cover loosely and leave at room temperature (about 70-75°F / 21-24°C).
- Day 2: Check and Stir – You might see no bubbles yet or just tiny ones. Stir the starter once or twice to aerate it. Add 1/2 cup (60g) brown rice flour and 1/2 cup (120ml) water, mix well, and cover again.
- Days 3-5: Feed Regularly – Continue daily feedings by discarding half the starter (about 1/2 cup or 120g), then adding 1/2 cup rice flour and 1/2 cup water. Stir thoroughly each time. You’ll notice bubbles, a pleasant sour aroma, and some rising.
- Day 6-7: Starter is Ready – When your starter doubles in size within 6-8 hours of feeding, with plenty of bubbles and a tangy smell, it’s ready to bake with. The texture should be spongy and airy.
- Maintenance: If baking daily, keep the starter at room temperature and feed daily. For less frequent baking, store in the fridge and feed weekly.
Pro tip: If your starter develops a layer of liquid on top (called “hooch”), it means it’s hungry. Stir it back in and feed right away. Also, avoid metal spoons when stirring as they can dull the fermentation activity.
Cooking Tips & Techniques
Getting your easy gluten-free sourdough starter with rice flour bubbling happily is mostly about patience and consistency. Here are some tips I learned the hard way:
- Temperature Matters: The starter loves warmth but not heat. Keep it around 70-75°F (21-24°C). If your kitchen is cold, try a warm spot near a radiator or on top of the fridge.
- Water Quality: Chlorine in tap water can kill wild yeast. Use filtered or bottled water if your tap water tastes heavily chlorinated.
- Feeding Routine: Stick to daily feedings at first. Skipping days slows fermentation and can lead to off smells.
- Discarding Starter: It may feel wasteful, but discarding half before feeding keeps the yeast balanced and happy.
- Watch for Bubbles: The first tiny bubbles mean your starter is waking up. Don’t rush—some starters take longer depending on local wild yeast.
- Keep It Covered but Breathable: A loose cover prevents contamination but lets air in. Plastic wrap traps moisture and slows fermentation.
Once you get the hang of feeding and spotting the signs of an active starter, you’ll feel more confident baking gluten-free sourdough bread that actually rises and tastes great. And if you ever forget a feeding? Don’t panic. Just give it a good stir and feed as soon as you remember—it’s surprisingly resilient.
Variations & Adaptations
While this easy gluten-free sourdough starter with rice flour recipe is my tried-and-true, there are ways to tweak it for different needs and flavors:
- Use White Rice Flour: For a milder flavor and lighter crumb, swap the brown rice flour with white rice flour. Fermentation might take a day longer.
- Mix with Other Gluten-Free Flours: Try blending in 1/4 cup sorghum or millet flour for a more complex taste. Just keep the majority rice flour for consistency.
- Gluten-Free Oats: Grind gluten-free oats into flour and introduce small amounts after your starter is stable for a subtle oat flavor.
- Adjust for Climate: In humid climates, reduce water slightly to avoid overly runny starter; in dry climates, add a bit more water to maintain consistency.
- Personal Twist: Once I felt brave, I added a splash of apple juice on Day 2 to encourage fermentation—it worked like a charm!
These variations let you customize your starter’s flavor and texture while keeping it gluten-free and lively. Remember, baking is as much art as science, so don’t hesitate to experiment a little.
Serving & Storage Suggestions
Once your starter is active and bubbly, it’s time to bake bread that will make your kitchen smell heavenly. Here’s how to handle and store your starter:
- Serving Temperature: Use your starter at room temperature, ideally 6-8 hours after feeding, when it’s most active and bubbly.
- Complementary Flavors: Gluten-free sourdough bread made from this starter pairs beautifully with fresh herbs, olive oil dips, and creamy spreads like hummus or creamy garlic hummus.
- Storage: For daily bakers, keep the starter on the counter and feed daily. For occasional use, refrigerate in a loosely covered jar and feed once a week.
- Reheating Starter: When you take the starter out of the fridge, feed it and let it sit at room temperature for 12-24 hours before baking.
- Flavor Development: The longer you maintain your starter, the more complex and tangy the flavor becomes. Older starters can deepen your bread’s character.
Nutritional Information & Benefits
This gluten-free sourdough starter with rice flour offers a wholesome base for nourishing bread. While starter itself is minimal in calories, the fermentation process breaks down starches and enhances digestibility, making your bread easier on the tummy.
- Gluten-Free: Perfect for those with gluten intolerance or celiac disease.
- Low in Fat and Sugar: No added fats or sugars in the starter, keeping it light and natural.
- Natural Fermentation: Encourages beneficial bacteria growth, which may support gut health.
- Rice Flour Benefits: Provides energy-boosting carbs and is easy to digest.
From my experience as someone who’s tried many gluten-free baking methods, this starter’s simplicity and natural fermentation make it a wellness-friendly choice for daily bread baking without compromising flavor or texture.
Conclusion
This easy gluten-free sourdough starter with rice flour is more than just a recipe—it’s a game changer for anyone who’s struggled with gluten-free baking. Simple ingredients, forgiving steps, and a surprisingly delicious result make it a keeper in my kitchen and hopefully in yours too.
Whether you’re baking for health reasons or just exploring new flavors, don’t hesitate to give this starter a try. Customize it to your taste, feed it with love, and watch it grow into the heart of your homemade bread adventures. I’d love to hear how your breads turn out, so please share your experiences and any tweaks you discover along the way!
Happy baking, and remember: every great loaf starts with a little patience and a bubbly jar of starter.
FAQs
How long does it take for the gluten-free sourdough starter to become active?
Typically, it takes about 5 to 7 days of daily feedings for the starter to develop plenty of bubbles and double in size, signaling readiness for baking.
Can I use white rice flour instead of brown rice flour?
Yes, white rice flour works fine but the fermentation may be a bit slower and the flavor milder compared to brown rice flour.
What do I do if my starter develops a liquid layer on top?
That liquid is called “hooch” and means your starter is hungry. Stir it back in and feed your starter promptly to keep it healthy.
How often should I feed my starter if I keep it in the refrigerator?
Feed it about once a week. Before baking, take it out, feed it, and let it sit at room temperature for 12-24 hours to reactivate.
Can I use this starter to make gluten-free sourdough pancakes or waffles?
Absolutely! This starter is versatile and works wonderfully in pancakes, waffles, and other gluten-free baked goods that benefit from a sourdough tang.
Pin This Recipe!
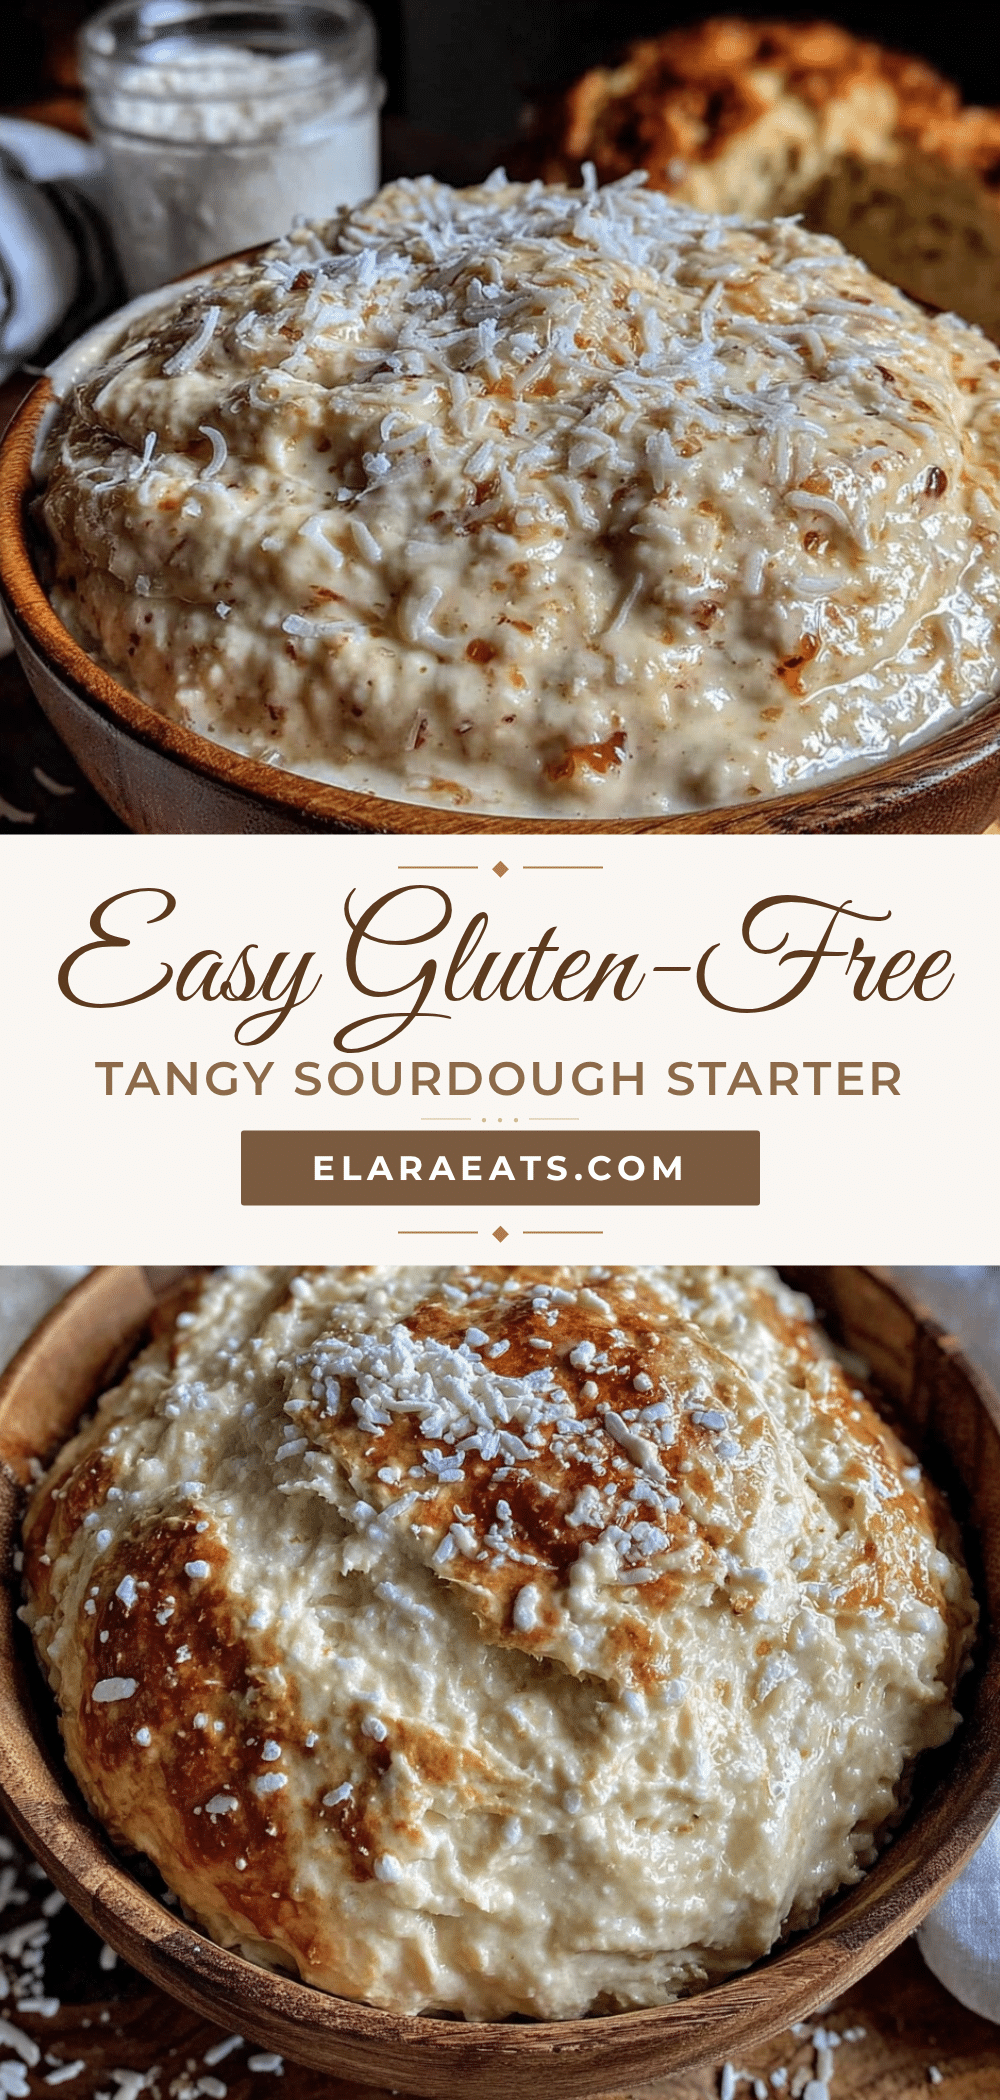
Easy Gluten-Free Sourdough Starter with Rice Flour
A simple and forgiving gluten-free sourdough starter recipe using rice flour and water, perfect for homemade bread that is flavorful and suitable for gluten intolerance.
- Prep Time: 5 minutes
- Cook Time: 7 days (for starter to become active)
- Total Time: 7 days
- Yield: 1 starter jar (enough for multiple bread batches) 1x
- Category: Starter
- Cuisine: Gluten-Free
Ingredients
- 1 cup (120g) brown rice flour
- 1 cup (240ml) filtered water, room temperature, chlorine-free
- Optional: A pinch of sugar (about 1/8 tsp)
Instructions
- Day 1: In a glass jar, mix 1/2 cup (60g) brown rice flour and 1/2 cup (120ml) filtered water until smooth. Cover loosely and leave at room temperature (70-75°F / 21-24°C).
- Day 2: Stir the starter once or twice to aerate. Add 1/2 cup (60g) brown rice flour and 1/2 cup (120ml) water, mix well, and cover again.
- Days 3-5: Discard half the starter (about 1/2 cup or 120g), then add 1/2 cup brown rice flour and 1/2 cup water. Stir thoroughly each time. Continue daily feedings.
- Day 6-7: When the starter doubles in size within 6-8 hours of feeding, with plenty of bubbles and a tangy smell, it is ready to bake with.
- Maintenance: For daily baking, keep starter at room temperature and feed daily. For less frequent baking, store in fridge and feed weekly.
Notes
Keep starter at 70-75°F (21-24°C) for best fermentation. Use filtered or bottled water to avoid chlorine. Stir hooch (liquid layer) back in and feed promptly if it appears. Avoid metal spoons. Starter is forgiving if feedings are missed but consistency is key.
Nutrition
- Serving Size: Starter amount used
- Carbohydrates: 90
- Fiber: 2
- Protein: 3
Keywords: gluten-free sourdough starter, rice flour sourdough, gluten-free bread starter, homemade sourdough, gluten intolerance bread starter


