Love this? Save it for later!
Share the inspiration with your friends
“The power went out halfway through my Sunday morning, and honestly, I was this close to just giving up on breakfast. But then I remembered the dusty Dutch oven tucked away in the back of my cupboard—never really used, just waiting for the right moment. I threw together a simple no-knead dough, tossed it into that pot, and somehow, the result was this crispy Dutch oven no-knead artisan bread that still blows me away every time.”
I mean, who knew that a blackout and a little patience could lead to the perfect crust and airy crumb that I’d been chasing for years? The smell alone pulled my whole family into the kitchen, even without the lights on. Maybe you’ve been there—scrambling to fix breakfast with limited options but ending up with something unexpectedly amazing.
This crispy Dutch oven no-knead artisan bread recipe isn’t just a fallback plan; it’s become a weekend ritual that I look forward to. The beauty is in how simple it is—no complicated kneading or fancy ingredients, just flour, water, salt, and yeast, cooked in a humble pot that crisps the crust like no other. I remember the first time I pulled that golden, crackly loaf from the oven—my kitchen looked like a mess, I’d forgotten to set a timer, and my cat was knocking over the flour jar—but the bread? Perfectly rustic and comforting.
If you’ve ever struggled with bread dough that’s too sticky or crusts that don’t quite measure up, this method is going to feel like a small kitchen miracle. Let me tell you, it’s the kind of recipe that makes you want to slice off a thick chunk, slather it with butter, and just savor the moment. And honestly, that’s exactly why I keep coming back to it.
Why You’ll Love This Recipe
- Quick & Easy: Comes together in under 3 hours, perfect for busy mornings or last-minute bread cravings.
- Simple Ingredients: Uses pantry staples—flour, water, yeast, and salt—no fancy trips to the store required.
- Perfect for Any Occasion: Ideal for weekend brunches, cozy dinners, or impressing guests with homemade artisan bread.
- Crowd-Pleaser: The crispy crust and chewy crumb always get raving reviews from both bread lovers and novices.
- Unbelievably Delicious: The Dutch oven traps steam for that signature crackling crust and tender inside—just like the bakery.
This isn’t just another bread recipe. The magic lies in the no-knead technique that requires minimal hands-on time but delivers maximum texture and flavor. The crust gets that perfect crunch because the dough steams inside the pot, creating an artisan quality loaf that honestly rivals anything from a bakery. I’ve tested this recipe dozens of times, tweaking hydration and resting times to nail the balance between soft interior and crispy exterior. Plus, it’s forgiving—I once forgot the dough overnight, and it still turned out amazing.
Whether you’re new to bread baking or a seasoned pro, this crispy Dutch oven no-knead artisan bread will make you feel like you’ve got a secret weapon in your kitchen. It’s the kind of recipe that turns simple ingredients into a soul-satisfying loaf, perfect for any meal or snack.
What Ingredients You Will Need
This recipe uses simple, wholesome ingredients to deliver bold flavor and satisfying texture without the fuss. You probably have everything in your pantry right now, and if not, they’re easy to find at any grocery store.
- All-Purpose Flour (3 cups / 375g) – I recommend King Arthur for consistent results and slightly nutty flavor.
- Warm Water (1 ½ cups / 360ml) – Around 100°F (38°C) to activate the yeast without killing it.
- Active Dry Yeast (1 teaspoon) – Fleischmann’s works great here; you can also use instant yeast but adjust timing slightly.
- Salt (1 ¼ teaspoons) – Fine sea salt is best to avoid gritty texture.
Optional but tasty:
- Whole Wheat Flour (replace up to ½ cup / 60g) – adds a rustic flavor and hearty texture.
- Cornmeal or Semolina (for dusting) – makes the loaf easier to lift from the Dutch oven and adds a slight crunch.
If you’re thinking about substitutions, feel free to swap all-purpose flour for bread flour if you want an even chewier crumb. For gluten-free versions, almond or oat flour can work but expect a denser loaf. Using filtered water can improve flavor, especially if your tap water is heavily chlorinated.
Equipment Needed
- Dutch Oven (at least 5-quart size) – This is the star here; it traps steam and ensures a crispy crust. I use a cast-iron Lodge, but enameled versions like Le Creuset work beautifully too.
- Mixing Bowl – A large glass or stainless steel bowl for mixing and proofing the dough.
- Kitchen Scale (optional but recommended) – For precise measurements, especially if you want to experiment with flour types.
- Wooden Spoon or Dough Scraper – Helpful for mixing the wet dough and scraping it out of the bowl.
- Cotton Kitchen Towel or Plastic Wrap – For covering the dough during the resting period.
If you don’t have a Dutch oven, a heavy oven-safe pot with a lid can work as a substitute, but the heat retention might not be quite as good. I’ve tried baking in a deep roasting pan covered with foil, but the crust doesn’t get as crisp. A budget-friendly cast iron combo can last for decades if you care for it properly—season it regularly and avoid soap to keep that non-stick magic.
Preparation Method
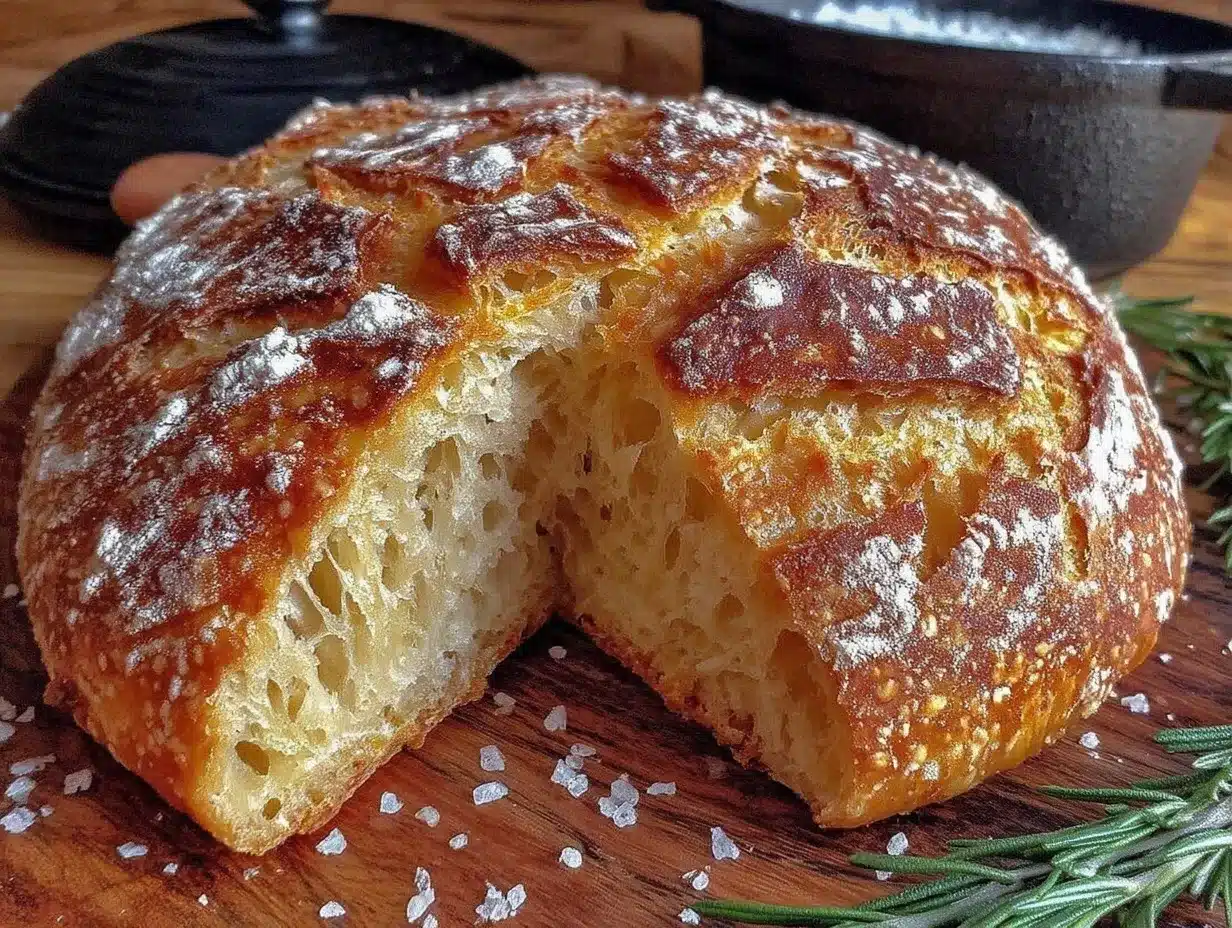
- Mix the Dough (5 minutes): In your mixing bowl, combine 3 cups (375g) of all-purpose flour, 1 teaspoon of active dry yeast, and 1 ¼ teaspoons salt. Pour in 1 ½ cups (360ml) of warm water (about 100°F/38°C). Stir with a wooden spoon until the dough forms a shaggy, sticky mass. Don’t overthink it—this dough is supposed to be wet and loose.
- First Rise (12-18 hours): Cover the bowl with a damp kitchen towel or plastic wrap. Leave it at room temperature—around 70°F (21°C) is ideal—and let it rest overnight or for about 12 to 18 hours. You’ll notice the dough bubble and double in size. If your kitchen is cooler, it might take a bit longer, so be patient.
- Shape the Dough (10 minutes): After the rise, flour your hands and a clean surface lightly. Scrape the dough out gently onto the floured surface. Fold it over itself a couple of times to shape it into a rough ball. Don’t knead it; just shape. If it’s sticky, dust your hands with flour but avoid adding too much to keep the crumb light.
- Second Rise (1-2 hours): Place the dough seam-side down on a large piece of parchment paper. Cover it with a towel and let it rise again until it almost doubles and springs back slowly when poked.
- Preheat the Oven and Dutch Oven (30 minutes): About 30 minutes before baking, place your empty Dutch oven with its lid inside your oven. Preheat to 450°F (232°C). This step is key to getting the crust crispy—hot pot, hot oven.
- Bake the Bread (30-40 minutes): Carefully remove the Dutch oven using oven mitts. Lift the dough by the parchment and place it into the pot. Cover with the lid and bake for 30 minutes. Then, remove the lid and bake for another 10-15 minutes to brown and crisp the crust further.
- Cool Completely: Once baked, carefully lift the bread out with the parchment and transfer it to a wire rack. Let it cool for at least 1 hour before slicing. This resting period is crucial for the crumb to finish setting up.
If your dough feels too sticky to handle during shaping, wet your hands instead of adding flour—that helps prevent a tough crust. Also, don’t skip preheating the Dutch oven; I once forgot, and the crust came out soft and pale. The hot pot really makes all the difference.
Cooking Tips & Techniques
One of the coolest things about this recipe is how forgiving it is. You don’t have to be a pro baker to get it right, but here are some tips I’ve learned the hard way:
- Don’t rush the first rise. The long fermentation develops flavor and texture. I once tried to speed it up with hotter water—it just made the dough smell yeasty and taste off.
- Use a kitchen scale. Measuring by weight ensures consistent results. I’ve had batches flop when I eyeballed cups of flour.
- Wet your hands when handling dough. This keeps it from sticking without adding too much extra flour.
- Preheat the Dutch oven thoroughly. This step creates steam inside the pot, which crisps the crust beautifully.
- Don’t skip cooling. Slicing hot bread can make it gummy inside.
Timing-wise, I usually start mixing in the evening and bake the next morning, but you can adjust based on your schedule. For multitasking, I set a timer for the second rise and use that window to prep breakfast sides or clean up. Honestly, this recipe has saved me from many “what’s for breakfast?” panics!
Variations & Adaptations
While the classic no-knead artisan bread is fantastic, here are a few ways to mix things up:
- Herb-Infused: Add 1-2 tablespoons of fresh chopped rosemary, thyme, or oregano into the dough for an aromatic twist.
- Whole Wheat Blend: Substitute up to half the all-purpose flour with whole wheat for a nuttier, heartier loaf.
- Cheese & Garlic: Fold in ½ cup grated Parmesan and 2 cloves minced garlic to the dough before the first rise for a savory treat.
- Gluten-Free Adaptation: Use a gluten-free flour blend designed for bread baking, but reduce water slightly and expect a denser bread.
- Alternative Cooking Methods: If you lack a Dutch oven, try a cast iron skillet with a deep roasting pan covered tightly with foil to trap steam.
I once added sun-dried tomatoes and fresh basil, which made a fantastic sandwich bread. The crust stayed crispy, and the flavors married beautifully. Feel free to experiment with your favorite mix-ins—you might discover your new go-to artisan bread variation.
Serving & Storage Suggestions
This crispy Dutch oven no-knead artisan bread tastes best fresh out of the oven, but it also holds up well for the next day or two. Serve it at room temperature or lightly toasted for breakfast with butter and jam, or alongside soups and stews for dinner.
To store, wrap the cooled loaf loosely in a clean kitchen towel and keep it at room temperature for up to 2 days. For longer storage, slice and freeze the bread in a sealed bag for up to 3 months. Toast slices straight from the freezer for a quick pick-me-up.
When reheating, avoid the microwave, which can soften the crust. Instead, pop slices or the whole loaf in a 350°F (175°C) oven for 5-10 minutes to refresh that crunch.
Over time, the flavors mellow and become more complex, making this bread perfect for sandwiches the next day. I like pairing it with a sharp cheddar and apple slices or dipping it in olive oil and balsamic vinegar.
Nutritional Information & Benefits
Each slice (about 2 oz / 56g) of this artisan bread contains roughly:
| Calories | 140 |
|---|---|
| Carbohydrates | 28g |
| Protein | 4g |
| Fat | 0.5g |
| Fiber | 1g |
This bread is naturally free from added sugars and fats, making it a wholesome choice. Using whole wheat flour adds fiber and nutrients, supporting digestion and heart health. The simple ingredients also mean no preservatives or additives.
Keep in mind, this recipe contains gluten and yeast, so it’s not suitable for those with allergies or sensitivities. But for most, it’s a nourishing, satisfying way to enjoy homemade bread without the fuss or extra calories from oils or sugars.
Conclusion
If you’ve ever wanted to bake artisan bread at home but felt overwhelmed by complicated recipes or fancy equipment, this crispy Dutch oven no-knead artisan bread is your new kitchen champion. It’s simple, approachable, and delivers that bakery-quality crust and crumb you crave.
Feel free to tweak the hydration, flour types, or add herbs and cheeses to make it your own. Honestly, that’s part of the fun—making something classic feel fresh and personal.
I love this recipe because it turns basic ingredients into a loaf that feels special, even when the day is chaotic (like during that blackout). So grab your Dutch oven, get that dough going, and enjoy the magic of homemade bread with minimal fuss.
When you try it, drop a comment below and share your variations or kitchen stories—I’d love to hear how your loaf turns out!
Frequently Asked Questions
Can I use instant yeast instead of active dry yeast?
Yes, you can substitute instant yeast. Use the same amount but mix it directly with the flour and skip proofing. The rising time might be slightly shorter, so keep an eye on the dough.
What if I don’t have a Dutch oven?
You can bake the bread in a heavy oven-safe pot with a lid or use a deep roasting pan covered tightly with foil to trap steam. The crust might be less crispy but still delicious.
How do I know when the dough has risen enough?
The dough should roughly double in size and look bubbly. When you gently poke it, the indentation should spring back slowly but not completely.
Can I make the dough ahead and refrigerate it?
Absolutely! After mixing, cover the dough and refrigerate for up to 24 hours. Let it come to room temperature before shaping and baking.
Why is my bread dense or gummy inside?
Common reasons include underbaking, not letting the bread cool before slicing, or using too much flour during shaping. Make sure to preheat the Dutch oven and allow the bread to cool fully on a rack.
For a tasty twist on your bread experience, you might enjoy pairing this recipe with a garlic herb butter or serve it alongside roasted tomato soup for a comforting meal.
Pin This Recipe!
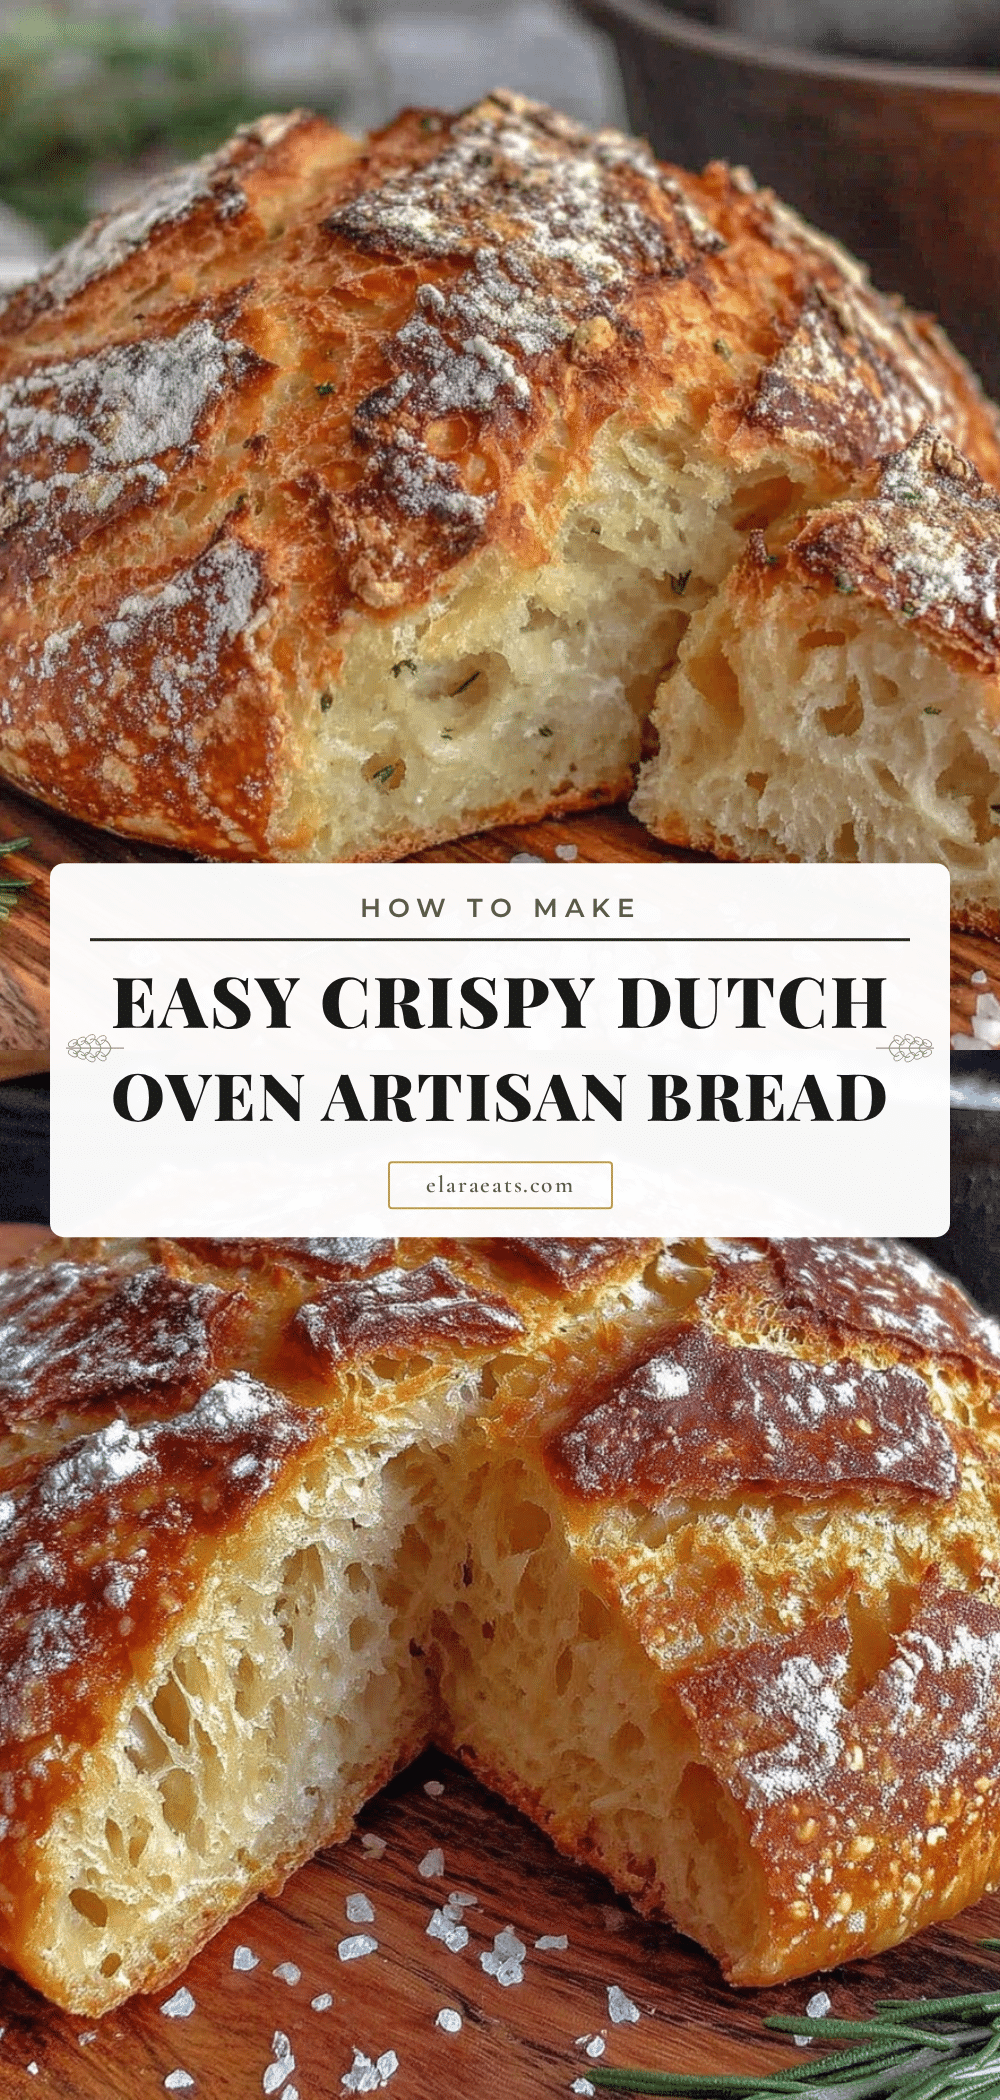
Crispy Dutch Oven No-Knead Artisan Bread
A simple no-knead artisan bread recipe baked in a Dutch oven for a perfect crispy crust and airy crumb. Minimal hands-on time with pantry staple ingredients.
- Prep Time: 15 minutes
- Cook Time: 40-45 minutes
- Total Time: 13-19 hours
- Yield: 1 loaf (about 8-10 servings) 1x
- Category: Bread
- Cuisine: American
Ingredients
- 3 cups (375g) all-purpose flour
- 1 ½ cups (360ml) warm water (about 100°F/38°C)
- 1 teaspoon active dry yeast
- 1 ¼ teaspoons salt
- Optional: up to ½ cup (60g) whole wheat flour (to replace part of all-purpose flour)
- Optional: cornmeal or semolina for dusting
Instructions
- Mix the Dough (5 minutes): In a mixing bowl, combine flour, yeast, and salt. Pour in warm water and stir with a wooden spoon until a shaggy, sticky dough forms.
- First Rise (12-18 hours): Cover the bowl with a damp towel or plastic wrap and let rest at room temperature until doubled and bubbly.
- Shape the Dough (10 minutes): Lightly flour hands and surface, scrape dough out, fold over itself into a rough ball without kneading.
- Second Rise (1-2 hours): Place dough seam-side down on parchment paper, cover, and let rise until nearly doubled and springs back slowly when poked.
- Preheat Oven and Dutch Oven (30 minutes): Place empty Dutch oven with lid in oven and preheat to 450°F (232°C).
- Bake the Bread (30-40 minutes): Remove Dutch oven carefully, place dough with parchment inside, cover and bake 30 minutes. Remove lid and bake 10-15 minutes more to brown crust.
- Cool Completely: Transfer bread to wire rack and cool at least 1 hour before slicing.
Notes
Do not skip preheating the Dutch oven to ensure a crispy crust. Wet hands when shaping dough to prevent sticking without adding extra flour. Cool bread completely before slicing to avoid gummy texture. Use a kitchen scale for best results. Dough can be refrigerated up to 24 hours after mixing.
Nutrition
- Serving Size: 1 slice (about 2 oz
- Calories: 140
- Fat: 0.5
- Carbohydrates: 28
- Fiber: 1
- Protein: 4
Keywords: artisan bread, no-knead bread, Dutch oven bread, homemade bread, easy bread recipe, crispy crust bread