Love this? Save it for later!
Share the inspiration with your friends
“You’ll never guess what got me hooked on beer can chicken,” my neighbor Joe said last summer, leaning over the fence with a grin. It was a scorching Saturday afternoon, and the smell of smoky chicken wafted through the backyard where his grill was smoking away. Joe, known for his no-nonsense grilling skills, was casually pulling a golden, crispy bird off the rack. “I didn’t even plan on making this,” he added, wiping sweat from his brow.
Turns out, Joe’s story was one of those happy accidents. He was trying to make a classic roast chicken but realized he forgot the roasting pan. With nothing else handy, he grabbed an unopened can of gluten-free beer from the fridge, plopped it in the cavity, and set the bird upright on the grill. The result? This crispy gluten-free beer can chicken recipe that instantly became his go-to for weekend barbecues.
I mean, who knew that a forgetful moment in the heat of a summer cookout would lead to a dad’s favorite meal that’s now a staple in my recipe book too? The chicken came out juicy on the inside with a perfectly crisp skin, and because Joe uses gluten-free beer, it’s great for anyone who needs to avoid gluten but still wants that rich, malty flavor.
Maybe you’ve been there too—scrambling to pull together a meal and ending up with a new favorite by sheer luck. Honestly, this recipe sticks with you. It’s simple, fuss-free, and somehow turns an ordinary backyard grill session into something memorable. Let me tell you, this isn’t just another grilled chicken recipe; it’s a little piece of magic that Joe’s dad would have loved, and now, so do I.
Why You’ll Love This Recipe
This crispy gluten-free beer can chicken recipe isn’t just a crowd-pleaser—it’s a family-approved, kitchen-tested winner that brings the best of backyard grilling to your table without the stress. After trying countless versions, here’s why this one stands out:
- Quick & Easy: Ready in under 1 hour, perfect for those busy weekends or last-minute dinner plans.
- Simple Ingredients: Uses pantry staples plus a can of gluten-free beer—you probably have everything already!
- Perfect for Gatherings: Whether it’s a casual weekend cookout or a holiday meal, this chicken impresses without extra effort.
- Crowd-Pleaser: Kids and adults alike love the crispy skin and tender meat combo; it’s always a hit.
- Unbelievably Delicious: The gluten-free beer infuses the chicken with subtle malt notes, while the dry rub creates that signature crispy, flavorful crust.
What makes this recipe different is the balance between ease and flavor. Joe’s technique of using gluten-free beer keeps it inclusive for those with dietary restrictions, while the dry rub recipe brings a touch of smoky, savory goodness that’s hard to beat. Plus, this method locks in juiciness without the need for complicated marinades or brining.
Honestly, this recipe isn’t just about food—it’s about creating moments. The kind of meal that makes you lean back, savor the first bite, and smile because you nailed it. It’s comfort food with a crispy twist, and it’s sure to become one of your favorites too.
What Ingredients You Will Need
This recipe uses straightforward, wholesome ingredients to deliver a golden, crispy skin and juicy interior without the fuss. Most items are pantry staples, and the gluten-free beer adds a unique touch of flavor and moisture.
- Whole Chicken: About 4-5 pounds (1.8-2.3 kg), preferably organic or free-range for best taste.
- Gluten-Free Beer: One 12 oz (355 ml) can; I recommend brands like Glutenberg or Omission for their clean taste and quality.
- Olive Oil: 2 tablespoons, for coating the chicken and helping the dry rub stick.
Dry Rub Ingredients:
- 2 teaspoons smoked paprika (adds smoky depth)
- 1 teaspoon garlic powder
- 1 teaspoon onion powder
- 1 teaspoon dried thyme or rosemary (fresh works too)
- 1 teaspoon salt (preferably kosher salt)
- ½ teaspoon black pepper
- ½ teaspoon cayenne pepper (optional for a mild kick)
Optional for Serving:
- Fresh lemon wedges (brightens flavor)
- Chopped parsley or cilantro for garnish
For substitutions, you can swap olive oil with avocado oil if you want a higher smoke point. If you don’t have smoked paprika, regular paprika plus a pinch of cumin works in a pinch. The key is using a gluten-free beer to keep the recipe safe for sensitive diets.
Equipment Needed
- Grill: Gas or charcoal grill works fine; I prefer charcoal for that authentic smoky flavor.
- Beer Can Chicken Roaster (Optional): A specialized stand to hold the chicken upright. No worries if you don’t have one—just use the beer can directly on the grill.
- Meat Thermometer: Crucial for checking doneness without guessing. A digital instant-read thermometer is a great investment and makes life easier.
- Kitchen Tongs: For handling the hot chicken safely.
- Aluminum Foil: To tent the chicken if needed during resting.
If you don’t have a thermometer, look for clear juices running from the thickest part of the thigh and an internal temp of 165°F (74°C). I’ve tried different tools over the years, but a good thermometer saves so much stress (and prevents overcooking!). For budget grills, even a simple kettle grill will do the job.
Preparation Method
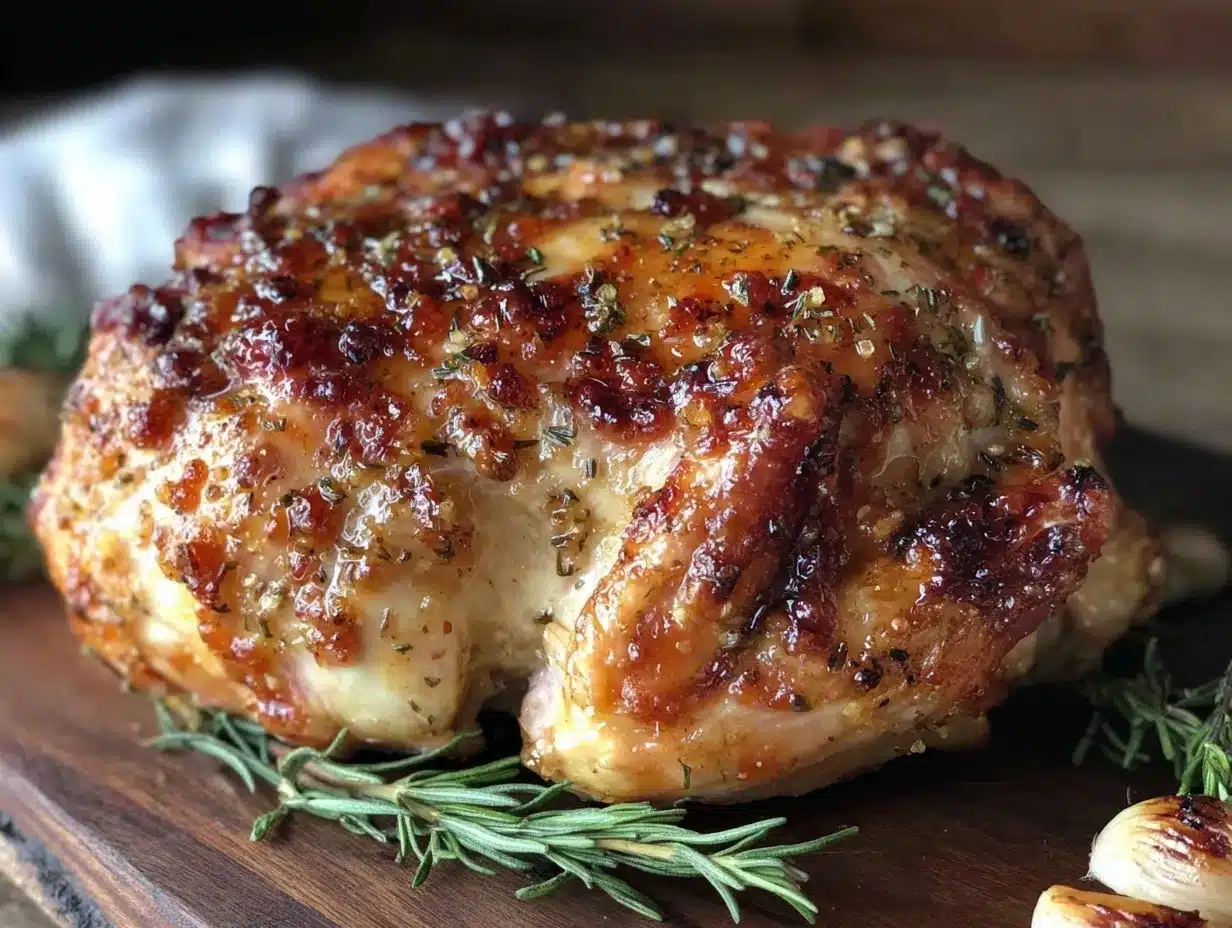
- Prep the Chicken (10 minutes): Pat the whole chicken dry with paper towels—this is key for crispy skin. Remove any giblets from the cavity if present.
- Make the Dry Rub: In a small bowl, combine smoked paprika, garlic powder, onion powder, thyme, salt, black pepper, and cayenne pepper (if using). Mix well.
- Coat the Chicken: Rub the chicken all over with olive oil, then generously apply the dry rub inside and out, making sure to get under the skin where possible for maximum flavor.
- Prepare the Beer Can: Open the gluten-free beer can and pour out (or drink!) about half to avoid overflow. Place the can on a stable surface.
- Mount the Chicken: Carefully lower the chicken cavity onto the beer can so it stands upright. The legs should act as a tripod.
- Preheat the Grill: Set your grill for indirect medium heat, about 350°F (175°C). For charcoal, bank coals to one side; for gas, turn on burners on one side only.
- Cook the Chicken (50-60 minutes): Place the chicken upright on the side of the grill without direct heat. Close the lid and cook until the internal temperature at the thickest thigh reads 165°F (74°C). Avoid opening the lid too often—each peek lets heat escape.
- Check for Doneness: Besides temperature, the juices should run clear when pierced, and the skin will be deep golden and crispy.
- Rest the Chicken (10 minutes): Carefully remove the chicken from the grill and let it rest upright or on a platter tented loosely with foil. This helps redistribute juices.
- Serve and Enjoy: Carve the chicken off the beer can, garnish with fresh herbs, and offer lemon wedges for a zesty pop.
Tip: I once forgot to stabilize my bird properly, and it toppled mid-cook—messy but still tasty! So, double-check your setup before closing the lid. Also, if flare-ups happen, just move the chicken to a cooler part of the grill briefly.
Cooking Tips & Techniques
Making crispy gluten-free beer can chicken can seem daunting, but a few tricks make all the difference. First, drying the chicken skin thoroughly before seasoning is a game changer for crispiness. I learned this after one soggy attempt—never again!
Maintaining indirect heat is crucial. Direct flames can char the skin before the inside cooks through. I like to set my grill thermometer to keep consistent temperature rather than guessing.
Don’t rush the resting period. Cutting too soon lets all the juices run out, leaving dry meat. Patience here pays off big time.
Multitasking tip: While the chicken cooks, prep a simple side salad or grill some veggies. That way, everything comes together fresh and warm.
Also, experiment with dry rubs! Sometimes I add a pinch of brown sugar for a caramelized crust or swap thyme for oregano for a Mediterranean vibe.
Variations & Adaptations
- Herb-Infused: Add fresh rosemary and thyme sprigs inside the cavity with the beer can for an aromatic twist.
- Spicy Kick: Boost cayenne pepper or add chili powder to the dry rub for heat lovers.
- Smoky BBQ: Brush the chicken with gluten-free barbecue sauce during the last 10 minutes of cooking for a sticky glaze.
- Oven Method: If grilling isn’t an option, roast the chicken upright on a beer can in a 375°F (190°C) oven for about 1 to 1.25 hours. Use a roasting pan with a rack to catch drips.
- Allergen-Friendly: Swap olive oil for coconut oil if preferred, and ensure your beer choice is both gluten-free and free from other allergens.
One time, I tried using a can of gluten-free hard cider instead of beer—loved the slightly sweeter, fruity notes that added a new dimension. Feel free to play around and find your perfect flavor profile!
Serving & Storage Suggestions
Serve this crispy gluten-free beer can chicken hot off the grill with a squeeze of fresh lemon to brighten the flavors. It pairs wonderfully with grilled vegetables, creamy mashed potatoes, or a crisp green salad.
If you have leftovers (which is rare!), store them in an airtight container in the fridge for up to 3 days. Reheat gently in the oven at 325°F (160°C) wrapped in foil to keep the meat moist while preserving the crispy skin as much as possible.
The flavors actually deepen after a day or two, so sometimes I purposely make extra for sandwiches or salads the next day.
Nutritional Information & Benefits
This recipe offers a hearty serving of protein with minimal carbs, making it suitable for gluten-free and low-carb diets. The chicken provides essential vitamins like B6 and B12, while the olive oil adds heart-healthy fats.
Using gluten-free beer ensures those with gluten sensitivities can enjoy this dish without worry. Plus, the dry rub spices offer antioxidants and anti-inflammatory benefits.
Overall, it’s a balanced meal that’s satisfying and nourishing, perfect for anyone wanting a flavorful, gluten-free comfort meal.
Conclusion
This crispy gluten-free beer can chicken recipe is one of those rare finds that’s easy to make, packed with flavor, and universally loved. Whether you’re a seasoned griller or just starting out, it’s a reliable way to impress without stress.
Feel free to tweak the spices or try different gluten-free beer brands to make it your own. Honestly, it’s one recipe I come back to again and again because it just works—and tastes like something special every single time.
If you give it a try, I’d love to hear how it turns out for you. Drop a comment below with your tweaks or questions—sharing these moments is what makes cooking fun!
Here’s to many delicious, crispy, gluten-free meals ahead!
FAQs
What if I don’t have gluten-free beer? Can I use something else?
You can substitute with gluten-free hard cider or even sparkling water for moisture, but the flavor profile will change. Avoid regular beer if you need to keep it gluten-free.
How do I know when the chicken is fully cooked?
The best way is with a meat thermometer. The internal temperature should reach 165°F (74°C) in the thickest part of the thigh. Juices should run clear.
Can I make this recipe in the oven?
Absolutely! Roast the chicken upright on the beer can at 375°F (190°C) for about 1 to 1.25 hours, checking for doneness with a thermometer.
Is this recipe suitable for a charcoal grill?
Yes, charcoal grills add a nice smoky flavor, just set up for indirect heat and keep the temperature steady around 350°F (175°C).
How do I get the skin extra crispy?
Patting the chicken skin dry before seasoning and cooking over indirect heat without opening the lid too often helps. Also, rubbing olive oil evenly and using a good dry rub enhances crispiness.
Pin This Recipe!
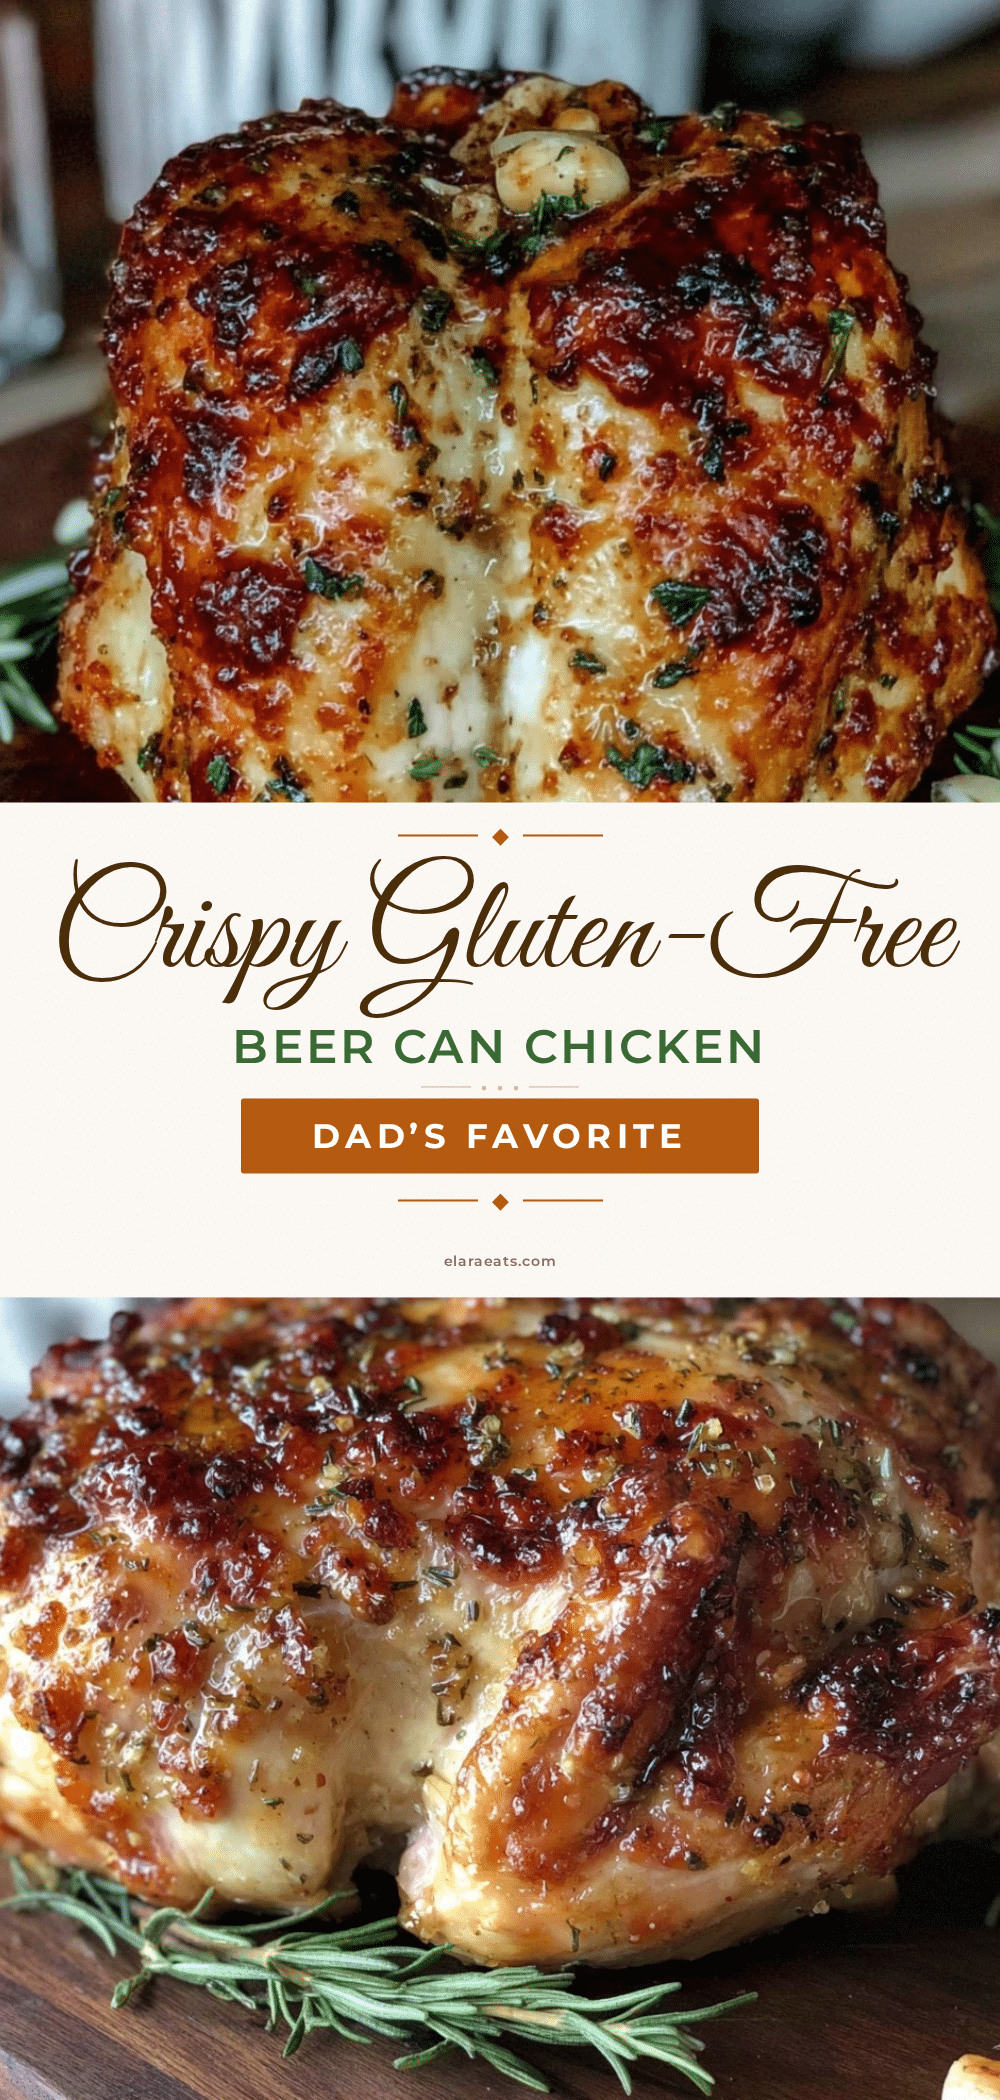
Crispy Gluten-Free Beer Can Chicken Recipe Easy Dad’s Favorite Meal

A simple, fuss-free gluten-free beer can chicken recipe that delivers juicy meat with perfectly crispy skin, ideal for backyard grilling and family gatherings.
- Prep Time: 10 minutes
- Cook Time: 50-60 minutes
- Total Time: 1 hour to 1 hour 10 minutes
- Yield: 4-6 servings 1x
- Category: Main Course
- Cuisine: American
Ingredients
- 1 whole chicken (4–5 pounds, preferably organic or free-range)
- 1 can (12 oz / 355 ml) gluten-free beer (e.g., Glutenberg or Omission)
- 2 tablespoons olive oil
- 2 teaspoons smoked paprika
- 1 teaspoon garlic powder
- 1 teaspoon onion powder
- 1 teaspoon dried thyme or rosemary
- 1 teaspoon kosher salt
- ½ teaspoon black pepper
- ½ teaspoon cayenne pepper (optional)
- Optional for serving: fresh lemon wedges, chopped parsley or cilantro
Instructions
- Pat the whole chicken dry with paper towels and remove any giblets from the cavity.
- In a small bowl, combine smoked paprika, garlic powder, onion powder, thyme, salt, black pepper, and cayenne pepper (if using). Mix well.
- Rub the chicken all over with olive oil, then generously apply the dry rub inside and out, including under the skin where possible.
- Open the gluten-free beer can and pour out or drink about half to avoid overflow. Place the can on a stable surface.
- Carefully lower the chicken cavity onto the beer can so it stands upright with the legs acting as a tripod.
- Preheat the grill for indirect medium heat, about 350°F (175°C). For charcoal, bank coals to one side; for gas, turn on burners on one side only.
- Place the chicken upright on the side of the grill without direct heat. Close the lid and cook for 50-60 minutes until the internal temperature at the thickest thigh reads 165°F (74°C). Avoid opening the lid too often.
- Check for doneness by ensuring juices run clear and the skin is deep golden and crispy.
- Remove the chicken from the grill and let it rest upright or on a platter tented loosely with foil for 10 minutes to redistribute juices.
- Carve the chicken off the beer can, garnish with fresh herbs, and serve with lemon wedges.
Notes
Patting the chicken dry before seasoning is key for crispy skin. Maintain indirect heat to avoid charring. Use a meat thermometer to ensure doneness. Let the chicken rest before carving to keep it juicy. If flare-ups occur, move the chicken to a cooler part of the grill briefly. For oven cooking, roast upright at 375°F (190°C) for 1 to 1.25 hours.
Nutrition
- Serving Size: Approximately 1/4 to
- Calories: 350
- Sugar: 0.5
- Sodium: 600
- Fat: 22
- Saturated Fat: 4
- Carbohydrates: 2
- Fiber: 0.5
- Protein: 38
Keywords: gluten-free, beer can chicken, grilled chicken, crispy chicken, backyard barbecue, easy chicken recipe, dad’s favorite meal


