Love this? Save it for later!
Share the inspiration with your friends
“You won’t believe this tiramisu recipe,” my neighbor Luca said one Saturday morning as I wrestled with my overcomplicated dessert plans. Luca, a retired carpenter with a surprisingly sharp palate, had just returned from a trip to Sicily where he’d learned some family secrets from a tiny trattoria owner. Honestly, I was skeptical—Luca’s usual repertoire was mostly grilled things and simple pasta. But there he was, scribbling on a napkin while the espresso machine hissed in his kitchen.
I remember the way the creamy mascarpone mixture oozed from the bowl, the rich espresso aroma filling the air, and the laugh we shared when he admitted he’d forgotten the ladyfingers and used stale biscotti instead. Somehow, that happy accident made this no-bake Italian tiramisu even better. I mean, you know that feeling when a dessert tastes like a cloud wrapped in coffee and sweetness? This is it.
Since that morning, this recipe has become my go-to for a quick but impressive homemade espresso dessert. It’s creamy, dreamy, and honestly, no fuss—no oven, no stress. Maybe you’ve been there, craving tiramisu but dreading the complicated steps or the long chill time. This version skips all that but keeps the soul of the classic intact.
Let me tell you, this creamy no-bake Italian tiramisu with mascarpone and espresso isn’t just a recipe; it’s a kitchen story worth sharing at your next dinner party—or a quiet Tuesday treat that feels like a celebration.
Why You’ll Love This Creamy No-Bake Italian Tiramisu Recipe
After making this tiramisu dozens of times (and yes, testing a few less successful variations), I can confidently say it’s one of the easiest ways to enjoy a classic Italian dessert without the fuss. Here’s why this recipe stands out:
- Quick & Easy: Comes together in under 30 minutes, making it perfect for those last-minute dessert cravings or busy weeknights.
- Simple Ingredients: No need for specialty stores—most ingredients like mascarpone, espresso, and ladyfingers are pantry staples or easy finds at your local grocery.
- Perfect for Entertaining: Whether it’s a casual family dinner or a small gathering, this no-bake tiramisu impresses without keeping you stuck in the kitchen.
- Crowd-Pleaser: The creamy texture and bold espresso flavor consistently get rave reviews from both kids and adults alike.
- Unbelievably Delicious: The balance of mascarpone richness with just the right coffee kick makes this dessert downright addictive.
What really sets this tiramisu apart is the technique I picked up from Luca: folding the mascarpone gently to keep it light and airy, and using freshly brewed espresso for that authentic Italian punch. No heavy whipping or complicated layering—just pure, creamy comfort. Honestly, it’s the kind of dessert that makes you close your eyes and savor every bite.
What Ingredients You Will Need for Creamy No-Bake Italian Tiramisu
This recipe uses simple, wholesome ingredients to deliver bold flavor and a satisfyingly smooth texture without the fuss. Most are pantry staples, and substitutions are easy if needed.
- Mascarpone cheese (8 oz / 225 g, room temperature) – The star of the dessert, creamy and rich. I recommend Galbani for authentic Italian texture.
- Espresso (1 cup / 240 ml, freshly brewed and cooled) – Use strong, fresh espresso for that unmistakable coffee flavor. Instant espresso powder can work in a pinch.
- Ladyfingers (about 24 pieces) – Light and airy, perfect for soaking up the espresso without getting soggy. You can substitute with sponge cake slices if needed.
- Granulated sugar (1/2 cup / 100 g) – Balances the bitterness of espresso and richness of mascarpone.
- Egg yolks (3 large, at room temperature) – Adds richness and helps achieve that smooth creamy texture. If you prefer, pasteurized eggs work well here.
- Heavy cream (1 cup / 240 ml, cold) – Whipped to soft peaks, folded in for lightness. Substitute with coconut cream for a dairy-free twist.
- Vanilla extract (1 tsp) – Adds subtle warmth and depth.
- Cocoa powder (for dusting) – Unsweetened, to finish the classic look and add a touch of bittersweet contrast.
Optional: a splash of coffee liqueur like Kahlúa or Marsala wine can be added to the espresso for an adult twist. In warmer months, I sometimes swap out cocoa dusting for shaved dark chocolate or fresh berries for a seasonal touch.
Equipment Needed
- Mixing bowls: One large for mascarpone mixture, one for whipping cream.
- Electric mixer or whisk: For whipping cream and beating egg yolks. Hand whisk works too, but expect a bit more arm workout.
- Espresso machine or coffee maker: For brewing strong espresso. A stovetop moka pot works perfectly if you don’t have an espresso machine.
- 9×9 inch (23×23 cm) serving dish or individual ramekins: For assembling the tiramisu layers.
- Sifter or fine mesh sieve: To dust cocoa powder evenly.
If you don’t own an electric mixer, no worries—whipping the cream by hand is doable, just takes a little longer. I’ve found that using a chilled bowl helps the cream whip faster and fluffier. For budget-friendly options, a simple hand whisk and a moka pot can deliver excellent results without fancy gadgetry.
Preparation Method for Creamy No-Bake Italian Tiramisu
- Brew the espresso: Prepare 1 cup (240 ml) of strong espresso. Pour into a shallow dish and let cool completely. If you like, stir in 1-2 tablespoons of coffee liqueur or Marsala wine at this point. (Time: 10 minutes)
- Separate the eggs: Carefully separate 3 large egg yolks into a bowl. Make sure no whites sneak in—it affects texture. (Tip: Use pasteurized eggs if you’re worried about raw eggs.)
- Beat the egg yolks and sugar: Using an electric mixer or whisk, beat the yolks with 1/2 cup (100 g) granulated sugar until pale and thick—about 3-5 minutes. The mixture should form ribbons when you lift the whisk. (Time: 5 minutes)
- Add mascarpone: Gently fold 8 oz (225 g) mascarpone cheese into the egg yolk mixture until smooth and creamy. Avoid overmixing to keep the texture light. (Tip: If mascarpone is too cold, it might clump—room temperature is key.)
- Whip the cream: In a separate chilled bowl, whip 1 cup (240 ml) cold heavy cream with 1 tsp vanilla extract to soft peaks. (Time: 5 minutes)
- Combine mixtures: Carefully fold the whipped cream into the mascarpone mixture, preserving the airy texture. This step makes the tiramisu irresistibly creamy and light.
- Soak the ladyfingers: Quickly dip each ladyfinger into the cooled espresso—just 1-2 seconds per side. Don’t soak too long or they’ll get soggy and fall apart. Lay them in a single layer in your serving dish. (Tip: I always keep a paper towel nearby for any drips.)
- Layer the tiramisu: Spread half of the mascarpone mixture over the ladyfingers evenly. Add another layer of dipped ladyfingers, then top with the remaining mascarpone mixture. Smooth the top with a spatula.
- Chill: Cover the dish with plastic wrap and refrigerate for at least 4 hours, preferably overnight. This resting time lets the flavors meld and the texture set perfectly.
- Finish with cocoa powder: Just before serving, sift a generous layer of unsweetened cocoa powder over the top. For a fancy touch, add chocolate shavings or fresh berries if you like.
Common hiccup: If the mascarpone mixture feels too thick, a splash of heavy cream can loosen it. Also, if your ladyfingers aren’t absorbing the coffee well, try dipping a little longer next time but watch out for sogginess!
Cooking Tips & Techniques for Perfect No-Bake Italian Tiramisu
Getting the perfect creamy no-bake tiramisu is all about gentle folding and timing. Here are some tips I’ve picked up along the way:
- Use room-temperature mascarpone: Cold mascarpone tends to clump, so let it sit out for 20-30 minutes before mixing.
- Whip cream just right: Soft peaks are key—too stiff and your tiramisu can feel heavy, too loose and it won’t hold structure.
- Don’t oversoak ladyfingers: A quick dip keeps their texture intact while absorbing just enough espresso flavor.
- Layer gently: Rough mixing breaks the ladyfingers and muddles the texture. Use a spatula and fold with care.
- Chill long enough: Though tempting, skipping the chill time results in a runny dessert. Overnight is ideal for best flavor and texture.
- Multitask wisely: Brew espresso early and let it cool while prepping the mascarpone mixture to save time.
One funny lesson I learned? Once, I added cocoa powder before chilling—big mess and bitter dust everywhere. So now I always save dusting for the last moment.
Variations & Adaptations for This Italian Tiramisu
While the classic no-bake tiramisu is hard to beat, I’ve tried a few tweaks that might suit different tastes or dietary needs:
- Gluten-Free Version: Swap ladyfingers for gluten-free sponge cake or use gluten-free biscuits. Just be mindful of soaking time as some gluten-free options absorb liquid differently.
- Vegan Adaptation: Replace mascarpone with coconut cream mixed with vegan cream cheese, use almond or oat milk espresso, and substitute ladyfingers with vegan cookies.
- Fruit-Infused: Add a layer of fresh raspberries or sliced strawberries between the mascarpone layers for a bright twist.
- Chocolate Lover’s: Mix a few tablespoons of cocoa powder into the mascarpone mixture and top with chocolate curls.
- Alcohol-Free: Simply omit the coffee liqueur or Marsala wine for a kid-friendly version.
One time, I tried adding a pinch of cinnamon to the espresso—it gave a subtle warmth that was surprisingly comforting on a chilly evening.
Serving & Storage Suggestions
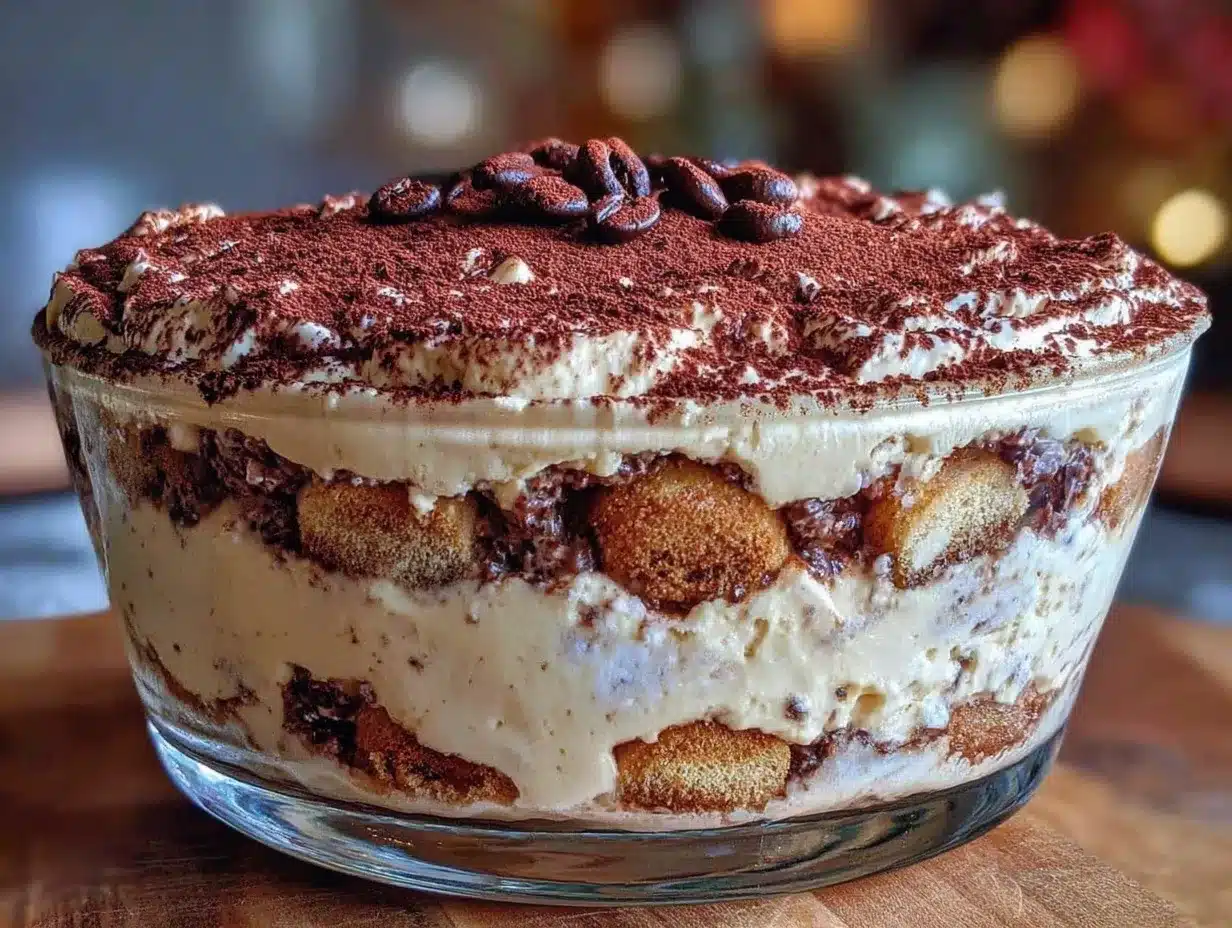
This creamy no-bake Italian tiramisu is best served chilled, straight from the fridge. The creamy layers should be cool and firm, with the espresso-soaked ladyfingers melting on your tongue.
Serve it in the dish it was assembled in or scoop into individual dessert cups for an elegant touch. Pairing it with a small glass of sweet dessert wine or a bold espresso makes for a lovely finish to any meal.
Store leftovers covered tightly in the refrigerator for up to 3 days. The flavors actually deepen with time, but the ladyfingers can become soggier after a day or two, so it’s best enjoyed fresh.
If you want to freeze it, do so before dusting with cocoa powder. Freeze in an airtight container for up to one month. Thaw overnight in the fridge and add fresh cocoa powder before serving.
Nutritional Information & Benefits
Per serving (based on 8 servings): approximately 350 calories, 25g fat, 20g carbohydrates, and 6g protein.
Mascarpone provides calcium and a good dose of healthy fats, while espresso offers antioxidants and a natural mood boost. This dessert, while indulgent, is a satisfying treat that can be enjoyed in moderation as part of a balanced diet.
For those watching carbs, reducing sugar or swapping ladyfingers for almond flour biscuits can lighten the load. Also, using pasteurized eggs removes concerns about raw egg consumption.
Conclusion
This creamy no-bake Italian tiramisu with mascarpone and espresso has become a kitchen favorite—not just because it’s delicious but because it’s a recipe that’s approachable and forgiving. Whether you’re a seasoned baker or a beginner, it’s hard to go wrong with this smooth, coffee-kissed dessert.
Feel free to customize it with your favorite flavors or dietary needs. Honestly, I love how it brings a little Italian café magic to my home without the wait or worry.
If you give this tiramisu a try, I’d love to hear how you make it your own! Leave a comment below or share your favorite twists—I’m always excited to swap stories and recipes.
Remember, the best desserts are the ones made with a bit of love and a lot of happy accidents.
FAQs About Creamy No-Bake Italian Tiramisu
Can I make tiramisu without raw eggs?
Yes! Use pasteurized eggs or substitute the egg yolks with mascarpone mixed with whipped cream and a bit of gelatin for stability.
How long should tiramisu chill before serving?
At least 4 hours, but overnight chilling is best to let the flavors meld and the texture set perfectly.
Can I prepare tiramisu in individual cups?
Absolutely! Layer the ingredients in small glasses or ramekins for a pretty presentation and easy serving.
What if I don’t have an espresso machine?
You can brew strong coffee or use a stovetop moka pot to make concentrated espresso-like coffee for this recipe.
How do I prevent ladyfingers from getting too soggy?
Dip them quickly into the espresso (1-2 seconds), and don’t soak. They should be moist but still hold their shape.
For a twist on Italian desserts, you might enjoy trying my classic Italian panna cotta or the indulgent chocolate espresso mousse—both bring a little café vibe to your home kitchen.
Pin This Recipe!
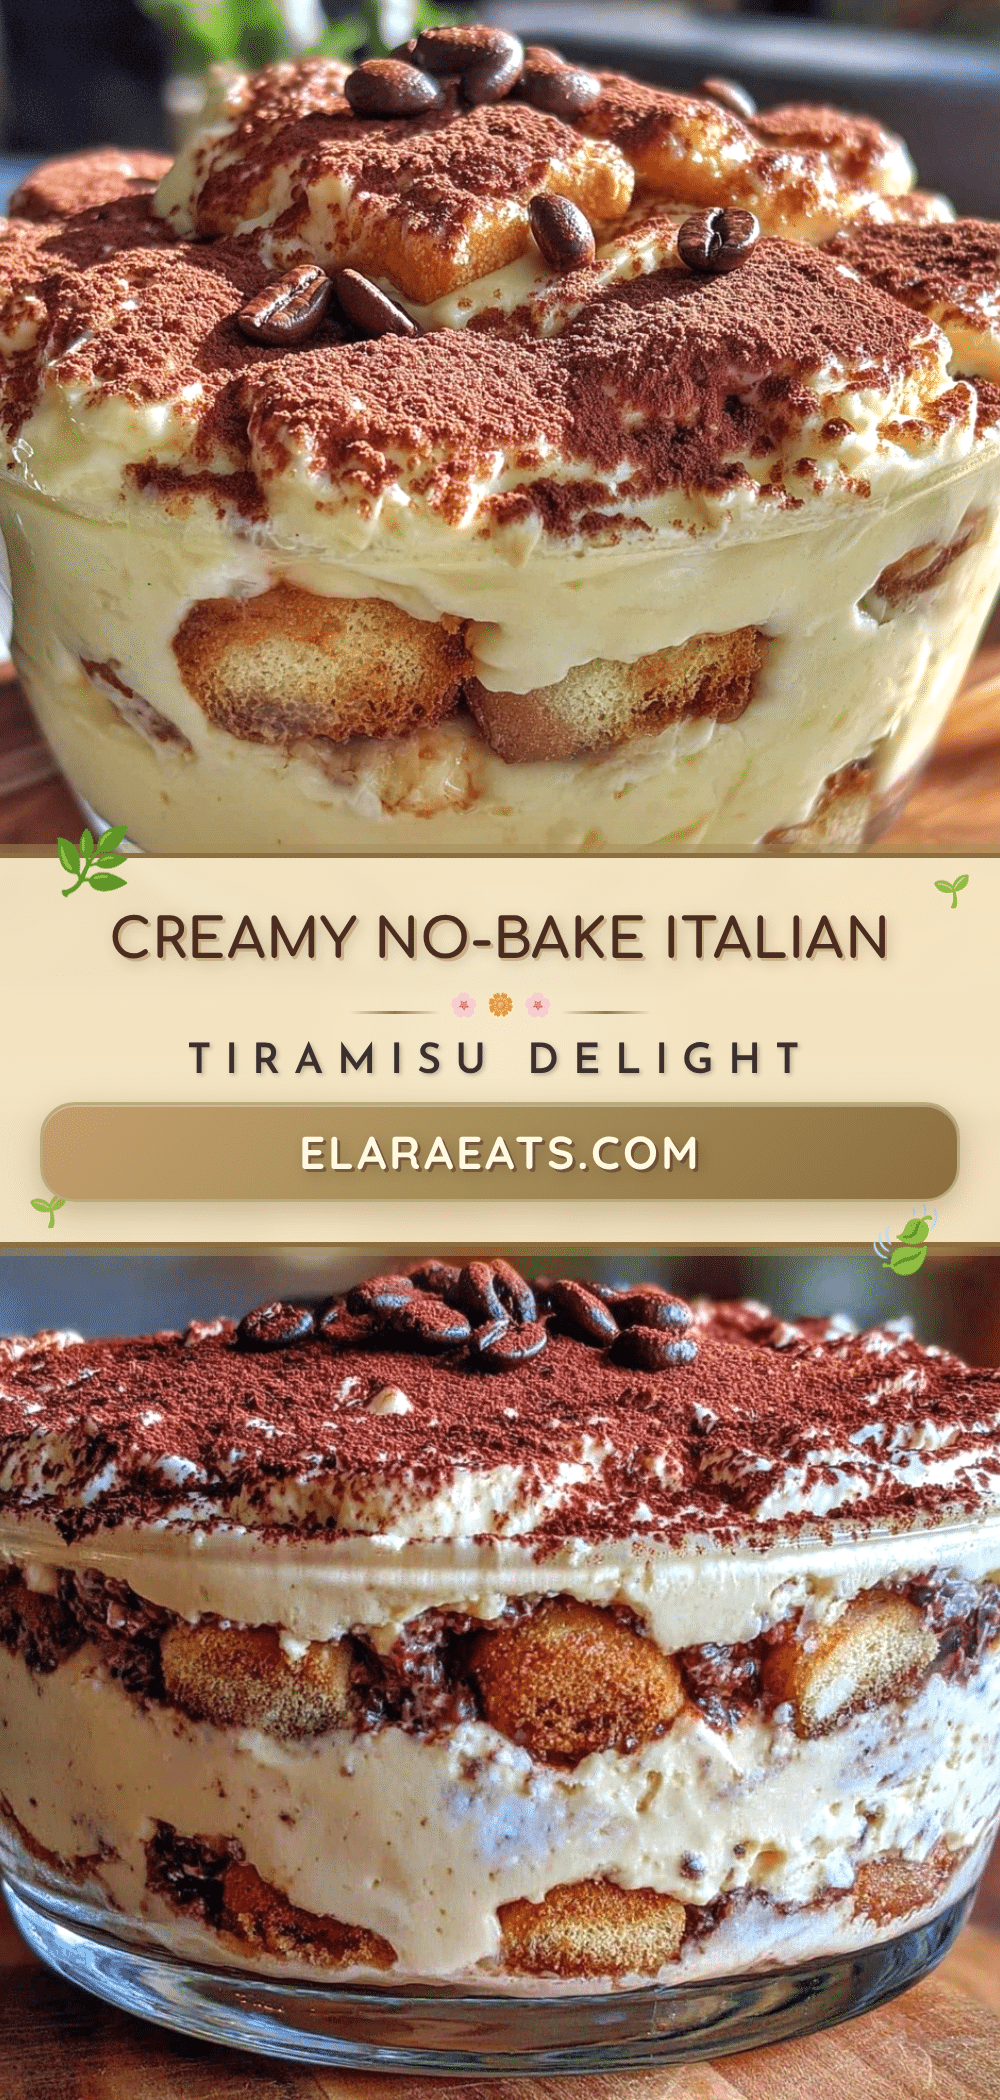
Creamy No-Bake Italian Tiramisu

A quick and easy no-bake Italian tiramisu recipe featuring creamy mascarpone and bold espresso, perfect for an impressive homemade dessert without the fuss.
- Prep Time: 20 minutes
- Cook Time: 0 minutes
- Total Time: 4 hours 20 minutes
- Yield: 8 servings 1x
- Category: Dessert
- Cuisine: Italian
Ingredients
- 8 oz (225 g) mascarpone cheese, room temperature
- 1 cup (240 ml) freshly brewed espresso, cooled
- About 24 ladyfingers
- 1/2 cup (100 g) granulated sugar
- 3 large egg yolks, room temperature
- 1 cup (240 ml) heavy cream, cold
- 1 tsp vanilla extract
- Unsweetened cocoa powder, for dusting
- Optional: 1-2 tablespoons coffee liqueur (Kahlúa) or Marsala wine
Instructions
- Brew 1 cup (240 ml) of strong espresso and let cool completely. Optionally stir in coffee liqueur or Marsala wine.
- Separate 3 large egg yolks into a bowl, ensuring no whites are included.
- Beat the egg yolks with 1/2 cup (100 g) granulated sugar until pale and thick, about 3-5 minutes.
- Gently fold 8 oz (225 g) mascarpone cheese into the egg yolk mixture until smooth and creamy.
- In a separate chilled bowl, whip 1 cup (240 ml) cold heavy cream with 1 tsp vanilla extract to soft peaks.
- Carefully fold the whipped cream into the mascarpone mixture to keep it light and airy.
- Quickly dip each ladyfinger into the cooled espresso for 1-2 seconds per side and lay them in a single layer in the serving dish.
- Spread half of the mascarpone mixture evenly over the ladyfingers.
- Add another layer of dipped ladyfingers, then top with the remaining mascarpone mixture and smooth the top.
- Cover with plastic wrap and refrigerate for at least 4 hours, preferably overnight.
- Just before serving, sift a generous layer of unsweetened cocoa powder over the top. Optionally add chocolate shavings or fresh berries.
Notes
Use room-temperature mascarpone to avoid clumping. Whip cream to soft peaks for best texture. Dip ladyfingers quickly to prevent sogginess. Chill overnight for best flavor and texture. Optional coffee liqueur or Marsala wine adds an adult twist. For gluten-free, substitute ladyfingers with gluten-free sponge cake. Vegan adaptations possible with coconut cream and vegan cookies.
Nutrition
- Serving Size: 1 slice (1/8 of reci
- Calories: 350
- Fat: 25
- Carbohydrates: 20
- Protein: 6
Keywords: tiramisu, no-bake dessert, Italian dessert, mascarpone, espresso, easy tiramisu, homemade tiramisu