Love this? Save it for later!
Share the inspiration with your friends
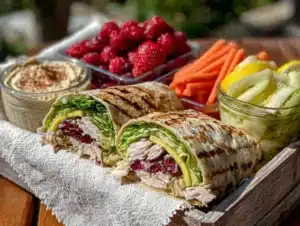
“I wasn’t expecting a last-minute party to turn into a full-on celebration masterpiece,” my friend Jenna confessed as she glanced over the colorful spread on her dining table last Saturday. She’d been scrambling to put together something festive for her daughter’s high school graduation party, just hours before guests arrived. Honestly, it was chaos—between juggling work calls and picking up decorations, she almost gave up on the idea of a fancy snack table. But then, inspiration struck when she spotted her daughter’s school colors on a pack of berries at the grocery store.
It might sound simple, but that little spark led to what quickly became the Perfect High School Graduation Charcuterie Grazing Board in School Colors. The board was a riot of reds and golds, blues and whites, or greens and yellows—whatever the school’s palette was. I mean, who knew that matching the snacks to the school colors would make such a statement without any heavy lifting? The sizzle of cured meats, the crunch of crackers, and the pop of fruit all came together like a mini party on a platter.
Maybe you’ve been there—trying to pull off a memorable party spread with limited time and a growing to-do list. This recipe isn’t just a collection of ingredients; it’s a simple, stunning way to celebrate that milestone with style and zero fuss. Let me tell you, it’s become my go-to for every graduation season since. And if you’re thinking about making your own, you’re about to find out why this grazing board steals the show every time.
Why You’ll Love This Recipe
This Perfect High School Graduation Charcuterie Grazing Board in School Colors isn’t just a feast for the eyes; it’s got a few tricks up its sleeve that make party planning a breeze. After several trial runs and tweaking, I can honestly say this is as foolproof as it gets. Here’s why it stands out:
- Quick & Easy: Comes together in under 30 minutes—ideal for last-minute celebrations or when you’re juggling a million things.
- Simple Ingredients: No need for specialty stores; most items are pantry staples or easily found at your local market.
- Perfect for Graduation Parties: Tailored to fit your school colors, it adds a personalized touch that guests actually notice and appreciate.
- Crowd-Pleaser: Combines something for everyone—savory meats, sharp cheeses, sweet fruits, and crunchy crackers.
- Unbelievably Delicious: The balance of salty, sweet, creamy, and crunchy textures hits all the right notes.
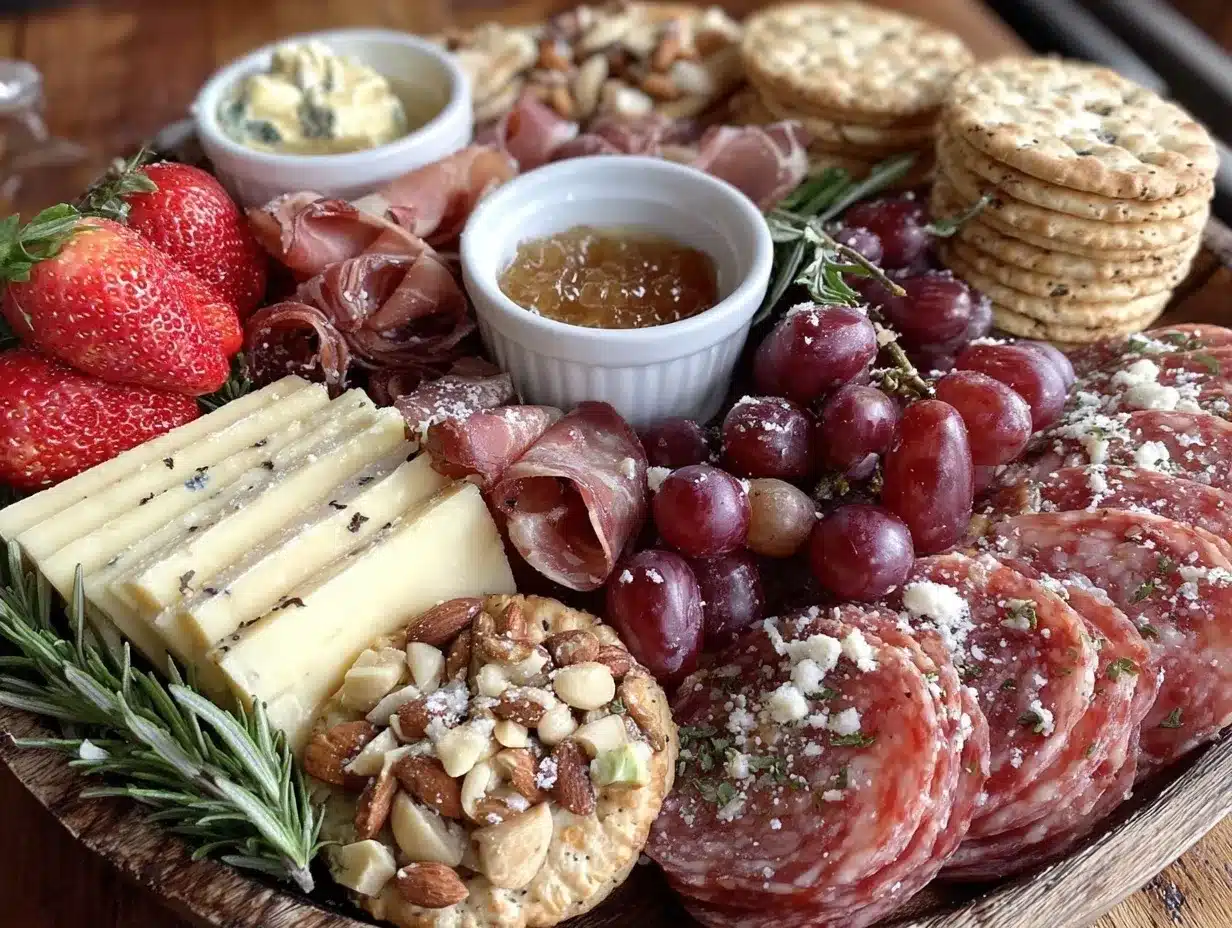
What really sets this grazing board apart is the color-coordinated theme that feels both festive and intentional without any over-the-top effort. Plus, the way the flavors complement each other—like the tangy goat cheese paired with honey drizzle or the spiced salami alongside fresh berries—makes every bite worth savoring. Honestly, once you’ve assembled one of these, you’ll wonder why you ever settled for chips and dip at parties.
What Ingredients You Will Need
This recipe uses simple, wholesome ingredients to deliver bold flavor and satisfying texture without the fuss. Most components are pantry staples or fresh market finds, and you can easily swap to fit your school colors or dietary needs.
- For the Meats:
- Thinly sliced salami or pepperoni (try Columbus Craft Meats for great flavor)
- Prosciutto (adds a delicate, salty touch)
- Sliced smoked turkey or ham (for a milder option)
- For the Cheeses:
- Sharp cheddar, cubed or sliced (rich and tangy)
- Goat cheese rounds or logs (creamy and tangy; spreadable)
- Swiss or Havarti slices (mild, perfect for balancing stronger flavors)
- For the Fruits & Veggies:
- Fresh berries (strawberries, blueberries, raspberries) matching school colors
- Grape or cherry tomatoes (adds freshness and color)
- Sliced cucumbers or bell peppers (crunchy and colorful)
- For the Crackers & Bread:
- Assorted crackers (multigrain, water crackers, or flavored varieties)
- Baguette slices or crostini (toasted for crunch)
- Extras & Garnishes:
- Mixed nuts (almonds, cashews, or pecans for texture)
- Honey or fig jam (great for drizzling or dipping)
- Olives (black or green, for briny contrast)
- Fresh herbs like rosemary or thyme sprigs (adds aroma and visual appeal)
Feel free to personalize with your kid’s favorite snacks or fit allergy needs—like swapping nuts for seeds or using dairy-free cheeses. Seasonal twists work well too; in summer, fresh stone fruits can add a juicy pop of color. And if you want to keep it budget-friendly, grab your favorite store-brand meats and cheeses—they often taste just as good!
Equipment Needed
- Large wooden or slate serving board (around 18 x 12 inches works great)
- Small bowls or ramekins for jams, honey, and olives
- Sharp knife for slicing cheeses and meats
- Cutting board
- Cheese knives and spreaders (optional but handy)
- Small tongs or toothpicks (for easy grabbing)
If you don’t have a big serving board, a clean baking sheet lined with parchment paper can work in a pinch. I personally like wooden boards because they add warmth and rustic charm, but slate boards give a sleek, modern vibe. Just make sure to clean and oil wooden boards regularly to keep them looking fresh and avoid drying out.
Preparation Method
- Gather all ingredients and equipment: Lay everything out on your kitchen counter so you can see the colors and textures ready to go. This helps with planning your board layout. (10 minutes)
- Prepare the cheeses and meats: Slice or cube cheeses into bite-sized pieces. Fold or roll salami and prosciutto slices to add height and texture. Arrange meats in small piles or fan them out. (10 minutes)
- Prepare fruits and veggies: Wash fresh produce thoroughly. Slice cucumbers and bell peppers into thin rounds or strips. Halve cherry tomatoes if desired. Pat berries dry gently to avoid sogginess. (5 minutes)
- Select crackers and bread: If using baguette slices, toast them lightly in the oven at 350°F (175°C) for 5-7 minutes until golden and crisp. Arrange crackers in small stacks or scattered clusters. (10 minutes)
- Arrange the board: Start by placing your small bowls or ramekins for jam, honey, and olives—usually near the center or corners. Then, arrange cheeses spaced apart to avoid mixing flavors. Fill in gaps with meats, then fruits and veggies for pops of color. Add crackers and bread last to fill empty spots. (15 minutes)
- Add finishing touches: Sprinkle mixed nuts in empty spaces for crunch and visual interest. Garnish with fresh herb sprigs for aroma and beauty. Drizzle honey or jam over goat cheese rounds if desired. (5 minutes)
- Final check: Step back and see if the colors balance nicely—school colors should stand out clearly. Adjust placement if needed for visual appeal. (2 minutes)
Pro tip: Don’t overcrowd the board; leave some breathing room so guests can easily pick their favorites without a mess. And if you’re short on time, pre-sliced cheese from the deli and pre-washed berries can save precious minutes.
Cooking Tips & Techniques
When it comes to crafting a grazing board, it’s all about the balance of flavors, textures, and colors. Here are some tips I’ve learned from many party preps:
- Choose a variety of textures: Think creamy, crunchy, salty, and sweet. Combining these keeps your guests interested and coming back for more.
- Mind the temperature: Serve cheeses and meats at room temperature for optimal flavor. Take them out about 30 minutes before serving.
- Don’t forget the flow: Arrange the board so guests can move around it easily from all sides. Avoid blocking access with too many small bowls.
- Watch portion sizes: It’s tempting to pile on, but less is more. You can always refill as the party goes on.
- Label your cheeses: If you’re using specialty cheeses, little labels can help guests know what they’re eating, especially if you have picky eaters.
My own first attempt was a mess—I overloaded the board, and everything got jumbled. Now, I always start with a loose plan and keep a few extras on hand to add later. And if a guest asks what to pair with a certain cheese, I’ve got my go-to suggestions ready.
Variations & Adaptations
This charcuterie board is flexible and lends itself well to variations that fit different diets and tastes:
- Vegetarian version: Skip the meats and add more cheeses, nuts, marinated veggies, and hummus. Roasted red peppers and artichoke hearts are great substitutes.
- Gluten-free option: Swap out crackers and bread for gluten-free varieties, or add more fresh veggies and nuts for crunch.
- Seasonal spins: Use seasonal fruits to match school colors—think pomegranate seeds in fall or watermelon cubes in summer.
- Spicy twist: Add pepper jack cheese or spicy chorizo to bring a little heat.
- Personal favorite: I once added mini stuffed peppers with cream cheese and herbs, and guests couldn’t get enough. Totally worth the extra effort!
Serving & Storage Suggestions
Serve your Perfect High School Graduation Charcuterie Grazing Board at room temperature for the best flavor experience. This board looks amazing on a large dining table or even outdoors on a picnic blanket.
Pair it with sparkling lemonade, chilled white wine, or a fun mocktail that matches your school colors. Don’t forget small plates and napkins for easy grabbing!
If you have leftovers, wrap cheese tightly in wax paper or plastic wrap and store in the fridge. Meats can be stored in airtight containers. Fruits like berries are best eaten within a day to avoid mushiness.
To reheat bread or crackers, pop them in a 350°F (175°C) oven for a few minutes to restore crispness. Keep in mind, the flavors of the board often deepen after a few hours, making late-night snacking even better.
Nutritional Information & Benefits
This grazing board offers a balanced mix of protein, healthy fats, and antioxidants from fresh fruits and nuts. Cheeses provide calcium and vitamin D, while fresh veggies add fiber and vitamins.
Depending on your ingredient choices, it can be tailored for gluten-free, low-carb, or vegetarian diets. Just be mindful of nut allergies and choose substitutes as needed.
From a wellness perspective, this board promotes mindful eating—you’re encouraged to savor a variety of flavors and textures without overindulging. It’s a satisfying way to celebrate big moments with wholesome ingredients.
Conclusion
This Perfect High School Graduation Charcuterie Grazing Board in School Colors has become my secret weapon for stress-free, memorable parties. It’s simple to put together, customizable to fit any palate, and visually stunning—making your graduate feel truly celebrated.
Honestly, I love how it brings people together around good food and fun conversation. You can tweak it endlessly to suit your preferences or dietary needs.
Give it a try at your next graduation or special occasion, and don’t be shy about sharing your own twists. I’d love to hear how you make it your own—drop a comment or photo so we can celebrate together!
FAQs
What if I don’t know my graduate’s school colors?
Try to find the colors online or on the school’s website. If you can’t, pick a neutral palette with classic charcuterie ingredients—reds, whites, and browns always look great!
Can I prepare the board ahead of time?
Yes! Prep all ingredients and store separately in the fridge. Assemble the board about 30 minutes before serving to keep everything fresh and at room temperature.
What are some good cheese substitutes for lactose intolerance?
Look for lactose-free cheeses like aged cheddar or goat cheese, which are often easier to digest. There are also dairy-free cheese alternatives made from nuts or soy.
How much food should I plan per guest?
For a grazing board as a main snack, plan about 3-4 ounces (85-115g) of meat and cheese per person, plus fruit and crackers. Adjust based on your guests’ appetites and other food options.
Can I make this board vegan?
Absolutely! Use plant-based cheeses, lots of fresh fruits and veggies, nuts, seeds, and hummus. There are many tasty vegan deli slices available too for variety.
By the way, if you’re interested in more crowd-pleasing party ideas, you might enjoy my guide on crispy garlic chicken, which pairs beautifully with a casual gathering. And for a touch of sweet to finish your celebration, my classic chocolate chip cookies recipe always impresses the crowd.
Pin This Recipe!
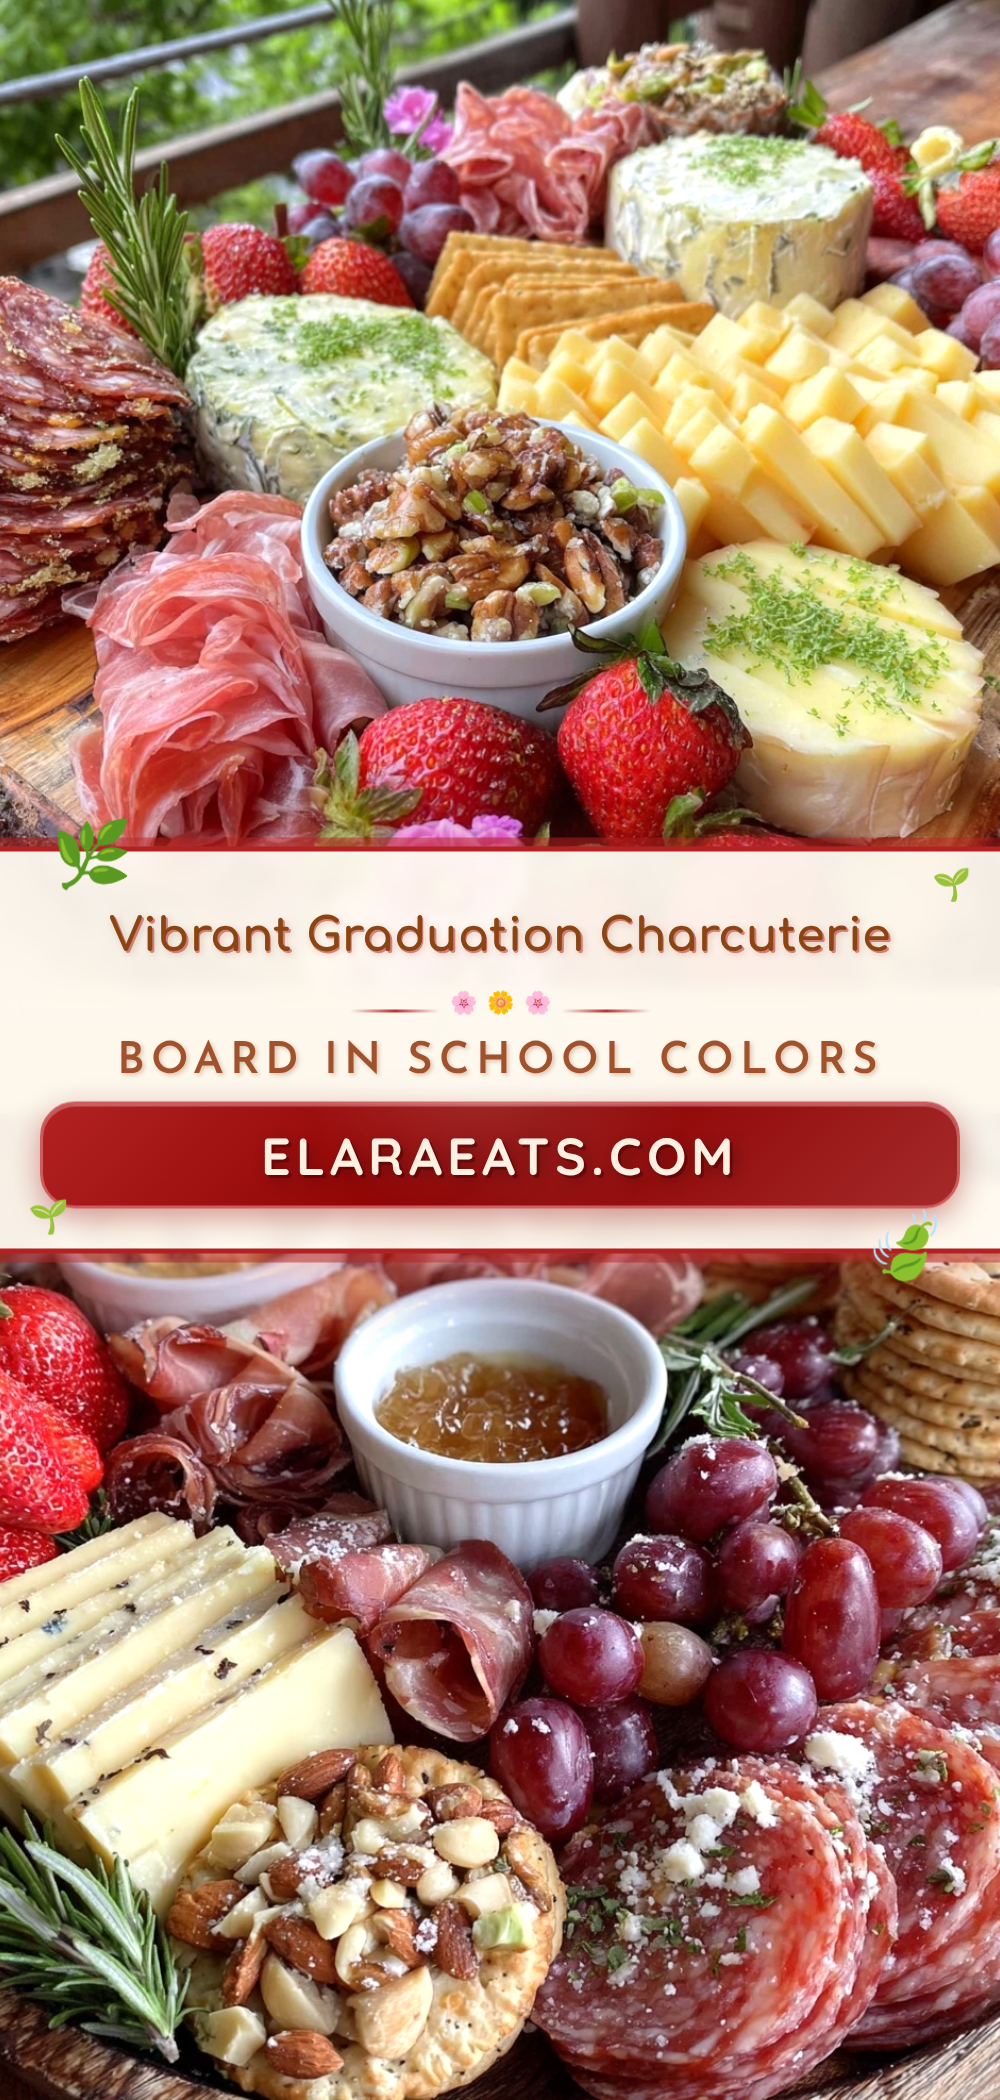
Perfect High School Graduation Charcuterie Board Ideas in School Colors for Easy Party Planning

A quick and easy charcuterie grazing board tailored to match school colors, perfect for last-minute high school graduation parties. Combines savory meats, sharp cheeses, fresh fruits, and crunchy crackers for a crowd-pleasing, visually stunning spread.
- Prep Time: 20 minutes
- Cook Time: 10 minutes
- Total Time: 30 minutes
- Yield: 8 servings
- Category: Appetizer
- Cuisine: American
Ingredients
- Thinly sliced salami or pepperoni
- Prosciutto
- Sliced smoked turkey or ham
- Sharp cheddar, cubed or sliced
- Goat cheese rounds or logs
- Swiss or Havarti slices
- Fresh berries (strawberries, blueberries, raspberries) matching school colors
- Grape or cherry tomatoes
- Sliced cucumbers or bell peppers
- Assorted crackers (multigrain, water crackers, or flavored varieties)
- Baguette slices or crostini
- Mixed nuts (almonds, cashews, or pecans)
- Honey or fig jam
- Olives (black or green)
- Fresh herbs like rosemary or thyme sprigs
Instructions
- Gather all ingredients and equipment and lay them out on your kitchen counter to plan your board layout. (10 minutes)
- Slice or cube cheeses into bite-sized pieces. Fold or roll salami and prosciutto slices to add height and texture. Arrange meats in small piles or fan them out. (10 minutes)
- Wash fresh produce thoroughly. Slice cucumbers and bell peppers into thin rounds or strips. Halve cherry tomatoes if desired. Pat berries dry gently to avoid sogginess. (5 minutes)
- If using baguette slices, toast them lightly in the oven at 350°F (175°C) for 5-7 minutes until golden and crisp. Arrange crackers in small stacks or scattered clusters. (10 minutes)
- Start by placing small bowls or ramekins for jam, honey, and olives near the center or corners of the board. Arrange cheeses spaced apart to avoid mixing flavors. Fill in gaps with meats, then fruits and veggies for pops of color. Add crackers and bread last to fill empty spots. (15 minutes)
- Sprinkle mixed nuts in empty spaces for crunch and visual interest. Garnish with fresh herb sprigs for aroma and beauty. Drizzle honey or jam over goat cheese rounds if desired. (5 minutes)
- Step back and check if the colors balance nicely—school colors should stand out clearly. Adjust placement if needed for visual appeal. (2 minutes)
Notes
Serve cheeses and meats at room temperature for optimal flavor by taking them out about 30 minutes before serving. Don’t overcrowd the board; leave breathing room for easy grabbing. Pre-sliced cheese and pre-washed berries save time. Wooden boards add rustic charm but require regular cleaning and oiling. Toast bread or crackers at 350°F for 5-7 minutes for extra crunch.
Nutrition
- Serving Size: Approximately 3-4 ou
- Calories: 350
- Sugar: 7
- Sodium: 600
- Fat: 25
- Saturated Fat: 8
- Carbohydrates: 15
- Fiber: 3
- Protein: 15
Keywords: charcuterie board, graduation party, school colors, easy party planning, grazing board, meats, cheeses, fruits, crackers