Love this? Save it for later!
Share the inspiration with your friends
My neighbor wasn’t trying to impress anyone. I’d stopped by to borrow a ladder—our fence had taken a beating in the wind the night before—and the smell hit me before I even got to her front door. Warm cinnamon, nutmeg, and something sweet and earthy wrapped around me like a hug I didn’t know I needed. She opened the door holding a loaf pan wrapped in a dish towel, still warm, and said, “Oh, that’s just pumpkin bread. I had a can of pumpkin that needed using up.”
Just pumpkin bread. She said it like it was nothing—like she hadn’t created something that made me forget why I was even standing there. I mean, honestly, I almost walked home without the ladder. She saw me staring and cut me a slice right there in the doorway. The chocolate chips were still a little melty, and the bread was so moist it barely held together. I ate it standing up, crumbs falling on her welcome mat, and I think I mumbled something embarrassing like, “You can’t just make this and not tell people.”
That was three autumns ago, and I’ve been chasing that exact loaf ever since. You know that feeling when something is so good it stops you mid-sentence? That’s this bread. I’ve tweaked her casual method into something foolproof—a one-bowl situation that comes together in minutes but tastes like you spent all afternoon in the kitchen. Perfect for when you need to bring something to a dinner party or potluck and you want people to think you’re way more put together than you actually are.
Why You’ll Love This Recipe
Let me tell you why this particular pumpkin chocolate chip bread has become my go-to for every gathering. I’ve tested this recipe at least a dozen times—for book club, for Thanksgiving brunch, for a neighbor’s housewarming—and it never, ever fails. Here’s what makes it special:
- One Bowl, Zero Fuss : Everything mixes in a single bowl. No creaming butter, no sifting flour, no dirtying every dish you own. You can have the batter ready in under 10 minutes.
- Simple Pantry Ingredients : Canned pumpkin, basic spices, chocolate chips, and standard baking staples. No weird ingredients you’ll use once and forget about.
- Perfect for Hosting : This bread is made for sharing. It slices beautifully, travels well, and looks gorgeous on a cake stand. Guests always ask for the recipe.
- Unbelievably Moist : The pumpkin keeps this bread tender for days. I’m talking fork-tender, melt-in-your-mouth moist. It stays good longer than any banana bread I’ve ever made.
- Crowd-Pleaser : Kids love the chocolate chips. Adults love the warm spice. Even people who say they don’t like pumpkin desserts end up reaching for seconds.
- Make-Ahead Friendly : You can bake this the night before your gathering. It actually tastes better the next day after the flavors have had time to settle in together.
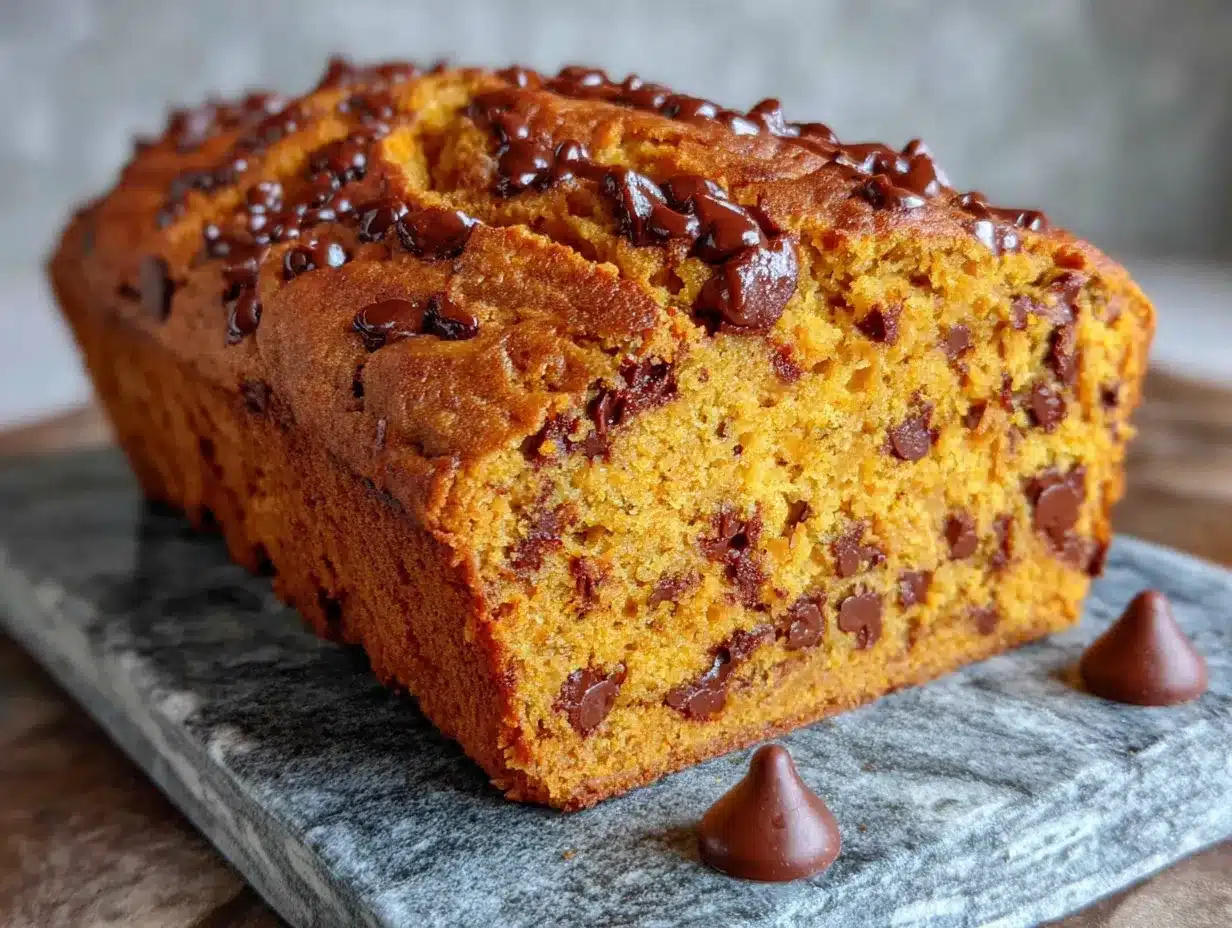
What really sets this apart from every other pumpkin bread recipe out there is the texture. Most pumpkin breads turn out dense or gummy—like a brick disguised as dessert. Not this one. The trick is using oil instead of butter for moisture, plus a technique where you don’t overmix the batter. The result is a tender crumb with those little pockets of melted chocolate throughout. It’s the kind of bread that makes people close their eyes after the first bite, and honestly, that never gets old.
What Ingredients You Will Need
This recipe uses simple, wholesome ingredients that you probably already have in your kitchen. The magic happens when the warm pumpkin spice meets the rich chocolate—a combination that feels both cozy and indulgent. Here’s everything you’ll need:
For the Bread
- Canned pumpkin puree (15 oz, about 1 ¾ cups) – Make sure you grab pure pumpkin puree, not pumpkin pie filling. Libby’s is my go-to brand. The filling has added sugar and spices that will throw off the whole recipe.
- Granulated sugar (1 cup, 200g) – Regular white sugar works perfectly. You can reduce it to ¾ cup if you prefer a less sweet loaf.
- Brown sugar (½ cup, 100g, packed) – Light or dark brown sugar both work. Dark brown sugar adds a deeper molasses flavor that pairs beautifully with the pumpkin.
- Vegetable oil (½ cup, 120ml) – Any neutral oil works—canola, grapeseed, or melted coconut oil. The oil keeps the bread incredibly moist without making it greasy.
- Large eggs (2, room temperature) – Room temperature eggs blend more smoothly into the batter. If you forget to take them out ahead of time, place them in a bowl of warm water for 5 minutes.
- Vanilla extract (2 teaspoons) – Pure vanilla extract makes a difference here. The imitation stuff has a chemical aftertaste that you don’t want.
- All-purpose flour (2 cups, 250g) – Spoon and level your flour into the measuring cup. Scooping directly from the bag packs in too much flour and makes the bread dry.
- Baking soda (1 teaspoon) – Make sure your baking soda is fresh. Test it by dropping a bit into vinegar—if it fizzes vigorously, you’re good.
- Baking powder (½ teaspoon) – Double-acting baking powder gives the bread just enough lift.
- Salt (½ teaspoon) – Don’t skip this. Salt balances the sweetness and makes the chocolate flavor pop.
- Ground cinnamon (2 teaspoons) – This is the star spice. Use a good quality cinnamon like Saigon or Ceylon for the best flavor.
- Ground nutmeg (½ teaspoon) – Freshly grated nutmeg is amazing if you have it, but pre-ground works just fine.
- Ground ginger (½ teaspoon) – Adds a subtle warmth that complements the pumpkin.
- Ground cloves (¼ teaspoon) – A little goes a long way. Cloves are potent, so measure carefully.
- Semi-sweet chocolate chips (1 ½ cups, 260g) – I prefer Ghirardelli or Guittard chips. They hold their shape better and don’t sink to the bottom of the loaf. You can also chop up a dark chocolate bar for rustic chunks.
Equipment Needed
You don’t need fancy equipment for this recipe, which is part of why I love it. Here’s what you’ll need:
- Large mixing bowl (at least 4-quart capacity) – You need room to mix everything without splashing batter everywhere. My favorite is a sturdy ceramic bowl with a wide opening.
- Whisk – For mixing the wet ingredients and dry ingredients separately before combining. A balloon whisk works best.
- Rubber spatula – For folding in the chocolate chips and scraping every last bit of batter into the pan. The silicone ones are heat-resistant and last forever.
- 9×5-inch loaf pan – Standard size works perfectly. If you use an 8×4-inch pan, you’ll need to bake it a bit longer. Glass or metal both work, but metal gives you a nicer crust.
- Parchment paper – Line the pan for easy removal. You can also grease the pan with butter or non-stick spray, but parchment paper is foolproof.
- Cooling rack – Letting the bread cool completely on a rack prevents the bottom from getting soggy. If you don’t have one, you can use the oven rack turned upside down.
- Measuring cups and spoons – Accurate measurements matter in baking. I use stainless steel measuring cups that won’t warp over time.
- Toothpick or skewer – For testing doneness. A wooden toothpick works great.
Budget-friendly tip: You can skip the parchment paper and just grease the pan well with butter and a dusting of flour. It works almost as well, though you might have a few stubborn spots that stick.
Preparation Method
Alright, let’s get baking. This recipe comes together in about 10 minutes of active prep time, then the oven does the rest. Here’s exactly how to do it:
- Preheat your oven to 350°F (175°C) and position the rack in the center. Line your 9×5-inch loaf pan with parchment paper, leaving some overhang on the long sides—this creates handles for lifting the bread out later. If you’re not using parchment, grease the pan thoroughly with butter or non-stick spray.
- In your large mixing bowl, combine the wet ingredients. Add the pumpkin puree, granulated sugar, brown sugar, vegetable oil, eggs, and vanilla extract. Whisk everything together until smooth and well combined. Don’t worry if you see a few tiny lumps—they’ll disappear. The mixture should look glossy and smell amazing already.
- Add the dry ingredients right on top of the wet mixture. Sprinkle the flour, baking soda, baking powder, salt, cinnamon, nutmeg, ginger, and cloves over the pumpkin mixture. Here’s the important part: stir gently with your spatula or whisk until just combined. You want to see a few streaks of flour still—overmixing at this stage develops gluten and makes the bread tough. Stop as soon as the flour disappears.
- Fold in the chocolate chips. Reserve about ¼ cup of chocolate chips to sprinkle on top later. Use your rubber spatula to fold the remaining chips into the batter with gentle, sweeping motions. Fold about 10-12 times, just until the chips are evenly distributed. The batter will be thick and slightly fluffy.
- Pour the batter into the prepared loaf pan. Use your spatula to spread it evenly into the corners. Tap the pan gently on the counter a few times to release any air bubbles. Sprinkle the reserved chocolate chips on top—this makes the bread look gorgeous and gives you those melty chocolate pockets right on the surface.
- Bake for 55-65 minutes. Place the pan in the center of the oven and bake until a toothpick inserted into the center comes out clean or with just a few moist crumbs attached. If the top is browning too quickly (around the 40-minute mark), tent the pan loosely with aluminum foil. Every oven runs differently, so start checking at 50 minutes.
- Cool in the pan for 15 minutes. Place the pan on a cooling rack and let it rest. This step is crucial—the bread is fragile when hot and needs time to set. After 15 minutes, use the parchment handles to lift the bread out of the pan and transfer it to the cooling rack to cool completely.
- Let it cool completely before slicing. I know, I know—the smell is torture. But slicing warm bread makes it crumble and fall apart. Wait at least 1 hour, or better yet, let it cool completely. The texture firms up and the flavors deepen as it cools.
Sensory cues to watch for: The batter should be thick but scoopable—like a thick muffin batter. When you fold in the chocolate chips, you should hear them clinking against the bowl. The bread is done when the top is deep golden brown, the edges pull slightly away from the pan, and the kitchen smells like the coziest fall day you’ve ever had.
Cooking Tips & Techniques
After making this bread more times than I can count, I’ve picked up a few tricks that make a real difference. Let me share what I’ve learned the hard way:
The number one mistake people make is overmixing. I ruined my first three loaves because I kept stirring until the batter was perfectly smooth. The result? Tough, dense bread that barely rose. Mix until you can’t see dry flour anymore, then stop. A few lumps are totally fine—they’ll bake out in the oven.
Room temperature ingredients matter more than you think. Cold eggs and cold pumpkin make the oil solidify into little clumps, which means your bread won’t be as tender. Take everything out of the fridge 30 minutes before you start. If you’re in a hurry, warm the eggs in a bowl of warm water for 5 minutes and microwave the pumpkin for 15 seconds.
Here’s a trick I discovered by accident: If you toss the chocolate chips in a tablespoon of flour before folding them in, they won’t sink to the bottom of the loaf. I forgot to do this once and ended up with all the chocolate concentrated at the bottom. Still delicious, but not as pretty when sliced.
Check your oven temperature. I burned two loaves before realizing my oven runs 25 degrees hot. An inexpensive oven thermometer saved my baking life. If your bread is browning too quickly on the outside but still raw in the center, your oven is too hot.
Let the bread rest overnight if you can. I know that sounds crazy, but this bread actually improves with time. The pumpkin flavor becomes more pronounced, the spices mellow into each other, and the texture gets even more tender. Wrap it tightly in plastic wrap once it’s completely cool, and let it sit on the counter overnight. Your guests will think you’re a baking genius.
Variations & Adaptations
This recipe is wonderfully flexible. Here are some variations I’ve tried and loved:
Gluten-Free Version: Swap the all-purpose flour for a 1:1 gluten-free baking flour blend. I’ve had great results with Bob’s Red Mill. Add an extra tablespoon of oil since gluten-free flours tend to absorb more moisture. The texture will be slightly more tender, but just as delicious.
Dairy-Free Option: This recipe is already dairy-free as written since we use oil instead of butter. Just make sure your chocolate chips are dairy-free. Enjoy Life and Pascha brands make excellent dairy-free chocolate chips that taste just like the real thing.
Spice It Up: Add ½ teaspoon of cardamom or allspice for a more complex flavor profile. I once added a pinch of cayenne pepper—about ⅛ teaspoon—and it was surprisingly amazing. The heat was subtle, just enough to make people say, “What is that? It’s so good.”
Nutty Twist: Fold in ½ cup of toasted pecans or walnuts along with the chocolate chips. Toast them in a dry pan over medium heat for 3-4 minutes until fragrant, then chop them roughly. The crunch adds a lovely contrast to the tender bread.
Mini Loaves or Muffins: Grease a mini loaf pan or muffin tin and fill each cavity about ¾ full. Mini loaves bake for 25-30 minutes, muffins for 18-22 minutes. These are perfect for giving as gifts or for portion control (if that’s your thing).
Chocolate Variation: For the serious chocolate lovers, swap ¼ cup of the flour for unsweetened cocoa powder. You’ll get a double-chocolate pumpkin bread that’s dangerously good. Reduce the chocolate chips to 1 cup since the cocoa adds richness.
Serving & Storage Suggestions
This bread is versatile enough for any occasion. Here’s how to serve and store it like a pro:
Serving Temperature: Serve at room temperature for the best texture. If you want to get fancy, warm individual slices in the microwave for 10-15 seconds—just enough to soften the chocolate chips without melting the whole slice. A pat of salted butter on a warm slice is pure heaven.
Presentation Ideas for Hosting: Slice the bread and arrange it on a wooden cutting board or a cake stand. Dust with a little powdered sugar for a beautiful finish. For brunch, serve alongside fresh fruit and a bowl of whipped cream or Greek yogurt for spreading. For dessert, a scoop of vanilla ice cream on top of a warm slice is hard to beat.
What to Serve With It: This bread pairs beautifully with coffee, chai tea, or a spiced apple cider. For a full brunch spread, serve it alongside a savory breakfast casserole or a spinach and feta frittata. The sweetness of the bread balances perfectly with savory dishes.
Storage Instructions: Wrap the cooled bread tightly in plastic wrap or aluminum foil. Store at room temperature for up to 4 days. Do not refrigerate—the fridge dries out baked goods faster than anything. If you live in a humid climate, you can store it in an airtight container instead of wrapping it.
Freezing Instructions: This bread freezes beautifully. Wrap the completely cooled loaf (or individual slices) in plastic wrap, then in a layer of aluminum foil. Freeze for up to 3 months. To thaw, leave it on the counter for 2-3 hours, or unwrap individual slices and microwave for 20-30 seconds. The texture stays remarkably fresh.
Flavor Development Over Time: Here’s something interesting—this bread actually tastes better on day two. The pumpkin flavor becomes more pronounced and the spices mellow into each other. If you’re making it for a party, bake it the day before and let it rest overnight. Your guests won’t know why it tastes so incredible, but you will.
Nutritional Information & Benefits
Let’s talk about what’s actually in this bread. While it’s definitely a treat, it has some surprising nutritional perks:
Estimated Nutritional Values (per slice, based on 12 slices):
- Calories: 320
- Total Fat: 16g
- Saturated Fat: 4g
- Carbohydrates: 42g
- Fiber: 3g
- Sugar: 24g
- Protein: 5g
Health Benefits of Key Ingredients: Pumpkin is packed with vitamin A (great for eye health and immunity) and fiber (keeps you full longer). The cinnamon has anti-inflammatory properties, and dark chocolate contains antioxidants. Not bad for a dessert bread!
Dietary Considerations: This recipe is naturally dairy-free and can be made gluten-free with a simple flour swap. It contains eggs and wheat (if using regular flour), so it’s not suitable for vegan or celiac diets without modifications. The sugar content is moderate for a dessert bread, but you can reduce it by ¼ cup without affecting the texture too much.
Allergen Note: Contains eggs, wheat (gluten), and may contain dairy depending on your chocolate chip choice. Always check labels if serving to someone with allergies.
My personal take? This bread is comfort food, and comfort food has its place in a balanced life. It’s made with real ingredients, it brings people together, and honestly, the joy it brings is worth every calorie. Life’s too short to skip the chocolate chips.
Conclusion
This pumpkin chocolate chip bread has become my signature dish for fall gatherings, and I think it’s about to become yours too. It’s the recipe that makes people ask, “Can you bring that again?”—and honestly, that never gets old.
What I love most about this bread is how forgiving it is. You don’t need to be a professional baker to nail it. It’s simple enough for a Tuesday night baking session, yet impressive enough to steal the spotlight at a dinner party. The pumpkin keeps it seasonal, the chocolate makes it indulgent, and the one-bowl method means you spend less time cleaning and more time enjoying.
I’d love to hear how yours turns out. Did you add any fun variations? Did your guests fight over the last slice? Drop a comment below and let me know—I read every single one. And if you’re looking for more crowd-pleasing recipes for your next gathering, check out our easy dessert recipes for a crowd or our fall baking favorites collection.
Now go preheat that oven. Your guests are waiting.
Frequently Asked Questions
Can I use fresh pumpkin instead of canned?
Yes, you can! Roast a small sugar pumpkin at 400°F until tender (about 45 minutes), then puree the flesh in a food processor. The main difference is that fresh pumpkin has more water content, so you’ll need to drain it in a cheesecloth-lined strainer for about 30 minutes before using. Canned pumpkin is more consistent, which is why I usually recommend it for baking.
Why did my bread sink in the middle?
This usually happens for one of three reasons: the oven wasn’t hot enough (check with an oven thermometer), you opened the oven door too early (wait until at least 45 minutes), or the batter was overmixed (which deflates the air bubbles). Next time, try baking at 350°F and resist the urge to peek until the timer goes off.
Can I make this recipe into muffins instead?
Absolutely! Grease a 12-cup muffin tin or line with paper liners. Fill each cup about ¾ full with batter. Bake at 350°F for 18-22 minutes, until a toothpick inserted in the center comes out clean. Muffins will be slightly more domed and have a higher crust-to-crumb ratio than the loaf.
How do I keep the chocolate chips from sinking?
Toss the chocolate chips in 1 tablespoon of flour before folding them into the batter. The flour coating creates friction that helps the chips stay suspended in the batter instead of sinking to the bottom. This works for any baked good with mix-ins like nuts or dried fruit.
Can I reduce the sugar in this recipe?
You can reduce the total sugar by up to ¼ cup (about 50g) without significantly affecting the texture. The pumpkin adds natural sweetness, so the bread will still taste good. If you reduce it further, the bread might be slightly less tender and have a less golden crust. I’d recommend starting with the full amount if you’re making it for guests, then experimenting with less sugar for everyday baking.
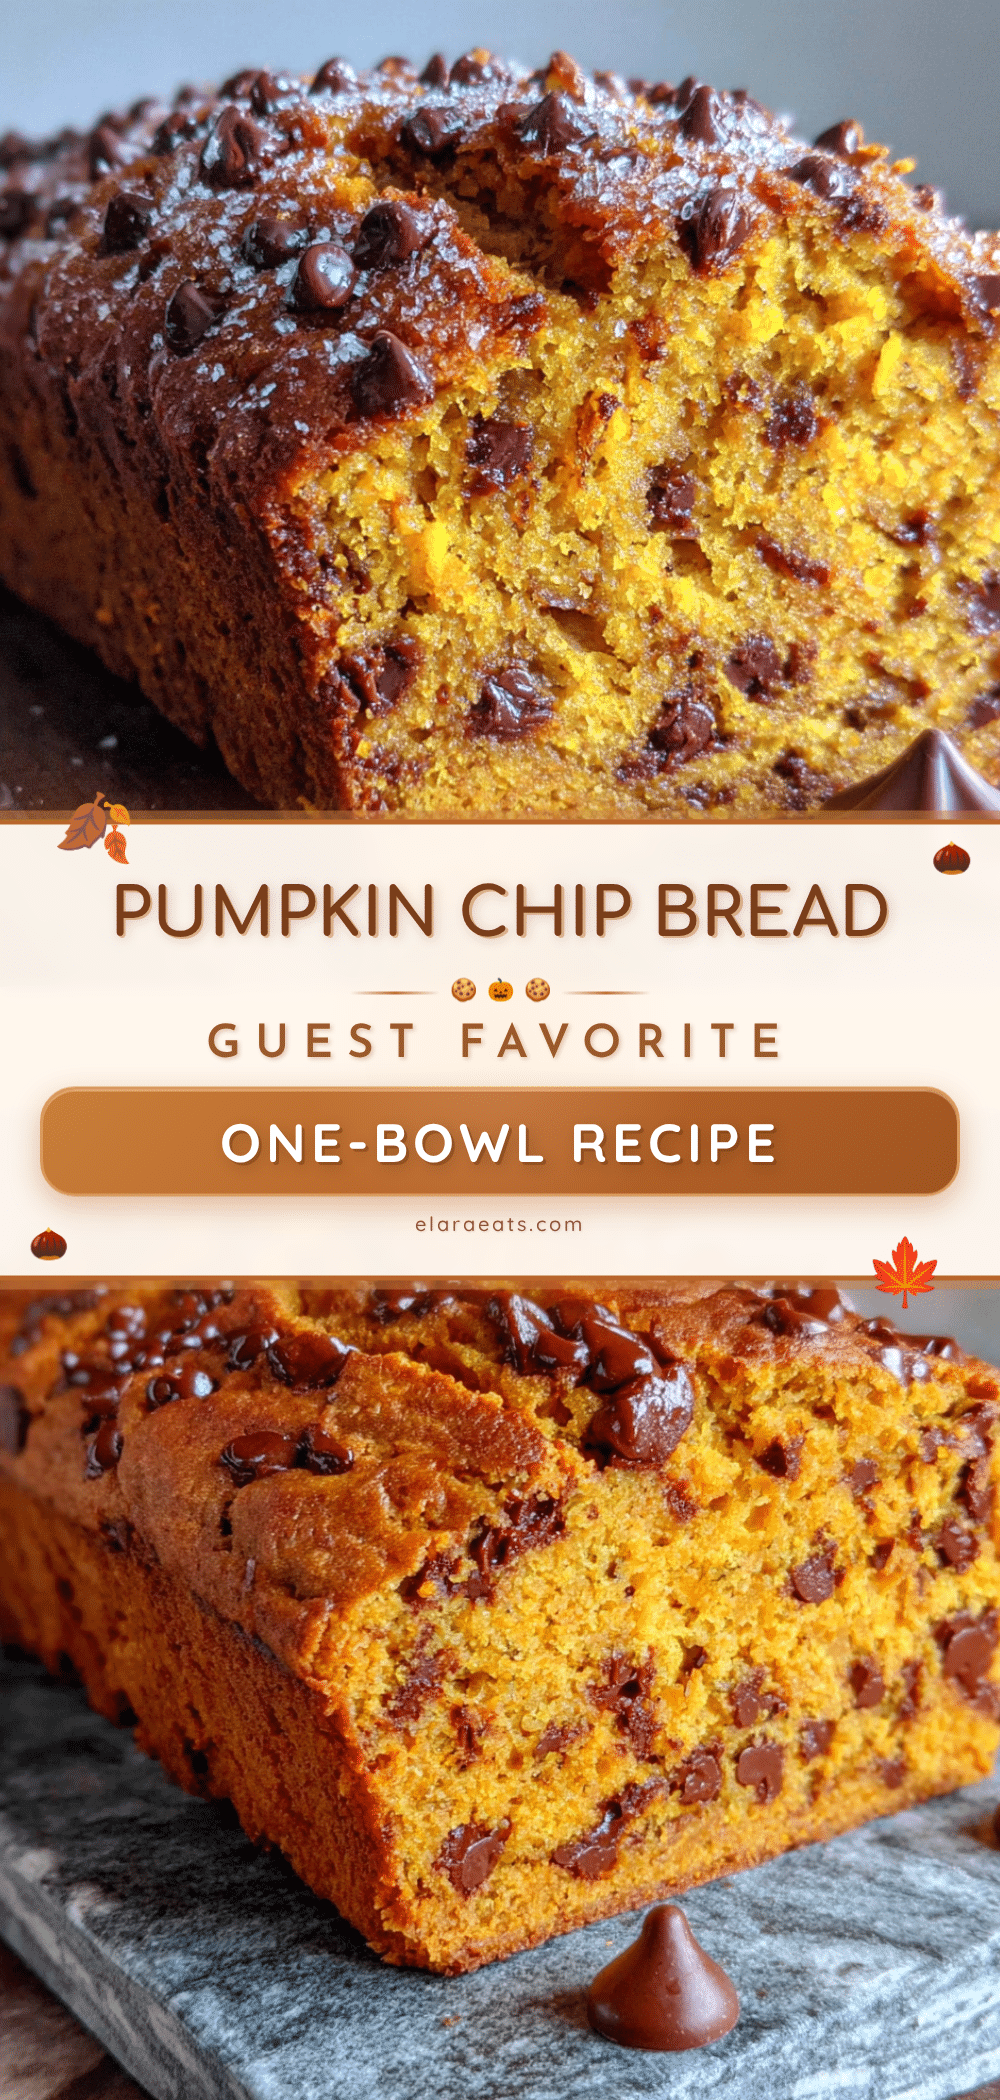
Pin This Recipe!
Easy One-Bowl Pumpkin Chocolate Chip Bread
This incredibly moist and flavorful pumpkin chocolate chip bread comes together in one bowl with simple pantry ingredients. Perfect for fall gatherings, it features warm spices and melty chocolate chips in every slice.
- Prep Time: 10 minutes
- Cook Time: 55-65 minutes
- Total Time: 1 hour 15 minutes
- Yield: 12 servings 1x
- Category: Dessert
- Cuisine: American
Ingredients
- 1 can (15 oz) pumpkin puree (about 1 ¾ cups)
- 1 cup (200g) granulated sugar
- ½ cup (100g) packed brown sugar (light or dark)
- ½ cup (120ml) vegetable oil (or other neutral oil)
- 2 large eggs, room temperature
- 2 teaspoons vanilla extract
- 2 cups (250g) all-purpose flour
- 1 teaspoon baking soda
- ½ teaspoon baking powder
- ½ teaspoon salt
- 2 teaspoons ground cinnamon
- ½ teaspoon ground nutmeg
- ½ teaspoon ground ginger
- ¼ teaspoon ground cloves
- 1 ½ cups (260g) semi-sweet chocolate chips
Instructions
- Preheat oven to 350°F (175°C). Line a 9×5-inch loaf pan with parchment paper, leaving overhang on the long sides. Alternatively, grease the pan thoroughly.
- In a large mixing bowl, combine pumpkin puree, granulated sugar, brown sugar, vegetable oil, eggs, and vanilla extract. Whisk until smooth and well combined.
- Add flour, baking soda, baking powder, salt, cinnamon, nutmeg, ginger, and cloves directly on top of the wet mixture. Stir gently with a spatula or whisk until just combined—do not overmix. A few streaks of flour are fine.
- Reserve ¼ cup of chocolate chips for topping. Fold the remaining chips into the batter with gentle, sweeping motions until evenly distributed.
- Pour batter into the prepared loaf pan and spread evenly. Tap the pan gently on the counter to release air bubbles. Sprinkle reserved chocolate chips on top.
- Bake for 55-65 minutes, until a toothpick inserted in the center comes out clean or with a few moist crumbs. If the top browns too quickly, tent loosely with foil after 40 minutes.
- Cool in the pan for 15 minutes, then lift out using parchment handles and transfer to a wire rack to cool completely before slicing.
Notes
For best results, use room temperature ingredients. Toss chocolate chips in 1 tablespoon of flour to prevent sinking. The bread tastes even better the next day—wrap tightly and store at room temperature. For gluten-free, use a 1:1 gluten-free flour blend and add an extra tablespoon of oil.
Nutrition
- Serving Size: 1 slice
- Calories: 320
- Sugar: 24
- Sodium: 220
- Fat: 16
- Saturated Fat: 4
- Carbohydrates: 42
- Fiber: 3
- Protein: 5
Keywords: pumpkin bread, chocolate chip bread, fall baking, one-bowl recipe, easy pumpkin bread


