Love this? Save it for later!
Share the inspiration with your friends
There used to be this tiny diner off Route 9 in New Jersey called The Rusty Fork that made a s’mores icebox cake that ruined me for all other desserts. When they closed in 2018—something about a rent hike and the owner retiring to Florida—I honestly felt a little lost. That cake was my go-to for every celebration, every bad day, every “I need something chocolatey right now” moment. After twelve tries—twelve, let me tell you, with some disasters involving melted graham crackers and a fridge that smelled like burnt marshmallow for a week—I finally got it.
The funny thing is, I wasn’t even trying to replicate it exactly anymore. I was just messing around in my kitchen last summer, trying to throw together something quick for a backyard barbecue, and it hit me. The layers, the texture, that perfect combination of crunchy and creamy—it was all there. My neighbor Karen walked in right as I was doing the taste test, and she just stood there with her eyes closed, not saying a word. Then she asked for the recipe, and I knew I had something special.
This Best No-Bake S’mores Icebox Cake is the dessert you bring when you want to hear people actually stop talking mid-bite. It’s the one that disappears before the main course even hits the table. And honestly? It takes ten minutes to put together. Ten minutes. You don’t even have to turn on the oven, which is a huge win when you’re already juggling a million other things for a party. Maybe you’ve been there—standing in your kitchen, staring at a pile of ingredients, wondering how you’re going to pull off dessert without breaking a sweat. This is your answer.
Why You’ll Love This Recipe
Let me be real with you—I’ve tested this recipe more times than I’d like to admit, and every single time, it gets the same reaction. People take one bite, their eyes go wide, and they immediately ask for the recipe. It’s become my signature dish for every gathering, and I’m not even a little bit sorry about it.
- Quick & Easy : Comes together in under 10 minutes of active prep time. Seriously, you can throw this together while your coffee is brewing or while you’re waiting for the grill to heat up. No baking, no fuss, no stress.
- Simple Ingredients : You only need five ingredients, and chances are you already have most of them in your pantry. Graham crackers, chocolate pudding, Cool Whip, marshmallows, and milk. That’s it. No fancy grocery trips required.
- Perfect for Hosting : This is the ultimate crowd-pleaser for potlucks, backyard barbecues, holiday dinners, or any gathering where you want to impress without spending hours in the kitchen. It feeds a crowd and looks gorgeous on a serving platter.
- Crowd-Pleaser : Kids devour it, adults sneak seconds, and even the pickiest eaters at your table will come back for more. I’ve yet to meet someone who doesn’t love this dessert.
- Unbelievably Delicious : The combination of creamy pudding, crunchy graham crackers, and gooey marshmallows is pure magic. It tastes like you spent hours on it, but you didn’t.
What makes this recipe different from all the other no-bake cakes out there? It’s the texture. Most icebox cakes get soggy and sad after a day in the fridge. Not this one. The graham crackers soften just enough to become cake-like, but they still hold their structure. Plus, I’ve perfected the ratio of pudding to whipped topping so it’s rich but not heavy, sweet but not cloying. It’s the kind of dessert that makes you close your eyes after the first bite—comfort food reimagined for busy hosts who still want to serve something memorable.
What Ingredients You Will Need
This recipe uses simple, wholesome ingredients to deliver that classic s’mores flavor without any complicated techniques. Everything is designed to be easy to find and easy to work with, so you can focus on enjoying the process instead of stressing over hard-to-find items.
- For the Pudding Layer:
- 2 boxes (3.4 oz each) instant chocolate pudding mix (I prefer Jell-O brand for consistent results)
- 3 cups cold whole milk (2% works too, but whole milk gives the richest texture)
- For the Whipped Layer:
- 1 tub (8 oz) Cool Whip, thawed (or homemade whipped cream if you’re feeling fancy—use 2 cups heavy cream + 1/4 cup powdered sugar)
- For the Crunchy Layers:
- 1 box (about 14 oz) honey graham crackers (you’ll need roughly 24 full sheets)
- For the Topping:
- 1 bag (10 oz) mini marshmallows (Jet-Puffed works great, but any brand is fine)
- Optional: 1/2 cup chocolate chips or chopped chocolate bar for extra decadence
A few notes on ingredient selection: I’ve tested this with both regular and sugar-free pudding mixes, and honestly, the sugar-free version works fine if you’re watching your intake. Just know the texture is slightly less creamy. For the graham crackers, stick with the classic honey flavor—the cinnamon ones add a weird spice note that doesn’t quite work here. And please, please use whole milk for the pudding. I tried it with skim once, and the pudding never set up properly. It was a sad, soupy mess.
If you’re feeding a crowd with dietary restrictions, here are some easy swaps: Use dairy-free milk (like oat or almond) and dairy-free whipped topping for a lactose-friendly version. Gluten-free graham crackers work beautifully—just check the package because some brands are smaller, so you might need an extra box. For a nut-free option, this recipe is naturally safe as long as your chocolate pudding doesn’t contain any nut-based ingredients (most don’t).
Equipment Needed
You don’t need anything fancy for this recipe, which is part of the beauty. Here’s what you’ll need:
- 9×13 inch baking dish (or any similar-sized dish—I’ve used a 10-inch round springform pan too, and it works great)
- Large mixing bowl for the pudding
- Whisk (or electric mixer if you want to speed things up)
- Rubber spatula for folding and spreading
- Measuring cups and spoons
- Plastic wrap or aluminum foil for covering
If you don’t have a 9×13 dish, you can use two 8×8 square pans or even a deep pie dish. The layers will just be a bit thicker or thinner depending on the size. I once made this in a disposable aluminum pan for a camping trip, and it worked perfectly—just make sure to support the bottom when you’re carrying it.
One tip: if you’re using a glass dish, let it come to room temperature before adding the cold pudding mixture. Glass can crack if it goes from hot to cold too quickly. Learned that one the hard way during a particularly ambitious Thanksgiving prep session.
Preparation Method
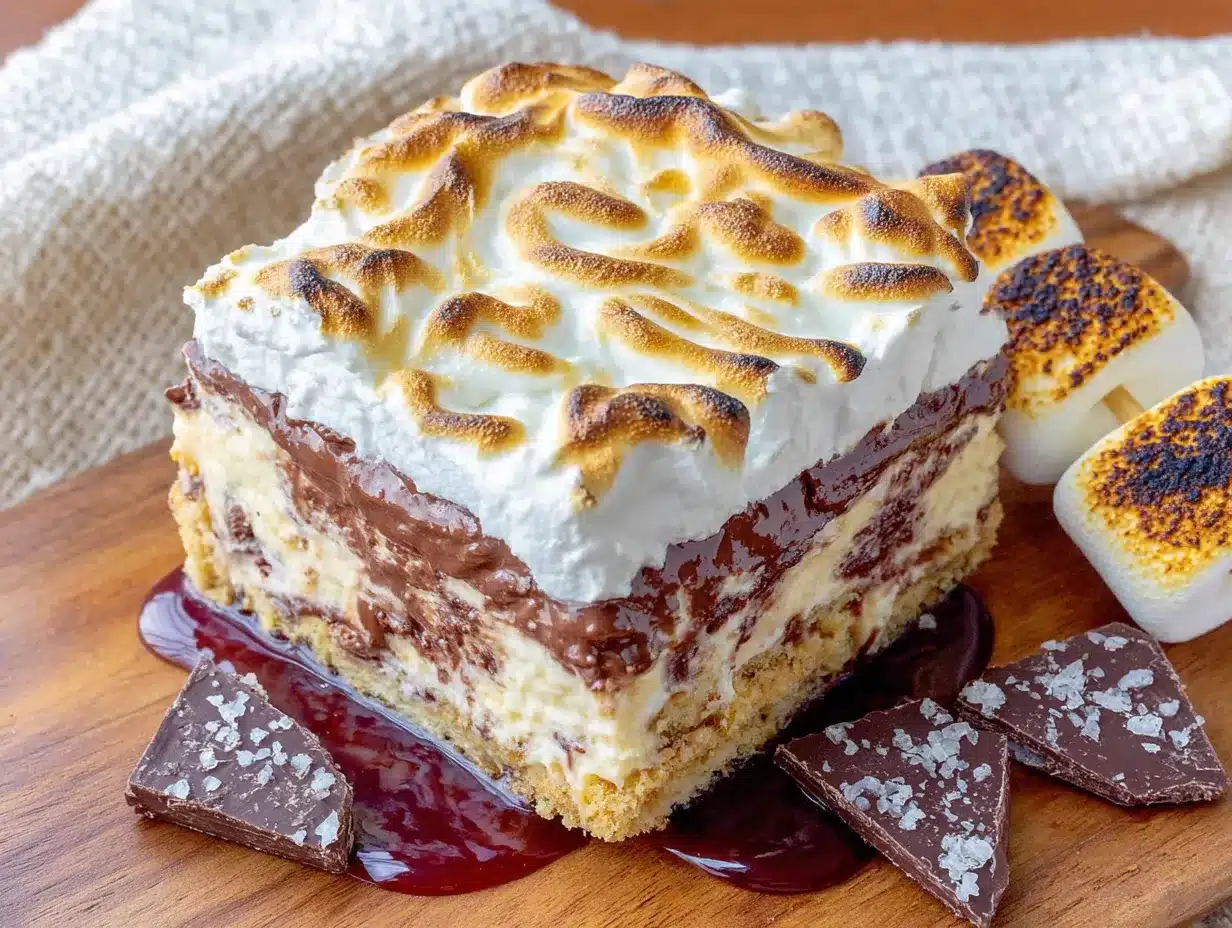
Alright, let’s get to the fun part. This recipe comes together in just a few simple steps, and I promise you can’t mess it up. Here’s how it goes:
- Make the pudding. In a large mixing bowl, whisk together both boxes of instant chocolate pudding mix with 3 cups of cold whole milk. Whisk for about 2 minutes until it starts to thicken. It will be pretty thin at first—that’s normal. Let it sit for 5 minutes to set up completely. Pro tip: if you want an even richer pudding, swap one cup of milk for heavy cream. Your guests will thank you.
- Fold in the Cool Whip. Once the pudding has set, gently fold in the entire tub of thawed Cool Whip using a rubber spatula. Be gentle here—you want to keep the mixture light and airy, not deflate it. Fold until you don’t see any white streaks anymore. The mixture should be smooth, creamy, and the color of milk chocolate.
- Start layering. Spread a thin layer of the pudding mixture (about 1/2 cup) on the bottom of your 9×13 dish. This helps the graham crackers stick and prevents them from sliding around. Then arrange a single layer of graham crackers on top, breaking them as needed to fit. Don’t worry about perfect coverage—a few gaps are totally fine and actually add nice texture.
- Build the cake. Spread about 1/3 of the remaining pudding mixture over the graham crackers. Sprinkle a generous handful of mini marshmallows on top. Then add another layer of graham crackers. Repeat this process until you’ve used all the pudding mixture. You should end up with about 3 layers of graham crackers and 3 layers of pudding.
- Finish the top. For the final layer, spread the last of the pudding mixture on top. Then go crazy with the marshmallows—cover the entire surface in a thick, even layer. If you’re using chocolate chips, sprinkle them over the marshmallows now. The marshmallows will create that classic s’mores look and add a wonderful chewy texture.
- Chill, chill, chill. Cover the dish tightly with plastic wrap and refrigerate for at least 6 hours, but overnight is best. I know it’s tempting to dig in right away, but trust me—the graham crackers need time to soften and absorb all that creamy goodness. After 6 hours, they’ll be perfectly cake-like. After 12 hours, it’s pure magic.
A few things to watch for: If your pudding mixture seems too thick when you’re layering, don’t panic. Just let it sit at room temperature for a few minutes, and it will loosen up. Also, make sure your graham crackers are completely covered by the pudding mixture on each layer—exposed crackers will stay crunchy instead of softening, which throws off the texture.
Cooking Tips & Techniques
After making this cake more times than I can count, I’ve picked up a few tricks that make the process smoother and the results even better. Here’s what I’ve learned:
Room temperature ingredients matter. I know, I know, it’s a no-bake recipe, so you might think temperature doesn’t matter. But trust me—if your milk is too cold, the pudding won’t set up properly. Let it sit on the counter for 10 minutes before mixing. Same goes for the Cool Whip. If it’s still partially frozen, you’ll end up with lumpy pudding, and nobody wants that.
Don’t overmix the pudding. I made this mistake on my third attempt. I was so excited that I whisked the pudding for like five minutes straight, thinking more mixing would make it thicker. Nope. Overmixing actually breaks down the starch and makes the pudding runny. Two minutes of whisking, then let it set. That’s all you need.
Toast the marshmallows if you’re feeling fancy. Here’s a trick I picked up from a pastry chef friend: after you’ve chilled the cake, pop it under the broiler for 30-60 seconds to toast the marshmallows on top. Watch it like a hawk—they go from golden to burnt in seconds. This gives you that campfire s’mores vibe that takes the presentation to the next level. Just make sure your dish is broiler-safe (glass is usually fine, but check the manufacturer’s instructions).
Plan ahead for parties. This is my favorite hosting hack: make the cake the day before your event. It actually tastes better after 24 hours in the fridge because the flavors have time to meld together. Plus, you can cross dessert off your to-do list a full day early. That’s a win in my book.
Variations & Adaptations
One of the best things about this recipe is how easy it is to customize. Here are some of my favorite variations that I’ve tried over the years:
- Peanut Butter S’mores Cake: Add 1/2 cup of creamy peanut butter to the pudding mixture before folding in the Cool Whip. The peanut butter adds a salty-sweet contrast that’s absolutely addictive. I made this for a Super Bowl party, and it was gone in 20 minutes.
- Mint Chocolate Version: Swap the chocolate pudding for instant chocolate fudge pudding and add 1 teaspoon of peppermint extract to the mixture. Top with crushed peppermint candies instead of chocolate chips. It’s like a Thin Mint in cake form—perfect for holiday parties.
- S’mores Icebox Trifle: Instead of layering in a baking dish, use a large trifle bowl. Alternate layers of crumbled graham crackers, pudding mixture, and marshmallows. The visual effect is stunning, and it’s easier to serve at buffets because people can just scoop from the bowl.
- Vegan Adaptation: Use dairy-free chocolate pudding (check the label—many are accidentally vegan), coconut-based whipped topping, and vegan marshmallows (Dandies brand works great). The graham crackers are usually vegan, but double-check the package. This version is just as creamy and delicious as the original.
- Extra Crunchy Version: Crush up a few extra graham crackers and sprinkle them between the layers along with the marshmallows. It adds a delightful crunch that contrasts with the soft pudding. I did this accidentally once when I dropped a graham cracker on the floor and had to crush it up anyway—best mistake ever.
Serving & Storage Suggestions
When it comes time to serve this beauty, there are a few things to keep in mind to make sure it looks and tastes its best.
Serving Temperature: This cake is best served cold, straight from the fridge. The texture is perfect when it’s thoroughly chilled—the graham crackers are soft but not mushy, and the pudding is firm enough to hold its shape. If it sits out at room temperature for more than 30 minutes, it will start to get a bit soft, so keep that in mind for parties.
Presentation Tips: For a wow-worthy presentation, run a knife under hot water before slicing—it glides through the layers without dragging the marshmallows. Wipe the knife clean between cuts for neat, clean slices. I like to serve each slice on a small plate with a drizzle of chocolate syrup and a few extra mini marshmallows on top. It looks like something from a fancy restaurant, but it took me two minutes.
What to Serve Alongside: This cake is rich enough to stand on its own, but it pairs beautifully with a scoop of vanilla ice cream or a dollop of fresh whipped cream. For drinks, a cold glass of milk is the classic choice, but it also goes surprisingly well with coffee or a dark roast tea. If you’re serving it at a barbecue, it’s the perfect finish after grilled meats and corn on the cob.
Storage Instructions: Cover the dish tightly with plastic wrap or transfer leftovers to an airtight container. The cake will keep in the refrigerator for up to 5 days, though honestly, it rarely lasts that long in my house. The texture actually improves over the first 48 hours, so day-old cake is even better than fresh.
Freezer Notes: You can freeze this cake for up to 3 months. Wrap the entire dish in a layer of plastic wrap, then a layer of aluminum foil. To serve, thaw in the refrigerator overnight. The texture will be slightly different—a bit more ice cream-like—but it’s still delicious. I’ve made two at a time and frozen one for emergencies. Best decision ever.
Nutritional Information & Benefits
Let’s be honest—this is a dessert, so it’s not exactly health food. But here’s what you should know:
| Per Serving (1/12 of cake) | Approximate Value |
|---|---|
| Calories | 380 |
| Total Fat | 14g |
| Saturated Fat | 8g |
| Carbohydrates | 58g |
| Sugar | 38g |
| Protein | 5g |
| Calcium | 8% DV |
On the bright side, the milk in the pudding provides some calcium and protein, and the graham crackers offer a small amount of fiber. The chocolate pudding contains antioxidants from cocoa, so there’s that. And honestly, sometimes you just need a dessert that makes you happy. Life’s too short to count calories at every meal.
If you’re looking to lighten things up, you can use sugar-free pudding mix, fat-free milk, and light Cool Whip. That’ll cut the calories and sugar by about 30%. But for special occasions? Go all out. Your guests deserve the real thing.
Conclusion
This Best No-Bake S’mores Icebox Cake has become my go-to dessert for every gathering, and I honestly can’t imagine hosting without it. It’s the recipe that makes people think you spent hours in the kitchen when you really just threw it together in ten minutes. It’s the dessert that disappears before the main course even hits the table. And it’s the one that gets requested again and again—I’ve lost count of how many times I’ve texted this recipe to friends.
What I love most about this cake is how forgiving it is. You can mess up the layers, use a different size dish, forget to add the chocolate chips, and it still turns out amazing. It’s the kind of recipe that builds confidence in the kitchen, even if you’re a total beginner. And honestly, isn’t that what cooking is all about? Finding something that works, sharing it with the people you love, and feeling good about what you’ve made.
So go ahead—give this recipe a try. Make it for your next barbecue, your holiday dinner, or just a random Tuesday when you need something sweet. And when your friends ask for the recipe (they will), tell them exactly where you found it. I’d love to hear how it turns out for you—drop a comment below and let me know if you tried any of the variations or came up with your own twist. Happy cooking!
Frequently Asked Questions
Can I make this s’mores icebox cake ahead of time?
Absolutely! In fact, I recommend it. This cake actually tastes better after 24 hours in the fridge because the flavors have time to meld together. Just cover it tightly and refrigerate until you’re ready to serve. It’s the perfect make-ahead dessert for busy hosts.
Can I use homemade whipped cream instead of Cool Whip?
Yes, you can! Use 2 cups of heavy cream whipped with 1/4 cup of powdered sugar until stiff peaks form. Fold it into the pudding just like you would with Cool Whip. The texture will be slightly lighter and less stable, but it’s delicious. Just know that homemade whipped cream doesn’t hold up as long, so the cake is best eaten within 2-3 days.
How do I keep the graham crackers from getting too soggy?
The key is chilling time. Six hours is the minimum, but 12-24 hours is ideal. The graham crackers need time to absorb the moisture from the pudding without becoming mushy. If you let it chill overnight, the crackers will soften to a cake-like texture without falling apart. Also, make sure your pudding isn’t too thin—if it’s runny, the crackers will get soggy faster.
Can I use a different type of cracker instead of graham crackers?
Sure! You can use chocolate graham crackers for an extra chocolatey version, or try vanilla wafers for a different texture. I’ve even made this with crushed Oreos (cream removed) for a cookies-and-cream twist. Just keep in mind that different crackers absorb moisture differently, so you might need to adjust the chilling time.
What’s the best way to cut clean slices of this cake?
Run a sharp knife under hot water before each cut, and wipe it clean between slices. This helps the knife glide through the marshmallows without dragging them. For the neatest slices, chill the cake for at least 12 hours before serving. A warm knife and a cold cake are the secrets to picture-perfect slices.
Pin This Recipe!
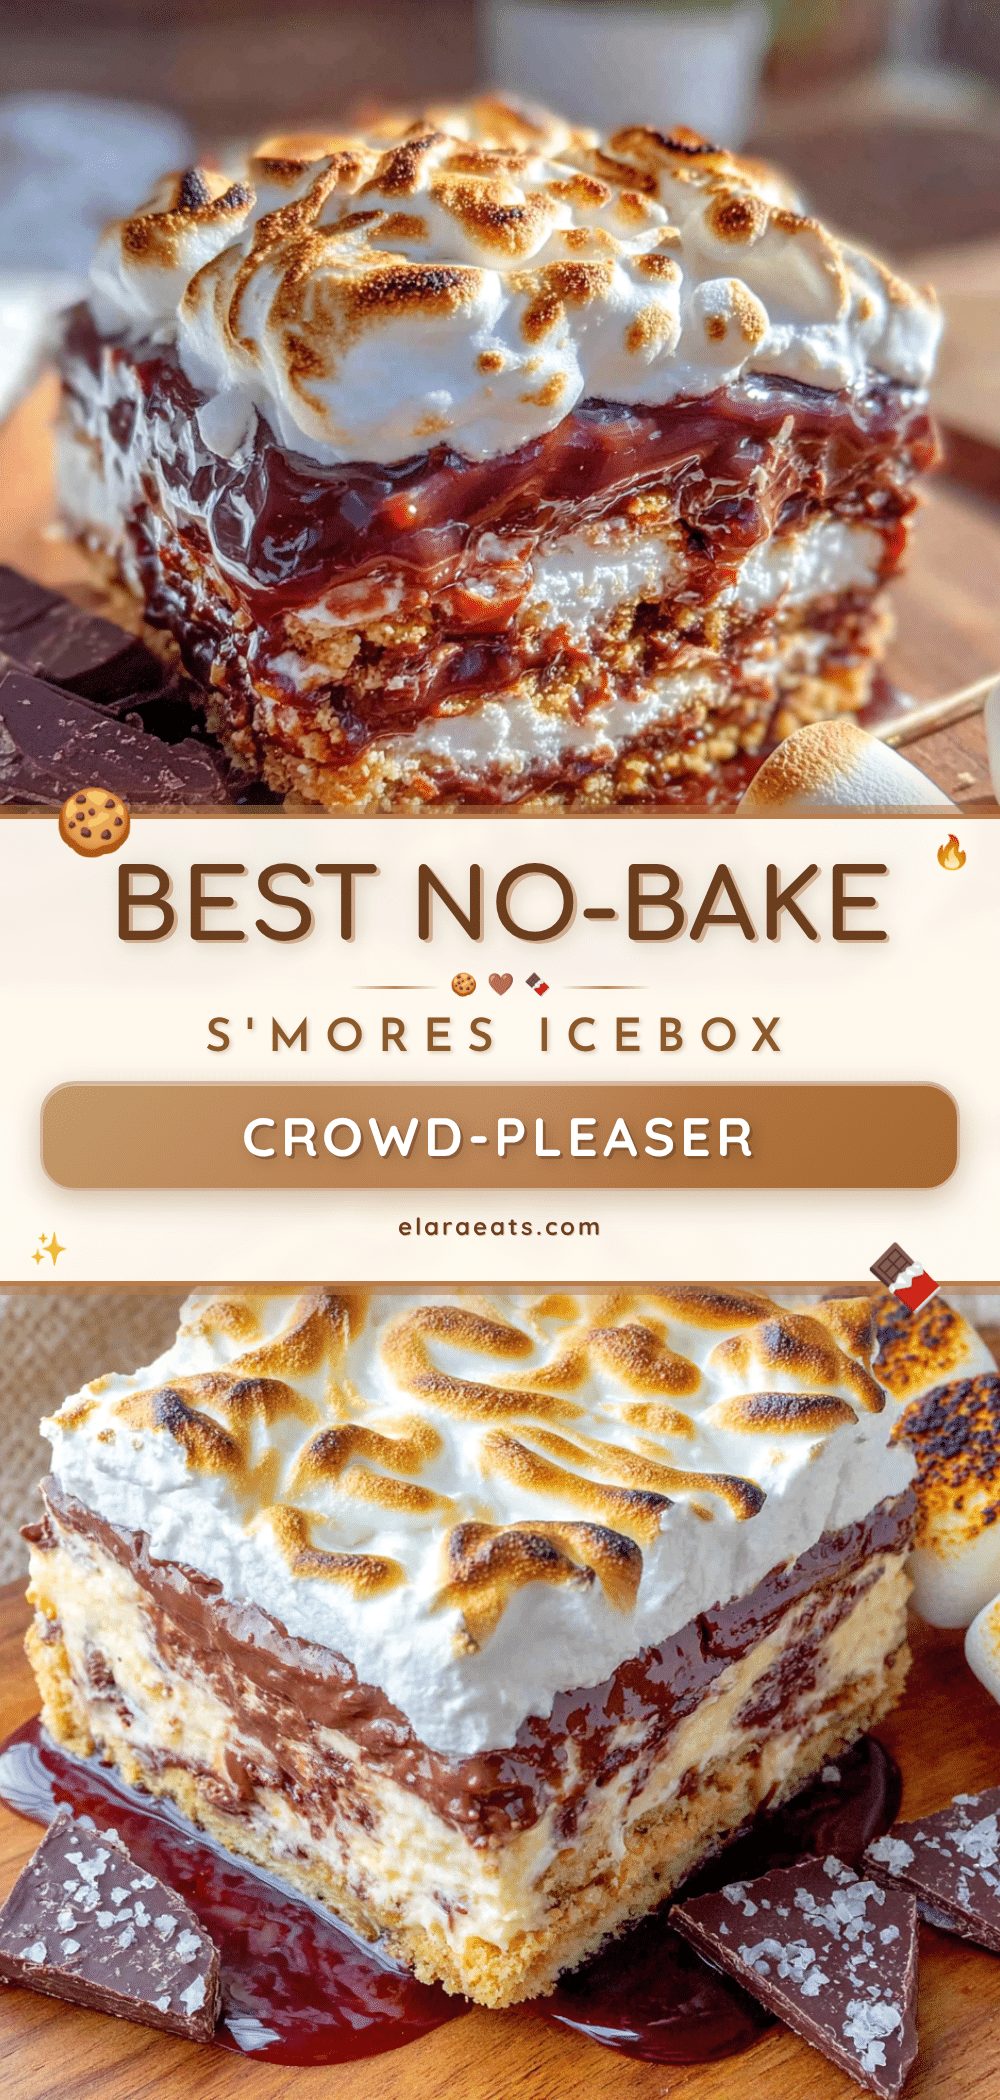
Best No-Bake Smores Icebox Cake: Easy 10-Minute Dessert
This Best No-Bake S’mores Icebox Cake is the dessert you bring when you want to hear people actually stop talking mid-bite. It’s the one that disappears before the main course even hits the table, and it takes ten minutes to put together without turning on the oven.
- Prep Time: 10 minutes
- Cook Time: 0 minutes
- Total Time: 6 hours 10 minutes (includes chilling time)
- Yield: 12 servings 1x
- Category: Dessert
- Cuisine: American
Ingredients
- 2 boxes (3.4 oz each) instant chocolate pudding mix (Jell-O brand recommended)
- 3 cups cold whole milk (2% works, but whole milk gives richest texture)
- 1 tub (8 oz) Cool Whip, thawed (or 2 cups heavy cream + 1/4 cup powdered sugar for homemade whipped cream)
- 1 box (about 14 oz) honey graham crackers (roughly 24 full sheets)
- 1 bag (10 oz) mini marshmallows (Jet-Puffed recommended)
- Optional: 1/2 cup chocolate chips or chopped chocolate bar for extra decadence
Instructions
- Make the pudding: In a large mixing bowl, whisk together both boxes of instant chocolate pudding mix with 3 cups of cold whole milk. Whisk for about 2 minutes until it starts to thicken. Let it sit for 5 minutes to set up completely.
- Fold in the Cool Whip: Once the pudding has set, gently fold in the entire tub of thawed Cool Whip using a rubber spatula. Fold until no white streaks remain and the mixture is smooth and creamy.
- Start layering: Spread a thin layer of the pudding mixture (about 1/2 cup) on the bottom of a 9×13 inch baking dish. Arrange a single layer of graham crackers on top, breaking them as needed to fit.
- Build the cake: Spread about 1/3 of the remaining pudding mixture over the graham crackers. Sprinkle a generous handful of mini marshmallows on top. Add another layer of graham crackers. Repeat until all pudding mixture is used, ending with about 3 layers of graham crackers and 3 layers of pudding.
- Finish the top: Spread the last of the pudding mixture on top. Cover the entire surface in a thick, even layer of marshmallows. If using chocolate chips, sprinkle them over the marshmallows now.
- Chill: Cover the dish tightly with plastic wrap and refrigerate for at least 6 hours, but overnight is best. The graham crackers need time to soften and absorb the creamy goodness.
Notes
For best results, chill overnight (12-24 hours). The graham crackers will soften to a cake-like texture. For a toasted marshmallow top, after chilling, pop under the broiler for 30-60 seconds, watching carefully. Room temperature ingredients help the pudding set properly. Do not overmix the pudding—2 minutes of whisking is sufficient. The cake keeps in the refrigerator for up to 5 days and can be frozen for up to 3 months.
Nutrition
- Serving Size: 1 slice (1/12 of cak
- Calories: 380
- Sugar: 38
- Sodium: 320
- Fat: 14
- Saturated Fat: 8
- Carbohydrates: 58
- Fiber: 1
- Protein: 5
Keywords: no-bake dessert, s'mores, icebox cake, easy dessert, summer dessert, chocolate, marshmallow, graham cracker, potluck dessert, make-ahead dessert