Love this? Save it for later!
Share the inspiration with your friends
I wasn’t expecting cooking advice from a taxi driver, but there I was, stuck in what felt like the world’s longest traffic jam, listening to a man named Earl describe exactly how to make no-bake chocolate peanut butter protein balls. It was a Tuesday afternoon, I was late picking up my kid from soccer practice, and honestly, I was in a terrible mood. Earl, on the other hand, was completely unbothered. He had this calm, steady voice, and as we sat there not moving an inch on Elm Street, he started talking about how he fuels his long shifts. “You can’t eat junk all day,” he said, tapping his steering wheel. “You need something that sticks to your ribs but doesn’t make you sleepy.”
He told me his wife makes him a batch of these every Sunday. They’re packed with oats, peanut butter, and chocolate, and he keeps a little container in his glove box. I remember thinking it was the last place I’d ever get a recipe—from a stranger in a cab—but Earl was so matter-of-fact about it. He wasn’t trying to impress me. He was just sharing what worked for him. I scribbled the basics on an old receipt I found in my bag, and honestly, I was skeptical. But that night, after I made them, I took one bite and let me tell you, I understood exactly why Earl was so passionate.
These aren’t just healthy snacks. They are rich, fudgy, and taste like dessert, but they’re actually good for you. Maybe you’ve been there—looking for a quick energy boost that doesn’t come from a candy bar or a cup of coffee. These no-bake chocolate peanut butter protein balls are the answer. I’ve tweaked Earl’s original recipe a bit over the years, adding a scoop of protein powder and a pinch of sea salt, but the soul of it is still his. This is the recipe that stayed with me because it’s simple, it’s forgiving, and it makes you feel like you’ve got your life together, even on a chaotic Tuesday.
Why You’ll Love This Recipe
I have tested this recipe more times than I can count, and I can tell you with confidence that it is the best version of no-bake chocolate peanut butter protein balls you will find. It’s not just another healthy snack recipe that sounds good on paper but tastes like cardboard. These are genuinely delicious. Here is why you will absolutely love them:
- Quick & Easy: These come together in under 15 minutes. No oven, no mixer, no fuss. Just a bowl and a spoon. Perfect for busy weeknights or when a sugar craving hits out of nowhere.
- Simple Ingredients: You probably have most of these in your pantry right now. Rolled oats, peanut butter, honey, chocolate chips, and a scoop of protein powder. No fancy grocery trips needed.
- Perfect for Meal Prep: Make a batch on Sunday, and you have a grab-and-go breakfast, a post-workout snack, or a healthy dessert for the whole week. They store beautifully in the fridge.
- Crowd-Pleaser: I have brought these to potlucks, kid’s birthday parties, and even office meetings. They disappear fast. Kids love them, adults love them, and nobody guesses they are “healthy.”
- Unbelievably Delicious: The texture is soft, chewy, and fudgy all at once. The combo of chocolate and peanut butter is a classic for a reason, and the protein powder adds a subtle richness that makes them taste like a treat.
What sets this recipe apart is the technique. Instead of just dumping everything together and hoping for the best, I use a specific method to make sure the dough isn’t too dry or too sticky. I also use a high-quality vanilla protein powder that doesn’t leave a chalky aftertaste. This isn’t just another version of a protein ball—it is my best version, tested in my own kitchen, approved by my picky family, and shared with you, my friend.
This recipe is the kind that makes you close your eyes after the first bite. It’s comfort food reimagined—healthier, faster, but with the same soul-soothing satisfaction. Perfect for impressing your own inner critic, without any stress at all.
What Ingredients You Will Need
This recipe uses simple, wholesome ingredients to deliver bold flavor and satisfying texture without the fuss. Most of these are pantry staples, which makes this recipe incredibly easy to whip up anytime. Let me walk you through each one so you know exactly what to look for.
- Rolled Oats (1 cup / 90g): These are the base of our protein balls. I highly recommend using rolled oats (not quick oats or steel-cut). They provide the perfect chewy texture. Quick oats will make the mixture too mushy, and steel-cut oats will be too hard. I use Bob’s Red Mill Old-Fashioned Rolled Oats for the best results.
- Creamy Peanut Butter (1/2 cup / 130g): This is the glue that holds everything together. I use natural, unsweetened peanut butter (just peanuts and salt). If you use a brand with added sugar or oil, the texture might be a bit different. Make sure it’s well-stirred before measuring. You can also use crunchy peanut butter if you like a bit of texture.
- Honey or Maple Syrup (1/4 cup / 60ml): This adds natural sweetness and helps bind the ingredients. Honey gives a slightly floral sweetness, while maple syrup adds a warmer, caramel-like note. Both work perfectly. If you are vegan, use maple syrup.
- Chocolate Protein Powder (1/3 cup / 30g): This is the star that makes them “protein balls.” I use a chocolate whey or plant-based protein powder. Vanilla protein powder will also work, but it will change the flavor profile. My personal favorite is Orgain Organic Chocolate Protein Powder—it blends smoothly and doesn’t have a chalky taste.
- Mini Chocolate Chips (1/4 cup / 45g): These little bursts of chocolate make every bite feel like a treat. I use dark chocolate chips for a richer flavor, but milk chocolate or semi-sweet works great too. You can also use cacao nibs for a less sweet, more intense chocolate flavor.
- Unsweetened Cocoa Powder (2 tablespoons / 10g): This deepens the chocolate flavor without adding extra sugar. It makes the protein balls look dark and fudgy. Use Dutch-process cocoa for a smoother taste, or natural cocoa for a sharper chocolate hit.
- Chia Seeds or Flaxseed Meal (1 tablespoon / 10g): This is optional but highly recommended. It adds a boost of fiber and omega-3s, and it helps absorb any extra moisture, giving the balls a perfect texture. I usually use chia seeds because I like the tiny crunch.
- Pinch of Sea Salt: A small pinch of salt elevates all the flavors. It balances the sweetness and makes the chocolate and peanut butter pop. Don’t skip this—it makes a real difference.
Substitution Guidance: If you are allergic to peanuts, you can use almond butter or sunflower seed butter. For a gluten-free option, make sure your oats are certified gluten-free. To make these nut-free, use sunflower seed butter and skip the peanut butter.
Equipment Needed
You don’t need a fancy kitchen to make these no-bake chocolate peanut butter protein balls. In fact, you probably already have everything you need. Here is the short list:
- Large Mixing Bowl: A standard-sized bowl is perfect for mixing everything together without making a mess.
- Measuring Cups and Spoons: Accurate measurements are key for the right texture. I recommend using dry measuring cups for the oats and protein powder, and liquid measuring cups for the honey and peanut butter.
- Spatula or Wooden Spoon: A sturdy spatula is great for mixing the thick dough. A wooden spoon works just as well.
- Baking Sheet or Plate: You’ll need a flat surface to place the rolled balls on while they chill. A small baking sheet lined with parchment paper is ideal.
- Parchment Paper: This prevents the balls from sticking to the baking sheet. You can also use wax paper in a pinch.
- Small Cookie Scoop (optional): If you want perfectly uniform balls, a 1-tablespoon cookie scoop is a game-changer. It makes the process faster and cleaner. I have a OXO Good Grips scoop that I love, but your hands work perfectly fine too.
- Refrigerator: This is the most important piece of equipment! The balls need at least 30 minutes to firm up before serving.
If you don’t have a cookie scoop, just wet your hands slightly with water to prevent the dough from sticking, and roll them into balls by hand. It’s a little messier, but it works like a charm.
Preparation Method
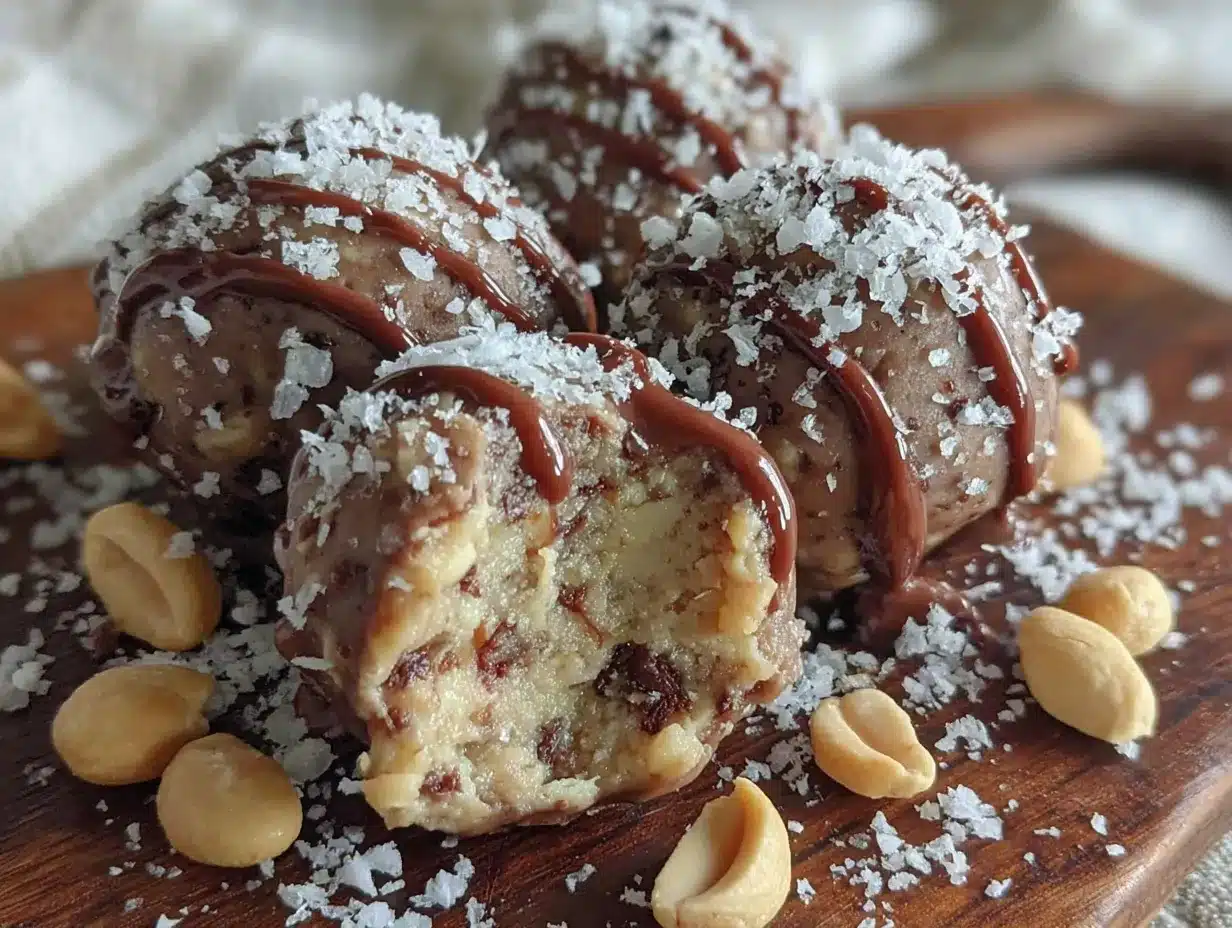
Making these no-bake chocolate peanut butter protein balls is almost too easy. It’s a one-bowl, no-bake situation that comes together in minutes. Follow these steps carefully, and you will have a perfect batch every single time.
- Prepare Your Workspace: Clear your counter and gather all your ingredients. Line a small baking sheet or a large plate with parchment paper. This will be where you place the rolled balls before they go into the fridge. Having everything ready makes the process smooth and stress-free.
- Combine the Dry Ingredients: In your large mixing bowl, add the rolled oats, chocolate protein powder, unsweetened cocoa powder, chia seeds (if using), and a pinch of sea salt. Whisk them together with a fork or a small whisk until everything is evenly distributed. This step is important because it ensures the cocoa powder and protein powder don’t clump up later.
- Add the Wet Ingredients: Pour the creamy peanut butter and honey (or maple syrup) directly into the bowl with the dry ingredients. Don’t stir yet—just let them sit on top.
- Mix Everything Together: Using your spatula or wooden spoon, start folding the wet ingredients into the dry ones. At first, it will look a little crumbly and dry. Don’t panic. Keep pressing and folding. The peanut butter and honey will gradually pull everything together into a thick, cohesive dough. This usually takes about 1-2 minutes of vigorous stirring. If the dough feels too dry and crumbly, add 1 teaspoon of water or milk at a time until it holds together. If it feels too sticky, add another tablespoon of oats.
- Fold in the Chocolate Chips: Once the dough is uniform, add the mini chocolate chips. Fold them in gently until they are evenly distributed throughout the dough. You want every ball to have little pockets of melted chocolate.
- Chill the Dough (Optional but Recommended): For the easiest rolling experience, cover the bowl and pop it in the fridge for 15-20 minutes. This firms up the peanut butter and makes the dough less sticky. If you are in a hurry, you can skip this step, but your hands will get a little messy.
- Roll the Balls: Scoop out about 1 tablespoon of dough (using a cookie scoop or a spoon). Roll it between your palms to form a smooth ball. If the dough sticks to your hands, lightly wet your palms with a little water. Place each ball on the prepared baking sheet. Repeat until all the dough is used. You should get about 14-16 balls, depending on the size.
- Chill to Set: Place the baking sheet with the rolled balls in the refrigerator for at least 30 minutes. This allows them to firm up and hold their shape. If you can wait an hour, they will be even better.
- Serve and Enjoy: Once chilled, they are ready to eat. The texture should be soft, chewy, and fudgy. They will hold together perfectly when you bite into them.
Pro Tip: If you want a more uniform look, after rolling the balls, you can roll them in a little extra cocoa powder, shredded coconut, or crushed peanuts for a decorative coating.
Cooking Tips & Techniques
Over the years, I have made a lot of mistakes with no-bake chocolate peanut butter protein balls. I’ve made batches that were too dry, too sticky, or just plain ugly. Here are the lessons I learned the hard way, so you don’t have to.
The Texture Test: The most common issue is getting the right consistency. The dough should be slightly tacky but not sticky. It should hold together when you squeeze a clump in your fist. If it crumbles apart, it’s too dry. Add a teaspoon of honey or peanut butter to fix it. If it sticks to your fingers like glue, it’s too wet. Add a tablespoon of oats or protein powder.
Protein Powder Matters: Not all protein powders are created equal. Some are very absorbent and will make the dough dry. Others are less absorbent and will make it sticky. If you are using a new brand, start with slightly less protein powder and add more as needed. I once used a super-absorbent vegan protein powder, and my balls turned into dry little rocks. Don’t be like me—adjust as you go.
Chill Time is Non-Negotiable: I know you might be hungry, but please don’t skip the chill time. These balls need time in the fridge to firm up. If you try to eat them right away, they will be soft and fall apart. The 30-minute wait is worth it. For a firmer, fudgier texture, let them chill for 2 hours or even overnight.
Keep Your Hands Cool: If the dough starts to get too sticky while you are rolling, your hands are probably too warm. Run them under cold water for a few seconds, dry them off, and continue. This simple trick makes a huge difference.
Double Batch Strategy: These freeze beautifully, so I always make a double batch. I keep one batch in the fridge for the week and freeze the other for later. They thaw in just a few minutes at room temperature, so you always have a healthy snack ready.
Variations & Adaptations
One of the best things about this recipe is how flexible it is. You can adapt it to fit your dietary needs, your mood, or what you have in your pantry. Here are some of my favorite variations:
- Vegan Version: Use maple syrup instead of honey, and make sure your chocolate chips are dairy-free. Use a plant-based protein powder. The texture and taste are just as amazing.
- Nut-Free Version: Substitute the peanut butter with sunflower seed butter or tahini. Keep in mind that sunflower seed butter can react with baking soda (which we aren’t using here, so we are safe), but it can sometimes turn greenish if mixed with certain ingredients. It’s perfectly safe to eat, just a little weird to look at. To prevent this, add a teaspoon of lemon juice to the dough.
- Extra Crunchy: If you like a bit of texture, add 2 tablespoons of chopped peanuts, almonds, or walnuts to the dough along with the chocolate chips. You can also roll the finished balls in crushed peanuts for a crunchy coating.
- Peanut Butter & Jelly: Swap half of the chocolate chips for dried cranberries or chopped dried strawberries. The tart fruit pairs beautifully with the rich peanut butter. It tastes just like a PB&J sandwich!
- Mint Chocolate Chip: Add 1/4 teaspoon of peppermint extract to the wet ingredients. It gives the protein balls a refreshing, cool flavor that is perfect for the holidays or a post-dinner treat.
- Cookie Dough Inspired: Use vanilla protein powder instead of chocolate, and add 2 tablespoons of mini chocolate chips. The result tastes just like healthy cookie dough. It’s dangerous—in the best way.
I personally love the mint chocolate chip variation. I made it last Christmas, and my brother-in-law, who swears he hates “healthy food,” ate six of them in one sitting. That was a win in my book.
Serving & Storage Suggestions
These no-bake chocolate peanut butter protein balls are incredibly versatile. Here is how to serve and store them for the best experience.
Serving: Serve them straight from the fridge for a firm, fudgy texture. If you prefer a softer, chewier bite, let them sit at room temperature for 5-10 minutes before eating. They are perfect as a post-workout snack, a quick breakfast on the go, or a healthy dessert. I love pairing them with a glass of cold almond milk or a hot cup of coffee. For a fun presentation, arrange them on a platter with fresh berries and a few pretzel sticks for a salty-sweet snack board.
Storage: Store the protein balls in an airtight container in the refrigerator. They will stay fresh for up to 2 weeks. I like to layer them between sheets of parchment paper so they don’t stick together. If you live in a warm climate, they might get a little soft, so keep them chilled.
Freezing: These balls freeze like a dream. Place them in a single layer on a baking sheet and freeze for 1-2 hours, or until solid. Then transfer them to a freezer-safe bag or container. They will keep for up to 3 months. To thaw, simply take out as many as you need and let them sit at room temperature for 10-15 minutes, or pop one in your lunch bag in the morning—it will be thawed and ready by snack time.
Flavor Development: Honestly, these taste even better the next day. The flavors have time to meld together, and the texture becomes more uniform. So if you can wait a day, you will be rewarded with an even more delicious snack.
Nutritional Information & Benefits
These no-bake chocolate peanut butter protein balls are not just delicious—they are packed with good-for-you ingredients that will keep you energized and satisfied. Here is a rough estimate of the nutritional breakdown per ball (based on 16 balls):
- Calories: 120-140
- Protein: 6-8g
- Carbohydrates: 14-16g
- Fiber: 3-4g
- Fat: 6-8g
- Sugar: 7-9g (mostly from honey and chocolate chips)
Health Benefits: The rolled oats provide complex carbohydrates for sustained energy, while the peanut butter and protein powder offer a solid dose of protein to support muscle repair and keep you full. The chia seeds add omega-3 fatty acids and fiber, which are great for heart health and digestion. The cocoa powder is rich in antioxidants, which can help fight inflammation. This is a snack that actually works with your body, not against it.
Dietary Considerations: This recipe is naturally vegetarian and can easily be made vegan, gluten-free (with certified oats), and nut-free (with sunflower seed butter). It is a great option for those following a high-protein or low-sugar diet when using unsweetened protein powder and dark chocolate chips.
I personally love that I can grab one of these before a workout and feel fueled without feeling heavy. It’s a small, simple choice that makes a big difference in my day.
Conclusion
Honestly, I never thought I’d be sharing a recipe I learned from a taxi driver, but here we are. These no-bake chocolate peanut butter protein balls have become a staple in my kitchen, and I hope they become one in yours too. They are proof that the best recipes often come from the most unexpected places, and that you don’t need a fancy kitchen or a culinary degree to make something truly delicious and nourishing.
This recipe is forgiving, easy to customize, and always delivers. Whether you need a quick breakfast, a post-workout snack, or a healthy treat to satisfy your sweet tooth, these protein balls have got you covered. I encourage you to make them your own—swap in your favorite nut butter, add some dried fruit, or experiment with different protein powder flavors. The possibilities are endless, and that is the beauty of a simple, solid recipe.
I would love to hear how they turn out for you! Drop a comment below and let me know if you tried any fun variations. Did you use almond butter? Did you add coconut? Share your creations and tag me on social media—I can’t wait to see what you come up with. Happy snacking, my friend!
Frequently Asked Questions
Can I use quick oats instead of rolled oats?
I wouldn’t recommend it. Quick oats are more processed and will absorb liquid differently, resulting in a mushier, less chewy texture. Rolled oats give the protein balls the perfect bite. If you only have quick oats, you can still use them, but the texture will be softer and less satisfying.
My dough is too dry. What did I do wrong?
This usually happens if your peanut butter is too thick or if your protein powder is very absorbent. Fix it by adding a teaspoon of honey, maple syrup, or even a splash of milk (dairy or plant-based) at a time until the dough comes together. You can also add a little extra peanut butter.
Can I make these without protein powder?
Absolutely! If you don’t have protein powder, you can replace it with an equal amount of rolled oats. The balls will be less protein-packed but still delicious. You might need to adjust the sweetness slightly, so taste the dough and add a little extra honey if needed.
How long do these last at room temperature?
These are best kept in the refrigerator. They can sit at room temperature for a few hours (like in a lunch box or at a party), but I wouldn’t leave them out for more than 4-6 hours, especially in warm weather, because the peanut butter can become oily and the texture will suffer.
Can I use crunchy peanut butter?
Yes! Crunchy peanut butter works great and adds a lovely texture to the balls. Just keep in mind that the dough might be slightly less cohesive because of the peanut pieces. If the dough seems too crumbly, add a little extra honey or a splash of milk to help it bind.
Pin This Recipe!
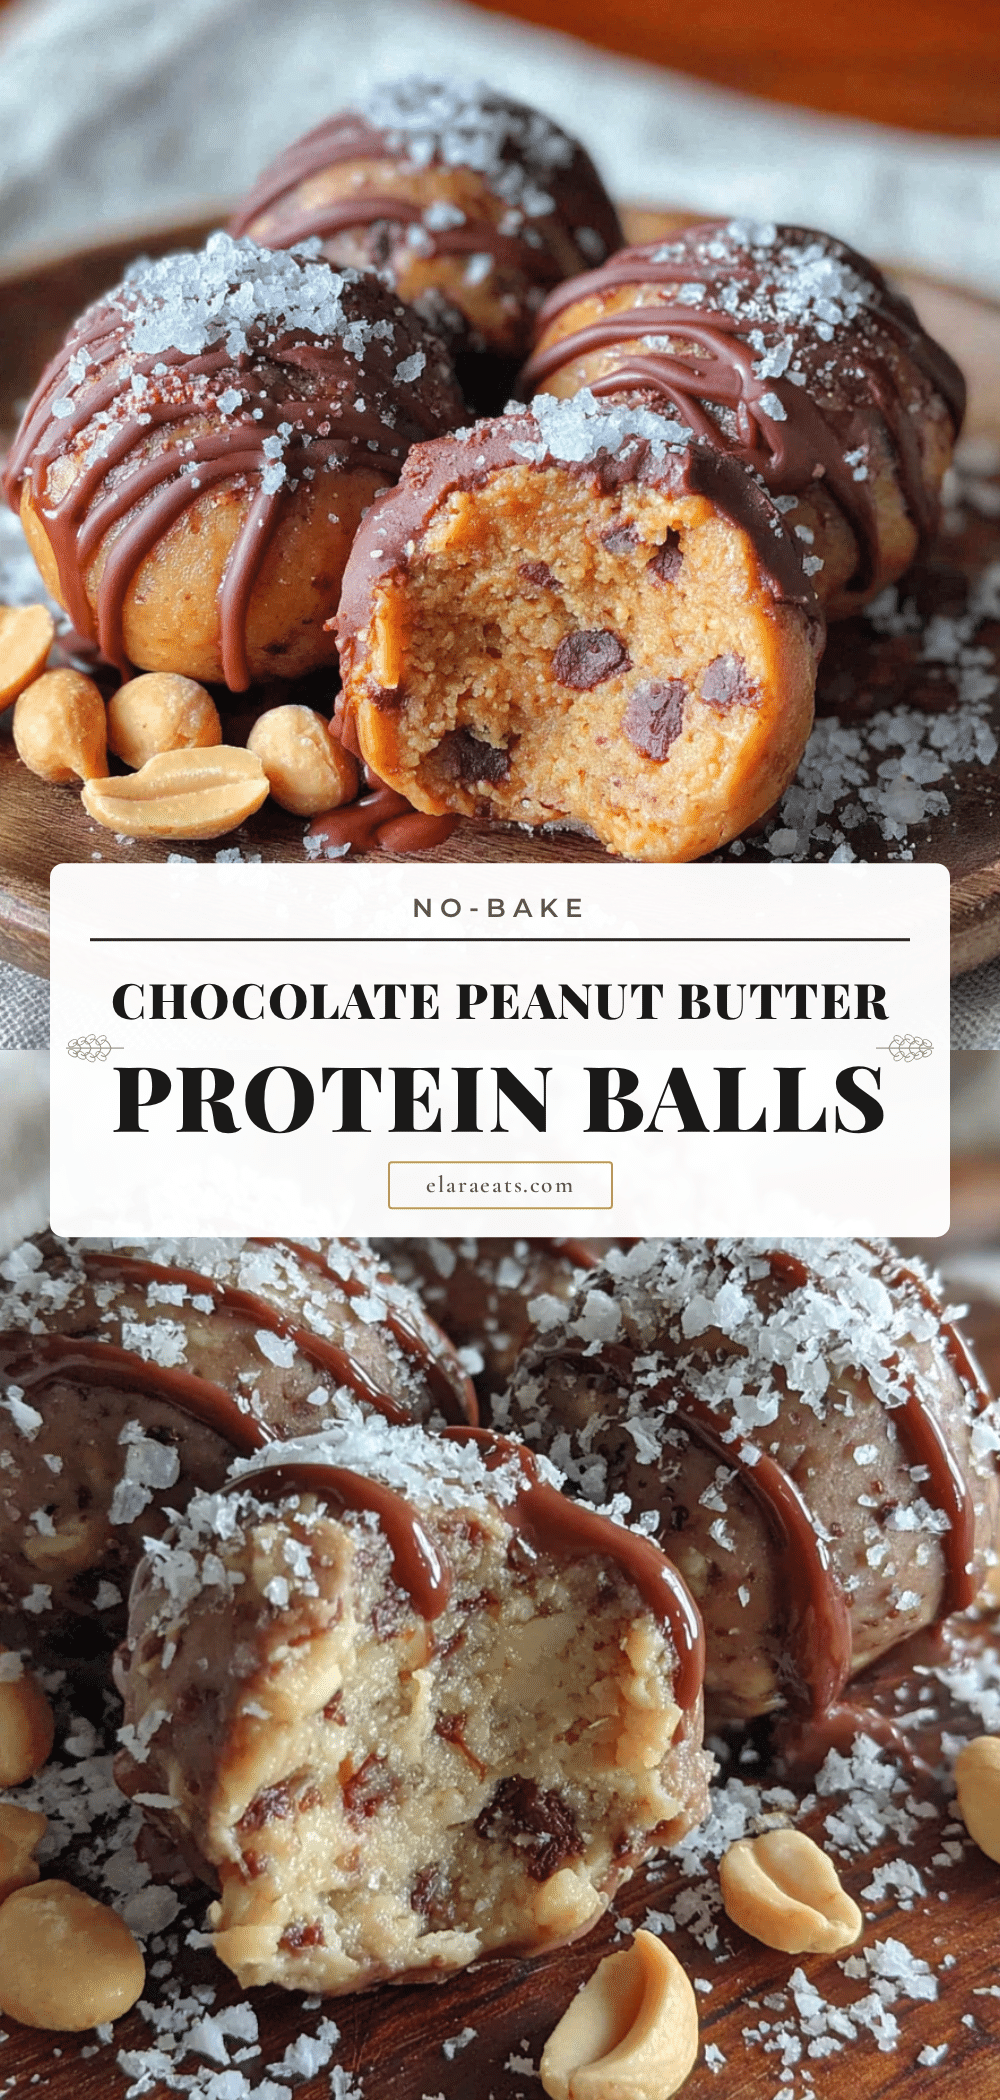
Best Easy No-Bake Chocolate Peanut Butter Protein Balls

These no-bake chocolate peanut butter protein balls are rich, fudgy, and taste like dessert, but they’re actually good for you. Made with simple ingredients like rolled oats, peanut butter, honey, and chocolate protein powder, they come together in under 15 minutes and are perfect for a quick energy boost.
- Prep Time: 15 minutes
- Cook Time: 0 minutes
- Total Time: 45 minutes
- Yield: 14-16 servings 1x
- Category: Snack
- Cuisine: American
Ingredients
- 1 cup (90g) rolled oats
- 1/2 cup (130g) creamy peanut butter
- 1/4 cup (60ml) honey or maple syrup
- 1/3 cup (30g) chocolate protein powder
- 1/4 cup (45g) mini chocolate chips
- 2 tablespoons (10g) unsweetened cocoa powder
- 1 tablespoon (10g) chia seeds or flaxseed meal (optional)
- Pinch of sea salt
Instructions
- Prepare your workspace: Clear your counter and gather all ingredients. Line a small baking sheet or large plate with parchment paper.
- Combine the dry ingredients: In a large mixing bowl, add rolled oats, chocolate protein powder, unsweetened cocoa powder, chia seeds (if using), and a pinch of sea salt. Whisk together until evenly distributed.
- Add the wet ingredients: Pour creamy peanut butter and honey (or maple syrup) directly into the bowl with the dry ingredients. Do not stir yet.
- Mix everything together: Using a spatula or wooden spoon, fold the wet ingredients into the dry ones. Press and fold until a thick, cohesive dough forms (about 1-2 minutes). If too dry, add 1 teaspoon of water or milk at a time; if too sticky, add another tablespoon of oats.
- Fold in the chocolate chips: Add mini chocolate chips and fold gently until evenly distributed.
- Chill the dough (optional but recommended): Cover the bowl and refrigerate for 15-20 minutes for easier rolling.
- Roll the balls: Scoop about 1 tablespoon of dough and roll between your palms to form a smooth ball. If sticky, lightly wet your hands with water. Place each ball on the prepared baking sheet. Repeat until all dough is used (about 14-16 balls).
- Chill to set: Refrigerate the baking sheet with the rolled balls for at least 30 minutes (or up to 1 hour for better texture).
- Serve and enjoy: Once chilled, they are ready to eat. The texture should be soft, chewy, and fudgy.
Notes
For best texture, chill the dough before rolling. If the dough is too dry, add a teaspoon of honey or milk. If too sticky, add more oats. These protein balls taste even better the next day as flavors meld. Store in an airtight container in the refrigerator for up to 2 weeks, or freeze for up to 3 months.
Nutrition
- Serving Size: 1 ball
- Calories: 130
- Sugar: 8
- Sodium: 80
- Fat: 7
- Saturated Fat: 2
- Carbohydrates: 15
- Fiber: 3
- Protein: 7
Keywords: no-bake protein balls, chocolate peanut butter protein balls, healthy snack, energy balls, gluten-free snack, high protein snack


