Love this? Save it for later!
Share the inspiration with your friends
It was 9:47 PM on a random Wednesday, and I had a gnawing craving for something sweet, salty, and sticky—the kind of thing that usually comes from a takeout container. I didn’t have the energy for a complicated marinade or the patience for delivery wait times, but I had a pack of bone-in chicken thighs in the fridge and a half-empty bottle of honey that was crystallizing at the edges. That’s when the idea arrived: what if I just threw it all in one pan and let the oven do the heavy lifting? Honestly, I was skeptical. I mean, honey in the oven can be a gamble—burn it, and you’re scrubbing a pan for an hour. But I was too tired to care about perfection. I whisked together soy sauce, garlic, a splash of vinegar, and that stubborn honey, poured it over the chicken, and slid the pan into the heat. Twenty minutes later, the smell drifting through my kitchen was so good it woke up my neighbor’s dog, who started howling from the apartment next door. The chicken came out bronzed and glistening, the sauce had reduced into a glossy, finger-licking coating, and the whole thing took maybe five minutes of actual effort. I ate two pieces standing at the counter, burning my tongue, and I didn’t regret a single second. Maybe you’ve been there—that moment when a desperate, lazy experiment turns into a weeknight hero. That’s this recipe. It’s the one I keep coming back to when I want something that feels like a treat but acts like a weeknight lifesaver.
Why You’ll Love This Recipe
Let me tell you straight—this sticky honey garlic chicken is the kind of recipe that makes you look like a kitchen rockstar without actually having to work for it. I’ve tested it on picky eaters, dinner guests, and my own skeptical self, and it wins every single time.
- Quick & Easy: From fridge to table in under 35 minutes, with only 5 minutes of hands-on prep. Perfect for those nights when you’re running on empty.
- Simple Ingredients: You probably have most of these in your pantry right now—honey, soy sauce, garlic, chicken thighs. No fancy grocery store detours required.
- Perfect for Busy Weeknights: One pan means less cleanup, more couch time. It’s the ultimate “I don’t want to cook but I want to eat well” dinner.
- Crowd-Pleaser: The sweet-savory combo hits every age group. Kids love the sticky glaze, adults appreciate the depth from the garlic and soy.
- Unbelievably Delicious: That glossy, caramelized coating? It’s pure comfort food magic. The chicken comes out tender and juicy, with a sticky-sweet crust that’s honestly addictive.
What makes this recipe different from all the other honey garlic chicken recipes out there? It’s the method. Instead of fussing over a stovetop glaze that can burn in seconds, you let the oven do the caramelization work. The honey and soy sauce reduce slowly around the chicken, creating a thick, glossy sauce that clings to every bite without burning. I’ve tried it every which way, and trust me—this one-pan version is the best. It’s not just another recipe; it’s the one I turn to when I need a guaranteed win. That first bite, where the sticky sweetness hits your tongue followed by a punch of garlic and a salty finish? That’s the moment you’ll know why this one stuck.
What Ingredients You Will Need
This recipe uses simple, everyday ingredients to create big, bold flavor. Most of these are pantry staples, so you likely won’t need a special trip to the store. Here’s what you’ll need and why each one matters.
- Chicken Thighs (6 bone-in, skin-on thighs, about 2 pounds): Bone-in thighs stay juicier during roasting, and the skin crisps up beautifully under the sticky glaze. If you prefer boneless, skinless thighs, reduce cooking time by about 10 minutes. I personally recommend getting thighs with the skin on—that crispy edge against the sweet glaze is pure gold.
- Honey (1/3 cup, plus 1 tablespoon for drizzling): The star of the show. Use a good quality honey—I like local raw honey for its floral notes, but any runny honey works. Avoid honey that’s too crystallized, as it won’t blend as smoothly into the sauce.
- Soy Sauce (1/4 cup, low-sodium preferred): This provides the salty balance to the sweet honey. Low-sodium gives you more control over the saltiness. Tamari or coconut aminos work great as gluten-free alternatives.
- Garlic (4 large cloves, minced): Fresh garlic is non-negotiable here. The pre-minced stuff in a jar lacks that sharp, aromatic punch that makes this dish sing. Trust me on this one—grate it on a microplane if you want it to melt into the sauce.
- Rice Vinegar (2 tablespoons): Adds a subtle tang that cuts through the sweetness and keeps the glaze from being cloying. Apple cider vinegar works in a pinch, but rice vinegar is milder and more authentic.
- Sesame Oil (1 tablespoon, toasted): This is my secret weapon. A little goes a long way, adding a nutty, toasty depth that makes the sauce taste like it simmered for hours. Don’t skip it.
- Cornstarch (1 tablespoon, mixed with 2 tablespoons cold water): This slurry thickens the sauce at the end, giving it that glossy, coat-the-spoon consistency. If you’re keto or paleo, arrowroot powder works just as well.
- Green Onions (3-4, sliced): For garnish and a fresh, sharp contrast to the rich glaze. They add a pop of color and a mild onion bite that brightens every bite.
- Sesame Seeds (1 tablespoon, toasted): Optional but recommended for that final touch of crunch and visual appeal. Black sesame seeds look especially striking against the golden glaze.
- Salt and Black Pepper: To season the chicken before cooking. Use flaky sea salt for the best texture.
Ingredient Selection Tip: For the best results, look for chicken thighs that are roughly the same size so they cook evenly. If your honey has crystallized, warm the jar in a bowl of hot water for 5 minutes—it’ll pour like a dream.
Equipment Needed
One of the best things about this recipe is how little equipment it requires. You don’t need a fancy kitchen to pull this off.
- Large Oven-Safe Skillet or Baking Dish (12-inch cast iron or ceramic): A cast iron skillet is ideal because it retains heat evenly and gives the chicken a beautiful sear. If you don’t have one, any oven-safe baking dish works—just make sure it’s large enough to hold the thighs in a single layer without crowding.
- Small Bowl: For whisking together the sauce ingredients. A glass measuring cup works great too.
- Whisk or Fork: For combining the sauce until smooth.
- Tongs: For flipping the chicken halfway through cooking. They give you better control than a spatula.
- Measuring Cups and Spoons: Accuracy matters with the honey and soy sauce ratio—eyeballing it can lead to a sauce that’s too sweet or too salty.
- Pastry Brush (optional): For basting the chicken with the glaze during cooking. A spoon works fine too, but a brush gives you more even coverage.
Personal Note: I’ve made this in a cheap baking dish from the grocery store and in my prized cast iron skillet, and honestly? Both worked beautifully. The cast iron gave the chicken a slightly crispier skin, but the flavor was identical. Don’t stress if you don’t have fancy equipment—this recipe is forgiving.
Preparation Method
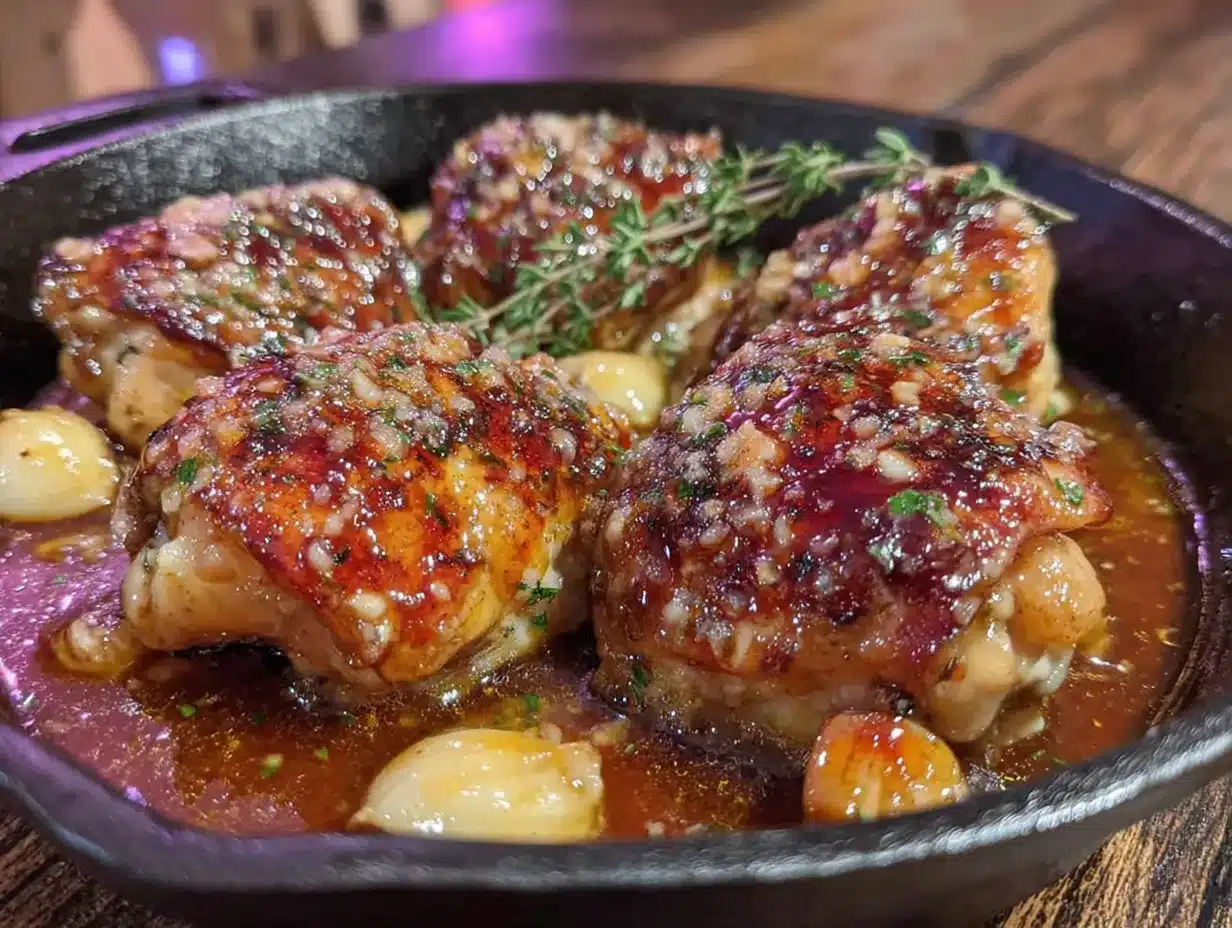
- Preheat Your Oven to 400°F (200°C). Position the rack in the middle of the oven. While it’s heating, take your chicken thighs out of the fridge and let them sit at room temperature for about 10 minutes—this helps them cook more evenly.
- Pat the Chicken Dry. Use paper towels to thoroughly dry each chicken thigh. This step is crucial for getting that crispy skin. Moisture is the enemy of browning, so don’t skip it. Season both sides generously with salt and black pepper.
- Make the Honey Garlic Sauce. In a small bowl, whisk together the honey, soy sauce, minced garlic, rice vinegar, and toasted sesame oil. Whisk until the honey is fully incorporated and the mixture looks smooth and glossy. Give it a taste—it should be sweet, salty, and slightly tangy. Adjust the honey or soy sauce to your preference.
- Arrange the Chicken in the Pan. Place the seasoned chicken thighs skin-side up in your oven-safe skillet or baking dish. Make sure they’re in a single layer with a little space between each piece—crowding them will steam the skin instead of crisping it.
- Pour the Sauce Over the Chicken. Slowly pour the honey garlic mixture over the thighs, making sure each piece gets coated. Use a brush or the back of a spoon to spread the sauce evenly over the skin. Don’t worry if some pools at the bottom—it will reduce and thicken as it cooks.
- Roast for 20 Minutes. Place the pan in the preheated oven and let it do its magic. After 20 minutes, the chicken should be starting to brown and the sauce should be bubbling around the edges. The kitchen will smell incredible at this point—that’s the garlic and sesame oil working together.
- Flip and Baste. Carefully remove the pan from the oven (use oven mitts—that handle is hot!). Using tongs, flip each chicken thigh over so the skin-side is now down in the sauce. Spoon some of the pan juices over the top. This basting step ensures the meat stays juicy while the skin gets a head start on caramelizing.
- Roast for Another 15 Minutes. Return the pan to the oven and continue roasting. The sauce will reduce further and start to thicken into a sticky glaze. You’ll know it’s ready when the chicken is golden-brown and the sauce is bubbling and syrupy.
- Flip Again and Baste. Pull the pan out one more time. Flip the chicken back to skin-side up. The skin should be beautifully bronzed and crispy. Spoon any remaining sauce from the bottom of the pan over the top. If the sauce looks too thin, don’t worry—we’ll thicken it next.
- Make the Cornstarch Slurry. In a small bowl, mix the cornstarch with 2 tablespoons of cold water until smooth. Pour this slurry into the pan juices, stirring gently to combine. Return the pan to the oven for the final 5 minutes. This step transforms the pan juices into a thick, glossy glaze that clings to every inch of the chicken.
- Rest and Garnish. Remove the pan from the oven and let the chicken rest for 5 minutes. This allows the juices to redistribute and the glaze to set. Sprinkle with sliced green onions and toasted sesame seeds. The contrast of the bright green and white against the deep amber glaze is gorgeous.
- Serve Immediately. Spoon any remaining glaze from the pan over the chicken. Serve hot, with rice or steamed vegetables to soak up every last drop of that sticky sauce.
Sensory Cue: At step 8, the sauce should be bubbling vigorously and the chicken should look lacquered, like it’s been brushed with glass. If the sauce starts to darken too quickly around the edges, your oven runs hot—just reduce the temperature by 25 degrees next time.
Cooking Tips & Techniques
I’ve made this recipe more times than I can count, and I’ve learned a few things the hard way. Here are my best tips to ensure your sticky honey garlic chicken turns out perfect every time.
- Don’t Skip the Pat-Dry Step: I know it seems fussy, but drying the chicken skin is the single most important thing you can do for crispy results. Wet skin steams instead of sears, and you’ll end up with rubbery skin instead of that crackling, caramelized crust. I once skipped this step when I was in a hurry, and the skin was sad and flabby. Never again.
- Watch the Honey: Honey burns faster than sugar because of its high fructose content. If your oven runs hot or the sauce starts to smoke, reduce the temperature to 375°F and extend the cooking time by 5-10 minutes. Your nose will tell you—if it smells like burnt caramel, it’s too late.
- Use a Meat Thermometer: Chicken thighs are forgiving, but for perfect doneness, aim for an internal temperature of 175-180°F. Dark meat is best when cooked a little past 165°F—the extra heat breaks down connective tissue and makes it fall-apart tender. I use a digital instant-read thermometer and it’s never let me down.
- Double the Sauce if You Like Extra: The glaze reduces significantly during cooking. If you’re a sauce person (I am), make 1.5 times the sauce recipe. Just be careful—the extra liquid will take longer to reduce, so you may need an additional 5-10 minutes of roasting time.
- Line Your Pan with Foil for Easy Cleanup: The sticky glaze can be a pain to scrub off. If you line your baking dish with aluminum foil before adding the chicken, cleanup becomes a two-second job. Just be careful when flipping the chicken—the foil can tear if you’re too aggressive.
My Biggest Fail: The first time I made this, I used way too much honey and ended up with a sauce that tasted like liquid candy. It was cloying and one-dimensional. That’s when I learned the importance of balance—the soy sauce and rice vinegar aren’t optional; they’re what keep the sweetness in check. Now I always taste the sauce before pouring it over the chicken and adjust if needed.
Variations & Adaptations
This recipe is incredibly versatile. Here are some of my favorite ways to change it up depending on what I’m in the mood for or what I have on hand.
- Spicy Honey Garlic Chicken: Add 1-2 teaspoons of sriracha or gochujang to the sauce before pouring it over the chicken. The heat cuts through the sweetness beautifully and adds a lovely red tint to the glaze. I love this version when I’m craving something with a kick.
- Gluten-Free Adaptation: Simply swap the soy sauce for tamari or coconut aminos. Everything else in the recipe is naturally gluten-free. I’ve tested this with coconut aminos and it’s slightly sweeter but just as delicious—just reduce the honey by a tablespoon to compensate.
- Bone-In vs. Boneless: If you’re short on time or prefer boneless thighs, reduce the cooking time to 20-25 minutes total (10 minutes, flip, 10-15 minutes more). The glaze will still caramelize beautifully, but the meat will cook faster without the bone. Just be careful not to overcook—boneless thighs dry out more quickly.
- Seasonal Twist: In the summer, I add a tablespoon of fresh grated ginger to the sauce for a bright, zesty note. In the fall, I swap the rice vinegar for apple cider vinegar and add a pinch of cinnamon—it gives the dish a warm, cozy vibe that’s perfect for cooler weather.
- Air Fryer Version: Cook the chicken in an air fryer at 375°F for 18-20 minutes, flipping halfway through and brushing with the sauce at the flip. The air fryer gives you an even crispier skin with less oil. Just make sure your air fryer basket is large enough to hold the thighs in a single layer.
Personal Favorite: I’m partial to the spicy version—there’s something about the sweet-heat combo that feels like a warm hug with a little attitude. I add a teaspoon of gochujang and a pinch of red pepper flakes, and it’s become my go-to comfort meal on cold winter nights.
Serving & Storage Suggestions
This sticky honey garlic chicken is best served hot, straight from the pan, with all that glossy glaze spooned over the top. Here’s how to make the most of it.
- Serving Temperature: Serve immediately after the 5-minute rest. The glaze is at its stickiest and most flavorful when warm. If it cools too much, the honey can become tacky and less enjoyable.
- What to Serve With It: Steamed jasmine rice is my go-to—it soaks up the extra glaze like a dream. For a low-carb option, try cauliflower rice or a simple green salad with a tangy vinaigrette. Roasted broccoli or green beans also pair beautifully, their slight bitterness cutting through the sweetness.
- Beverage Pairing: A crisp, cold lager or a dry riesling works wonders with the sweet-savory profile. For a non-alcoholic option, iced green tea with a squeeze of lemon is refreshing and complements the garlic notes.
- Storing Leftovers: Place any leftover chicken in an airtight container and refrigerate for up to 4 days. The glaze will thicken as it cools, but it will loosen up when reheated. I actually think the flavors meld even more overnight—the garlic mellows and the honey sinks deeper into the meat.
- Reheating: The best way to reheat is in a 350°F oven for 10-15 minutes, covered with foil to prevent the glaze from burning. You can also use a skillet over medium-low heat with a splash of water to loosen the sauce. Avoid the microwave—it makes the skin rubbery and the glaze can become grainy.
- Freezing: This recipe freezes surprisingly well. Place cooled chicken in a freezer-safe container or bag, and freeze for up to 3 months. Thaw overnight in the refrigerator and reheat in the oven as directed. The glaze might separate slightly, but a good stir will bring it back together.
Flavor Development Note: I’ve eaten this cold, straight from the fridge, at 2 AM, and I’m not ashamed to admit it was still incredible. The gelatinized sauce has a almost candy-like quality when cold—like a savory chicken lollipop. Don’t knock it till you try it.
Nutritional Information & Benefits
While this is definitely a comfort food dish, it does have some redeeming qualities worth noting. Here’s a rough breakdown per serving (one chicken thigh with glaze).
| Nutrient | Amount Per Serving |
|---|---|
| Calories | 380-420 |
| Protein | 28g |
| Fat | 22g |
| Saturated Fat | 6g |
| Carbohydrates | 18g |
| Sugar | 15g |
| Sodium | 680mg |
| Fiber | 0g |
Health Benefits: Chicken thighs are a great source of high-quality protein, iron, and B vitamins, which support energy metabolism and immune function. Honey contains antioxidants and has natural antibacterial properties. Garlic is known for its anti-inflammatory and heart-health benefits. While this dish is higher in sugar and sodium than a plain roasted chicken, it’s a balanced indulgence when paired with vegetables and whole grains.
Dietary Considerations: This recipe is naturally dairy-free and nut-free. For a low-sodium version, use low-sodium soy sauce and reduce the added salt. For a lower-sugar option, reduce the honey to 1/4 cup and add an extra tablespoon of rice vinegar to maintain the balance. If you’re watching your carbohydrate intake, serve with cauliflower rice instead of regular rice.
My Perspective: I don’t believe in demonizing sugar or fat in moderation. This dish is a treat, but it’s also a real meal with real nutrients. I serve it with a big side of steamed greens and feel good about the balance. Life’s too short to skip the sticky glaze.
FAQs
Can I use chicken breasts instead of thighs?
Yes, but be careful—chicken breasts cook faster and can dry out. Use boneless, skinless breasts and reduce the cooking time to 20-25 minutes total. Check for doneness at 165°F internal temperature. The glaze will still be delicious, but you’ll miss that crispy skin.
Why did my sauce burn?
Honey burns easily because of its high sugar content. If your oven runs hot or the sauce was too thick to begin with, it can scorch. Next time, reduce the oven temperature to 375°F and keep an eye on it during the last 10 minutes. You can also add a tablespoon of water to the sauce to thin it out before roasting.
Can I make this ahead of time?
Absolutely. You can assemble the dish up to 24 hours in advance—just pour the sauce over the chicken, cover, and refrigerate. When you’re ready to cook, let it sit at room temperature for 15 minutes, then roast as directed. You may need to add 5-10 minutes to the cooking time since the chicken starts cold.
Is this recipe keto-friendly?
As written, no—honey is high in carbs. But you can make a keto version by substituting the honey with a sugar-free honey alternative or using allulose syrup. Reduce the amount to 2 tablespoons and add an extra tablespoon of soy sauce for balance. The texture will be slightly different, but the flavor is still great.
How do I get the skin extra crispy?
For maximum crispiness, after the final flip, switch the oven to broil for the last 2-3 minutes. Watch it closely—the sugar in the honey can burn quickly under the broiler. You can also pat the skin dry with paper towels before seasoning and make sure the thighs are not touching in the pan.
Conclusion
This sticky honey garlic chicken thighs recipe has become a staple in my kitchen for good reason. It’s the kind of dish that feels like a special occasion but comes together with almost no effort—a rare combination that I honestly treasure. The sweet, savory, and slightly tangy glaze clings to tender, juicy chicken, and that one-pan cleanup means I get to spend more time enjoying my meal and less time scrubbing dishes. I love that you can tweak it to match your mood—spicier, sweeter, with ginger or without—and it always delivers. I genuinely hope you give this recipe a try, whether it’s for a rushed Tuesday dinner or a lazy Sunday supper. Play with the variations, make it your own, and don’t forget to spoon every last drop of that glaze over your rice. When you do, come back and let me know how it turned out. Did you add extra garlic? Did you try the spicy version? I’d love to hear about your sticky honey garlic chicken adventures. Happy cooking, friend—you’ve got this.
Pin This Recipe!
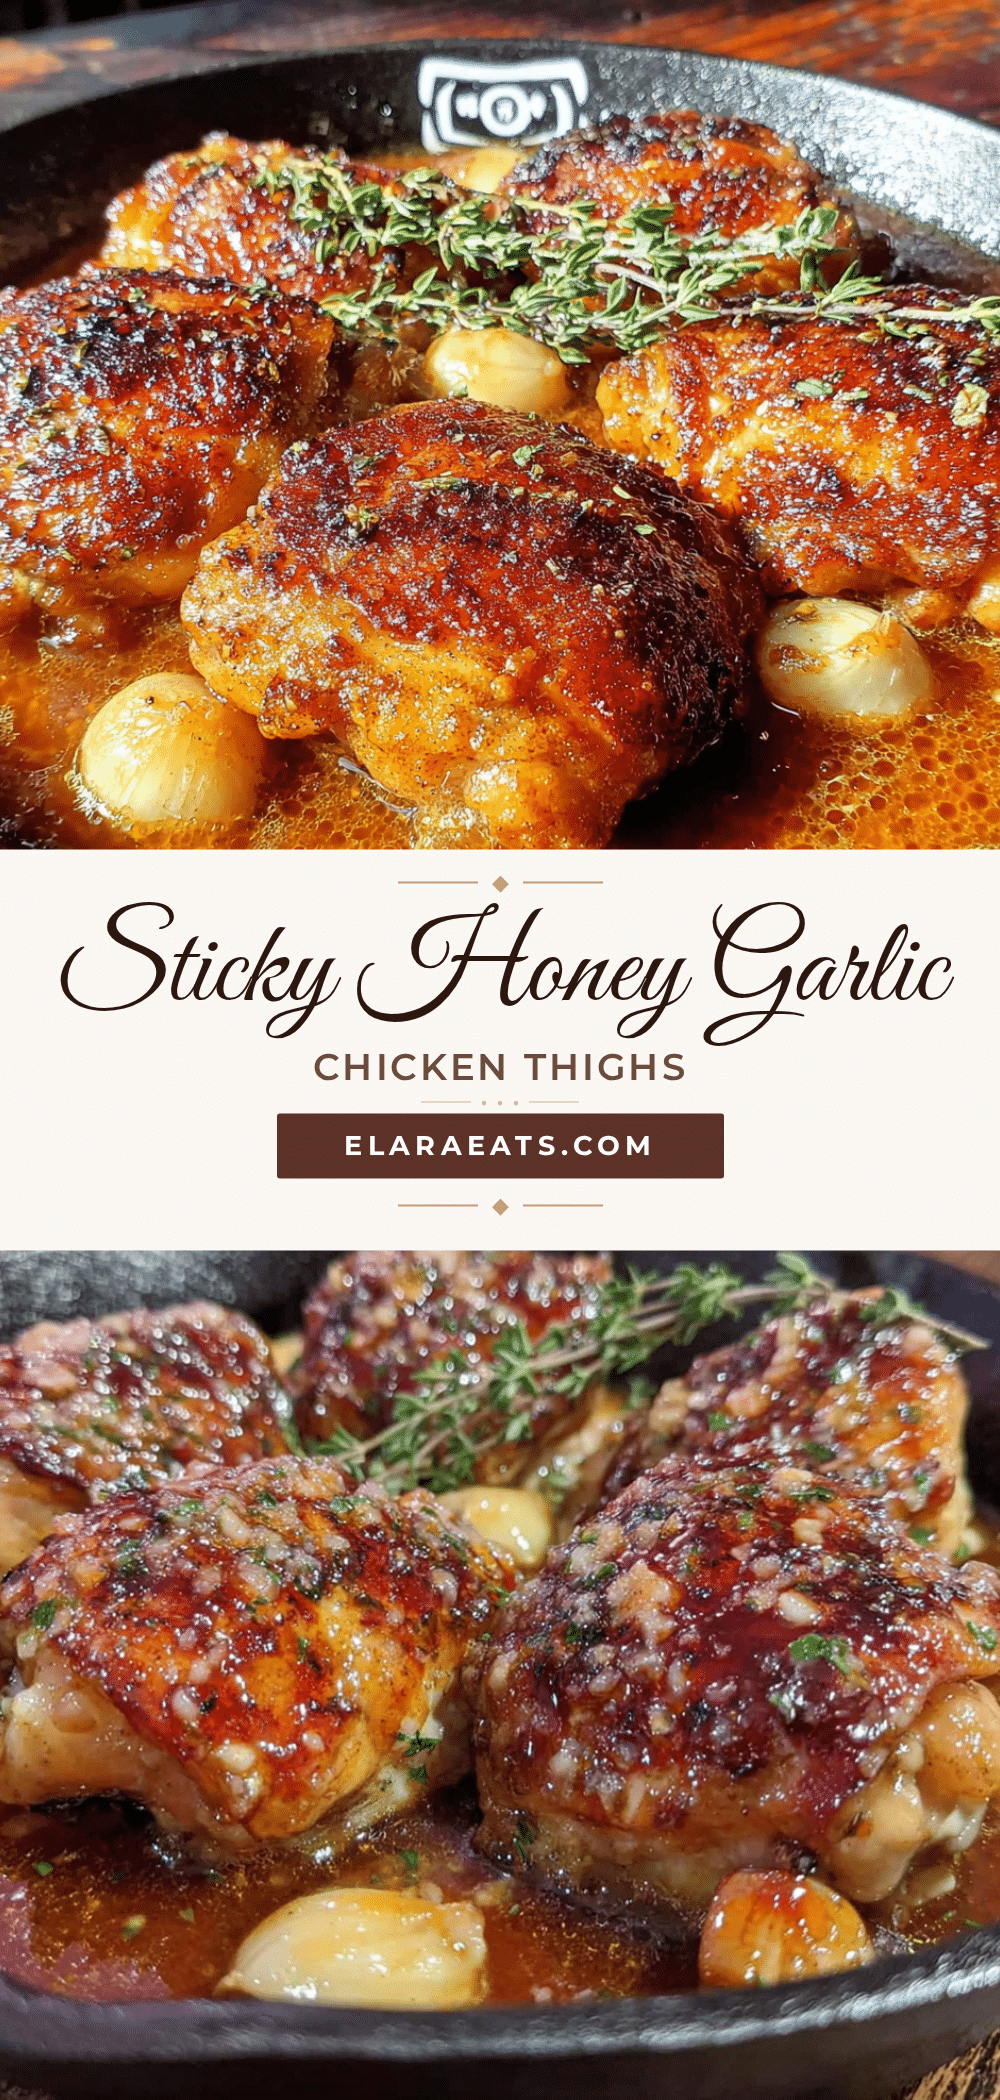
Easy Sticky Honey Garlic Chicken Thighs – One Pan Dinner

A quick and easy one-pan dinner featuring sticky honey garlic chicken thighs with a glossy, caramelized glaze. Perfect for busy weeknights, this recipe requires minimal prep and delivers maximum flavor.
- Prep Time: 5 minutes
- Cook Time: 40 minutes
- Total Time: 45 minutes
- Yield: 6 servings 1x
- Category: Main Course
- Cuisine: Asian
Ingredients
- 6 bone-in, skin-on chicken thighs (about 2 pounds)
- 1/3 cup honey, plus 1 tablespoon for drizzling
- 1/4 cup low-sodium soy sauce
- 4 large cloves garlic, minced
- 2 tablespoons rice vinegar
- 1 tablespoon toasted sesame oil
- 1 tablespoon cornstarch, mixed with 2 tablespoons cold water
- 3–4 green onions, sliced
- 1 tablespoon toasted sesame seeds
- Salt and black pepper to taste
Instructions
- Preheat your oven to 400°F (200°C). Position the rack in the middle of the oven. Let chicken thighs sit at room temperature for about 10 minutes.
- Pat the chicken dry with paper towels. Season both sides generously with salt and black pepper.
- In a small bowl, whisk together honey, soy sauce, minced garlic, rice vinegar, and toasted sesame oil until smooth.
- Place the seasoned chicken thighs skin-side up in a large oven-safe skillet or baking dish in a single layer.
- Pour the honey garlic mixture over the chicken, spreading evenly over the skin.
- Roast for 20 minutes until the chicken starts to brown and the sauce is bubbling.
- Carefully remove the pan from the oven. Flip each chicken thigh over using tongs, and spoon pan juices over the top.
- Roast for another 15 minutes.
- Remove the pan from the oven. Flip the chicken back to skin-side up. Spoon any remaining sauce over the top.
- In a small bowl, mix cornstarch with 2 tablespoons cold water until smooth. Pour the slurry into the pan juices, stirring gently. Return to the oven for the final 5 minutes.
- Remove from the oven and let rest for 5 minutes. Sprinkle with sliced green onions and toasted sesame seeds.
- Serve immediately, spooning any remaining glaze over the chicken.
Notes
For extra crispy skin, switch the oven to broil for the last 2-3 minutes after the final flip. Watch closely to prevent burning. If your oven runs hot, reduce temperature to 375°F and extend cooking time by 5-10 minutes. Double the sauce if you like extra glaze.
Nutrition
- Serving Size: 1 chicken thigh with
- Calories: 400
- Sugar: 15
- Sodium: 680
- Fat: 22
- Saturated Fat: 6
- Carbohydrates: 18
- Protein: 28
Keywords: sticky honey garlic chicken, one pan dinner, chicken thighs, easy weeknight dinner, honey garlic glaze


