Love this? Save it for later!
Share the inspiration with your friends
It was 11:47 PM on a completely unremarkable Wednesday, and I had a specific, almost aggressive craving for a warm chocolate chip cookie. Not a whole batch—that felt like too much commitment for a weeknight. I didn’t have the sticks of butter I thought I needed, but I had one lonely stick and a sudden, reckless idea that arrived from a cooking show I half-watched the night before: brown butter. I pulled out my smallest saucepan, cracked the window to let the cool air in, and decided to see what would happen. Honestly, I was tired, and the idea of browning butter felt like a small, manageable kitchen rebellion.
The process was messy. I definitely let the butter get a shade darker than I intended—almost burnt, but not quite. I spilled a little flour on the counter and used a dirty spoon to taste the dough, which I know is a baking sin, but I was too far gone to care. The apartment smelled like toasted nuts and caramel, which is a weirdly comforting scent for a late-night experiment. When I pulled the six cookies out of the oven, they were flat, a little crispy at the edges, and absolutely perfect. I ate two standing at the counter, and I knew I had accidentally stumbled onto something special.
Maybe you’ve been there—wanting a single, perfect cookie without the fuss of a full recipe. This small-batch version is my answer to that craving. It’s the kind of recipe that feels like a secret, and I keep making it because it delivers that first-bite joy without any leftovers to tempt you the next day.
Why You’ll Love This Recipe
This isn’t just another chocolate chip cookie recipe. After testing this small-batch approach over a dozen times, tweaking the brown butter temperature and the chill time, I can say with confidence that this version is a winner. It’s built on real kitchen experience, not just theory.
- Quick & Easy: From start to finish, you’re looking at about 45 minutes, including a brief chill time. Perfect for a sudden sweet tooth on a Tuesday night.
- Simple Ingredients: You likely have everything in your pantry right now. No need for a special grocery run for weird flours or obscure extracts.
- Perfect for a Small Craving: This recipe makes exactly six generous cookies. No more, no less. It’s ideal for when you want a treat without a mountain of leftovers.
- Crowd-Pleaser: The nutty, rich flavor of brown butter makes these cookies taste like you spent hours in the kitchen. Everyone who tries them asks for the recipe.
- Unbelievably Delicious: The texture is a perfect contrast—crispy, lacy edges with a soft, chewy center. The brown butter adds a depth of flavor that regular cookies just can’t match.
What makes this recipe different is the technique. Browning the butter isn’t just a fancy step; it fundamentally changes the cookie’s flavor profile, adding a toffee-like complexity. I’ve tested it with both salted and unsalted butter, and the salted version is my favorite for that extra flavor pop. This is comfort food, reimagined. It’s faster, more intentional, and gives you the same soul-soothing satisfaction of a full batch, but without the commitment.
What Ingredients You Will Need
This recipe uses simple, wholesome ingredients to deliver a bold, nutty flavor and a perfect texture. Most of these are pantry staples, which makes this the perfect last-minute treat. The star of the show is the butter, so use a good quality one.
- For the Cookies:
- Unsalted butter, 5 tablespoons (70g): This is the key ingredient. We’re browning it, so you’ll get the most flavor. I prefer using unsalted to control the salt level, but salted works in a pinch—just reduce the added salt slightly. (Use a light-colored pan to see the browning process clearly).
- Dark brown sugar, 1/2 cup (100g), packed: The molasses in brown sugar gives the cookies their chewy texture and deep caramel flavor. Pack it firmly into the measuring cup for accuracy.
- Granulated sugar, 1/4 cup (50g): This helps with spreading and creates those crispy, lacy edges we all love.
- Large egg yolk, 1: Using just the yolk adds richness and tenderness without making the dough too wet. Save the egg white for your morning omelet!
- Vanilla extract, 1 teaspoon: Use pure vanilla extract if you have it. It rounds out the nutty flavor of the brown butter beautifully.
- All-purpose flour, 3/4 cup (95g): Spoon and level your flour—don’t scoop it directly from the bag, or you might end up with dry cookies.
- Baking soda, 1/2 teaspoon: This helps the cookies spread just the right amount and gives them a little lift.
- Salt, 1/4 teaspoon: A crucial element to balance the sweetness. I use fine sea salt for the dough and a sprinkle of flaky salt on top.
- Semi-sweet chocolate chips, 1/2 cup (90g): I recommend a brand like Ghirardelli or Guittard for high-quality chocolate that melts beautifully. You can also chop up a good chocolate bar for bigger puddles of chocolate.
For substitutions, you can use coconut sugar in place of the brown sugar for a slightly different flavor, but the texture will be a bit less chewy. If you only have whole wheat flour, use 2/3 cup (85g) for a heartier cookie.
Equipment Needed
You don’t need a professional bakery setup for these cookies. A few basic tools will do the job perfectly.
- Small Light-Colored Saucepan: This is non-negotiable for browning butter. A dark pan makes it nearly impossible to see the milk solids turn that perfect golden brown. I have a cheap one from IKEA that works great.
- Medium Mixing Bowl: For combining your wet and dry ingredients.
- Whisk: For mixing the sugars and egg yolk.
- Rubber Spatula: A flexible one is best for folding in the chocolate chips and scraping down the sides of the bowl.
- Baking Sheet: A standard half-sheet pan works perfectly. No need to grease it.
- Parchment Paper or Silicone Baking Mat: This prevents sticking and helps the cookies spread evenly. I prefer parchment for the crispiest bottoms.
- Cookie Scoop (about 1.5 tablespoons): For evenly sized cookies. If you don’t have one, use two spoons.
- Cooling Rack: Essential for letting the cookies cool properly and stay crispy.
If you don’t have a cookie scoop, just eyeball it. The cookies are forgiving. A kitchen scale is helpful for measuring flour accurately, but measuring cups work fine if you spoon and level.
Preparation Method
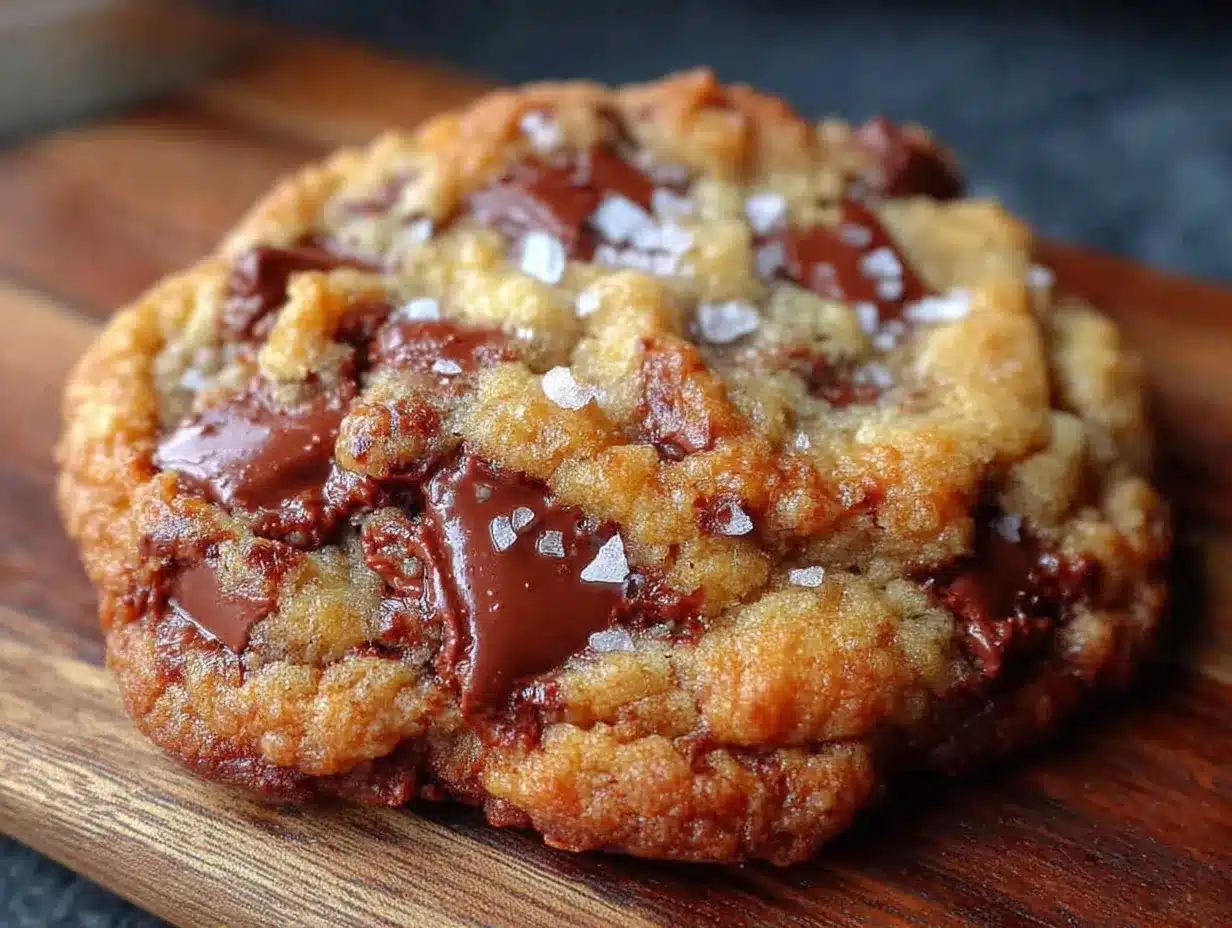
Follow these steps closely, and you’ll have perfect cookies. I’ve added some personal notes to help you avoid my mistakes.
- Brown the butter (5 minutes): Place the 5 tablespoons of butter in your small light-colored saucepan over medium heat. Stir it constantly with a rubber spatula or whisk. The butter will melt, then foam, then start to crackle and pop. After a few minutes, the foam will subside, and you’ll see little brown specks forming at the bottom of the pan. This is the milk solids toasting. Keep stirring until the butter smells nutty and is a deep amber color. It happens fast, so don’t walk away. Immediately pour the browned butter into a heatproof bowl (like your medium mixing bowl) to stop the cooking process. Let it cool for 5-10 minutes. It should be warm, not hot, so it doesn’t cook the egg yolk later.
- Mix the sugars and butter (3 minutes): Once the brown butter is cooled, add the packed dark brown sugar and granulated sugar to the bowl. Whisk them together vigorously for about 1-2 minutes. The mixture will look like wet sand and smell incredible. This step helps dissolve the sugar, leading to a chewier cookie.
- Add the egg yolk and vanilla (2 minutes): Whisk in the egg yolk and the vanilla extract. Keep whisking until the mixture is smooth, glossy, and slightly thickened. It should look like a thick caramel sauce. If it separates, just keep whisking—it will come back together.
- Combine the dry ingredients (1 minute): In a small separate bowl, whisk together the all-purpose flour, baking soda, and salt. This ensures the leavening agent is evenly distributed.
- Fold in the dry ingredients (2 minutes): Pour the flour mixture into the wet ingredients. Use your rubber spatula to fold everything together gently. Mix just until you see no more streaks of flour. Overmixing at this stage can make the cookies tough. Stop when it’s just combined.
- Add the chocolate chips (1 minute): Fold in the semi-sweet chocolate chips until they are evenly distributed throughout the dough. The dough will be thick and a little greasy—that’s normal.
- Chill the dough (30 minutes, minimum): This is the most important step. Cover the bowl with plastic wrap and place it in the refrigerator for at least 30 minutes. Chilling solidifies the brown butter and prevents the cookies from spreading too much in the oven. I’ve made the mistake of skipping this, and the cookies turned into one giant, flat puddle. Trust me on this one.
- Preheat and prepare (5 minutes): About 15 minutes before you’re ready to bake, preheat your oven to 350°F (175°C). Line your baking sheet with parchment paper or a silicone mat.
- Scoop and bake (10-12 minutes): Use your cookie scoop to portion the dough into 6 equal balls (about 1.5 tablespoons each). Place them on the prepared baking sheet, leaving about 2 inches of space between each one—they will spread. Bake for 10-12 minutes, or until the edges are golden brown and the centers are just set and still look slightly soft and pale. The tops might look a little puffy and underdone. This is perfect for a chewy center.
- Cool and enjoy (10 minutes): Let the cookies cool on the baking sheet for 5 minutes. This is crucial for them to set up. Then, transfer them to a cooling rack to cool completely. Or, if you’re like me, eat one warm after 2 minutes on the rack. Sprinkle a little flaky sea salt on top while they’re still warm for that perfect sweet-salty bite.
Cooking Tips & Techniques
These tips come from my own kitchen failures and successes. I hope they save you some burnt butter and flat cookies.
- The Butter is King: The biggest mistake people make is not browning the butter long enough. You’re looking for a deep amber color and a nutty aroma. If it just smells like melted butter, keep going. It should smell like toasted hazelnuts.
- Don’t Skip the Chill: I know it’s tempting to rush, but the 30-minute chill is non-negotiable for the perfect texture. I once tried to bake them after only 10 minutes of chilling, and they spread into sad, greasy discs. The cold dough ensures a thick, chewy center and crispy edges.
- Watch the Oven: All ovens are different. Start checking your cookies at the 10-minute mark. You want the edges to be golden, but the center should still look a little soft and puffy. They will continue to bake on the hot baking sheet after you pull them out.
- Use a Cookie Scoop: This is my favorite tip for consistent results. A scoop ensures all your cookies are the same size, so they bake evenly. No more burnt edges on the small ones and raw centers on the big ones.
- Room Temperature Egg Yolk: Cold egg yolk can seize the brown butter. Let your egg sit out for 15 minutes before starting, or place it in a bowl of warm water for 5 minutes.
Variations & Adaptations
This recipe is a great base for experimentation. Here are a few ways I’ve adapted it when the mood strikes.
- Gluten-Free Option: Substitute the all-purpose flour with a 1:1 gluten-free baking flour blend that contains xanthan gum. I’ve used Bob’s Red Mill brand with great success. The texture will be slightly more tender, but the flavor is still amazing.
- Double Chocolate Chip: Replace 1 tablespoon of the all-purpose flour with 1 tablespoon of unsweetened cocoa powder. Fold in white chocolate chips or dark chocolate chunks for a rich, decadent twist. It’s my go-to when I want something extra indulgent.
- Add-In Variations: Once you’ve folded in the chocolate chips, feel free to add 1/4 cup of chopped toasted pecans or walnuts for crunch. Or, fold in 1/4 cup of shredded coconut for a tropical vibe. I once added a pinch of cinnamon and cayenne pepper for a spicy-sweet kick, and it was surprisingly good.
- Sea Salt Finish: This is not a variation, it’s a requirement. A sprinkle of flaky sea salt (like Maldon) on the warm cookies right out of the oven enhances the sweetness and the nuttiness of the brown butter. It makes the cookie taste more complex.
Serving & Storage Suggestions
These cookies are best enjoyed warm from the oven, but they are still excellent the next day.
Serving: Serve them slightly warm with a cold glass of milk or a scoop of vanilla bean ice cream for an amazing dessert. For a more elegant presentation, arrange 2-3 cookies on a small plate with a dusting of powdered sugar. They are also perfect for packing in a lunchbox or enjoying as a late-night treat straight from the cookie jar.
Storage: Store any leftover cookies in an airtight container at room temperature. They will stay soft and chewy for up to 3 days. The flavor of the brown butter actually deepens overnight, making day-old cookies a hidden gem. To bring back that fresh-from-the-oven texture, microwave a single cookie for 10-15 seconds.
Freezing: You can freeze the unbaked dough balls. Scoop them onto a parchment-lined baking sheet and freeze until solid (about 1 hour). Then, transfer the frozen dough balls to a freezer-safe bag. You can bake them directly from frozen, adding 2-3 minutes to the baking time. This is my favorite trick for having a single perfect cookie whenever the craving hits.
Nutritional Information & Benefits
These are not health cookies, but they are made with real, recognizable ingredients. Here is an approximate nutritional breakdown per cookie (based on 6 cookies).
- Calories: ~280
- Fat: 16g
- Saturated Fat: 10g
- Carbohydrates: 34g
- Sugar: 22g
- Protein: 3g
- Fiber: 1g
Health Benefits: While this is a treat, the brown butter provides a small amount of Vitamin A. Using dark brown sugar adds a touch of molasses, which contains small amounts of minerals like calcium and iron. The dark chocolate chips are a source of antioxidants. This recipe is also free of artificial flavors and preservatives. If you are looking for a lower-sugar option, you can reduce the granulated sugar to 2 tablespoons, but the texture will be slightly less crispy.
Dietary Considerations: This recipe contains gluten, dairy, and eggs. It can be adapted for a gluten-free diet as noted above. For a dairy-free version, you can try using a plant-based butter, but the browning process will be different and may not produce the same nutty flavor.
Conclusion
This small-batch brown butter chocolate chip cookie recipe is more than just a dessert—it’s a small, deliberate act of self-care. It proves that you don’t need a huge batch or a lot of time to create something truly special. The nutty, rich flavor of the brown butter combined with the perfect chewy-crispy texture makes these cookies absolutely unforgettable.
I encourage you to make them your own. Try the double chocolate version, add some toasted nuts, or just stick to the original—you really can’t go wrong. I love this recipe because it feels like a little secret I get to share. It’s the one I turn to when I need a guaranteed win in the kitchen.
I’d love to hear how your cookies turn out! Did you try any fun variations? Let me know in the comments below. And if you loved this recipe, please share it with a friend who deserves a perfect cookie moment.
Frequently Asked Questions (FAQs)
Can I use salted butter instead of unsalted?
Yes, you can. Just reduce the added salt in the dough to a pinch, and skip the flaky salt finish unless you really love salt. The browning process works the same way.
Why did my cookies spread too much?
This usually happens for two reasons: the dough wasn’t chilled long enough, or the butter was too warm when you mixed it. Make sure to chill the dough for a full 30 minutes. Also, ensure your brown butter has cooled to warm, not hot, before adding the sugars.
Can I double this recipe?
Absolutely! This recipe scales up perfectly. Just double all the ingredients. You might need to brown the butter in two batches to avoid burning it, as it’s harder to monitor the color with a larger volume.
My cookies came out too cakey. What went wrong?
Cakey cookies are usually caused by too much flour or overmixing. Make sure you are spooning and leveling your flour, not scooping it. Also, mix the dough only until the flour disappears. Overdeveloping the gluten can make the cookies puff up instead of spread.
Can I make the dough ahead of time?
Yes! You can make the dough and chill it in the bowl for up to 48 hours. The flavor will actually improve. When you’re ready to bake, let it sit at room temperature for 10 minutes to soften slightly before scooping.
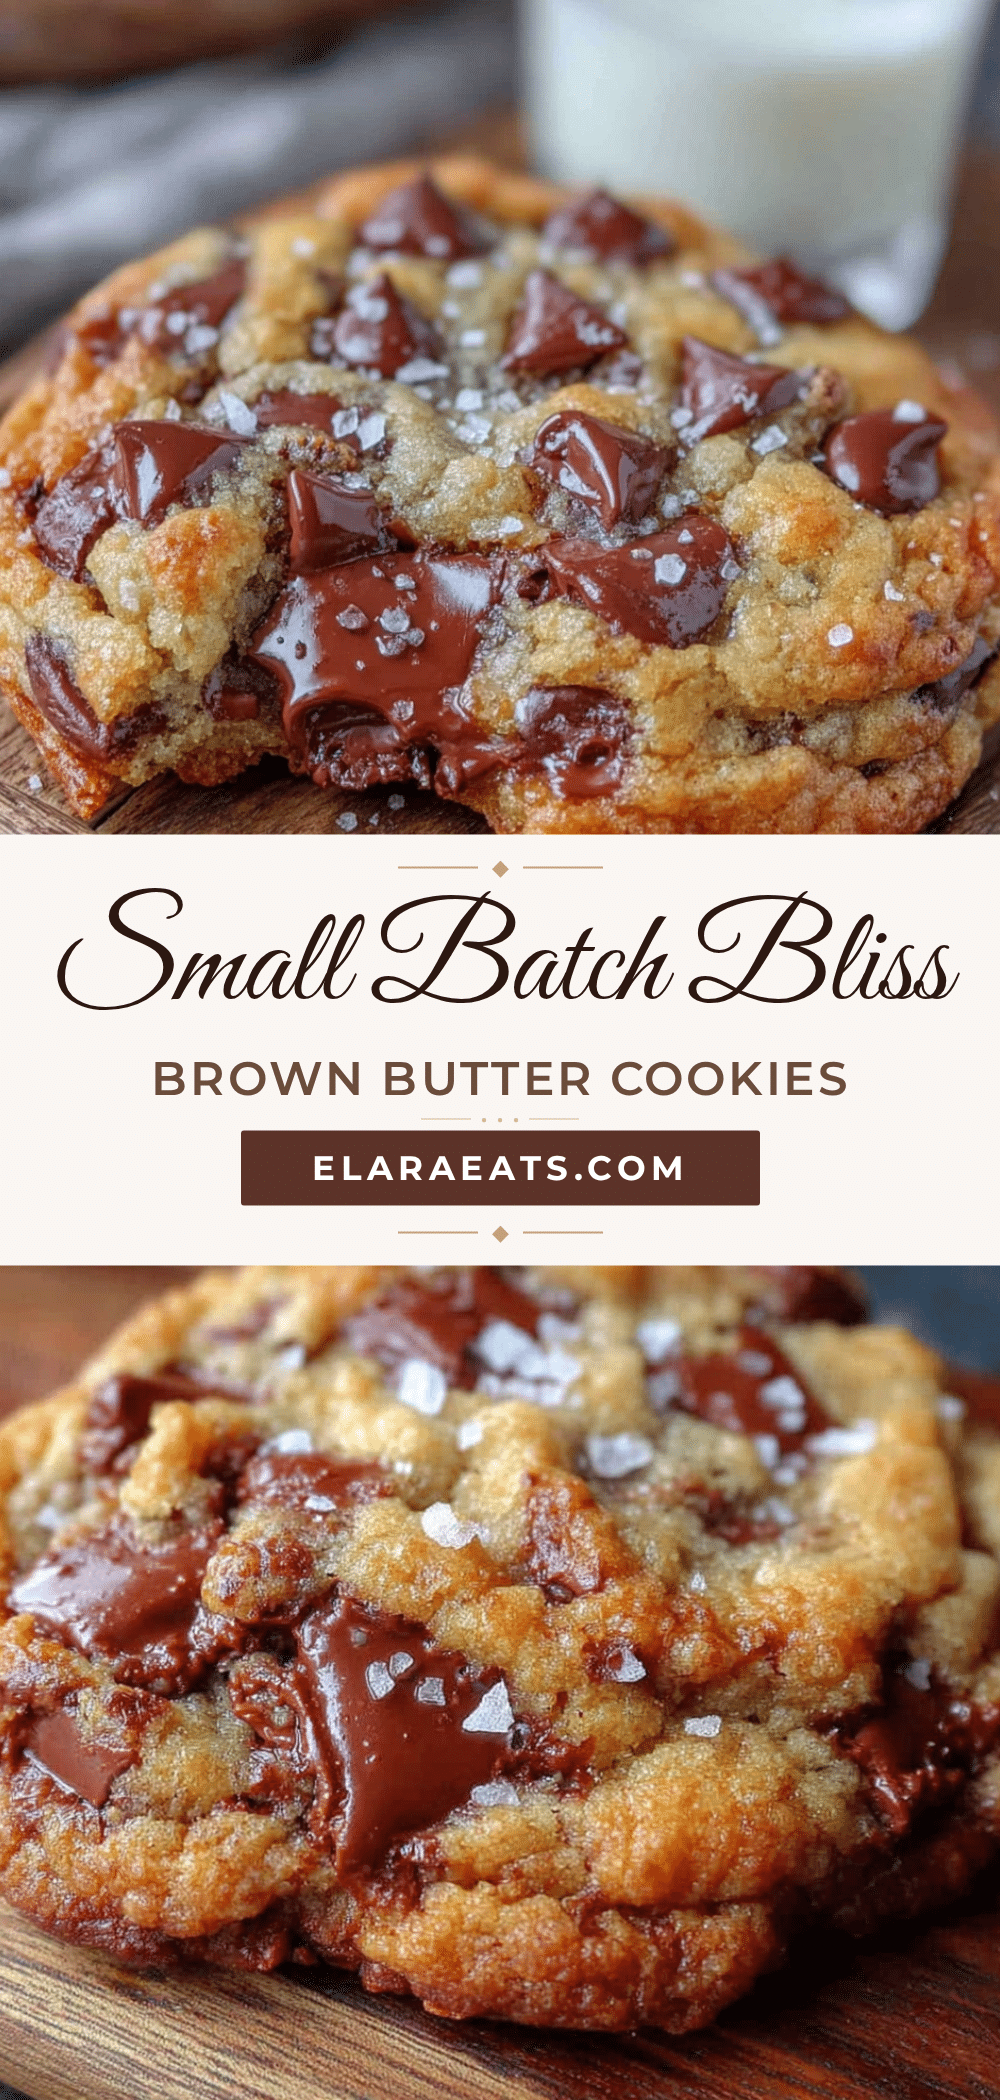
Pin This Recipe!
Perfect Small-Batch Brown Butter Chocolate Chip Cookies
This small-batch recipe makes exactly six generous cookies with nutty, rich brown butter flavor and a perfect chewy-crispy texture. It’s ideal for a sudden sweet tooth without the commitment of a full batch.
- Prep Time: 15 minutes
- Cook Time: 12 minutes
- Total Time: 45 minutes
- Yield: 6 cookies 1x
- Category: Dessert
- Cuisine: American
Ingredients
- 5 tablespoons (70g) unsalted butter
- 1/2 cup (100g) dark brown sugar, packed
- 1/4 cup (50g) granulated sugar
- 1 large egg yolk
- 1 teaspoon vanilla extract
- 3/4 cup (95g) all-purpose flour
- 1/2 teaspoon baking soda
- 1/4 teaspoon salt
- 1/2 cup (90g) semi-sweet chocolate chips
Instructions
- Brown the butter: Place 5 tablespoons of butter in a small light-colored saucepan over medium heat. Stir constantly until the butter melts, foams, and then the foam subsides, revealing brown specks at the bottom. When it smells nutty and is a deep amber color, immediately pour into a heatproof bowl. Let cool for 5-10 minutes until warm, not hot.
- Mix the sugars and butter: Add the packed dark brown sugar and granulated sugar to the cooled brown butter. Whisk vigorously for 1-2 minutes until the mixture looks like wet sand.
- Add the egg yolk and vanilla: Whisk in the egg yolk and vanilla extract until smooth, glossy, and slightly thickened, about 2 minutes.
- Combine the dry ingredients: In a small bowl, whisk together the flour, baking soda, and salt.
- Fold in the dry ingredients: Pour the flour mixture into the wet ingredients. Use a rubber spatula to fold gently until no streaks of flour remain. Do not overmix.
- Add the chocolate chips: Fold in the chocolate chips until evenly distributed. The dough will be thick and slightly greasy.
- Chill the dough: Cover the bowl with plastic wrap and refrigerate for at least 30 minutes.
- Preheat and prepare: About 15 minutes before baking, preheat oven to 350°F (175°C). Line a baking sheet with parchment paper or a silicone mat.
- Scoop and bake: Use a cookie scoop (about 1.5 tablespoons) to portion the dough into 6 equal balls. Place them on the prepared baking sheet, leaving 2 inches of space between each. Bake for 10-12 minutes, until edges are golden brown and centers are just set and still look slightly soft and pale.
- Cool and enjoy: Let cookies cool on the baking sheet for 5 minutes, then transfer to a cooling rack. Sprinkle with flaky sea salt while warm if desired.
Notes
Chilling the dough for at least 30 minutes is crucial to prevent spreading. Use a light-colored pan to monitor the browning of the butter. For best results, use room temperature egg yolk. Sprinkle flaky sea salt on warm cookies for a sweet-salty finish.
Nutrition
- Serving Size: 1 cookie
- Calories: 280
- Sugar: 22
- Sodium: 150
- Fat: 16
- Saturated Fat: 10
- Carbohydrates: 34
- Fiber: 1
- Protein: 3
Keywords: small-batch cookies, brown butter chocolate chip cookies, easy cookie recipe, quick dessert, late-night snack


