Love this? Save it for later!
Share the inspiration with your friends
Introduction
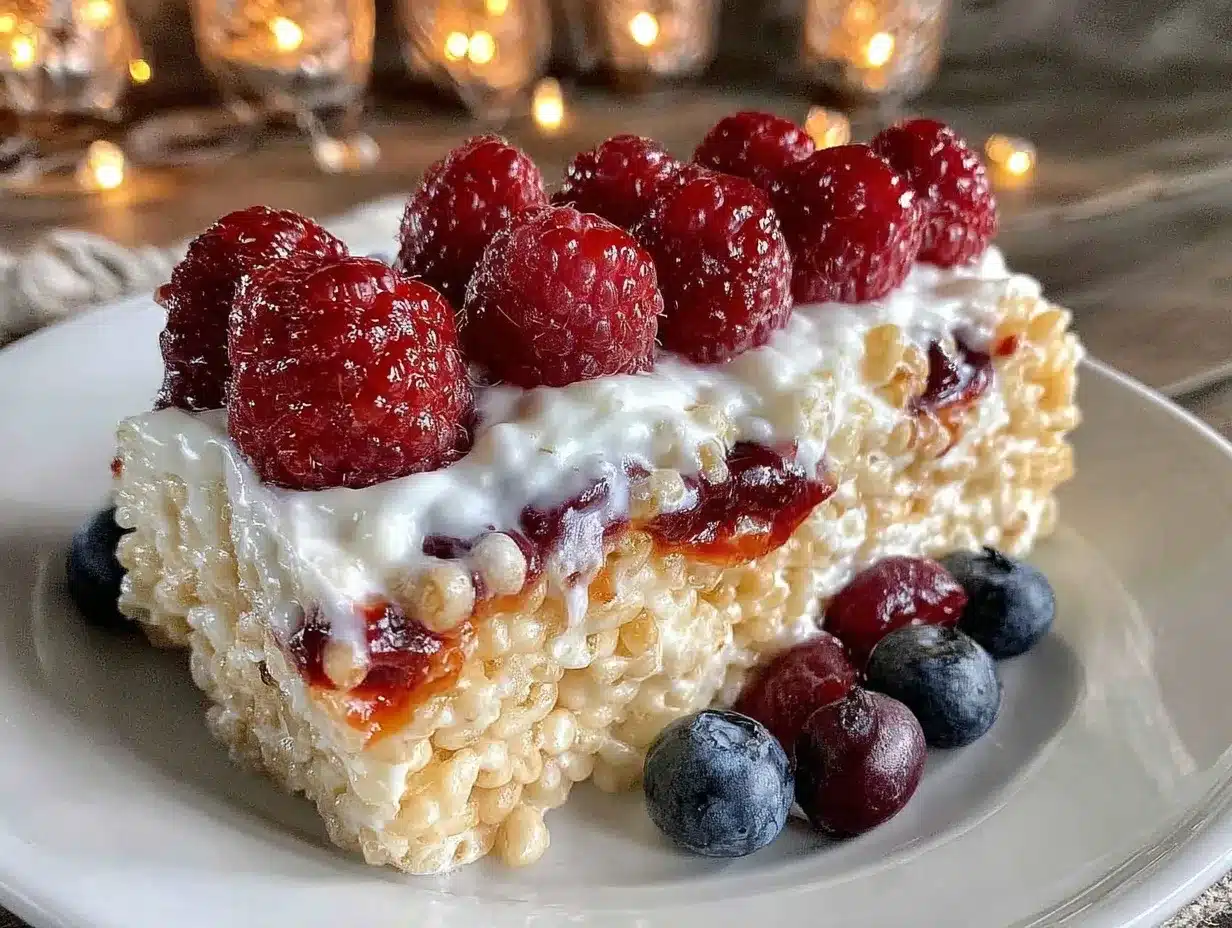
“I wasn’t expecting a craft project to turn into a dessert sensation,” my neighbor Lisa chuckled as she handed me a plate of these charming little flags. It was the summer of last July, and I had dropped by for a quick chat, only to find her kitchen table covered in red, white, and blue marshmallows, cereal, and star-shaped cookie cutters. You know that feeling when something super simple just works so well? That was this easy no-heat Rice Krispie flag recipe for kids. Honestly, I thought it was just a fun idea for the neighborhood block party, but after one bite, I realized it was going to be a staple in my own celebrations.
Let me tell you, this isn’t your average messy, sticky, marshmallow treat. Lisa had figured out a way to keep it all neat and kid-friendly — and best of all, no stovetop fuss. The kids loved getting involved, and even the adults couldn’t resist sneaking a few. Maybe you’ve been there, trying to keep the little ones busy while prepping for a holiday, and this recipe is exactly that kind of lifesaver.
Plus, there was this funny moment when her youngest knocked over the bowl of marshmallows, scattering them everywhere, and instead of stress, it just added to the fun chaos of the afternoon. This easy no-heat Rice Krispie flag recipe stuck with me because it’s simple, festive, and just the right amount of sweet, making it perfect for any summer party or classroom event.
Why You’ll Love This Recipe
This easy no-heat Rice Krispie flag recipe is one I’ve tested with my own crew more times than I can count. It’s quick, fun, and practically foolproof.
- Quick & Easy: Comes together in under 20 minutes — perfect for last-minute holiday prep or an afternoon activity with kids.
- Simple Ingredients: Uses pantry staples like rice cereal, marshmallows, and basic candies, so no need for fancy store runs.
- Perfect for 4th of July: The red, white, and blue theme makes it ideal for patriotic celebrations or any summer gathering.
- Crowd-Pleaser: Kids get excited about assembling their own flags, and adults love how nostalgic and tasty the treat is.
- Unbelievably Delicious: The crunchy cereal paired with the chewy marshmallow and bursts of fruit flavor from candies hits all the right notes.
What makes this recipe stand out is the no-heat method. Instead of melting marshmallows on the stove, it uses a simple marshmallow fluff technique that keeps the kitchen cooler and the process safer for kids. Plus, assembling the flags becomes part of the fun — a creative twist that turns dessert into a hands-on experience. Honestly, it’s the kind of recipe that makes you close your eyes after the first bite because it tastes like childhood, summer, and fireworks all rolled into one.
What Ingredients You Will Need
This easy no-heat Rice Krispie flag recipe uses simple, wholesome ingredients to deliver that classic crunch and marshmallow gooeyness — all while keeping it festive and fun. Most of these are pantry staples, and the candy colors really bring it to life.
- Rice Krispies cereal (6 cups; about 150 grams): The crunchy base for your flags.
- Marshmallow fluff (1 cup; about 240 ml): The no-heat sticky binder that’s kid-friendly and mess-friendly.
- Unsalted butter (3 tablespoons; 42 grams), softened: Adds richness and helps bind.
- Red and blue mini marshmallows (1 cup total; about 140 grams): For the stripes and stars — I like the brand Jet-Puffed for consistency.
- White mini marshmallows (1 cup; 140 grams): For the stripes and base color.
- Blueberries (1/2 cup; 75 grams, optional): Fresh, for the star field if you want a natural touch.
- Red licorice strings or red candy-coated chocolates (1/2 cup; about 60 grams): For bold red stripes; you can swap with strawberry licorice.
- Vanilla extract (1 teaspoon; 5 ml): To deepen the flavor of the marshmallow mixture.
- Cooking spray or parchment paper: For prepping your tray — I prefer parchment because it peels easily.
For substitutions, you could swap rice cereal with gluten-free puffed rice to suit dietary needs, or use dairy-free butter and marshmallow fluff if you want a vegan version. The candy toppings can be customized with whatever red and blue treats your kids like — gummy stars or colored sprinkles work too.
Equipment Needed
- Large mixing bowl: To mix the cereal and marshmallow fluff; a big one makes it easier not to spill over.
- Rubber spatula or wooden spoon: For folding the ingredients together — I’ve found rubber spatulas are best for scraping every bit.
- 9×13-inch baking pan or similar-sized tray: To press the mixture evenly; lined with parchment paper for easy removal.
- Measuring cups and spoons: For accuracy; even though it’s forgiving, measuring helps consistency.
- Star-shaped cookie cutter: Optional, if you want to cut out stars for decoration instead of using candies.
- Sharp knife: For cutting the flag shapes once set.
If you don’t have a cookie cutter, no worries — I sometimes freehand the stars or just use candy pieces. Also, a silicone spatula cleans up easily after sticky marshmallow mixing, which is a small win in my book. For budget-friendly options, you can use an old baking dish or even a rimmed tray lined with foil if parchment is scarce.
Preparation Method
- Prepare your pan: Line your 9×13-inch baking pan with parchment paper, allowing some overhang on the sides for easy lifting later. Lightly spray or butter the parchment so nothing sticks. (5 minutes)
- Mix the marshmallow base: In a large bowl, combine the softened butter and marshmallow fluff. Add the vanilla extract and stir well until smooth and creamy. This mix is the glue that holds your flag together, so take your time getting it even. (3 minutes)
- Fold in the Rice Krispies: Add the 6 cups (150 grams) of Rice Krispies cereal to the bowl. Gently fold with a spatula until all cereal is coated with the marshmallow mixture. Be careful not to crush the cereal; you want that nice crunch. (3-4 minutes)
- Transfer to pan and press: Pour the mixture into the prepared pan. Using a buttered spatula or clean hands, press the mixture evenly and firmly into the pan, about 1-inch (2.5 cm) thick. This sets the base for your flag. (5 minutes)
- Add the flag decorations: Time for the fun part! Arrange red and white mini marshmallows in stripes across the flag. Use blueberries or blue mini marshmallows to create the star field in the top-left corner. Red licorice strings or candies make perfect bold stripes. Be creative with your patterns! (10-15 minutes)
- Chill to set: Place the pan in the fridge for at least 30 minutes to firm up. This helps the flag hold its shape when you cut it. (30 minutes)
- Cut and serve: Use a sharp knife to cut the flag into rectangular pieces. Serve chilled or at room temperature. Store leftovers in an airtight container. (5 minutes)
A quick tip: if your marshmallow fluff feels too sticky, a tiny splash of warm water can soften it slightly for easier mixing. Also, pressing firmly into the pan is key to avoid crumbly edges. I sometimes pull out a little from the fridge mid-way to press again — it helps keep the layers tight.
Cooking Tips & Techniques
Working with marshmallow fluff instead of melted marshmallows is a neat trick I picked up from Lisa that changes the whole game. It’s safer, less messy, and perfect for kids to join in. No hot stove means no stress about burns or sticky fingers near burners.
One common mistake is not pressing the mixture firmly enough; this leads to crumbly flags that fall apart easily. Pressing down evenly and firmly is your best friend here.
I’ve learned that chilling the flag for at least 30 minutes is a must — it makes cutting cleaner and the pieces hold together better. If you try to cut too soon, you’ll get those sad, misshapen squares that crumble.
Timing-wise, get the decorations ready before mixing so you can move quickly once the base is set. Multitasking like this helps the marshmallow fluff stay workable without drying out.
For consistency, I always use fresh marshmallow fluff and avoid expired cereal (nobody likes soggy treats). Also, a light coating of butter on your spatula prevents sticking when pressing the mixture.
Variations & Adaptations
Here are a few ways to switch things up with this easy no-heat Rice Krispie flag recipe, so it fits your kids’ tastes or dietary needs:
- Gluten-Free: Swap Rice Krispies for a certified gluten-free puffed rice cereal. You keep the texture without issues.
- Vegan Version: Use vegan marshmallow fluff and plant-based butter alternatives. Just be sure to check candy toppings for gelatin or dairy.
- Flavor Boost: Add a teaspoon of almond or coconut extract to the marshmallow base for a subtle twist. I tried coconut once, and it gave a lovely tropical vibe that surprised everyone.
- Seasonal Swap: For other holidays, change the color scheme. Think green and red for Christmas or orange and black for Halloween.
- Texture Variation: Mix in mini chocolate chips or chopped nuts for a little crunch contrast. Just a handful will do, or it gets messy.
One time, I tried swapping out blueberries for star-shaped white chocolate pieces. It was a big hit at my niece’s classroom party — a sweet surprise that made those little flags extra special.
Serving & Storage Suggestions
Serve these flags chilled or at room temperature. They’re perfect finger food for kids, and the bright colors make them a festive centerpiece. I like to arrange them on a large platter with some fresh fruit nearby for a balanced spread.
They pair well with lemonade or iced tea — something refreshing to balance the sweetness.
Store leftovers in an airtight container at room temperature for up to 2 days, or refrigerate for up to a week. If you refrigerate, bring them to room temp before serving for better chewiness.
For freezing, wrap individual pieces tightly in plastic wrap and place in a freezer-safe bag. Thaw in the fridge overnight before enjoying.
As they sit, the flags tend to soften slightly, which some folks love for that nostalgic Rice Krispies treat texture. Just remember, avoid humid conditions or they might get sticky.
Nutritional Information & Benefits
This easy no-heat Rice Krispie flag recipe is a fun treat rather than a health food, but it’s made with simple ingredients you likely trust. Here’s a rough breakdown per serving (assuming 12 servings):
- Calories: ~150-180
- Total Fat: 4-6 grams (mostly from butter)
- Sugar: 15-20 grams
- Protein: 1-2 grams
- Gluten-Free option available with the right cereal
While it’s a sugary treat, the recipe avoids artificial dyes by relying on natural candy colors or fresh fruit for decoration. Using fresh blueberries adds antioxidants and a bit of fiber, which is a nice bonus. For kids, it’s an occasional celebration snack that brings smiles and hands-on fun, which I think counts for something.
Conclusion
If you’re looking for a cheerful, no-fuss recipe that kids can help make and proudly show off, this easy no-heat Rice Krispie flag is a winner. The way it combines simple ingredients with hands-on assembly makes it a memorable activity and a tasty treat all in one.
Feel free to tweak the decorations or swap ingredients to fit your household’s tastes and dietary needs. I keep coming back to this recipe because it’s just pure joy on a plate — simple, sweet, and bursting with summertime spirit.
Give it a try for your next holiday or party, and I’d love to hear how your flags turn out or what fun twists you add. Happy cooking and happy celebrating!
FAQs about Easy No-Heat Rice Krispie Flag Recipe
Can I make this recipe without marshmallow fluff?
You can try substituting with melted marshmallows and butter on low heat, but it won’t be no-heat anymore. The fluff keeps it simple and safe, especially for kids.
How long will these Rice Krispie flags stay fresh?
Stored in an airtight container at room temperature, they last about 2 days. Refrigerate for up to a week, but bring to room temp before serving.
Can I prepare these flags ahead of time?
Absolutely! Make them a day ahead and refrigerate. They hold up well and make party prep easier.
What if I don’t have red and blue mini marshmallows?
Use red licorice, colored candies, or fresh berries like strawberries and blueberries to keep the patriotic colors.
Is this recipe safe for young kids to help with?
Yes! Since there’s no heat involved, kids can safely mix and decorate with minimal supervision. Just watch the sticky marshmallow parts.
For those interested in other kid-friendly treats, you might enjoy my No-Bake Chocolate Oat Bars or the ever-popular Homemade Peanut Butter Bites — both simple, quick, and loved by little hands and big appetites alike.
Pin This Recipe!
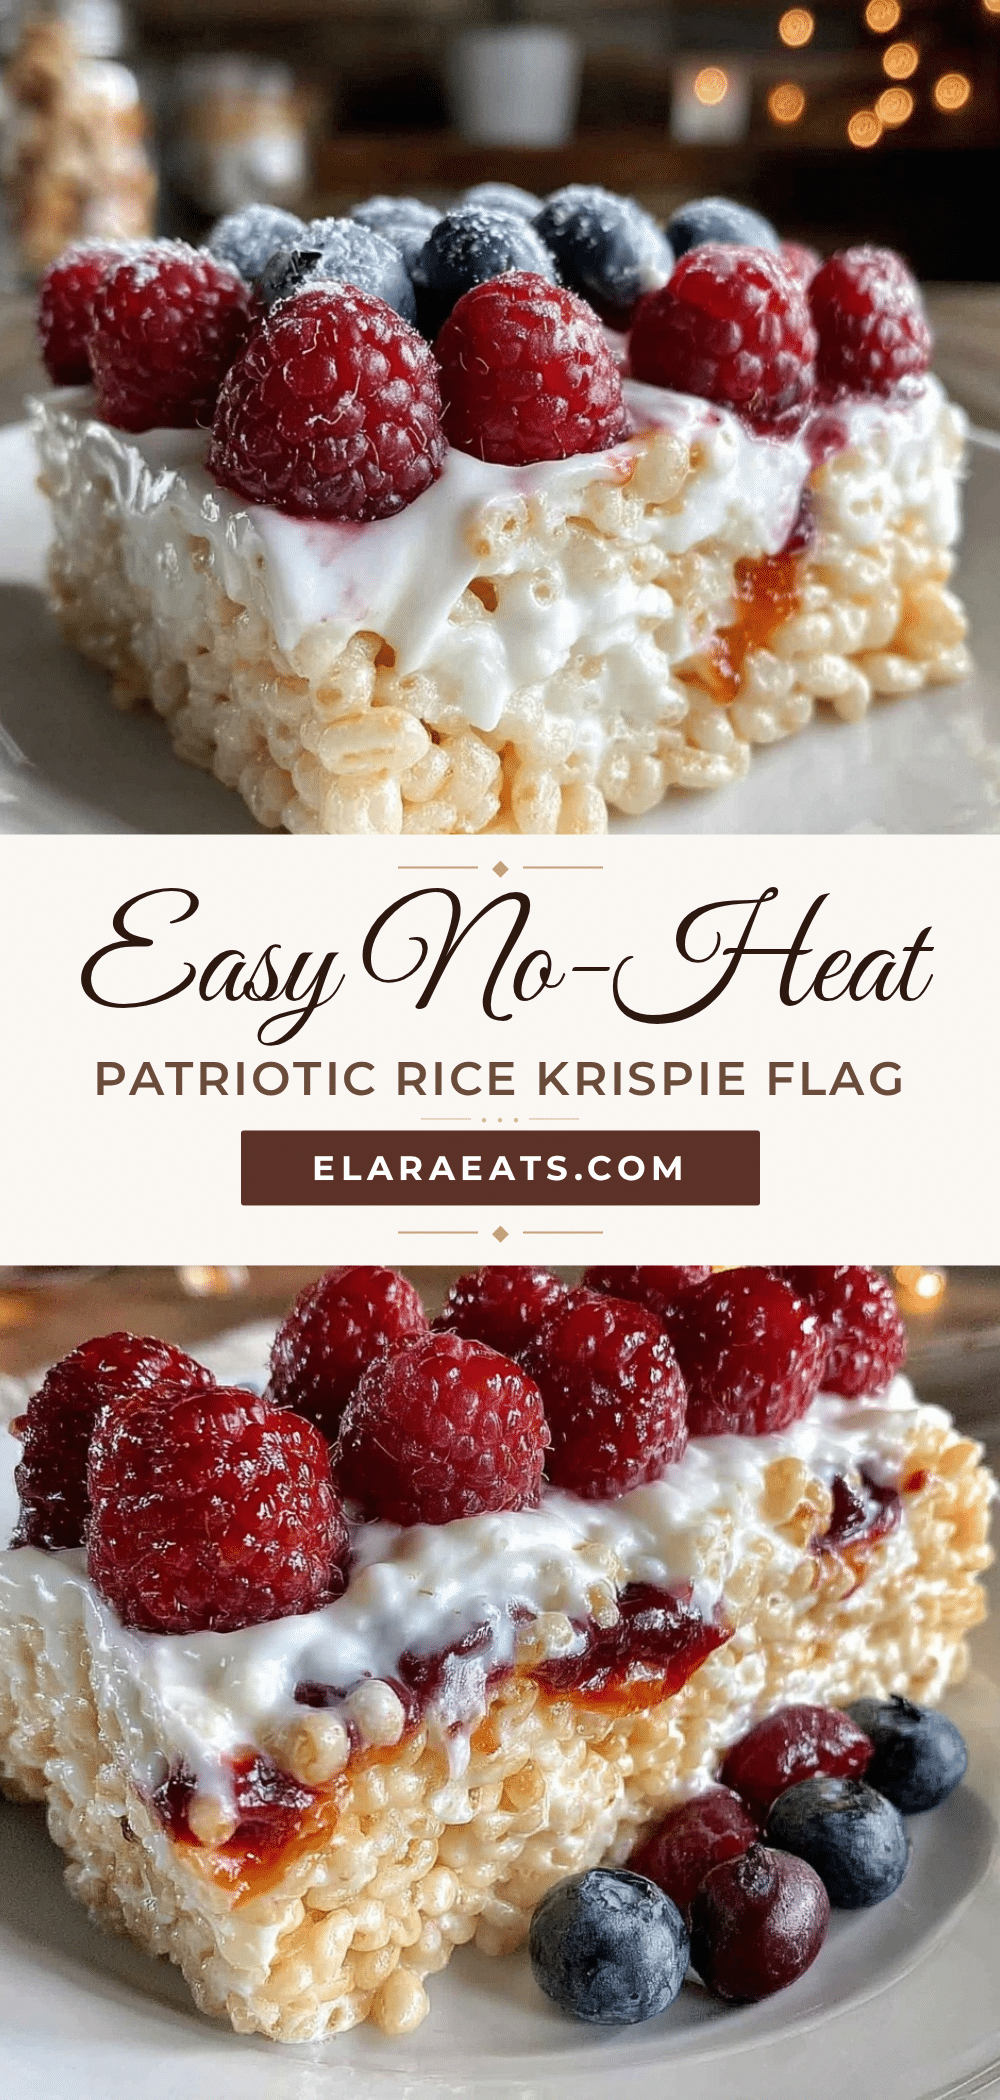
Easy No-Heat Rice Krispie Flag Recipe Perfect for Kids 4th of July Treats
A simple, no-heat Rice Krispie treat recipe decorated as a patriotic flag, perfect for kids and festive summer celebrations. This fun and easy dessert uses marshmallow fluff and colorful candies for a hands-on activity and tasty treat.
- Prep Time: 15 minutes
- Cook Time: 0 minutes
- Total Time: 45 minutes
- Yield: 12 servings 1x
- Category: Dessert
- Cuisine: American
Ingredients
- 6 cups Rice Krispies cereal (about 150 grams)
- 1 cup marshmallow fluff (about 240 ml)
- 3 tablespoons unsalted butter, softened (42 grams)
- 1 cup red and blue mini marshmallows (about 140 grams)
- 1 cup white mini marshmallows (about 140 grams)
- 1/2 cup blueberries, fresh (75 grams, optional)
- 1/2 cup red licorice strings or red candy-coated chocolates (about 60 grams)
- 1 teaspoon vanilla extract (5 ml)
- Cooking spray or parchment paper for prepping the tray
Instructions
- Line a 9×13-inch baking pan with parchment paper, allowing some overhang on the sides for easy lifting. Lightly spray or butter the parchment to prevent sticking. (5 minutes)
- In a large mixing bowl, combine the softened butter and marshmallow fluff. Add vanilla extract and stir until smooth and creamy. (3 minutes)
- Add the Rice Krispies cereal to the bowl and gently fold with a spatula until all cereal is coated with the marshmallow mixture, being careful not to crush the cereal. (3-4 minutes)
- Pour the mixture into the prepared pan. Using a buttered spatula or clean hands, press the mixture evenly and firmly into the pan about 1 inch thick. (5 minutes)
- Decorate the top by arranging red and white mini marshmallows in stripes, and use blueberries or blue mini marshmallows to create the star field in the top-left corner. Add red licorice strings or candies for bold red stripes. (10-15 minutes)
- Place the pan in the refrigerator for at least 30 minutes to firm up. (30 minutes)
- Use a sharp knife to cut the flag into rectangular pieces. Serve chilled or at room temperature. Store leftovers in an airtight container. (5 minutes)
Notes
If marshmallow fluff feels too sticky, add a tiny splash of warm water to soften it for easier mixing. Press the mixture firmly into the pan to avoid crumbly edges. Chill for at least 30 minutes before cutting for best results. Decorations can be customized with different candies or fresh fruit. For vegan or gluten-free versions, substitute ingredients accordingly.
Nutrition
- Serving Size: One rectangular piec
- Calories: 165
- Sugar: 18
- Sodium: 90
- Fat: 5
- Saturated Fat: 3
- Carbohydrates: 30
- Fiber: 1
- Protein: 2
Keywords: Rice Krispie treats, no-heat dessert, kids recipe, 4th of July, patriotic dessert, marshmallow fluff, easy summer treat


