Love this? Save it for later!
Share the inspiration with your friends
“You know that feeling when the summer heat just won’t quit, and you’re scrambling through your freezer for anything cold and refreshing? Well, one blazing July afternoon, I found myself exactly there—except all I had were some leftover coconut milk cartons and a handful of berries from the farmer’s market. Honestly, I wasn’t aiming for anything fancy, just something to cool off my sticky hands after gardening. But as I started layering vibrant red strawberries, creamy white coconut, and juicy blueberries into popsicle molds, I had this moment of pure kitchen bliss. The colors reminded me instantly of those childhood Fourth of July celebrations, but this time, it was dairy-free, guilt-free, and surprisingly addictive.
Let me tell you, these Refreshing Dairy-Free Red White Blue Coconut Popsicles quickly became my go-to summer treat—not just because they’re easy on the tummy, but because they bring a little patriotic joy with every bite. Maybe you’ve been there, juggling dietary restrictions or just hunting for a homemade dessert that beats the store-bought sugar bombs. This recipe is exactly that kind of win, combining wholesome coconut cream with fresh fruit and a splash of natural sweetness.
There was one tiny hiccup when I forgot to tighten the mold lids while rushing outside to greet a neighbor. Popsicle juice dripped everywhere, but hey—that’s kitchen life, right? Still, the flavors held strong, and the popsicles set perfectly. I keep making them every summer since, and honestly, they bring a smile to anyone’s face, whether you’re dairy-free or just looking for a fresh twist on classic summer popsicles.
Why You’ll Love This Recipe
After countless trials and a few messy popsicle spills, this recipe stands out as a summer staple. I’ve tested this in my kitchen with family and friends, and it’s always a hit—whether you’re hosting a backyard barbecue or just need a quick cool-down snack.
- Quick & Easy: Comes together in under 20 minutes, making it perfect for last-minute summer cravings or busy afternoons.
- Simple Ingredients: No complicated or hard-to-find items here. You likely have most of these in your pantry or fridge already.
- Perfect for Summer Celebrations: The patriotic red, white, and blue presentation is ideal for holidays, pool parties, or casual weekend treats.
- Crowd-Pleaser: Kids and adults alike devour these without hesitation, even those who usually avoid dairy-free options.
- Unbelievably Delicious: The creamy coconut base pairs beautifully with the natural sweetness and tartness of fresh fruit—this combo makes every bite feel like a mini celebration.
What makes this recipe different? Well, I blend the coconut milk just right to get that silky smooth texture without any gritty bits. Plus, the layering technique is simple but creates a stunning, vibrant popsicle that tastes as good as it looks. This isn’t just another coconut popsicle—it’s the version I keep coming back to because it hits all the right notes: refreshing, creamy, and colorful.
Honestly, if you’re after a treat that’s both nostalgic and a little adventurous, these popsicles fit the bill. They’re comfort food in a frozen form, just without the heaviness. Whether you want to impress guests without sweating over the stove or just want a healthy snack to beat the heat, these popsicles have got you covered.
What Ingredients You Will Need
This recipe uses simple, wholesome ingredients to deliver bold flavor and satisfying texture without the fuss. Most of the items are pantry staples or fresh produce you can easily swap out depending on the season or availability.
- Coconut Milk: 2 cups (480 ml) full-fat canned coconut milk (I prefer Chaokoh for its creamy consistency)
- Maple Syrup: 2 tablespoons (30 ml) for natural sweetness (feel free to swap with agave nectar or honey if not strictly vegan)
- Fresh Strawberries: 1 cup (about 150 g), hulled and sliced (adds vibrant red color and tart flavor)
- Fresh Blueberries: 1 cup (about 150 g), washed and drained (the perfect pop of blue with antioxidants!)
- Lemon Juice: 1 tablespoon (15 ml), freshly squeezed (brightens the fruit layers)
- Vanilla Extract: 1 teaspoon (5 ml) (optional, but adds a lovely depth to the coconut base)
- Pinch of Sea Salt: Just a tiny sprinkle to balance the sweetness
Substitution tips: For a nut-free version, stick with canned coconut milk. If you want a lighter popsicle, mix coconut milk with almond or oat milk. During berry off-seasons, frozen berries work great—just thaw and drain excess liquid before layering.
Equipment Needed
- Popsicle Molds: Essential for shaping your red white blue popsicles. I’ve found silicone molds easiest for releasing without breaking, but plastic ones work too.
- Blender or Food Processor: To puree the coconut milk and fruit smoothly. A high-speed blender like a Vitamix is ideal, but any blender will do.
- Mixing Bowls: A couple of medium-sized bowls for mixing different layers separately.
- Spoons or Small Ladles: For layering the popsicle molds precisely.
- Measuring Cups and Spoons: Accuracy matters here to keep flavors balanced.
If you don’t have dedicated popsicle molds, small paper cups with wooden sticks work as a budget-friendly alternative. Just cover the top tightly with foil to hold sticks in place while freezing. Also, keep your blender blades sharp and clean for smooth purees—trust me, a dull blade will leave you with grainy textures.
Preparation Method
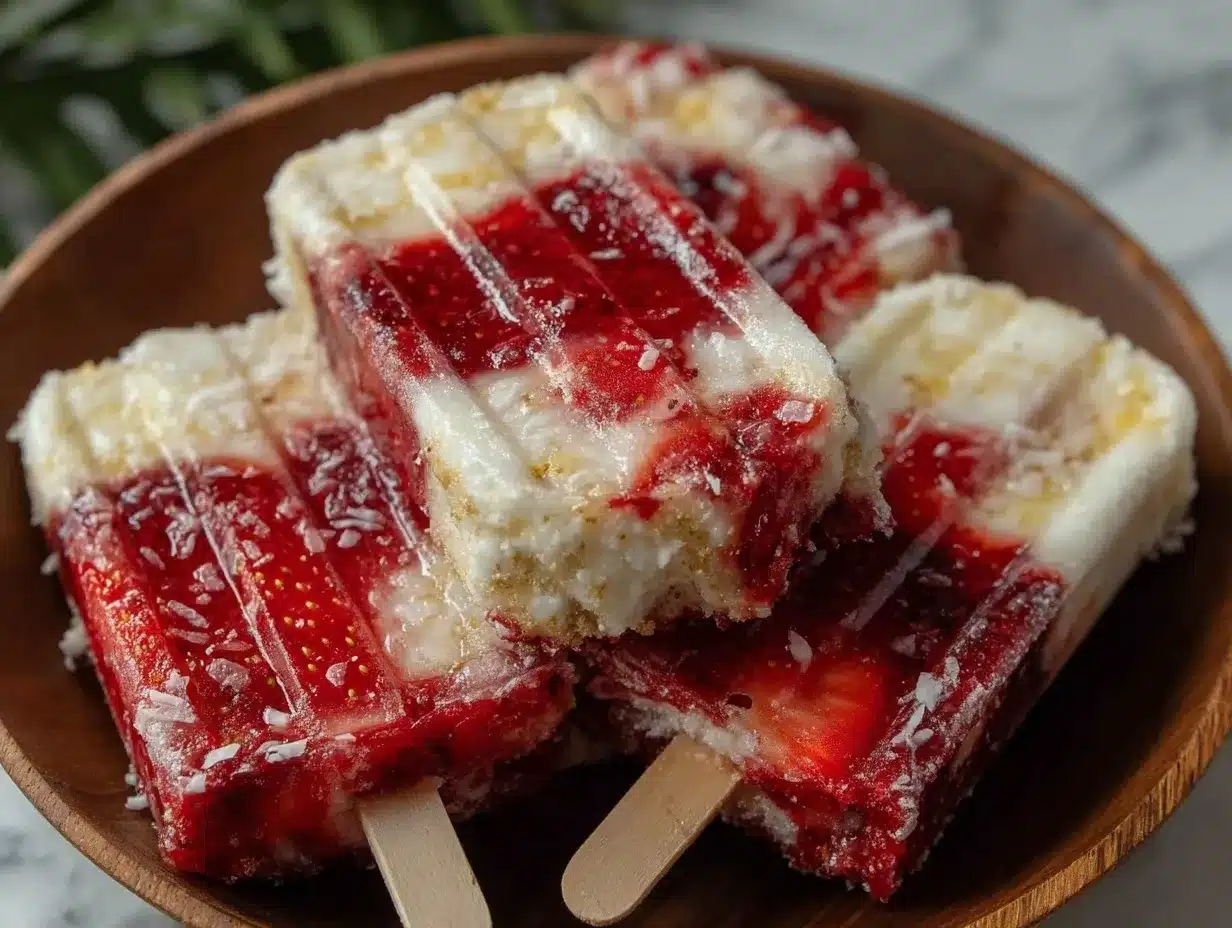
- Prepare the Red Layer: In a blender, combine the sliced strawberries with half a tablespoon (7 ml) of lemon juice and 1 tablespoon (15 ml) of maple syrup. Blend until smooth but still slightly textured for a natural feel. Taste and adjust sweetness if needed. Pour about one-third of this mixture into your popsicle molds, filling each about one-third full. Freeze for 30-40 minutes until firm but not completely solid.
- Make the White Coconut Layer: Rinse out your blender. Pour in the canned coconut milk, vanilla extract, a pinch of sea salt, and 1 tablespoon (15 ml) of maple syrup. Blend briefly to mix. Pour gently over the frozen red layer, filling the molds to two-thirds full. Freeze again for 40-50 minutes until set but still slightly soft.
- Prepare the Blue Layer: Blend the blueberries with the remaining lemon juice and 1 tablespoon (15 ml) of maple syrup until smooth. Pour the blue layer over the coconut layer, filling the molds to the top. Insert popsicle sticks, pressing gently. Freeze for at least 4 hours, preferably overnight, until fully set.
- Remove and Serve: To unmold, run warm water briefly over the outside of the molds (be careful not to let water seep inside). Gently pull the popsicles free. Serve immediately or store in an airtight container in the freezer for up to 2 weeks.
Pro tip: For neater layers, let each layer freeze until firm but not rock solid. This helps the next layer stick well without mixing colors. Also, layering slowly and using a small ladle makes the process less messy.
Cooking Tips & Techniques
One of my biggest lessons making these coconut popsicles was patience—rushing the layering leads to color bleed and a messy look. You’ll want to pay attention to the timing between layers but don’t stress if the edges mix a bit; it adds character!
When blending coconut milk, always give the can a good shake before opening. Sometimes the cream separates, and you want that rich layer incorporated for creamy popsicles.
Avoid over-blending the fruit to keep small bits for texture—it feels more homemade and less like store-bought gelato.
For consistent sweetness, taste each layer before freezing. Some berries are naturally tart, and you might want to add a little more maple syrup or lemon juice accordingly.
Finally, if your popsicles stick to the molds, warming the outside under running water briefly softens them enough to pop out cleanly without breaking.
Variations & Adaptations
- Vegan & Nut-Free: Stick to canned coconut milk and pure maple syrup. Avoid any non-vegan sweeteners.
- Low-Sugar Version: Use unsweetened coconut milk and reduce maple syrup by half. Add natural sweetness with a splash of orange juice or ripe bananas blended into the fruit layers.
- Different Fruit Combos: Swap strawberries for raspberries or watermelon, and blueberries for blackberries or purple grapes. In summer, fresh peaches or mangoes also make excellent white or red layers.
- Alcohol-Infused Treats: For adults, add a tablespoon of rum or vodka to the coconut layer for a boozy twist—but keep popsicles for daytime enjoyment!
- Personal Favorite: I once tried adding a pinch of ground ginger to the coconut layer for a subtle spicy kick—unexpected but delightful!
Serving & Storage Suggestions
Serve these popsicles chilled straight from the freezer for the ultimate refreshing effect. They look wonderful on a platter lined with fresh berries and mint sprigs, making them a festive centerpiece for summer parties.
They pair wonderfully with light summer salads or even alongside a slice of lemon olive oil cake for a complete summer dessert spread.
Store leftover popsicles in an airtight container or freezer bag to avoid freezer burn. They keep well for up to two weeks but are best enjoyed fresh for maximum creaminess.
When reheating isn’t really an option here, but if they get too hard, just let them sit at room temperature for 5 minutes before serving to soften slightly.
Interestingly, the flavors mellow and blend a bit the longer they freeze, which can be a nice surprise if you make them a day ahead.
Nutritional Information & Benefits
Each popsicle is approximately 120 calories, with healthy fats coming from the coconut milk and natural sugars from the fresh fruit and maple syrup.
This treat is dairy-free, gluten-free, and vegan-friendly, making it accessible to many dietary needs.
Coconut milk provides medium-chain triglycerides (MCTs) that support energy, while berries offer antioxidants and vitamins C and K.
Keep in mind that while naturally sweetened, these popsicles still contain sugars, so moderation is key.
From my perspective, these popsicles are a guilt-free way to cool off and get a little nutrition, too—perfect for those summer afternoons when you want something light but satisfying.
Conclusion
These Refreshing Dairy-Free Red White Blue Coconut Popsicles aren’t just a pretty patriotic snack—they’re a simple, delicious way to beat the heat with wholesome ingredients you can feel good about. Whether you customize the fruit, adjust sweetness, or stick to the classic recipe, they’re forgiving, fun, and always refreshing.
I keep coming back to this recipe because it reminds me of warm afternoons, unexpected kitchen experiments, and sharing easy treats with friends—and I’m sure once you try them, you’ll feel the same.
Give these popsicles a whirl, and please drop a comment sharing your tweaks or stories. I love hearing how recipes take on new life in your kitchens!
Here’s to cool, creamy bites of summer joy—enjoy every last lick.
FAQs
Can I make these popsicles without a blender?
You can, but the texture won’t be as smooth. Mashing the fruit well with a fork and whisking the coconut milk thoroughly can work in a pinch.
How long do the popsicles last in the freezer?
They stay good for up to two weeks when stored in an airtight container, but they taste best within the first five days for optimal creaminess.
Can I use light coconut milk instead of full-fat?
Light coconut milk will freeze more icy and less creamy, so full-fat is recommended for the best texture and flavor.
Are these popsicles safe for kids?
Absolutely! They’re made with all-natural ingredients and no added artificial colors or preservatives, making them a kid-friendly summer snack.
What if I don’t have popsicle molds?
Small paper cups and wooden sticks make a great substitute. Just cover the cups tightly with foil to hold sticks upright while freezing.
Pin This Recipe!
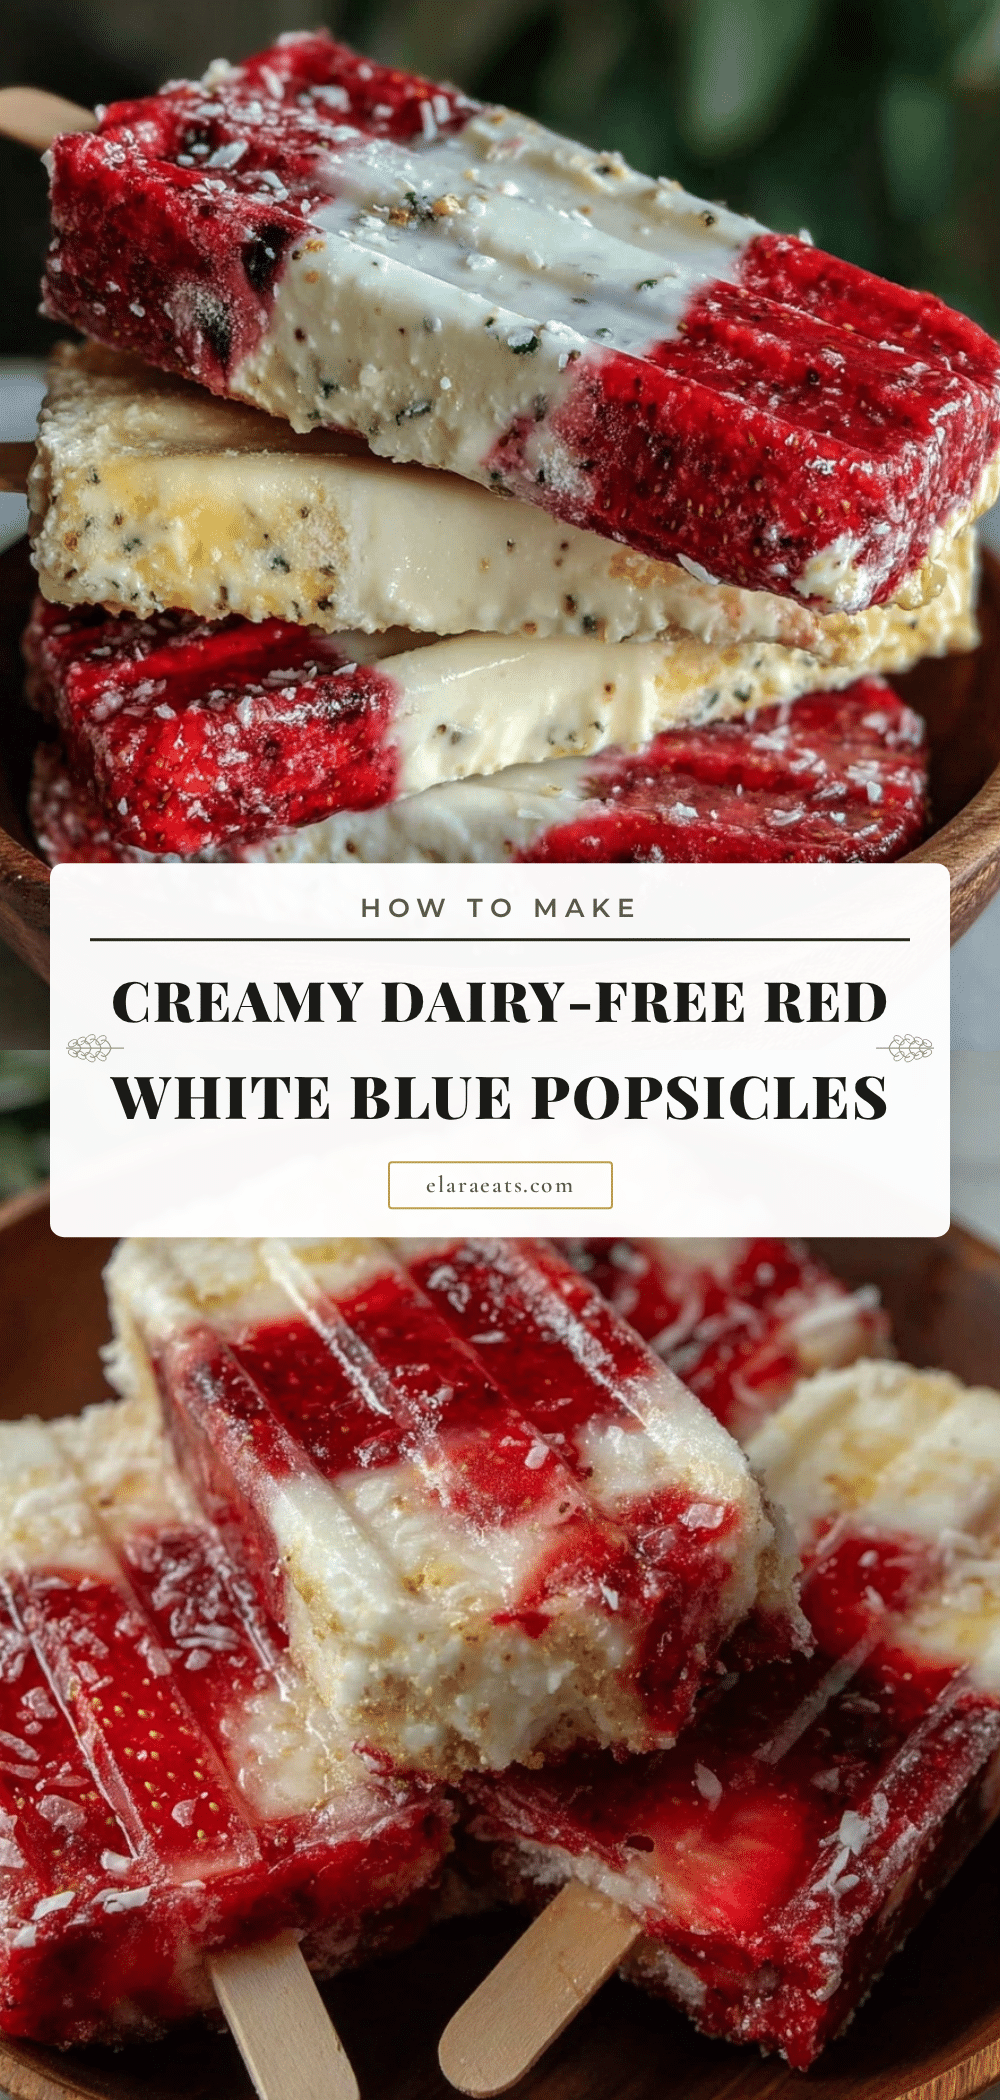
Refreshing Dairy-Free Red White Blue Coconut Popsicles
These easy, dairy-free popsicles combine creamy coconut milk with fresh strawberries and blueberries for a colorful, refreshing summer treat that’s perfect for all ages and dietary needs.
- Prep Time: 15 minutes
- Cook Time: 5 hours
- Total Time: 5 hours 15 minutes
- Yield: 8 popsicles 1x
- Category: Dessert
- Cuisine: American
Ingredients
- 2 cups (480 ml) full-fat canned coconut milk
- 2 tablespoons (30 ml) maple syrup
- 1 cup (about 150 g) fresh strawberries, hulled and sliced
- 1 cup (about 150 g) fresh blueberries, washed and drained
- 1 tablespoon (15 ml) freshly squeezed lemon juice
- 1 teaspoon (5 ml) vanilla extract (optional)
- Pinch of sea salt
Instructions
- Prepare the Red Layer: In a blender, combine sliced strawberries with 0.5 tablespoon (7 ml) lemon juice and 1 tablespoon (15 ml) maple syrup. Blend until smooth but slightly textured. Pour about one-third of this mixture into popsicle molds, filling each about one-third full. Freeze for 30-40 minutes until firm but not solid.
- Make the White Coconut Layer: Rinse blender. Pour in canned coconut milk, vanilla extract, pinch of sea salt, and 1 tablespoon (15 ml) maple syrup. Blend briefly to mix. Pour gently over frozen red layer, filling molds to two-thirds full. Freeze for 40-50 minutes until set but slightly soft.
- Prepare the Blue Layer: Blend blueberries with remaining lemon juice and 1 tablespoon (15 ml) maple syrup until smooth. Pour over coconut layer, filling molds to the top. Insert popsicle sticks gently. Freeze for at least 4 hours or overnight until fully set.
- Remove and Serve: Run warm water briefly over mold exteriors to loosen. Gently pull popsicles free. Serve immediately or store in airtight container in freezer up to 2 weeks.
Notes
For neater layers, freeze each layer until firm but not rock solid before adding the next. Use silicone molds for easier removal. If popsicles stick, warm mold exterior briefly under running water. Frozen berries can be used if fresh are unavailable; thaw and drain excess liquid before use. For a lighter popsicle, mix coconut milk with almond or oat milk. Adjust sweetness by tasting each layer before freezing.
Nutrition
- Serving Size: 1 popsicle
- Calories: 120
- Sugar: 9
- Sodium: 30
- Fat: 9
- Saturated Fat: 8
- Carbohydrates: 12
- Fiber: 2
- Protein: 1
Keywords: dairy-free, vegan, popsicles, summer treat, coconut milk, strawberries, blueberries, healthy dessert, gluten-free


