Love this? Save it for later!
Share the inspiration with your friends
My neighbor, Mrs. Gable, watched me struggling to tape a fake spiderweb to my front door without it collapsing into a sad, sticky heap. She didn’t say anything at first. Then she disappeared into her house and came back holding two clear plastic cups filled with something that looked like actual dirt, complete with a little tombstone poking out. “For the party tonight,” she said, handing me one. “It’s just pudding and cookies, but it gets ’em every time.” That was the moment I learned that the best Halloween desserts aren’t the ones that look fancy—they’re the ones that make people laugh and grab a second spoon. Her version was simple, but I’ve been tweaking it ever since, and honestly, these Graveyard Dirt Cake Cups have become my non-negotiable contribution to every spooky gathering. Let me tell you, there’s something magical about watching a grown adult’s face light up when they dig into a cup of “dirt.” I’ve made a few messes along the way—like the time I forgot the cream cheese and ended up with a soupy disaster—but that’s how you learn. This recipe is the gold standard now, and I’m pretty sure Mrs. Gable would approve.
Why You’ll Love This Recipe
I’ve tested this recipe at least a dozen times, tweaking the ratios and chilling times until it was just right. It’s been family-approved at three different Halloween parties and a neighborhood potluck, and not a single person has walked away without asking for the recipe. Here’s why it works so well:
- Quick & Easy: You can have these assembled in about 20 minutes. The hardest part is waiting for them to chill.
- Simple Ingredients: No weird specialty items. You probably have most of this in your pantry right now.
- Perfect for Parties: They’re individual servings, so no slicing or scooping. Guests just grab one and go.
- Crowd-Pleaser: Kids love the gimmick, and adults love the creamy, chocolatey flavor. It’s a win-win.
- Unbelievably Delicious: The texture is what gets me—smooth, rich pudding layered with crunchy cookie “dirt.” It’s comfort food in a cup.
What sets this recipe apart is the cream cheese layer. Most versions skip it, but that tangy, creamy middle is what makes these taste like a real dessert instead of just chocolate pudding. It’s the kind of recipe that makes you close your eyes after the first bite—seriously.
What Ingredients You Will Need
This recipe uses simple, pantry-friendly ingredients to create a dessert that looks complicated but isn’t. The magic is in the layers and the playful presentation.
- 1 (3.9 oz) package instant chocolate pudding mix (I use Jell-O brand for the best texture)
- 2 cups cold milk (whole milk gives the richest result, but 2% works fine)
- 1 (8 oz) block cream cheese, softened (full-fat is key here—low-fat can make the layer grainy)
- 1/2 cup unsalted butter, softened
- 1 cup powdered sugar
- 1 teaspoon vanilla extract
- 1 (16 oz) package chocolate sandwich cookies (like Oreos—about 36 cookies)
- 1 (8 oz) container frozen whipped topping, thawed (like Cool Whip)
- Gummy worms, for decoration (about 12 worms)
- Chocolate wafer cookies or candy pumpkins, for tombstones (I use Milano cookies or small chocolate bars with names piped on)
For the pudding, make sure you get the instant kind, not the cook-and-serve. The texture is totally different. I’ve tried both, and instant is the way to go for that smooth, mousse-like consistency. For the cookies, regular Oreos are perfect, but if you want a darker “dirt,” go with the double-stuffed ones—the extra filling adds a subtle sweetness. Also, let your cream cheese sit out for at least 30 minutes before you start. Cold cream cheese makes lumps, and nobody wants lumps in their graveyard.
Equipment Needed
You don’t need anything fancy for this recipe, which is part of its charm. Here’s what you’ll need:
- 12 small clear plastic cups or glass jars (I use 7-ounce cups from the party store—they’re cheap and disposable)
- Electric hand mixer or stand mixer (for the cream cheese layer)
- Food processor or a zip-top bag and rolling pin (for crushing the cookies)
- Medium mixing bowls (two or three)
- Whisk
- Spatula
- Measuring cups and spoons
If you don’t have a food processor, don’t sweat it. Just put the cookies in a zip-top bag, seal it, and go to town with a rolling pin. It’s a little more work, but it’s also a great way to get out any pre-party jitters. I’ve also used a blender in a pinch, but you have to be careful not to overdo it or you’ll end up with cookie dust. A few small chunks are actually nice—they mimic real dirt better than a fine powder.
Preparation Method
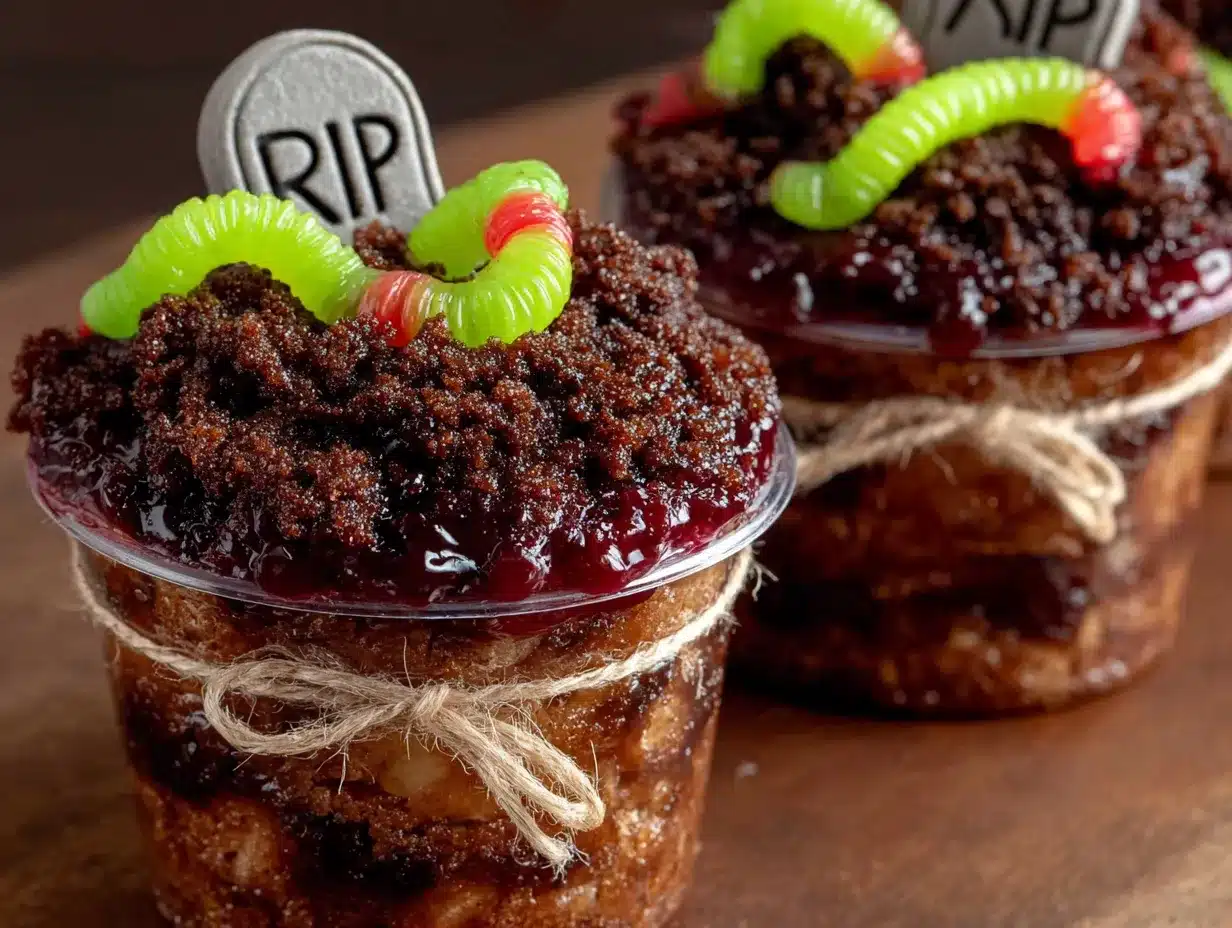
Okay, let’s get into the nitty-gritty. Follow these steps, and you’ll have a graveyard that would make any ghoul proud.
- Crush the cookies. Place 36 chocolate sandwich cookies in a food processor and pulse until they resemble coarse crumbs. You want a mix of fine crumbs and small chunks. Set aside about 1/2 cup of the crumbs for the “topsoil” layer later. (Trust me, you’ll want that extra sprinkle on top.)
- Make the pudding. In a medium bowl, whisk together the instant chocolate pudding mix and 2 cups of cold milk. Whisk for about 2 minutes until it starts to thicken. It will be fairly loose at first, but it will set up in the fridge. Set it aside for now.
- Make the cream cheese layer. In a separate bowl, beat the softened cream cheese and 1/2 cup of softened butter together with an electric mixer until smooth and fluffy. This takes about 2-3 minutes. Scrape down the sides of the bowl once or twice.
- Add the sugar and vanilla. Gradually add 1 cup of powdered sugar and 1 teaspoon of vanilla extract to the cream cheese mixture. Beat until combined and smooth. The mixture should be thick and spreadable.
- Fold in the whipped topping. Gently fold the thawed whipped topping into the cream cheese mixture using a spatula. Do this by hand—don’t use the mixer, or you’ll deflate it. Fold until just combined. You want it light and airy.
- Combine with pudding. Now, gently fold the chocolate pudding into the cream cheese mixture. Again, do this by hand. Stop as soon as you don’t see any streaks. Overmixing will make it dense.
- Layer the cups. Grab your 12 cups. Start with a spoonful of the cookie crumbs at the bottom of each cup—about 1 tablespoon. This is your “dirt” base. Then, add a generous layer of the pudding mixture, filling the cup about halfway. Add another spoonful of cookie crumbs, then another layer of the pudding mixture, filling the cup almost to the top. Finally, top with the reserved cookie crumbs to create the “dirt” surface.
- Chill. Place the cups in the refrigerator for at least 2 hours, but overnight is better. This allows the layers to set and the flavors to meld. The pudding will firm up, and the cookies will soften slightly, creating that perfect dirt-like texture.
- Decorate. Just before serving, add your gummy worms and tombstones. For tombstones, I use chocolate wafer cookies and write “R.I.P.” on them with a little white icing. Stick them into the “dirt” at an angle so they look like they’re leaning. Add a couple of gummy worms crawling out of the top.
A quick note: If you’re making these for a party, you can assemble them the night before. Just hold off on the decorations until right before serving, or the gummy worms will get sticky and the tombstones will get soft.
Cooking Tips & Techniques
I’ve made this recipe more times than I can count, and I’ve learned a few things the hard way. Here are my best tips:
- Don’t skip the cream cheese. I know it’s an extra step, but it’s the secret to the rich, tangy layer that makes these cups so addictive. Without it, you just have chocolate pudding with cookies.
- Let the cream cheese and butter soften properly. Cold ingredients don’t blend well. If you’re in a rush, cut the cream cheese into small cubes and let it sit for 15 minutes. Microwaving it can be risky—it can melt and ruin the texture.
- Crush the cookies unevenly. A mix of fine crumbs and small chunks looks more like real dirt. If you pulse too long, you’ll get dust, which is less visually interesting.
- Chill is non-negotiable. I once tried to serve these after only 30 minutes in the fridge. The layers were runny, and the “dirt” just sank into the pudding. Give them at least 2 hours, or better yet, make them the day before.
- Use clear cups. The whole point is to see the layers. Opaque cups hide all the hard work you put into the presentation.
I also learned the hard way that gummy worms can bleed their color into the “dirt” if they sit too long. So if you’re making these a day ahead, store the decorations separately and add them right before the party.
Variations & Adaptations
This recipe is super flexible. Here are a few ways to switch it up:
- Peanut Butter Graveyard: Add 1/2 cup of creamy peanut butter to the cream cheese mixture. It adds a salty, nutty depth that pairs beautifully with the chocolate.
- Mint Chocolate Version: Use chocolate mint cookies instead of regular Oreos, and add 1/2 teaspoon of peppermint extract to the pudding. It’s like a Thin Mint in a cup.
- Gluten-Free Option: Use gluten-free chocolate sandwich cookies and ensure your pudding mix is certified gluten-free. The texture is slightly different, but it still tastes amazing.
- Vegan Adaptation: Use a plant-based cream cheese, vegan butter, and a dairy-free whipped topping. For the pudding, use instant chocolate pudding made with almond or oat milk. I’ve tried this with Violife cream cheese, and it works well.
- Spooky Spider Cups: Instead of tombstones, top each cup with a plastic spider ring. It’s a fun, low-effort variation that kids love.
My personal favorite is the peanut butter version. I made it for a Halloween party last year, and it was gone in 10 minutes. The saltiness cuts through the sweetness perfectly.
Serving & Storage Suggestions
These cups are best served cold, straight from the fridge. The contrast between the cool, creamy pudding and the slightly softened cookie “dirt” is what makes them so satisfying. I like to set them out on a tray with a few extra gummy worms scattered around for a creepy touch.
For storage, keep the cups covered in the refrigerator for up to 3 days. The layers will hold up well, though the cookies will continue to soften. If you’re making them for a party, I recommend assembling them no more than 24 hours in advance for the best texture. Do not freeze these—the texture gets weird and watery when thawed.
As for what to serve alongside, these cups are rich, so I pair them with something light and savory. A cheese board with crackers and grapes works well, or even some spicy salsa and chips. For drinks, apple cider or a dark stout beer complements the chocolate beautifully.
Nutritional Information & Benefits
Let’s be real—this is a dessert, so it’s not exactly a health food. But here’s a rough estimate per cup (based on 12 servings):
- Calories: Approximately 380
- Fat: 22g
- Carbohydrates: 44g
- Protein: 5g
- Fiber: 1g
- Sugar: 32g
The cream cheese adds a small amount of protein and calcium, and the cocoa in the pudding provides a bit of antioxidants. But honestly, this is a treat—something to enjoy in moderation as part of a fun celebration. If you’re looking to lighten it up, you can use low-fat cream cheese and skim milk, but I think the full-fat version is worth the splurge for a party.
Conclusion
These Graveyard Dirt Cake Cups are the kind of dessert that makes people smile. They’re playful, delicious, and surprisingly easy to pull off. Whether you’re hosting a big Halloween bash or just want to surprise your family, this recipe delivers every time. I love how customizable it is—you can make it your own with different cookies, flavors, or decorations. So go ahead, give it a try. And when your guests ask for the recipe, just tell them it’s a secret. (Or don’t—I’m happy to share.)
If you make these, I’d love to hear about it! Drop a comment below and let me know how they turned out. Did you add your own twist? Did the kids go crazy for them? Share your photos and tag me on Pinterest—I can’t wait to see your spooky creations.
Frequently Asked Questions
Can I use homemade pudding instead of instant?
You can, but the texture will be different. Instant pudding sets up firmer, which helps the layers hold their shape. Homemade pudding is softer and may make the cups harder to serve cleanly.
How far in advance can I make these?
You can assemble them up to 24 hours ahead of time. Just wait to add the gummy worms and tombstones until right before serving to keep them looking fresh.
Can I use a different type of cookie?
Absolutely. Vanilla wafers, chocolate graham crackers, or even crushed pretzels work well. Just keep in mind that different cookies will change the flavor and sweetness level.
What if I don’t have clear plastic cups?
Small glass mason jars or tumblers work great. The key is transparency so you can see the layers. Avoid opaque cups unless you’re serving them family-style in a big dish.
Can I make these without cream cheese?
You can, but they won’t have the same rich, tangy layer. If you skip it, just use a little extra pudding and whipped topping to fill the cups. It’ll still taste good, but it won’t be quite as special.
Pin This Recipe!
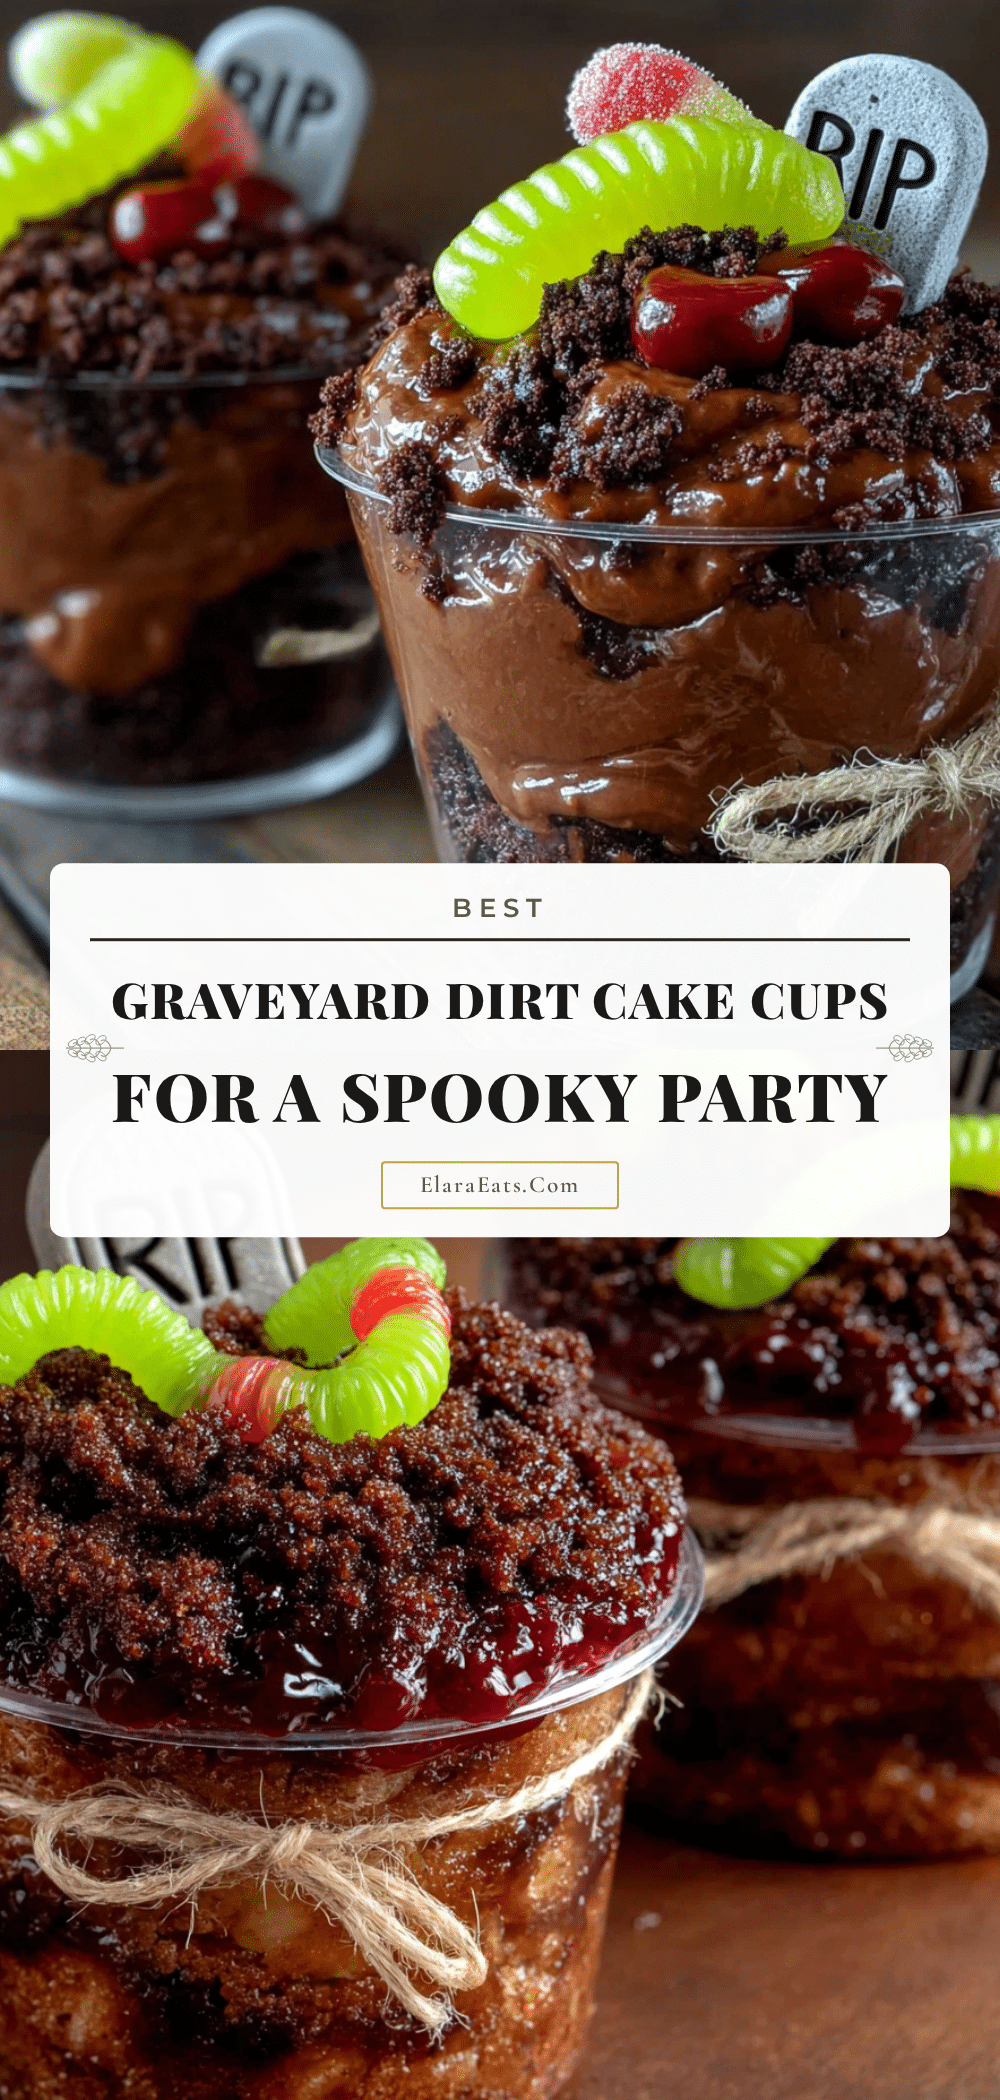
Best Graveyard Dirt Cake Cups—Easy Spooky Party Dessert
These Graveyard Dirt Cake Cups are a playful, no-bake Halloween dessert with layers of creamy chocolate pudding, a tangy cream cheese mixture, and crushed chocolate cookie ‘dirt,’ topped with gummy worms and tombstones. They’re quick to assemble, perfect for parties, and guaranteed to delight kids and adults alike.
- Prep Time: 20 minutes
- Cook Time: 0 minutes
- Total Time: 2 hours 20 minutes (includes chilling)
- Yield: 12 servings 1x
- Category: Dessert
- Cuisine: American
Ingredients
- 1 (3.9 oz) package instant chocolate pudding mix
- 2 cups cold milk
- 1 (8 oz) block cream cheese, softened
- 1/2 cup unsalted butter, softened
- 1 cup powdered sugar
- 1 teaspoon vanilla extract
- 1 (16 oz) package chocolate sandwich cookies (about 36 cookies)
- 1 (8 oz) container frozen whipped topping, thawed
- Gummy worms, for decoration (about 12 worms)
- Chocolate wafer cookies or candy pumpkins, for tombstones
Instructions
- Crush the cookies: Place 36 chocolate sandwich cookies in a food processor and pulse until they resemble coarse crumbs. Set aside about 1/2 cup of the crumbs for the top layer.
- Make the pudding: In a medium bowl, whisk together the instant chocolate pudding mix and 2 cups of cold milk for about 2 minutes until it starts to thicken. Set aside.
- Make the cream cheese layer: In a separate bowl, beat the softened cream cheese and 1/2 cup of softened butter together with an electric mixer until smooth and fluffy, about 2-3 minutes.
- Add the sugar and vanilla: Gradually add 1 cup of powdered sugar and 1 teaspoon of vanilla extract to the cream cheese mixture. Beat until combined and smooth.
- Fold in the whipped topping: Gently fold the thawed whipped topping into the cream cheese mixture using a spatula until just combined.
- Combine with pudding: Gently fold the chocolate pudding into the cream cheese mixture until no streaks remain.
- Layer the cups: In 12 clear cups, start with a spoonful of cookie crumbs (about 1 tablespoon) at the bottom. Add a generous layer of the pudding mixture, filling halfway. Add another spoonful of cookie crumbs, then another layer of pudding mixture, filling almost to the top. Top with reserved cookie crumbs.
- Chill: Refrigerate for at least 2 hours, or overnight for best results.
- Decorate: Just before serving, add gummy worms and tombstones (e.g., chocolate wafer cookies with ‘R.I.P.’ written in icing) to each cup.
Notes
For best results, let cream cheese and butter soften properly. Crush cookies unevenly for a more realistic ‘dirt’ texture. Chill is essential—at least 2 hours. Add decorations just before serving to prevent gummy worms from bleeding color and tombstones from getting soft. Can be assembled up to 24 hours in advance.
Nutrition
- Serving Size: 1 cup
- Calories: 380
- Sugar: 32
- Sodium: 320
- Fat: 22
- Saturated Fat: 12
- Carbohydrates: 44
- Fiber: 1
- Protein: 5
Keywords: Halloween dessert, dirt cake, graveyard cups, no-bake dessert, chocolate pudding, party dessert, spooky dessert


