Love this? Save it for later!
Share the inspiration with your friends
It was 10:47 PM on a random Tuesday in October, and I had a very specific craving for something that didn’t exist yet. I’d just spent three hours helping my neighbor’s kids carve pumpkins—their little hands kept slipping on the knife handles, and there was pumpkin guts everywhere. I came home exhausted, covered in seeds, and found myself staring into my pantry like it held the answers to the universe. I didn’t have any fancy candy molds or those creepy eyeball decorations everyone uses. But I had a bag of pretzel rods, a block of white chocolate I’d bought on a whim, and this sudden, slightly unhinged idea that maybe—just maybe—I could make something that looked genuinely witchy without trying so hard.
Honestly, I wasn’t even sure it would work. I mean, I’ve made chocolate-covered pretzels before, but turning them into witch fingers? That felt like a stretch. I grabbed the white chocolate, melted it in thirty-second bursts in the microwave (yes, I burned my tongue testing the temperature), and started dipping. Then I remembered I had sliced almonds in the freezer from a failed attempt at making almond croissants last spring. Perfect witch fingernails, let me tell you. I pressed them into the chocolate at weird angles, added a little green gel food coloring to the leftover chocolate for that sickly witch skin tone, and suddenly I was making tiny knuckle wrinkles with the back of a butter knife. It was ridiculous. It was glorious.
I kept glancing at the clock—almost midnight now—and laughing at myself. There I was, a grown adult, making pretzel rods look like severed witch fingers in my pajamas. The chocolate was setting up weird because my kitchen is drafty, and I accidentally got a smear of green on my cheek. But when I bit into that first one? The crunch of the pretzel, the sweetness of the white chocolate, the little almond nail that cracked off in my teeth—it was exactly what I needed. Maybe you’ve been there, standing in your kitchen at a ridiculous hour, making something that doesn’t make sense to anyone but you. That’s how this recipe was born, and honestly, I keep making it every Halloween because it’s the only treat that makes me genuinely laugh.
Why You’ll Love This Recipe
Let me tell you why these easy witch finger pretzel rods have become my non-negotiable Halloween tradition. I’ve tested this recipe at least six times across three different kitchens, and I can say with full confidence—it’s the perfect balance of spooky and simple. You don’t need any special skills, just a little patience and a sense of humor.
- Quick & Easy: These come together in under 30 minutes, including chilling time. Perfect for last-minute Halloween parties or when you realize tomorrow is the school bake sale at 10 PM.
- Simple Ingredients: You likely have most of these in your kitchen right now. Pretzel rods, white chocolate, sliced almonds, and food coloring. That’s it. No weird candy-making equipment required.
- Perfect for Halloween: Whether it’s a spooky movie night, a classroom treat, or a Halloween party appetizer, these are always the first thing to disappear. Kids love the gross factor, adults love the nostalgia.
- Crowd-Pleaser: I brought these to a neighborhood gathering last year, and a 7-year-old told me they were “disgusting in the best way.” I took that as the highest compliment.
- Unbelievably Delicious: The salty-sweet combo of pretzel rods and white chocolate is already unbeatable. Add that almond crunch, and you’ve got a texture party in your mouth.
What makes this version different from all the other witch finger recipes out there? It’s the attention to detail that doesn’t require perfection. I’ve figured out exactly how to get the almond nails to stick without sliding off, how to create realistic knuckle wrinkles without making a mess, and how to get that perfect green tint without looking like radioactive slime. This isn’t just another Halloween treat—it’s the one that makes people say, “Wait, you made these?” with genuine awe.
This recipe is comfort food reimagined for spooky season. It’s faster than baking cookies, healthier than a candy bar (okay, slightly), and it has the same soul-soothing satisfaction of creating something with your hands. Perfect for impressing guests without stress, or turning a simple Tuesday night into something memorable.
What Ingredients You Will Need
This recipe uses simple, pantry-friendly ingredients to create something that looks genuinely creepy without any complicated techniques. Most of these are probably already in your kitchen, which is the whole point—Halloween treats shouldn’t require a special trip to the craft store.
- Pretzel rods (12-15 rods) — Look for thick, sturdy rods that won’t break easily when dipped. I prefer the Snyder’s of Hanover brand for their consistent thickness. Avoid thin pretzel sticks; they’ll snap under the chocolate weight.
- White chocolate melting wafers (12 oz or 340g) — These melt smoother than regular white chocolate chips, which can seize up. I recommend Ghirardelli melting wafers or Wilton candy melts for the best texture. If using white chocolate chips, add 1 teaspoon of coconut oil to help them melt smoothly.
- Sliced almonds (¼ cup or about 30 slices) — These become the witch fingernails. Look for whole sliced almonds, not slivered or chopped. You want that natural almond shape that looks like a real fingernail. I keep mine in the freezer so they’re extra cold when I press them into the chocolate.
- Green gel food coloring — Gel coloring is crucial here. Liquid food coloring will thin out your white chocolate and make it seize. I use Americolor “Avocado” or “Leaf Green” for that perfect witchy skin tone. A little goes a long way—start with just a toothpick’s worth.
- Red gel food coloring (optional) — For adding a little “blood” at the base of the fingernail or a drop on the “cut” end. Totally optional but adds to the gross factor.
- Coconut oil or shortening (1 teaspoon) — This helps thin the white chocolate slightly for easier dipping and gives it a beautiful shine. Only needed if you’re using regular white chocolate chips instead of melting wafers.
For the knuckle details:
- Butter knife or toothpick — For creating realistic knuckle wrinkles before the chocolate sets. A toothpick gives finer lines; a butter knife creates more dramatic creases.
Substitution guidance: If you need a dairy-free option, use vegan white chocolate melting wafers. For a nut-free version, skip the almonds and use small candy corn pieces for the fingernails instead—they give a cute, cartoonish look. You can also use dark chocolate or milk chocolate for a different flavor profile, though the green tint won’t show as well against dark chocolate.
Equipment Needed
You don’t need a professional pastry kitchen for these, which is honestly my favorite part. Here’s what you’ll need:
- Microwave-safe bowl — For melting the white chocolate. Glass or ceramic works best. I’ve used a Pyrex measuring cup for years, and it’s perfect because the spout helps with dipping.
- Parchment paper or silicone baking mat — For setting the dipped pretzels. Wax paper works in a pinch, but parchment is less likely to stick if your chocolate gets warm.
- Baking sheet — To hold the parchment paper and give you a stable surface for chilling. A rimmed sheet is ideal so nothing rolls off.
- Small offset spatula or butter knife — For spreading chocolate and creating knuckle wrinkles. I actually prefer the back of a butter knife for more dramatic lines.
- Toothpicks — For fine detail work and repositioning almond nails if they slide.
- Piping bag or small zip-top bag — For drizzling extra chocolate or adding “blood” details. A sandwich bag with a tiny corner snipped off works perfectly.
Budget-friendly tip: Don’t have a piping bag? Use a clean plastic baggie. Don’t have a silicone mat? Parchment paper is cheap and works just as well. I’ve made these in a friend’s kitchen with only a butter knife and a cereal bowl, and they turned out fantastic.
Preparation Method
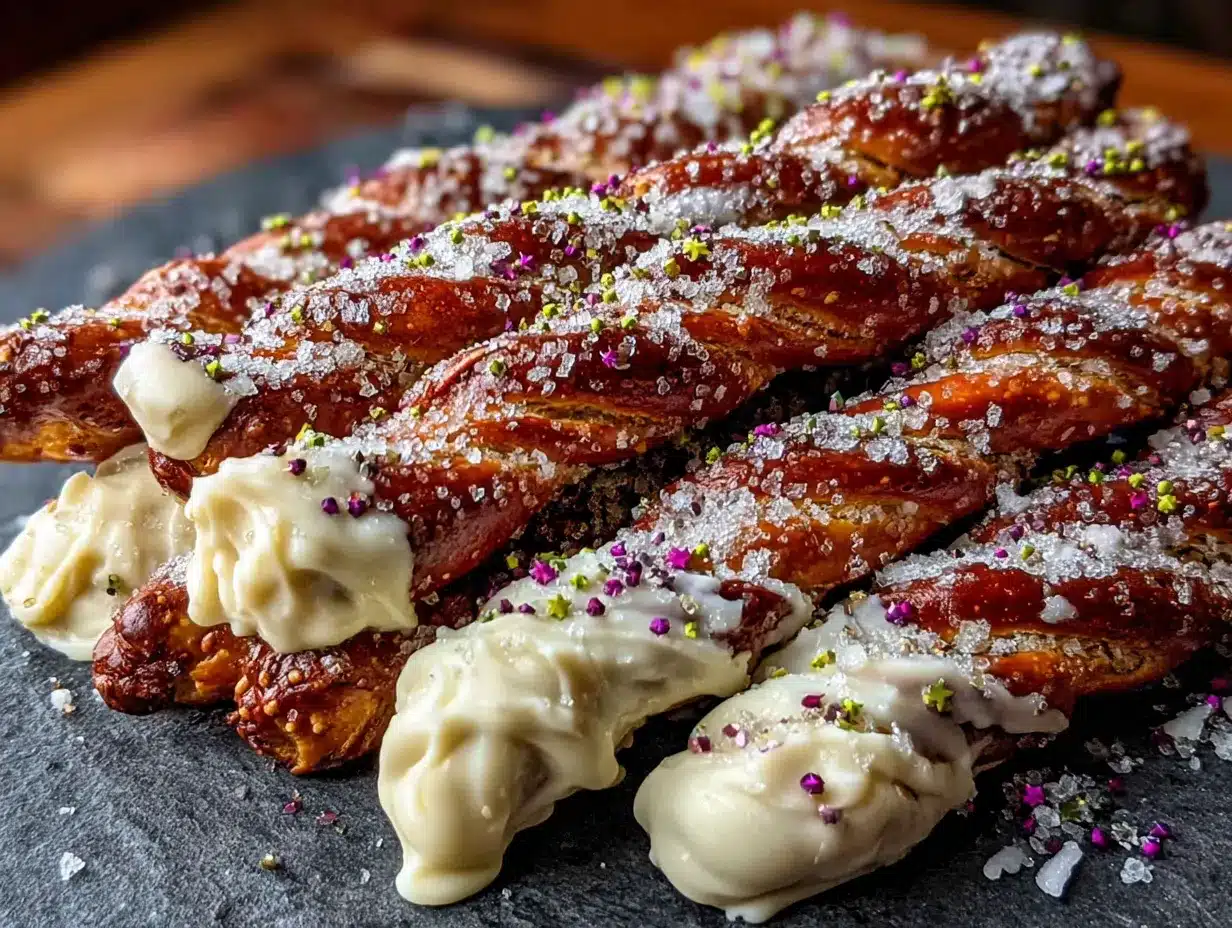
Now for the fun part—making these creepy little fingers come to life. Follow these steps carefully, and you’ll have a batch of witch finger pretzel rods that look like they came straight from a Halloween bakery.
- Prepare your workspace. Line a baking sheet with parchment paper. Lay out your pretzel rods, sliced almonds, and green gel food coloring so everything is within arm’s reach. Trust me, once you start dipping, you won’t want to be hunting for almonds.
- Melt the white chocolate. Place your white chocolate melting wafers in a microwave-safe bowl. Microwave in 30-second intervals, stirring thoroughly after each interval. White chocolate burns easily, so don’t walk away. After about 2 minutes total, it should be smooth and glossy. If it’s too thick, add ½ teaspoon of coconut oil and stir.
- Add the green color. Dip a toothpick into your green gel food coloring and stir it into the melted white chocolate. Start with a tiny amount—you can always add more. You’re going for a pale, sickly green, not neon slime. Stir until the color is completely uniform. If the chocolate starts to thicken from the stirring, pop it back in the microwave for 10 seconds.
- Dip the pretzel rods. Hold a pretzel rod by one end and dip it into the green chocolate, leaving about an inch undipped at the top (this will be the “wrist” area). Twist gently as you pull it out to let excess chocolate drip back into the bowl. You want a thin, even coating—too thick and it will look clumpy.
- Create the fingernail. Immediately after dipping, place a sliced almond at the tip of the pretzel, pressing gently so it sticks. Position it so the pointed end of the almond faces outward, like a real fingernail. The chocolate should come up slightly over the base of the almond to secure it. If the almond slides, use a toothpick to nudge it back into place.
- Add knuckle wrinkles. While the chocolate is still wet, use the back of a butter knife or a toothpick to gently press 2-3 horizontal lines across the middle of the pretzel rod. These are the knuckles. Don’t press too hard—you just want indentations, not exposed pretzel. Space them unevenly for a more realistic look.
- Set the pretzels. Place the finished witch finger on your prepared baking sheet. Repeat with the remaining pretzel rods. Work quickly—the chocolate will start to set after about 5 minutes, and you won’t be able to make adjustments.
- Add optional details. If you want extra creepiness, take a small amount of leftover green chocolate and add a drop of red gel food coloring to make a dark “blood” color. Use a toothpick to dab a tiny amount at the base of the almond nail or on the “cut” end of the finger. This step is purely for show, but it always gets a reaction.
- Chill to set. Place the baking sheet in the refrigerator for 10-15 minutes, or until the chocolate is completely firm. Don’t leave them in longer than 30 minutes, or condensation can form when you take them out.
- Serve and enjoy. Once set, these are ready to eat. The chocolate should be firm but not hard, and the pretzel should still have that satisfying crunch. Serve them on a platter arranged like severed fingers for maximum effect.
Sensory cues to watch for: When you dip the pretzel, you should hear a slight sizzle if the chocolate is the right temperature. The chocolate should flow off the pretzel in a smooth ribbon, not drip in globs. When you press the almond nail, you should feel a slight resistance before it settles into the chocolate. The knuckle wrinkles should look like soft creases, not deep cracks.
Cooking Tips & Techniques
I’ve made these witch finger pretzel rods more times than I care to admit, and I’ve learned a few things the hard way. Let me save you some trouble.
The biggest mistake I made on my first batch was using liquid food coloring. It turned my white chocolate into a grainy, seized mess that looked more like cottage cheese than smooth melted chocolate. Gel coloring is non-negotiable here. If you accidentally add too much and the chocolate thickens, stir in a tiny bit of coconut oil to bring it back.
Temperature matters more than you think. White chocolate is finicky—it melts at a lower temperature than dark or milk chocolate. If you overheat it, it will seize into a clumpy, unworkable paste. Always melt in short bursts and stir between each. I learned this lesson when I was rushing to make a second batch for a party and nuked the chocolate for a full minute. It was a sad, expensive mistake.
Here’s a trick I discovered by accident: If your almond nails keep sliding off the pretzel, dip the almond in the chocolate first before pressing it onto the pretzel. This creates a better bond. I figured this out after losing three almonds to the floor while trying to press them onto a pretzel that had already started setting.
For consistency, work in batches of 4-5 pretzels at a time. Don’t try to dip all 15 at once—the chocolate will start setting before you can add the knuckle details. I usually melt half the chocolate, make 5-6 fingers, then melt the rest for the next batch. It keeps everything manageable.
Multitasking strategy: While the first batch is chilling in the fridge, clean your workspace and prep the next round of pretzels. This keeps your workflow smooth and prevents that frantic feeling of chocolate hardening before you’re ready.
Variations & Adaptations
One of the best things about this recipe is how easy it is to customize. Here are some variations I’ve tried and loved:
Spooky Mummy Pretzels: Instead of green chocolate, use white chocolate and drizzle dark chocolate over the top in messy zigzags to look like mummy bandages. Add two small candy eyes (the kind with the black pupils) peeking out. These are less creepy and more cute—perfect for younger kids.
Zombie Fingers: Add a drop of brown gel food coloring to the green chocolate to create a rotting, grayish-green tone. Use slivered almonds instead of sliced ones for a more jagged, broken nail look. I made these for a zombie-themed party, and they were a hit with the adults.
Vampire Fangs: Skip the green coloring entirely. Dip in white chocolate, add a sliced almond nail, then use red gel coloring to paint a small drip of “blood” from the tip of the nail. Press two small candy corn pieces into the chocolate at the tip to look like fangs. These are surprisingly elegant for a Halloween treat.
Gluten-Free Option: Use gluten-free pretzel rods. Most brands are available in the snack aisle, and they work exactly the same way. Just make sure to check the label if you’re serving someone with celiac disease.
Dairy-Free/Vegan: Use vegan white chocolate melting wafers and skip the coconut oil if your chocolate already has enough fat. The rest of the recipe remains the same. I tested this with a friend who’s vegan, and she said they were even better than the dairy version.
Personal variation I love: For a more realistic witch finger, I sometimes press a tiny bit of crushed graham cracker into the chocolate before it sets to create a warty texture. It sounds weird, but it adds this amazing subtle crunch and makes the fingers look genuinely gross. My niece calls them “the warty ones” and always asks for them first.
Serving & Storage Suggestions
These witch finger pretzel rods are best served at room temperature—the chocolate should be firm but not cold, and the pretzel should have that satisfying snap when you bite into it. If they’ve been refrigerated, let them sit out for 5-10 minutes before serving.
Presentation ideas: Arrange them on a black platter or cake stand, pointing inward like a cluster of severed fingers. I like to scatter a few loose almond slices around the platter to look like broken nails. For extra drama, place a small bowl of red jelly or strawberry jam in the center to look like a bloody dipping sauce. It’s gross and amazing.
Complementary pairings: These pair beautifully with a warm mug of apple cider or a pumpkin spice latte. For a Halloween party spread, serve them alongside ghost-shaped meringues, chocolate spiderweb cupcakes, and a bowl of popcorn balls. They also work great as a garnish for a spooky cocktail—just stick one in a glass of dark punch or a Bloody Mary.
Storage instructions: Store these in an airtight container at room temperature for up to 5 days. Do not refrigerate them for long-term storage—the condensation will make the chocolate sticky and the pretzels soft. If you live in a humid climate, add a silica gel packet to the container to absorb moisture.
Freezer instructions: These freeze beautifully for up to 3 months. Place them in a single layer in a freezer-safe container, separated by parchment paper. Thaw at room temperature for about 15 minutes before serving. The chocolate may develop a slight bloom (white streaks) after freezing, but it’s purely cosmetic and doesn’t affect the taste.
Flavor development note: These actually taste better the next day. The chocolate sets fully, and the pretzel softens just slightly, creating a texture that’s more like a candy bar than a crunchy snack. I always make mine a day ahead for this reason.
Nutritional Information & Benefits
Let’s be real—these are a Halloween treat, not a health food. But compared to a lot of other holiday sweets, they’re surprisingly reasonable. Here’s the estimated nutritional breakdown per witch finger (based on 12 servings):
| Nutrient | Amount per serving |
|---|---|
| Calories | 185 |
| Total Fat | 10g |
| Saturated Fat | 6g |
| Carbohydrates | 22g |
| Sugar | 14g |
| Protein | 3g |
| Sodium | 280mg |
Health benefits of key ingredients: Pretzels are low in fat compared to chips, and almonds provide healthy monounsaturated fats, vitamin E, and magnesium. White chocolate contains calcium from milk solids. Is this a superfood? Absolutely not. But it’s a treat you can feel okay about enjoying in moderation.
Dietary considerations: This recipe contains dairy (white chocolate), gluten (pretzels), and tree nuts (almonds). For a nut-free version, use candy corn for the fingernails. For gluten-free, use gluten-free pretzel rods. For dairy-free, use vegan white chocolate.
Conclusion
These easy witch finger pretzel rods have become my signature Halloween treat, and I don’t see that changing anytime soon. Every year, I make them for a different occasion—a neighborhood potluck, a classroom party, a quiet night in with a scary movie—and every year, someone asks for the recipe. That’s the magic of a good Halloween treat: it’s not just about the taste, though these are genuinely delicious. It’s about the reaction when someone sees them for the first time. The double take. The hesitant reach. The laugh when they realize it’s just a pretzel.
I hope you make these and put your own spin on them. Maybe you’ll use purple chocolate instead of green, or add edible glitter for a magical witch vibe, or skip the almonds and use candy corn for a friendlier look. That’s the beauty of a simple recipe—it’s a canvas for your own creativity. Don’t be afraid to mess up, either. My first batch looked like green blobs with almonds falling off, and they still tasted amazing.
If you make these, I’d love to hear about it. Drop a comment below and tell me how they turned out, or tag me in your photos if you share them online. Did you add a creepy detail I haven’t thought of? Did your kids freak out when they saw them? I want to know. And if you’re looking for more Halloween inspiration, check out my spooky pumpkin bark or these ghost-shaped meringue cookies—they’re both super easy and always get rave reviews.
Happy Halloween, and happy snacking. May your chocolate stay smooth, your almonds stay stuck, and your witch fingers be delightfully creepy.
Frequently Asked Questions
Can I use milk chocolate or dark chocolate instead of white chocolate?
Absolutely, but the green color won’t show up well against dark chocolate. If you want to skip the coloring entirely, milk chocolate witch fingers look like chocolate-covered pretzels with almond nails—still delicious, just less creepy. For a spooky effect with dark chocolate, try adding orange or purple sprinkles instead.
Why did my white chocolate seize up and become grainy?
This usually happens for one of three reasons: you overheated the chocolate, you got water in the bowl (even a drop will ruin it), or you used liquid food coloring instead of gel. To fix seized chocolate, stir in a tablespoon of warm coconut oil or heavy cream. If that doesn’t work, you’ll need to start over with fresh chocolate.
How far in advance can I make these?
You can make them up to 5 days ahead and store them in an airtight container at room temperature. For best results, make them 1-2 days before serving. The flavors meld together beautifully, and the pretzel softens just slightly for a better texture.
My almond nails keep falling off. What am I doing wrong?
Two possible issues: the chocolate might be too cool when you press the almond on, or you’re not pressing firmly enough. Try dipping the almond in the chocolate first before pressing it onto the pretzel. Also, make sure your almonds are dry—if they’ve been in the freezer, let them come to room temperature first to prevent condensation.
Can I make these without a microwave?
Yes! Use a double boiler instead. Fill a small saucepan with an inch of water, bring it to a simmer, then place a heat-safe bowl on top (make sure the bottom doesn’t touch the water). Add your white chocolate and stir until melted. This method takes longer but gives you more control over the temperature.
Pin This Recipe!
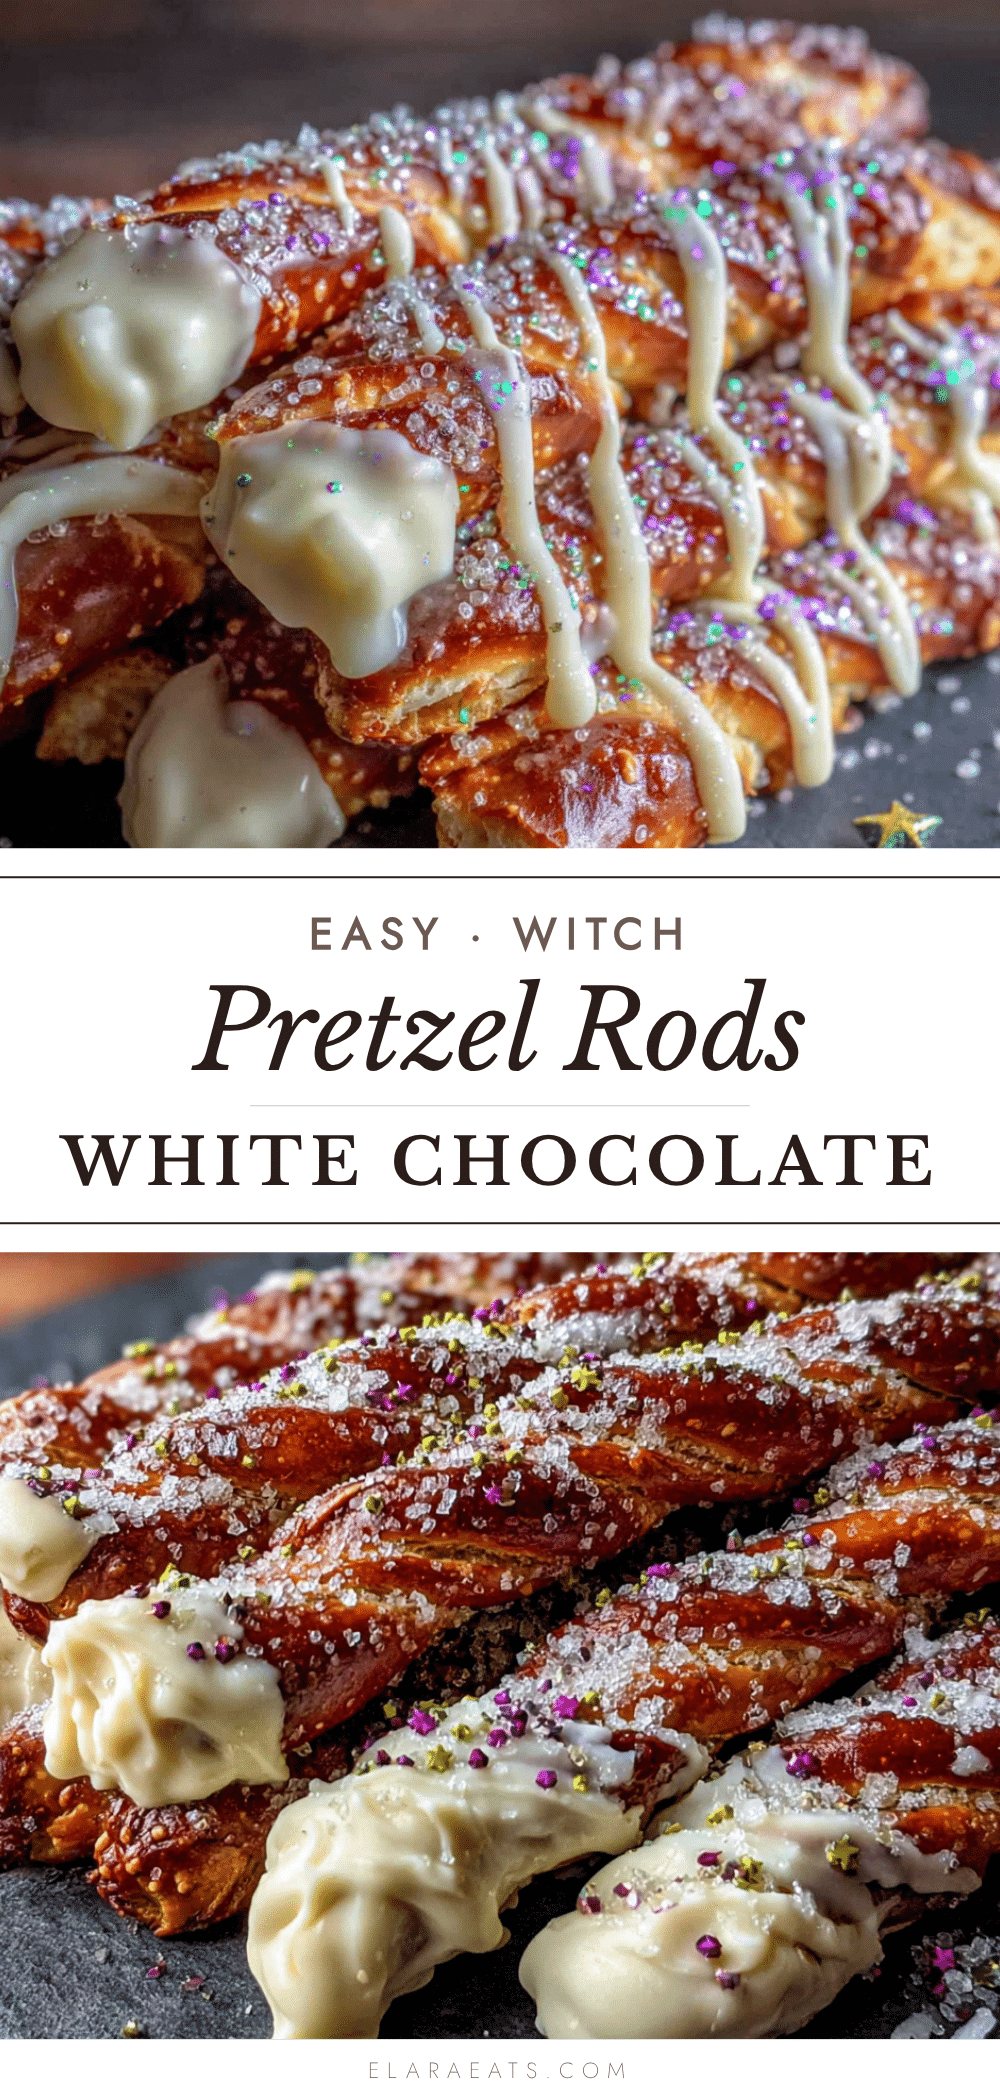
Easy Witch Finger Pretzel Rods: Best White Chocolate Treat

These easy witch finger pretzel rods are the perfect Halloween treat—spooky, simple, and delicious. Made with pretzel rods, white chocolate, and sliced almonds, they come together in under 30 minutes and are sure to be a crowd-pleaser.
- Prep Time: 15 minutes
- Cook Time: 5 minutes
- Total Time: 30 minutes
- Yield: 12 servings 1x
- Category: Dessert
- Cuisine: American
Ingredients
- 12–15 pretzel rods
- 12 oz (340g) white chocolate melting wafers
- ¼ cup sliced almonds (about 30 slices)
- Green gel food coloring
- Red gel food coloring (optional)
- 1 teaspoon coconut oil or shortening (optional, for thinning chocolate)
Instructions
- Prepare your workspace. Line a baking sheet with parchment paper. Lay out your pretzel rods, sliced almonds, and green gel food coloring so everything is within arm’s reach.
- Melt the white chocolate. Place your white chocolate melting wafers in a microwave-safe bowl. Microwave in 30-second intervals, stirring thoroughly after each interval, until smooth and glossy (about 2 minutes total). If too thick, add ½ teaspoon of coconut oil and stir.
- Add the green color. Dip a toothpick into your green gel food coloring and stir it into the melted white chocolate. Start with a tiny amount and add more until you achieve a pale, sickly green. Stir until uniform.
- Dip the pretzel rods. Hold a pretzel rod by one end and dip it into the green chocolate, leaving about an inch undipped at the top (the ‘wrist’ area). Twist gently as you pull it out to let excess chocolate drip back into the bowl.
- Create the fingernail. Immediately after dipping, place a sliced almond at the tip of the pretzel, pressing gently so it sticks. Position the pointed end outward. Use a toothpick to nudge it back if it slides.
- Add knuckle wrinkles. While the chocolate is still wet, use the back of a butter knife or a toothpick to gently press 2-3 horizontal lines across the middle of the pretzel rod. Space them unevenly for a more realistic look.
- Set the pretzels. Place the finished witch finger on your prepared baking sheet. Repeat with the remaining pretzel rods. Work quickly—the chocolate will start to set after about 5 minutes.
- Add optional details. If desired, mix a small amount of leftover green chocolate with a drop of red gel food coloring to make a dark ‘blood’ color. Use a toothpick to dab a tiny amount at the base of the almond nail or on the ‘cut’ end of the finger.
- Chill to set. Place the baking sheet in the refrigerator for 10-15 minutes, or until the chocolate is completely firm. Do not leave them in longer than 30 minutes to avoid condensation.
- Serve and enjoy. Once set, serve at room temperature. Arrange on a platter like severed fingers for maximum effect.
Notes
Use gel food coloring, not liquid, to prevent the chocolate from seizing. Work in batches of 4-5 pretzels at a time to keep the chocolate from setting before adding details. For best results, make 1-2 days ahead; flavors meld and texture improves.
Nutrition
- Serving Size: 1 witch finger pretz
- Calories: 185
- Sugar: 14
- Sodium: 280
- Fat: 10
- Saturated Fat: 6
- Carbohydrates: 22
- Fiber: 1
- Protein: 3
Keywords: witch finger pretzel rods, Halloween treat, white chocolate pretzels, spooky snacks, easy Halloween recipe


