Love this? Save it for later!
Share the inspiration with your friends
Introduction
The woman at the farmers’ market stall watched me eyeing her pie for a solid minute before she spoke. “You keep looking at that crust like it owes you money,” she said, and I laughed because honestly, she wasn’t wrong. Her pot pies had this golden, shattering top that caught the morning light, and I couldn’t stop staring. She told me her grandmother used to make them for Sunday suppers in Virginia, always with a puff pastry top that puffed up like a proud secret. I told her I’d never managed to get mine right—always soggy, always disappointing. She didn’t give me a recipe that day. She just said, “The trick is not to treat the pastry like a blanket.” I thought about that for weeks.
Three winters ago, I finally cracked the code after a particularly disastrous attempt where the filling boiled over and the top sank like a deflated balloon. My kitchen looked like a crime scene, but something clicked. The secret wasn’t just in the pastry—it was in how you treated the filling, how you built the layers, how you refused to rush. I adapted her grandmother’s approach with a few modern shortcuts because let’s be honest, I don’t have all day. But the soul of it stayed the same: a pot pie that makes people close their eyes when they take that first bite.
This crispy chicken pot pie with puff pastry top became my go-to for dinner parties, potlucks, and those nights when I need to impress without losing my mind. It’s the dish that gets the “you made this?” reaction every single time. And the best part? It’s actually easier than it looks. You might have been there—standing in the kitchen, wondering if you’ll ever nail that perfect golden crust. I promise, this version will get you there.
Why You’ll Love This Recipe
After testing this recipe for two years straight—through soggy bottoms, burnt tops, and one memorable incident involving a rogue puff pastry that flew across the kitchen—I can tell you with confidence that this version works. It’s been chef-tested by my friend Marco (who actually went to culinary school) and family-approved by my picky aunt who “doesn’t do chicken pot pie.”
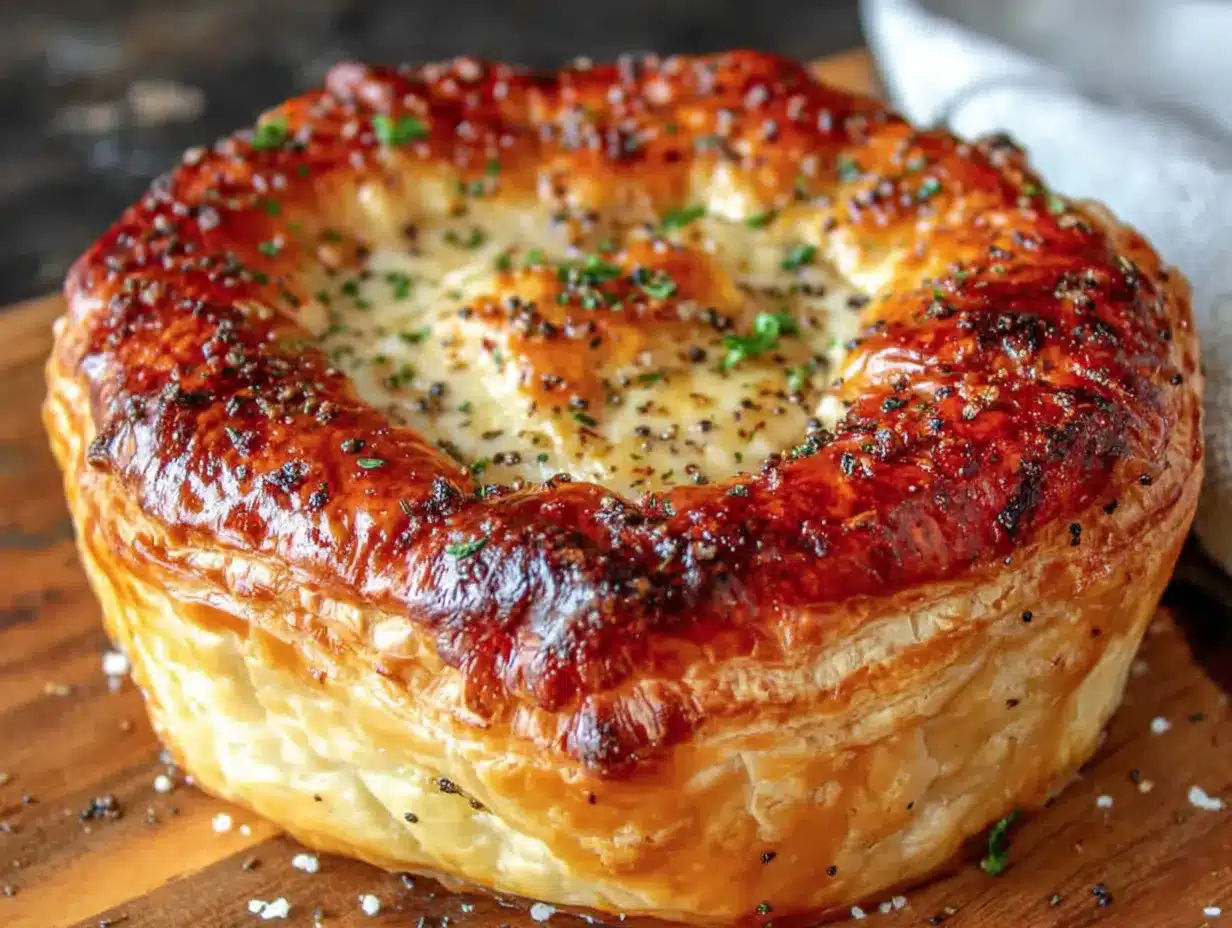
- Show-Stopping Presentation: That puffed, golden crust makes everyone at the table gasp. It’s the kind of dish that steals the spotlight without you having to say a word.
- Make-Ahead Friendly: Prep the filling a day before your party. Just assemble and bake when guests arrive—you get to enjoy the evening instead of hiding in the kitchen.
- Simple Ingredients: No truffle oil or obscure spices. Everything comes from a regular grocery store, which means less stress and more confidence.
- Perfect for Hosting: This recipe scales beautifully for crowds. I’ve made it for six people and for twenty—works like a charm every time.
- Unbelievably Comforting: That first bite—crispy pastry giving way to creamy, savory filling—is pure magic. It’s comfort food that feels fancy without being fussy.
What makes this different from every other pot pie recipe out there? It’s the technique. Instead of a soggy bottom crust, we use a clever method that keeps the puff pastry crisp and flaky. The filling is rich but not heavy, with tender chicken and vegetables swimming in a velvety sauce that’s perfectly seasoned. This isn’t just another version—it’s the one I’d serve to people I really want to impress.
What Ingredients You Will Need
This recipe uses simple, honest ingredients that work together to create something truly special. Most of these are probably already in your pantry, which makes this perfect for last-minute hosting emergencies.
For the Filling
- 3 tablespoons unsalted butter (I prefer Kerrygold for its rich flavor)
- 1 medium yellow onion, diced (about 1 cup)
- 3 medium carrots, peeled and diced (about 1 cup)
- 2 celery stalks, diced (about ½ cup)
- 3 cloves garlic, minced (fresh only—don’t use the jarred stuff here)
- ⅓ cup all-purpose flour (for thickening the sauce)
- 2 cups chicken broth (low-sodium preferred, so you control the salt)
- 1 cup whole milk (adds creaminess without being too heavy)
- ½ cup heavy cream (for that luxurious texture)
- 3 cups cooked chicken, shredded or cubed (rotisserie chicken works beautifully here)
- 1 cup frozen peas (no need to thaw—they’ll cook perfectly)
- 1 teaspoon dried thyme (or 2 teaspoons fresh if you have it)
- ½ teaspoon dried rosemary (crush it between your fingers to release the oils)
- 1 teaspoon salt (adjust to taste)
- ½ teaspoon black pepper (freshly ground makes a difference)
- ¼ teaspoon nutmeg (trust me on this—it’s the secret weapon)
For the Topping
- 1 sheet frozen puff pastry, thawed (I use Pepperidge Farm—consistent results every time)
- 1 large egg (for the egg wash)
- 1 tablespoon water (to thin the egg wash)
- Flaky sea salt (for sprinkling on top)
Ingredient Tips & Substitutions
For the chicken, rotisserie chicken is your best friend when hosting. It saves time and adds flavor. If you’re cooking chicken from scratch, poach it in the broth you’ll use for the filling—double duty, less waste. Swap whole milk with 2% if that’s what you have, but don’t go lower—the sauce needs that fat for richness. For a dairy-free version, use coconut milk and olive oil instead of butter, though the flavor will change slightly. Frozen mixed vegetables work in a pinch, but fresh carrots and celery give better texture.
Equipment Needed
You don’t need a professional kitchen to pull this off. Here’s what I use and what you can substitute if needed.
- Large skillet or Dutch oven (I use a 5-quart Dutch oven—it goes from stovetop to table beautifully)
- 9×13-inch baking dish (or individual ramekins for single servings)
- Rolling pin (a wine bottle works in a pinch—I’ve done it)
- Pastry brush (for the egg wash; a clean paintbrush works too)
- Sharp knife or pizza cutter (for trimming the puff pastry)
- Microplane or grater (for fresh nutmeg—worth the extra step)
- Measuring cups and spoons (accuracy matters here)
My favorite budget-friendly tip: skip the expensive pastry brush and use a silicone one from the dollar store. It cleans easier and lasts forever. If you don’t have a Dutch oven, any heavy-bottomed pot works—just make sure it’s large enough to hold everything.
Preparation Method
Let’s get cooking. I’ve broken this down into manageable steps with timings so you can plan your hosting schedule perfectly.
Step 1: Prepare the Filling Base (15 minutes)
Melt the butter in your large skillet or Dutch oven over medium heat. Add the diced onion, carrots, and celery—what chefs call the mirepoix. Cook for 8-10 minutes, stirring occasionally, until the vegetables soften and the onions turn translucent. You want them tender but not brown. Add the minced garlic and cook for another minute until fragrant. Your kitchen should smell amazing at this point—if it doesn’t, your heat might be too low.
Step 2: Build the Sauce (10 minutes)
Sprinkle the flour over the cooked vegetables and stir constantly for 2 minutes. This cooks out the raw flour taste and creates a roux that will thicken your sauce. Slowly pour in the chicken broth while whisking—add it in three additions to prevent lumps. Once the broth is incorporated, whisk in the milk and heavy cream. Bring the mixture to a gentle simmer, then reduce the heat to low. Let it cook for 5-7 minutes, stirring occasionally, until it thickens enough to coat the back of a spoon.
Step 3: Add the Chicken and Seasonings (5 minutes)
Stir in the shredded chicken, frozen peas, thyme, rosemary, salt, pepper, and that crucial pinch of nutmeg. Taste the filling and adjust seasoning—remember, the pastry will add a little saltiness too. Remove from heat and let it cool slightly while you prepare the pastry. This cooling step is important—hot filling can make the puff pastry soggy before it even hits the oven.
Step 4: Prepare the Puff Pastry (10 minutes)
Preheat your oven to 400°F (200°C). On a lightly floured surface, unfold your thawed puff pastry sheet. If it cracks at the edges, don’t panic—just press it back together with your fingers. Roll it out slightly to fit your baking dish, about ¼-inch thick. Using a sharp knife or pizza cutter, trim the pastry to be about 1 inch larger than your dish on all sides. This overhang will create that gorgeous, puffed edge.
Step 5: Assemble the Pot Pie (5 minutes)
Pour the filling into your 9×13-inch baking dish, spreading it evenly. Gently lay the puff pastry over the top, letting the excess hang over the edges. Don’t stretch the pastry—just let it settle naturally. Crimp the edges by pressing them against the rim of the dish with your fingers or a fork. Cut 4-5 slits in the top of the pastry to let steam escape. This is non-negotiable—without these vents, your pot pie will explode and make a mess.
Step 6: Apply Egg Wash and Bake (25-30 minutes)
Whisk the egg with 1 tablespoon of water to make the egg wash. Brush it generously over the entire pastry surface—this is what gives you that glossy, golden finish. Sprinkle flaky sea salt on top for crunch and visual appeal. Bake for 25-30 minutes until the pastry is puffed and deep golden brown. The filling should be bubbling up through the slits. Let it rest for 10 minutes before serving—this allows the filling to set so it doesn’t run everywhere when you cut into it.
Cooking Tips & Techniques
I’ve made every mistake in the book so you don’t have to. Here’s what I learned the hard way.
Don’t overwork the puff pastry. The first time I made this, I rolled the pastry too thin trying to be perfect. It turned into a cracker. Puff pastry needs to stay cold and handled minimally—those layers of butter are what create the flakiness. If the pastry gets sticky, pop it in the fridge for 10 minutes.
Cool the filling before topping. This was my biggest breakthrough. Piping hot filling creates steam that makes the puff pastry soggy from underneath. Let the filling sit for 15-20 minutes at room temperature before adding the pastry. Your crust will thank you.
Use a hot oven. 400°F is non-negotiable. A hot oven creates immediate steam that pushes the pastry layers apart, giving you that dramatic puff. If your oven runs cool, bump it to 425°F for the first 10 minutes, then reduce to 375°F to finish.
Multitask like a pro. While the filling cools, prep your pastry and set up your egg wash. While the pot pie bakes, make a simple green salad or set the table. This recipe actually gives you breathing room—use it to enjoy your guests instead of panicking.
Watch for doneness. Every oven is different. Your pot pie is done when the pastry is deeply golden (not just pale yellow) and the filling is bubbling visibly through the vents. If the top browns too quickly, tent it loosely with foil for the last 10 minutes.
Variations & Adaptations
This recipe is wonderfully flexible. Here are some ways I’ve adapted it for different occasions and diets.
Individual Pot Pies: For dinner parties, I use 8-ounce ramekins. Divide the filling evenly, top with smaller pastry circles cut to fit, and bake for 18-22 minutes. Everyone gets their own perfect little pie—instant conversation starter.
Vegetarian Version: Swap the chicken for 2 cups of diced mushrooms and 1 can of drained chickpeas. Use vegetable broth instead of chicken broth. The mushrooms add that savory, umami depth that makes you forget there’s no meat.
Gluten-Free Adaptation: Use a gluten-free all-purpose flour blend for the roux (Bob’s Red Mill works great). For the topping, you can use gluten-free puff pastry—it’s available in frozen sections now, though the texture is slightly different. Or skip the pastry entirely and top with gluten-free biscuit dough.
Spicy Twist: Add 1 diced jalapeño with the vegetables and ½ teaspoon of smoked paprika to the sauce. Top with a sprinkle of cayenne pepper before baking. My friend Carlos requested this version for his birthday dinner—it’s become a crowd favorite.
Herb Garden Variation: In summer, I use fresh herbs instead of dried—2 tablespoons each of fresh thyme, parsley, and chives. Add them at the very end to preserve their brightness. It transforms the flavor completely.
Serving & Storage Suggestions
This pot pie is at its best when served warm, right after that 10-minute rest. The contrast between the crispy pastry and the creamy filling is pure perfection. Here’s how to make it shine for your guests.
Presentation Tips: Serve directly from the baking dish for that cozy, family-style feel. Garnish with fresh thyme sprigs or a sprinkle of fresh parsley for color. If you’re feeling fancy, set the dish on a wooden board with a serving spoon—it looks effortless but intentional.
What to Serve Alongside: A simple green salad with lemon vinaigrette cuts through the richness beautifully. Roasted asparagus or steamed green beans also work well. For drinks, a crisp white wine like Sauvignon Blanc or a light beer complements the creamy filling.
Storage Instructions: Leftovers keep in the refrigerator for up to 3 days in an airtight container. The pastry will soften, but the flavor only gets better. To reheat, place in a 350°F oven for 15-20 minutes—this helps crisp up the pastry again. Microwaving works in a pinch but will make the pastry chewy.
Freezing Tips: Assemble the pot pie completely but don’t bake it. Wrap tightly in plastic wrap and then foil. Freeze for up to 3 months. To bake from frozen, add 15-20 minutes to the baking time and cover with foil for the first half. The flavors actually deepen during freezing—it’s a great make-ahead option for holiday hosting.
Nutritional Information & Benefits
Here’s the honest truth: this is comfort food, not health food. But it does have some redeeming qualities.
| Nutrient | Per Serving (1/6 of recipe) |
|---|---|
| Calories | 485 |
| Protein | 28g |
| Carbohydrates | 35g |
| Fat | 26g |
| Fiber | 4g |
| Sodium | 720mg |
The chicken provides lean protein that keeps you full. Carrots and peas add fiber and vitamins A and C. The puff pastry, while indulgent, makes this feel like a treat rather than a chore. If you’re watching sodium, use low-sodium broth and skip the added salt until the end. For a lighter version, swap heavy cream for half-and-half and use a little less butter—the flavor will still be fantastic.
Personally, I believe in balance. This pot pie is the kind of meal that nourishes more than just your body—it feeds the soul, especially when shared with people you love.
Conclusion
This crispy chicken pot pie with puff pastry top is more than just a recipe—it’s the dish that made me believe I could actually cook. Every time I make it, I think about that woman at the farmers’ market and her grandmother’s wisdom. The trick really isn’t to treat the pastry like a blanket. It’s to respect the process, trust the ingredients, and let the dish speak for itself.
I hope you make this for your next gathering—whether it’s a casual Sunday dinner or a holiday feast. Customize it with your favorite vegetables, play with the herbs, make it your own. The best recipes are the ones that evolve with you. When you do make it, come back and tell me how it went. Did your guests gasp at that puffed crust? Did someone ask for seconds? I’d love to hear your story.
Now go preheat that oven. You’ve got a showstopper to create.
Frequently Asked Questions
Can I use store-bought rotisserie chicken for this recipe?
Absolutely. Rotisserie chicken is my secret weapon for this recipe. It saves time and adds flavor from the seasoning. Just shred or cube about 3 cups of meat, and you’re good to go. Skip the skin—it gets soggy in the filling.
Why did my puff pastry turn out soggy?
This usually happens for two reasons: the filling was too hot when you added the pastry, or it didn’t bake long enough. Let the filling cool for 15-20 minutes before topping, and make sure your oven is fully preheated to 400°F. Those steam vents are crucial too—they let moisture escape instead of getting trapped.
Can I make this pot pie ahead of time?
Yes! You have two options. Make the filling up to 2 days ahead and refrigerate. When you’re ready to serve, reheat it gently on the stovetop, let it cool slightly, then top with pastry and bake. Or assemble the whole thing (without baking), refrigerate for up to 24 hours, then add 5-10 minutes to the baking time.
What if I don’t have puff pastry? Can I use pie crust instead?
You can, but the texture will be different. Pie crust gives a more traditional, flaky bottom and top. If using pie crust, you’ll need a top and bottom crust, and you’ll want to blind bake the bottom for 10 minutes first to prevent sogginess. Puff pastry creates that dramatic, airy top that makes this recipe special.
How do I reheat leftovers without ruining the pastry?
The oven is your best friend here. Preheat to 350°F, place the pot pie (or individual portions) on a baking sheet, and heat for 15-20 minutes. The pastry will crisp back up nicely. The microwave works in a pinch but will make the pastry soft and chewy—still tasty, just not as impressive.
Pin This Recipe!
Best Crispy Chicken Pot Pie Recipe with Puff Pastry

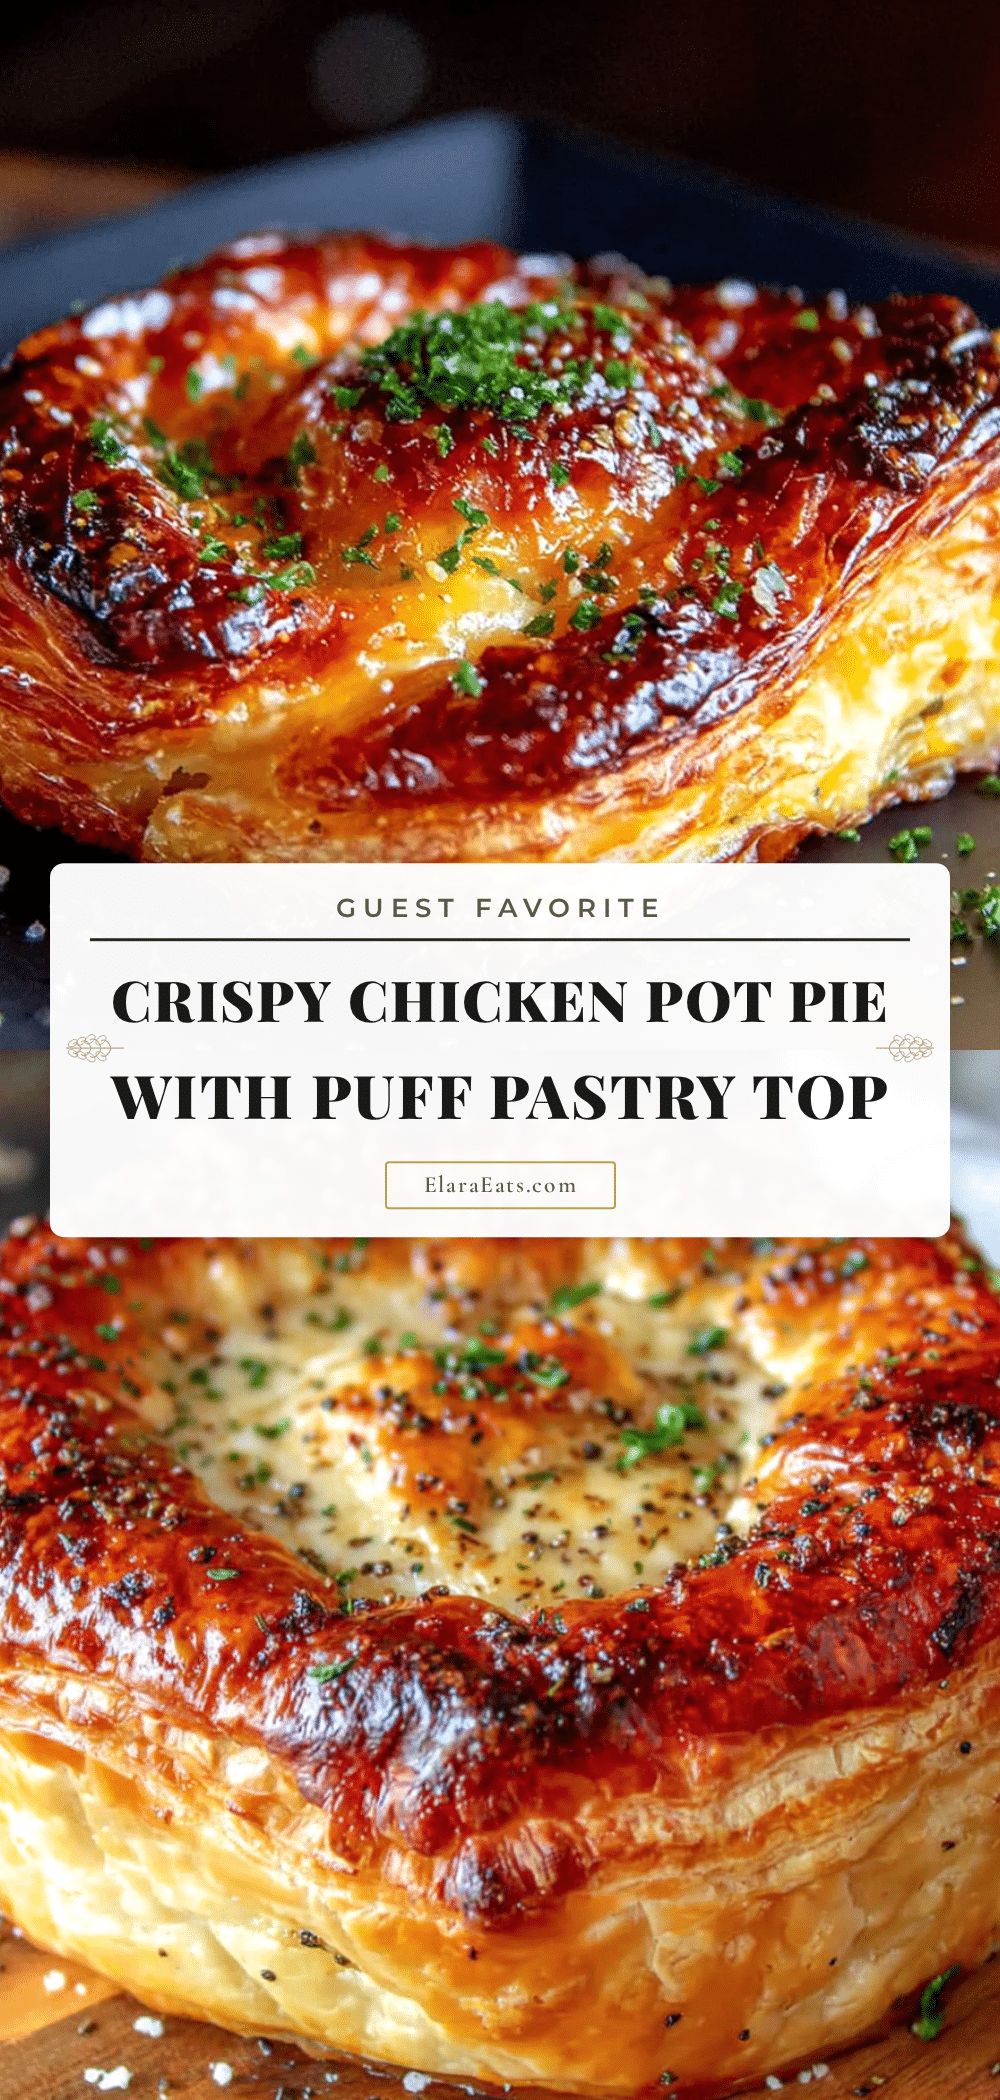
A show-stopping chicken pot pie with a golden, puffed puff pastry top and a creamy, savory filling. This recipe uses a clever technique to keep the pastry crisp and flaky, making it perfect for dinner parties and family gatherings.
- Prep Time: 30 minutes
- Cook Time: 30 minutes
- Total Time: 1 hour
- Yield: 6 servings 1x
- Category: Main Course
- Cuisine: American
Ingredients
- 3 tablespoons unsalted butter
- 1 medium yellow onion, diced (about 1 cup)
- 3 medium carrots, peeled and diced (about 1 cup)
- 2 celery stalks, diced (about ½ cup)
- 3 cloves garlic, minced
- ⅓ cup all-purpose flour
- 2 cups low-sodium chicken broth
- 1 cup whole milk
- ½ cup heavy cream
- 3 cups cooked chicken, shredded or cubed
- 1 cup frozen peas
- 1 teaspoon dried thyme
- ½ teaspoon dried rosemary
- 1 teaspoon salt
- ½ teaspoon black pepper
- ¼ teaspoon nutmeg
- 1 sheet frozen puff pastry, thawed
- 1 large egg
- 1 tablespoon water
- Flaky sea salt, for sprinkling
Instructions
- Melt the butter in a large skillet or Dutch oven over medium heat. Add the diced onion, carrots, and celery. Cook for 8-10 minutes, stirring occasionally, until the vegetables soften and the onions turn translucent. Add the minced garlic and cook for another minute until fragrant.
- Sprinkle the flour over the cooked vegetables and stir constantly for 2 minutes. Slowly pour in the chicken broth while whisking—add it in three additions to prevent lumps. Once the broth is incorporated, whisk in the milk and heavy cream. Bring the mixture to a gentle simmer, then reduce the heat to low. Let it cook for 5-7 minutes, stirring occasionally, until it thickens enough to coat the back of a spoon.
- Stir in the shredded chicken, frozen peas, thyme, rosemary, salt, pepper, and nutmeg. Taste and adjust seasoning. Remove from heat and let it cool slightly while you prepare the pastry.
- Preheat your oven to 400°F (200°C). On a lightly floured surface, unfold the thawed puff pastry sheet. Roll it out slightly to fit your baking dish, about ¼-inch thick. Trim the pastry to be about 1 inch larger than your dish on all sides.
- Pour the filling into a 9×13-inch baking dish, spreading it evenly. Gently lay the puff pastry over the top, letting the excess hang over the edges. Crimp the edges by pressing them against the rim of the dish with your fingers or a fork. Cut 4-5 slits in the top of the pastry to let steam escape.
- Whisk the egg with 1 tablespoon of water to make the egg wash. Brush it generously over the entire pastry surface. Sprinkle flaky sea salt on top. Bake for 25-30 minutes until the pastry is puffed and deep golden brown and the filling is bubbling up through the slits. Let it rest for 10 minutes before serving.
Notes
Let the filling cool for 15-20 minutes before adding the puff pastry to prevent sogginess. Use a hot oven (400°F) for a dramatic puff. If the top browns too quickly, tent with foil for the last 10 minutes. For individual pot pies, use 8-ounce ramekins and bake for 18-22 minutes.
Nutrition
- Serving Size: 1/6 of recipe
- Calories: 485
- Sodium: 720
- Fat: 26
- Carbohydrates: 35
- Fiber: 4
- Protein: 28
Keywords: chicken pot pie, puff pastry, crispy, comfort food, dinner party, easy, make-ahead


