Love this? Save it for later!
Share the inspiration with your friends
This was supposed to be a batch of plain chocolate cupcakes for my son’s kindergarten Halloween party. I had it all planned out—a simple, no-fuss recipe that would get me in and out of the kitchen in under an hour. But somewhere between the grocery store chaos and my toddler deciding to “help” by dumping an entire bottle of red food coloring into the mixing bowl, everything went sideways. I stood there, staring at this violently crimson batter, already twenty minutes behind schedule, with a sticky floor and a very proud three-year-old grinning up at me.
I almost dumped it. Honestly, I had my hand on the sink faucet, ready to wash it all away and start over. But the thought of dragging two kids back to the store for more ingredients was worse than serving a batch of weirdly colored cupcakes. So I added the cocoa powder anyway, crossed my fingers, and baked them off. When they came out of the oven, they were this gorgeous deep red—not the muddy brown I was expecting. I frosted them with a quick cream cheese buttercream, and on a whim, I pressed a mini chocolate chip into the top of each one to look like a little bite mark.
My son’s teacher called me that evening. “What did you put in those cupcakes?” she asked, and my heart sank. But then she laughed. “The kids are calling them vampire bites. They want the recipe.” I mean, talk about a plot twist. I went from almost crying over a ruined batch of batter to accidentally creating the most requested Halloween treat in our entire mom group. Now I make these every October, and they’ve become our little tradition—proof that sometimes the best recipes come from the messiest moments. Maybe you’ve been there, standing in a disaster zone of a kitchen, wondering if you should just order pizza. Stick with me on this one.
Why You’ll Love This Recipe
I’ve tested this recipe more times than I care to count—through three Halloweens, two school parties, and one very memorable playdate where I forgot the eggs entirely. Each time, these cupcakes came through. Here is why they have earned a permanent spot in my rotation:
- Kid-Friendly Fun: The “vampire bite” detail is pure magic for little ones. It is spooky without being scary, and kids absolutely lose their minds over the chocolate chip “bite mark.”
- Simple Ingredients: No fancy extracts or specialty flours. You probably have most of this in your pantry right now, which is exactly what you need when Halloween sneaks up on you.
- Perfect for Parties: These travel well, hold up at room temperature for hours, and look impressive on a dessert table without requiring fancy piping skills.
- Crowd-Pleaser: Adults love the classic red velvet flavor, and kids love the playful presentation. It is the rare recipe that makes everyone happy.
- Unbelievably Moist: The buttermilk and oil combination gives these cupcakes a tender crumb that stays soft for days—if they last that long.
What makes this recipe different from every other red velvet recipe out there is the balance. So many red velvet cupcakes are either too sweet or too tangy, but this version hits that perfect middle ground. The cream cheese frosting is not overpowering, and the cake itself has just enough cocoa to feel rich without tasting like a standard chocolate cupcake. It is the kind of recipe that makes you close your eyes after the first bite—comfort food reimagined for a spooky season.
What Ingredients You Will Need
This recipe uses simple, everyday ingredients to deliver that classic red velvet flavor and tender texture. Nothing here requires a special trip to a gourmet store—I promise.
- All-purpose flour, 2 ½ cups (315g) – Spoon and level it for the most accurate measurement. I use Gold Medal, but any standard brand works fine.
- Granulated sugar, 1 ½ cups (300g) – Adds sweetness and helps create that tender crumb.
- Unsweetened cocoa powder, 1 tablespoon (8g) – Just enough for that subtle chocolate flavor. Do not use Dutch-process here; natural cocoa works best.
- Baking soda, 1 teaspoon – Make sure it is fresh, or your cupcakes won’t rise properly.
- Salt, ½ teaspoon – Balances the sweetness and enhances the cocoa flavor.
- Vegetable oil, 1 cup (240ml) – Keeps the cupcakes incredibly moist. Canola or any neutral oil works too.
- Buttermilk, 1 cup (240ml), room temperature – This is the secret to the tender texture. If you do not have buttermilk, add 1 tablespoon of lemon juice or white vinegar to regular milk and let it sit for 5 minutes.
- Large eggs, 2, room temperature – Room temperature eggs blend more evenly into the batter.
- Red food coloring, 2 tablespoons (30ml) – I prefer gel food coloring for a deeper color without thinning the batter. If you want to avoid artificial dyes, try beet powder mixed with a little water—though the color will be more muted.
- White vinegar, 1 teaspoon – Reacts with the baking soda to help the cupcakes rise.
- Vanilla extract, 1 teaspoon – Pure vanilla makes a difference here; the imitation stuff has a weird aftertaste in red velvet.
For the Cream Cheese Frosting:
- Cream cheese, 8 ounces (226g), softened – Full-fat is non-negotiable for the best texture. Low-fat cream cheese makes the frosting runny.
- Unsalted butter, ½ cup (113g), softened – Let it sit out for at least an hour.
- Powdered sugar, 4 cups (480g), sifted – Sifting prevents lumps and gives you that silky smooth frosting.
- Vanilla extract, 1 teaspoon
- Pinch of salt
For the Vampire Bite Decoration:
- Mini chocolate chips, about 24 – These create the “bite mark” effect. Dark chocolate chips look best against the red frosting.
Equipment Needed
You do not need a professional bakery setup for these cupcakes. Here is what gets the job done:
- Standard 12-cup muffin pan – I use a light-colored metal pan for even baking. Dark pans can cause the edges to brown too quickly.
- Paper cupcake liners – White liners show off the red color best, but Halloween-themed ones are adorable too.
- Large mixing bowls – Two bowls: one for dry ingredients, one for wet.
- Electric hand mixer or stand mixer – A hand mixer works perfectly. I have made these with a whisk before, and it is doable but your arm will feel it.
- Measuring cups and spoons – Accurate measurements matter in baking more than cooking.
- Rubber spatula – For scraping down the bowl and folding in the last bits of batter.
- Cooling rack – Essential for letting the cupcakes cool completely before frosting. If you frost them while they are warm, the frosting will slide right off.
- Piping bag or zip-top bag – A zip-top bag with the corner snipped off works great if you do not own a piping bag. I have done it many times.
- Offset spatula or butter knife – For spreading the frosting if you prefer a rustic look.
Preparation Method
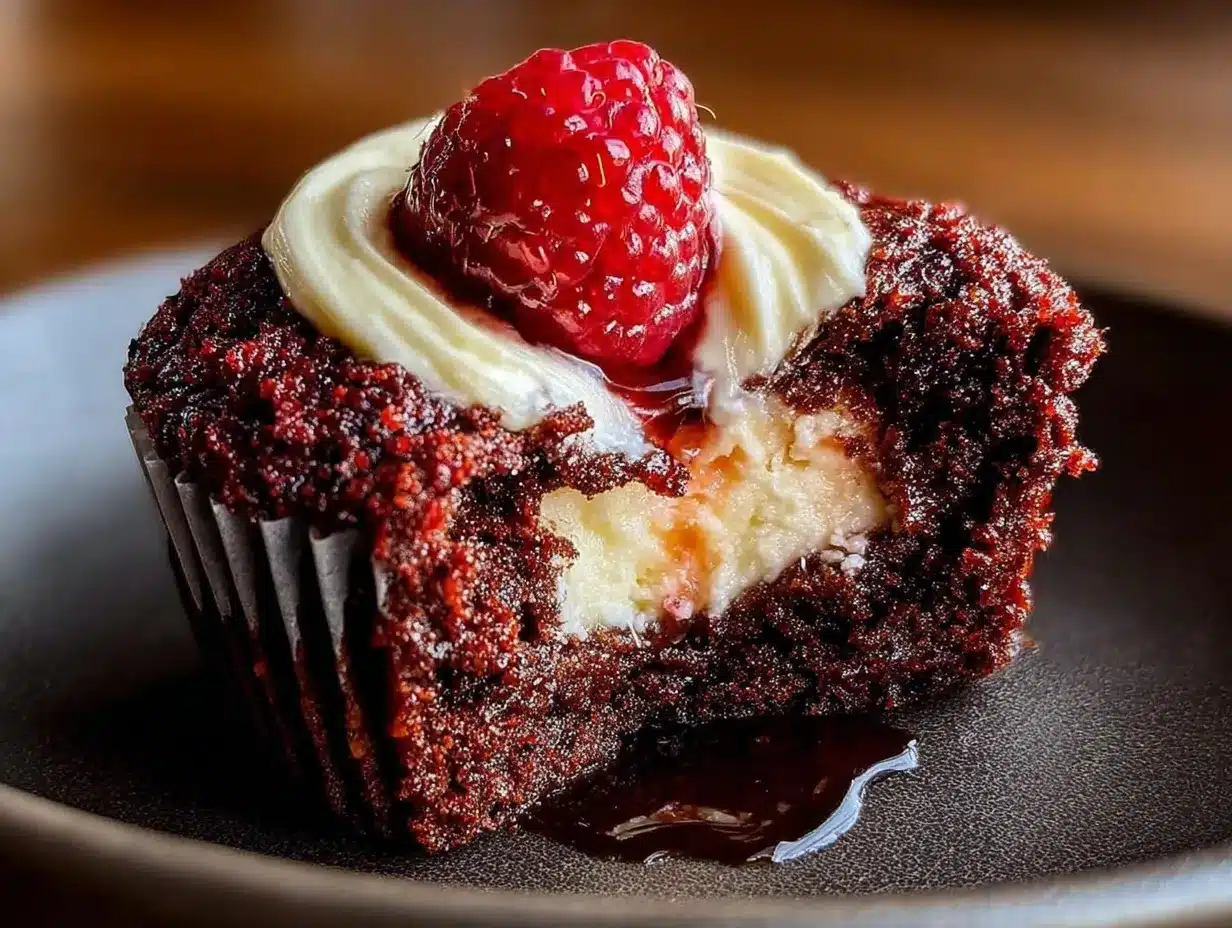
Preheat your oven to 350°F (175°C). Line your muffin pan with 24 paper liners—this recipe makes a full two dozen, which is perfect for a class party or two separate batches for different events.
- Mix the dry ingredients. In a large bowl, whisk together the flour, sugar, cocoa powder, baking soda, and salt. Make sure everything is evenly distributed. I usually give it an extra 30 seconds of whisking to break up any cocoa lumps.
- Combine the wet ingredients. In a separate bowl, whisk the oil, buttermilk, eggs, food coloring, vinegar, and vanilla together until smooth. The mixture will look a little strange—almost like a thin pink milkshake—but do not worry. That is normal.
- Combine wet and dry. Pour the wet ingredients into the dry ingredients and mix on low speed until just combined. Stop the mixer and scrape down the sides and bottom of the bowl. Then mix for another 10 seconds. Overmixing will make the cupcakes tough, so stop as soon as you no longer see streaks of flour.
- Fill the liners. Use a cookie scoop or a ¼-cup measure to divide the batter evenly among the 24 liners. Fill each about two-thirds full. Tap the pan gently on the counter to release any air bubbles.
- Bake. Place the pan in the center of the oven and bake for 18 to 22 minutes. The cupcakes are done when a toothpick inserted into the center comes out clean or with just a few moist crumbs. The tops should spring back when lightly touched.
- Cool completely. Let the cupcakes cool in the pan for 5 minutes, then transfer them to a wire rack to cool completely. This step is crucial—if the cupcakes are even slightly warm, the frosting will melt into a sad puddle. I learned this the hard way before a school bake sale.
- Make the frosting. While the cupcakes cool, beat the softened cream cheese and butter together on medium speed until smooth and creamy, about 2 minutes. Gradually add the sifted powdered sugar, one cup at a time, mixing on low speed to avoid a sugar cloud. Add the vanilla and salt, then increase the speed to medium-high and beat for 2 to 3 minutes until the frosting is light and fluffy.
- Frost the cupcakes. Transfer the frosting to a piping bag fitted with a large round tip, or simply snip the corner off a zip-top bag. Pipe a generous swirl on each cooled cupcake. Alternatively, use an offset spatula to spread the frosting in a smooth dome.
- Add the vampire bites. Press two mini chocolate chips into the top of each frosted cupcake, angled slightly to look like fang marks. I place them about half an inch apart, near the edge of the frosting, so they are visible from the side.
Cooking Tips & Techniques
After making these cupcakes roughly forty-seven times (I stopped counting after year two), I have collected a few hard-earned lessons. First, room temperature ingredients are not optional here. Cold buttermilk and cold eggs will make the batter seize up, and the cupcakes will dome unevenly. I set my eggs and buttermilk on the counter about an hour before I start mixing. If I forget—which happens often—I place the eggs in a bowl of warm water for 5 minutes and microwave the buttermilk for 15 seconds.
The red food coloring situation is worth discussing. Gel food coloring gives you that vibrant, almost theatrical red without adding extra liquid. Liquid food coloring works, but you will need more of it to get the same intensity, and too much liquid can throw off the batter consistency. I use about 2 tablespoons of gel color. If you are using liquid, bump it up to 3 tablespoons and reduce the buttermilk by 1 tablespoon to compensate.
Here is a mistake I made more than once: overfilling the liners. I know it is tempting to make jumbo cupcakes, but these rise quite a bit. Fill them no more than two-thirds full, or you will get muffin tops that spill over the edges and burn. Trust me on this one—I have scraped enough burnt batter off the bottom of my oven to last a lifetime.
For consistent results, rotate the pan halfway through baking. Ovens have hot spots, and rotating ensures all 24 cupcakes bake evenly. I set a timer for 10 minutes, rotate, and then check for doneness at the 18-minute mark.
Variations & Adaptations
One year, I made a gluten-free version for a friend’s daughter who has celiac disease. I swapped the all-purpose flour for a 1:1 gluten-free baking blend (I used Bob’s Red Mill) and added an extra tablespoon of buttermilk to compensate for the drier flour. They turned out surprisingly good—slightly denser, but the flavor was spot on. If you are baking for someone with gluten sensitivity, that swap works well.
For a dairy-free adaptation, substitute the buttermilk with almond milk mixed with 1 tablespoon of lemon juice, and use a dairy-free cream cheese alternative. I have tried this with Kite Hill brand cream cheese, and while the frosting is softer, it still tastes delicious. Use vegan butter sticks instead of spreadable margarine for better structure.
If you want to skip the artificial food coloring entirely, beet powder is your best bet. Mix 2 tablespoons of beet powder with 3 tablespoons of water to form a paste, then add it with the wet ingredients. The color will be more of a deep burgundy than a bright red, but it has a certain rustic charm. My neighbor calls them “gothic velvet” cupcakes, which I think sounds way cooler anyway.
For a fun twist, try adding a teaspoon of instant espresso powder to the dry ingredients. It deepens the chocolate flavor without making the cupcakes taste like coffee. I started doing this after a friend suggested it, and now I cannot go back.
Serving & Storage Suggestions
These cupcakes are best served at room temperature. If you have refrigerated them, let them sit out for about 30 minutes before serving—the frosting softens and the cake becomes more tender. I like to arrange them on a black or orange platter for Halloween parties, with the vampire bites facing outward so everyone can see the detail.
For storage, place the frosted cupcakes in an airtight container in the refrigerator for up to 4 days. The cream cheese frosting needs to stay chilled if you are not serving them within a few hours. Before serving, let them sit at room temperature for 20 minutes to take the chill off.
These cupcakes freeze beautifully, which is a lifesaver for busy Halloween weeks. Freeze them unfrosted in a single layer on a baking sheet, then transfer them to a freezer bag for up to 3 months. When you are ready to serve, thaw them in the refrigerator overnight, then bring to room temperature and frost. I have done this for two years running, and no one has ever noticed the difference.
The flavors actually develop over time. Day-old cupcakes taste even better than fresh ones—the moisture distributes more evenly, and the cocoa flavor deepens. So do not stress about making them the morning of your party. Bake them a day ahead, and you will actually get better results.
Nutritional Information & Benefits
Each cupcake (with frosting) contains approximately 320 calories, 16g fat, 42g carbohydrates, and 3g protein. These are definitely a treat, not an everyday snack, but they are made with real ingredients—no preservatives or mystery additives.
The buttermilk adds a dose of calcium and probiotics, while the cocoa powder provides a small amount of antioxidants. The cream cheese frosting offers some protein and calcium as well, though let us be honest—we are eating these for the joy, not the health benefits. If you want to lighten them up, you can reduce the frosting amount or use a lower-sugar version, but I have found that skimping on the frosting makes the cupcakes less satisfying. Life is short; eat the frosting.
These cupcakes contain dairy, eggs, and gluten. For allergen-friendly versions, see the variations section above. They are nut-free as written, which makes them a safe choice for school parties where nut allergies are a concern.
Conclusion
These vampire bite red velvet cupcakes have become our family’s Halloween tradition, born from a kitchen disaster that I still laugh about every October. They are proof that you do not need fancy equipment or professional skills to create something that brings people together. The kids love the playful bite marks, the adults love the classic flavor, and I love that I can make them without stressing over complicated techniques.
I encourage you to make these your own. Use a different frosting color, swap the chocolate chips for candy eyes, or add a sprinkle of edible glitter for extra spooky sparkle. The recipe is forgiving, and the joy it brings is consistent. If you make these, I would love to hear about it. Drop a comment below and tell me how they turned out, or share a photo of your vampire bites on social media. There is something magical about seeing a recipe travel from my messy kitchen to yours.
Happy Halloween, and happy baking. May your batter be red, your frosting be fluffy, and your kitchen be just messy enough to prove you made something with love.
Frequently Asked Questions
Can I make these cupcakes ahead of time?
Absolutely. Bake the cupcakes up to two days ahead and store them unfrosted in an airtight container at room temperature. Frost them the day you plan to serve them for the best presentation.
Why did my cupcakes turn out dry?
Overbaking is the most common culprit. Check your cupcakes at the 18-minute mark and remove them as soon as a toothpick comes out clean. Also, make sure you measured your flour correctly—scooping directly from the bag packs too much flour into the cup.
Can I use a different frosting?
Yes, cream cheese frosting is traditional for red velvet, but a simple vanilla buttercream or even a chocolate ganache works beautifully. The vampire bite detail looks great with any white or light-colored frosting.
How do I get the red color without food coloring?
Beet powder mixed with water is the best natural alternative. The color will be a deeper burgundy rather than bright red, but the flavor is unaffected. Some bakers also use raspberry puree, though that changes the flavor profile.
Can I make these as a cake instead of cupcakes?
Yes, this recipe works perfectly as a two-layer 9-inch cake. Bake for 25 to 30 minutes, or until a toothpick comes out clean. Double the frosting recipe for a generous layer cake. The vampire bite decoration works on cake slices too—just press chocolate chips into the frosting on each slice.
Pin This Recipe!
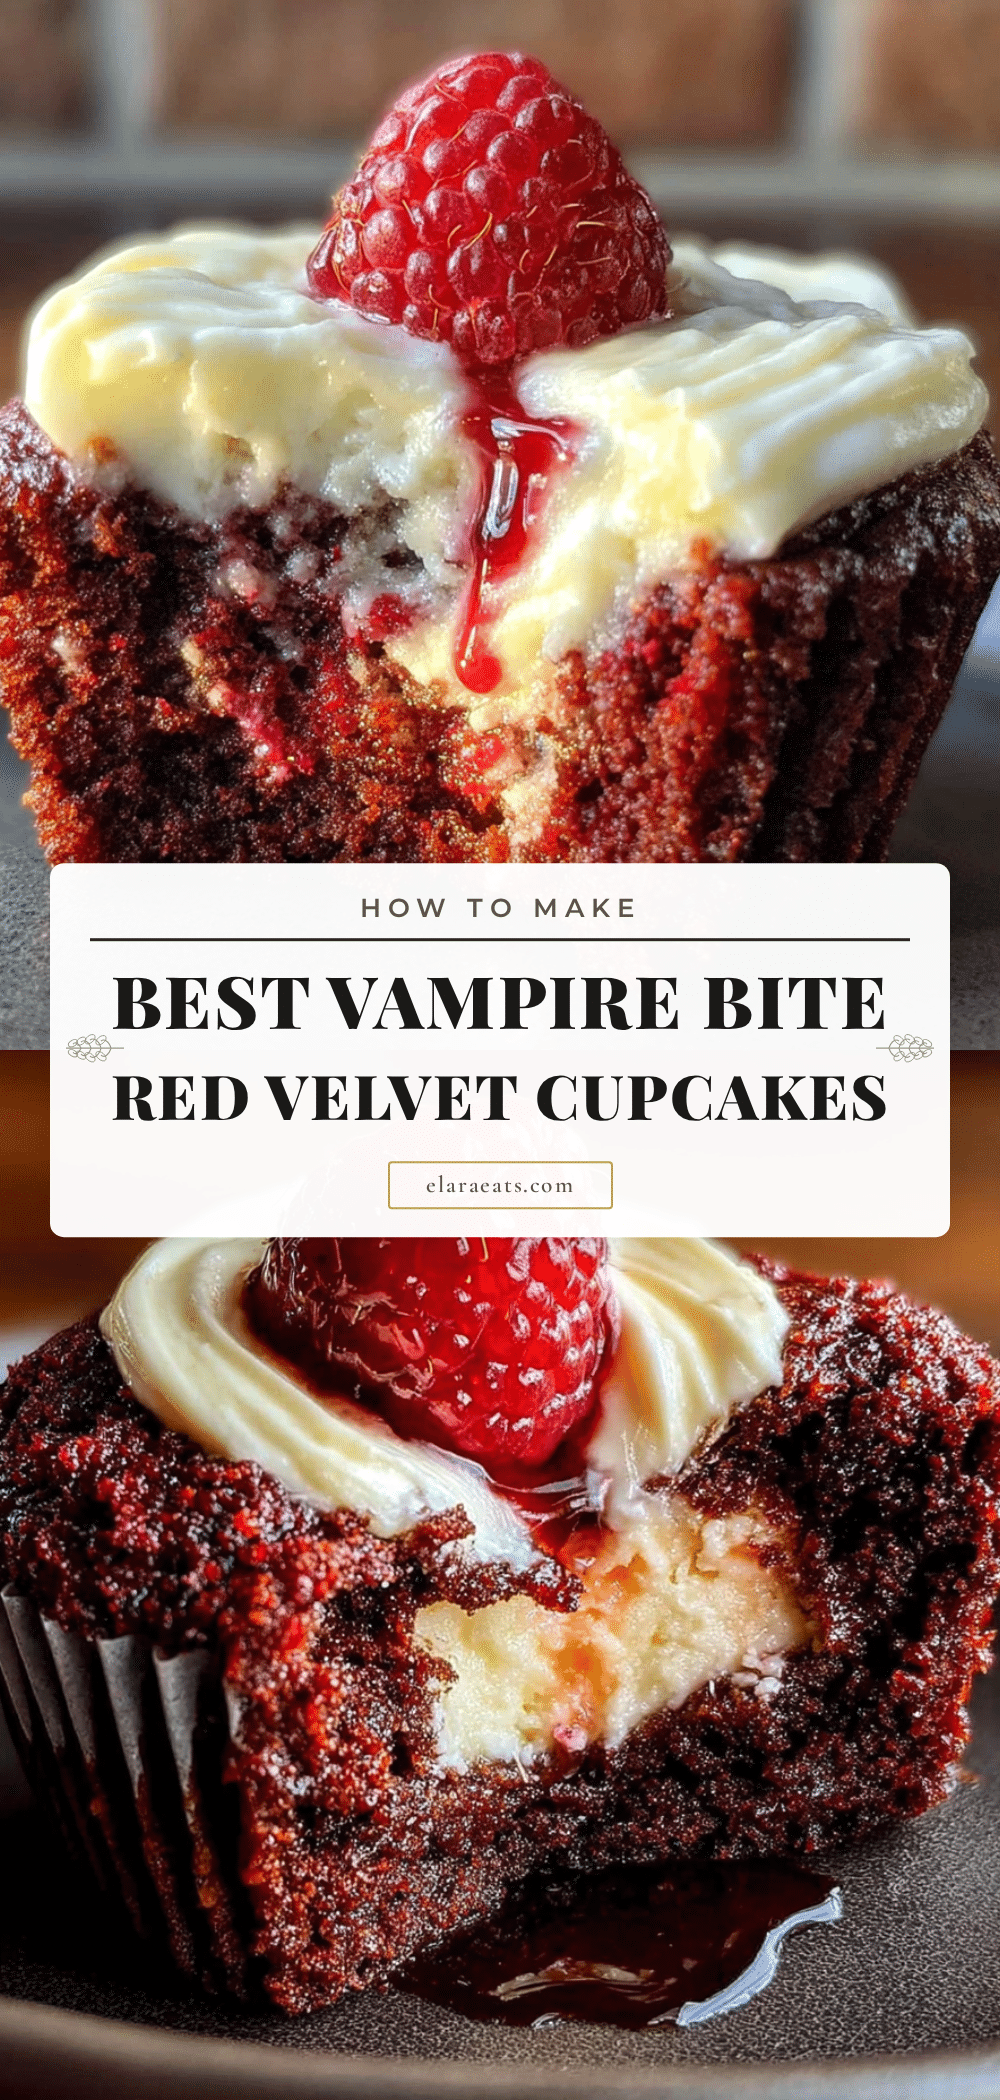
Best Vampire Bite Red Velvet Cupcakes: Easy Kid-Friendly Halloween Treat
These vampire bite red velvet cupcakes are a fun and easy Halloween treat that kids love. Made with simple ingredients, they feature a moist red velvet cake topped with cream cheese frosting and a playful chocolate chip ‘bite mark’ decoration.
- Prep Time: 20 minutes
- Cook Time: 20 minutes
- Total Time: 40 minutes
- Yield: 24 cupcakes 1x
- Category: Dessert
- Cuisine: American
Ingredients
- 2 ½ cups (315g) all-purpose flour
- 1 ½ cups (300g) granulated sugar
- 1 tablespoon (8g) unsweetened cocoa powder
- 1 teaspoon baking soda
- ½ teaspoon salt
- 1 cup (240ml) vegetable oil
- 1 cup (240ml) buttermilk, room temperature
- 2 large eggs, room temperature
- 2 tablespoons (30ml) red food coloring (gel preferred)
- 1 teaspoon white vinegar
- 1 teaspoon vanilla extract
- 8 ounces (226g) cream cheese, softened
- ½ cup (113g) unsalted butter, softened
- 4 cups (480g) powdered sugar, sifted
- 1 teaspoon vanilla extract
- Pinch of salt
- About 24 mini chocolate chips
Instructions
- Preheat oven to 350°F (175°C). Line muffin pan with 24 paper liners.
- In a large bowl, whisk together flour, sugar, cocoa powder, baking soda, and salt.
- In a separate bowl, whisk together oil, buttermilk, eggs, food coloring, vinegar, and vanilla until smooth.
- Pour wet ingredients into dry ingredients and mix on low speed until just combined. Do not overmix.
- Divide batter evenly among the 24 liners, filling each about two-thirds full. Tap pan gently to release air bubbles.
- Bake for 18 to 22 minutes, until a toothpick inserted in the center comes out clean or with a few moist crumbs. Cool in pan for 5 minutes, then transfer to a wire rack to cool completely.
- For frosting: Beat cream cheese and butter together on medium speed until smooth, about 2 minutes. Gradually add sifted powdered sugar, one cup at a time, mixing on low. Add vanilla and salt, then beat on medium-high for 2 to 3 minutes until light and fluffy.
- Frost cooled cupcakes using a piping bag or offset spatula.
- Press two mini chocolate chips into the top of each frosted cupcake, angled slightly to look like fang marks.
Notes
Room temperature ingredients are crucial for even batter. Gel food coloring gives a deeper red without thinning the batter. For natural color, use beet powder mixed with water. Cupcakes can be made ahead and frozen unfrosted for up to 3 months. Day-old cupcakes taste even better as flavors develop.
Nutrition
- Serving Size: 1 cupcake
- Calories: 320
- Sugar: 32
- Sodium: 180
- Fat: 16
- Saturated Fat: 6
- Carbohydrates: 42
- Fiber: 1
- Protein: 3
Keywords: red velvet cupcakes, vampire bites, Halloween treats, kid-friendly, cream cheese frosting, chocolate chip decoration


