Love this? Save it for later!
Share the inspiration with your friends
These Easy Pumpkin Spice Snickerdoodle Skull Cookies are the perfect weeknight baking project. They come together in under 30 minutes, use mostly pantry staples, and look incredibly impressive without requiring any fancy piping bags or decorating skills. Honestly, they are the kind of cookie that makes people think you spent hours in the kitchen—when really, you were just efficient.
- Quick & Easy: From mixing bowl to cooling rack in about 25 minutes. No chilling the dough required, which is a game-changer for a busy weeknight.
- Simple Ingredients: You probably already have flour, sugar, butter, and eggs. The pumpkin spice and canned pumpkin are the only special additions, and they do all the heavy lifting for flavor.
- Perfect for Halloween Weeknights: These cookies bring all the spooky fun without the stress. They are great for a school treat, a quick dessert after dinner, or even a low-key Halloween party.
- Crowd-Pleaser: Kids and adults alike love the soft, chewy texture and the familiar snickerdoodle taste with a seasonal twist. No one can resist a skull-shaped cookie.
- Unbelievably Delicious: The combination of pumpkin, warm spices, and a cinnamon-sugar coating is pure comfort. The skull shape just makes them more fun to eat.
What makes these different from other pumpkin cookies? It is the texture. By using a bit of canned pumpkin and the right ratio of butter, you get a cookie that is soft in the center with slightly crispy edges—just like a classic snickerdoodle, but better. This isn’t just another pumpkin cookie recipe; it is your new go-to for a quick, satisfying, and visually fun treat that respects your time.
What Ingredients You Will Need
This recipe uses simple, wholesome ingredients to deliver big pumpkin spice flavor without any fuss. Most of these are pantry staples, which makes this a perfect last-minute baking idea for a weeknight.
- For the Cookies:
- 1/2 cup (1 stick) unsalted butter, softened (I always use Land O’Lakes for consistent results)
- 3/4 cup granulated sugar
- 1/4 cup packed light brown sugar
- 1/3 cup canned pumpkin puree (not pumpkin pie filling—make sure it’s 100% pumpkin)
- 1 large egg, room temperature
- 1 teaspoon vanilla extract
- 2 cups all-purpose flour (spooned and leveled)
- 1 teaspoon cream of tartar (this is what gives snickerdoodles their signature tangy flavor)
- 1/2 teaspoon baking soda
- 1/2 teaspoon salt
- 2 teaspoons pumpkin pie spice (store-bought or homemade—I like the McCormick blend)
- For the Cinnamon-Sugar Coating:
- 1/4 cup granulated sugar
- 1 tablespoon ground cinnamon
- 1/2 teaspoon pumpkin pie spice (optional, but highly recommended for extra flavor)
For the pumpkin, I recommend using Libby’s canned pumpkin. It has the right thickness and flavor. If you only have pumpkin pie filling, don’t use it—it has added sugar and spices that will mess up the texture. You can substitute the butter with a good vegan butter stick (like Earth Balance) for a dairy-free version. For a gluten-free option, use a 1:1 gluten-free flour blend that contains xanthan gum, like Bob’s Red Mill.
Equipment Needed
You don’t need much for these cookies, which is a big part of their appeal.
- Large mixing bowl and a hand mixer (or a stand mixer with the paddle attachment). A wooden spoon works too, but the mixer makes it faster.
- Medium bowl for the dry ingredients.
- Small, shallow bowl for the cinnamon-sugar coating.
- Skull-shaped cookie cutter (about 2.5 to 3 inches). I got mine on Amazon for under $8, and it works perfectly.
- Baking sheets (I prefer Nordic Ware for even baking).
- Parchment paper or a silicone baking mat (silicone mats are a lifesaver for cleanup).
- Cooling rack.
- Measuring cups and spoons.
- Spatula for transferring cookies.
If you don’t have a skull cookie cutter, you can use any fun shape—ghosts, bats, or even a round cutter. The flavor is still amazing. I’ve used a simple 2-inch round cutter in a pinch, and they were just as delicious, just not as spooky.
Preparation Method
- Preheat and Prep: Preheat your oven to 350°F (175°C). Line two baking sheets with parchment paper or silicone mats. This step saves you from scrubbing later.
- Cream the Butter and Sugars: In a large mixing bowl, beat the softened butter, granulated sugar, and brown sugar together on medium speed until light and fluffy, about 2-3 minutes. You want it to look pale and airy. Scrape down the sides of the bowl with a spatula once or twice.
- Add the Wet Ingredients: Add the pumpkin puree, egg, and vanilla extract. Beat on low speed until just combined. Don’t overmix here—you don’t want to incorporate too much air. The mixture might look a little curdled at this point, but that’s totally normal. Don’t panic.
- Mix the Dry Ingredients: In a separate medium bowl, whisk together the flour, cream of tartar, baking soda, salt, and pumpkin pie spice. Whisking ensures everything is evenly distributed.
- Combine Wet and Dry: Gradually add the dry ingredients to the wet mixture, mixing on low speed until a soft dough forms. The dough will be slightly sticky but should hold together. If it feels too wet, add a tablespoon of flour. If it’s too dry, add a teaspoon of milk. I’ve had to do this on humid days.
- Make the Coating: In a small, shallow bowl, mix together the 1/4 cup granulated sugar, cinnamon, and optional extra pumpkin pie spice.
- Shape and Coat: Scoop out a heaping tablespoon of dough (about 1.5 tablespoons). Roll it into a ball between your palms. Drop the ball into the cinnamon-sugar mixture and roll it around until fully coated. Place the coated ball onto the prepared baking sheet, leaving about 2 inches of space between each cookie.
- Flatten and Stamp: Gently flatten each dough ball slightly with the bottom of a glass or your palm. Then, press the skull cookie cutter into the center of each flattened dough round. Press firmly but don’t cut all the way through—you just want an imprint. Lift the cutter straight up. The imprint will deepen as the cookies spread and bake.
- Bake: Bake for 9-11 minutes, or until the edges are just set and lightly golden. The centers will still look soft and slightly puffy. That’s what you want—they will continue to set as they cool. Overbaking makes them dry.
- Cool: Let the cookies cool on the baking sheet for 5 minutes. This is crucial—they are fragile when hot. After 5 minutes, transfer them to a cooling rack to cool completely. The skull imprint will be more defined as they cool.
Cooking Tips & Techniques
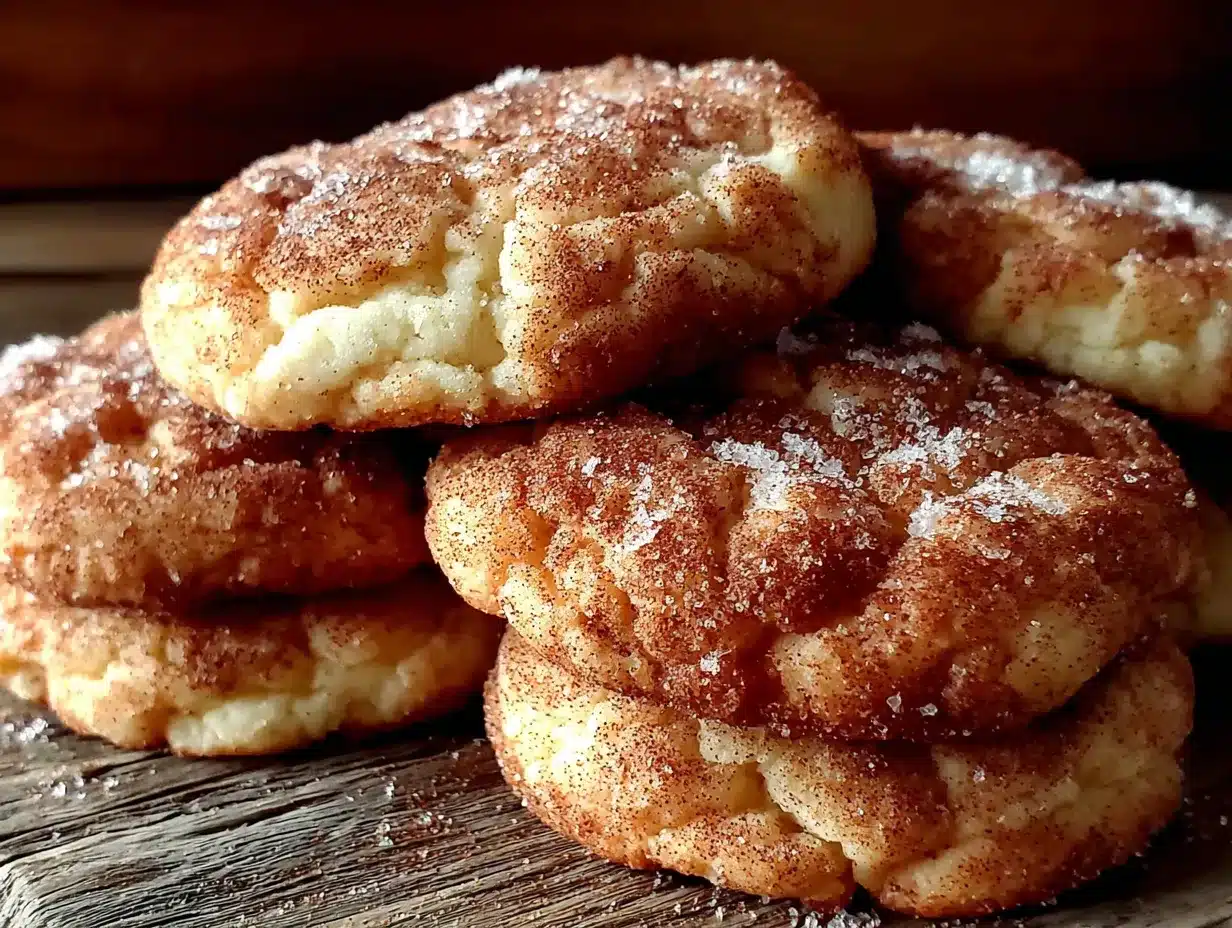
I learned the hard way that chilling the dough is not required, but if you have the time, 15 minutes in the fridge can make the cookies slightly thicker. On a busy weeknight, I skip it entirely, and they still turn out great.
One mistake I made the first time was pressing the cookie cutter too deep. I almost cut the cookies in half, and the skull shape disappeared during baking. You want a firm imprint, not a cut. Think of it like making a stamp in soft clay.
Another tip: use a light-colored baking sheet. Dark sheets can cause the bottoms to brown too quickly before the centers are done. If you only have dark sheets, reduce the oven temperature by 25°F.
For consistent cookie sizes, I use a small cookie scoop. It saves time and ensures even baking. If you don’t have one, a heaping tablespoon works fine.
If your dough feels too sticky to roll into balls, lightly grease your hands with a tiny bit of vegetable oil. It makes the process much smoother and less frustrating.
Variations & Adaptations
These cookies are incredibly flexible. Here are a few ways I’ve adapted them:
- Dairy-Free: Swap the butter for a good vegan butter stick. I’ve used Miyoko’s, and it worked beautifully. The cookies were slightly less tender but still delicious.
- Gluten-Free: Use a 1:1 gluten-free flour blend. I recommend Cup4Cup for the best texture. Add an extra tablespoon of flour if the dough feels too sticky.
- Extra Spooky: After baking, drizzle a little melted white chocolate over the skull cookies to look like spider webs. It adds a touch of sweetness and looks amazing.
- Pumpkin Spice Latte Twist: Add 1 teaspoon of instant espresso powder to the dry ingredients. It deepens the pumpkin spice flavor and gives a subtle coffee kick.
- No Pumpkin: If you don’t have canned pumpkin, you can substitute with the same amount of unsweetened applesauce. The cookies will be slightly less pumpkin-y but still soft and spiced.
Serving & Storage Suggestions
These cookies are best served at room temperature. They are soft, chewy, and the cinnamon-sugar coating gives them a lovely crunch. I love pairing them with a hot cup of apple cider or a chai latte for the ultimate fall treat.
For storage, place the cooled cookies in an airtight container at room temperature. They will stay fresh for up to 5 days. I like to layer them with parchment paper to prevent the skull imprints from smudging.
You can also freeze these cookies. Place the baked, cooled cookies in a single layer in a freezer-safe bag or container. They will keep for up to 3 months. To thaw, just leave them on the counter for 15 minutes. The flavor actually deepens a bit after freezing.
If you want to make the dough ahead of time, you can refrigerate the unbaked dough balls (without the cinnamon-sugar coating) for up to 2 days. When ready to bake, roll them in the coating and bake as directed. You might need to add 1-2 minutes to the baking time if the dough is cold.
Nutritional Information & Benefits
Per cookie (based on 24 cookies): Approximately 120 calories, 5g fat, 18g carbohydrates, 1g protein, 10g sugar. These are estimates and will vary based on exact ingredients and portion sizes.
These cookies offer a small dose of vitamin A from the pumpkin, which is good for eye health and immune function. The pumpkin also adds moisture, allowing you to use slightly less butter than a traditional snickerdoodle recipe. The cream of tartar provides a bit of potassium, though the amount is minimal.
This recipe is vegetarian and can easily be made dairy-free or gluten-free. It contains wheat and dairy in its standard form, so keep that in mind for allergies. I love that this treat feels indulgent but has a tiny nutritional boost from the pumpkin. It makes me feel a little less guilty about having a second cookie.
Conclusion
These Easy Pumpkin Spice Snickerdoodle Skull Cookies are proof that you can have fun, festive, and delicious treats without spending hours in the kitchen. They are quick, simple, and perfect for a busy weeknight when you still want to make something special. The soft, chewy texture and warm pumpkin spice flavor are absolutely irresistible, and the skull shape adds a playful Halloween touch.
I encourage you to make these your own. Use a different cookie cutter, adjust the spice level, or add a drizzle of white chocolate. The base recipe is forgiving and delicious. I honestly love how these cookies have become a new tradition in my house—they are the perfect mix of seasonal flavor and spooky fun.
Have you tried this recipe? I would love to hear how they turned out! Leave a comment below with your variations or tag me in your photos. Happy baking, and don’t forget to save this recipe for your next weeknight treat!
Frequently Asked Questions
Can I use pumpkin pie filling instead of pumpkin puree?
No, I do not recommend it. Pumpkin pie filling has added sugar and spices, which will throw off the texture and sweetness of the cookies. Stick with 100% canned pumpkin puree for the best results.
Do I have to use a skull cookie cutter?
Not at all! You can use any cookie cutter you like—ghosts, bats, circles, or even just leave them as round snickerdoodles. The flavor is the same, and they will still be delicious.
Why did my cookies spread too much?
This usually happens if the butter was too soft or the dough was too warm. Make sure your butter is softened but not melted. If your kitchen is hot, you can chill the dough balls for 15 minutes before baking to prevent excessive spreading.
Can I make the dough ahead of time?
Yes! You can refrigerate the unbaked dough balls (without the cinnamon-sugar coating) for up to 2 days. When you are ready to bake, roll them in the coating and add 1-2 minutes to the baking time.
How do I store these cookies to keep them soft?
Store them in an airtight container at room temperature. Adding a slice of bread to the container will help keep them soft—the cookies will absorb the moisture from the bread. They will stay fresh for up to 5 days.
Pin This Recipe!
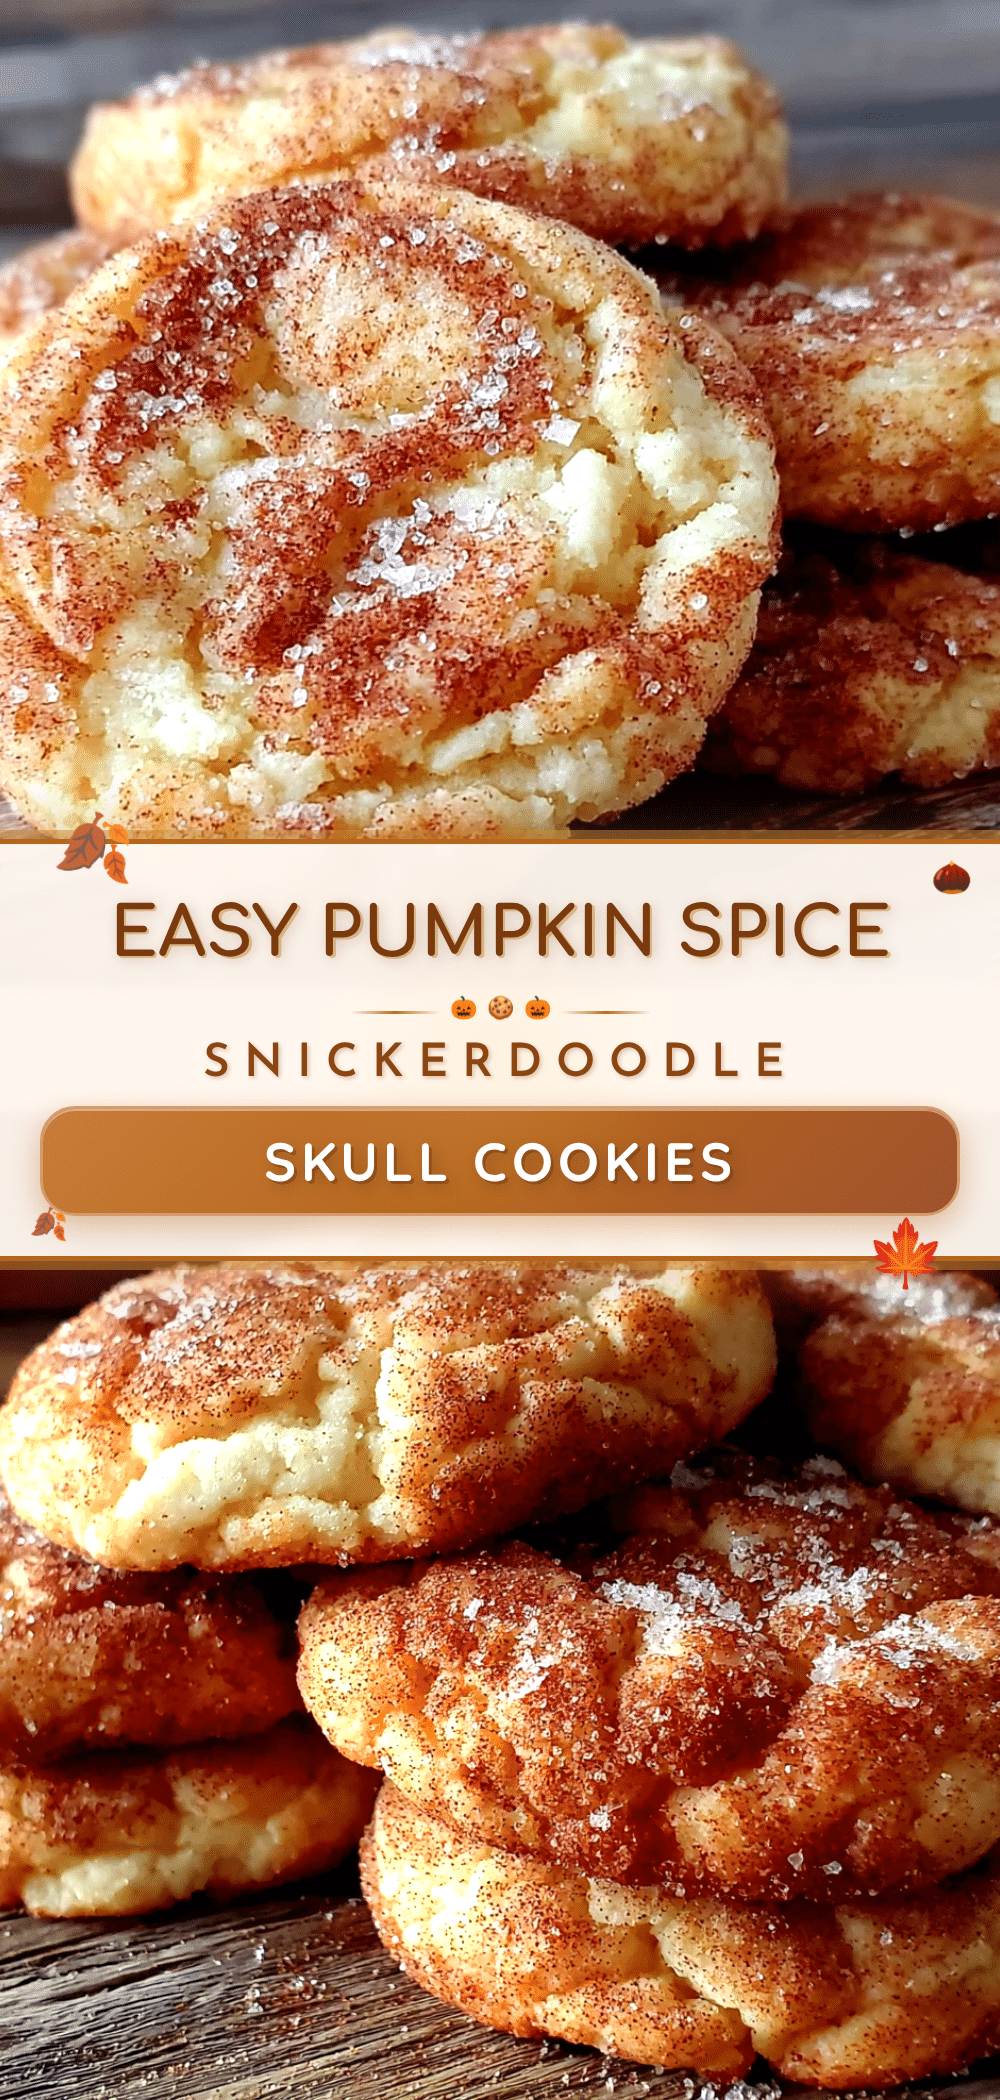
Easy Pumpkin Spice Snickerdoodle Skull Cookies Recipe

These Easy Pumpkin Spice Snickerdoodle Skull Cookies are the perfect weeknight baking project. They come together in under 30 minutes, use mostly pantry staples, and look incredibly impressive without requiring any fancy piping bags or decorating skills.
- Prep Time: 15 minutes
- Cook Time: 10 minutes
- Total Time: 25 minutes
- Yield: 24 servings 1x
- Category: Dessert
- Cuisine: American
Ingredients
- 1/2 cup (1 stick) unsalted butter, softened
- 3/4 cup granulated sugar
- 1/4 cup packed light brown sugar
- 1/3 cup canned pumpkin puree (not pumpkin pie filling)
- 1 large egg, room temperature
- 1 teaspoon vanilla extract
- 2 cups all-purpose flour (spooned and leveled)
- 1 teaspoon cream of tartar
- 1/2 teaspoon baking soda
- 1/2 teaspoon salt
- 2 teaspoons pumpkin pie spice
- 1/4 cup granulated sugar (for coating)
- 1 tablespoon ground cinnamon (for coating)
- 1/2 teaspoon pumpkin pie spice (optional, for coating)
Instructions
- Preheat your oven to 350°F (175°C). Line two baking sheets with parchment paper or silicone mats.
- In a large mixing bowl, beat the softened butter, granulated sugar, and brown sugar together on medium speed until light and fluffy, about 2-3 minutes. Scrape down the sides of the bowl with a spatula once or twice.
- Add the pumpkin puree, egg, and vanilla extract. Beat on low speed until just combined. The mixture might look a little curdled, but that’s normal.
- In a separate medium bowl, whisk together the flour, cream of tartar, baking soda, salt, and pumpkin pie spice.
- Gradually add the dry ingredients to the wet mixture, mixing on low speed until a soft dough forms. The dough will be slightly sticky but should hold together. If it feels too wet, add a tablespoon of flour. If it’s too dry, add a teaspoon of milk.
- In a small, shallow bowl, mix together the 1/4 cup granulated sugar, cinnamon, and optional extra pumpkin pie spice.
- Scoop out a heaping tablespoon of dough (about 1.5 tablespoons). Roll it into a ball between your palms. Drop the ball into the cinnamon-sugar mixture and roll it around until fully coated. Place the coated ball onto the prepared baking sheet, leaving about 2 inches of space between each cookie.
- Gently flatten each dough ball slightly with the bottom of a glass or your palm. Then, press the skull cookie cutter into the center of each flattened dough round. Press firmly but don’t cut all the way through—you just want an imprint. Lift the cutter straight up.
- Bake for 9-11 minutes, or until the edges are just set and lightly golden. The centers will still look soft and slightly puffy.
- Let the cookies cool on the baking sheet for 5 minutes. After 5 minutes, transfer them to a cooling rack to cool completely.
Notes
Chilling the dough is not required, but if you have time, 15 minutes in the fridge can make the cookies slightly thicker. Use a light-colored baking sheet to prevent over-browning. For consistent cookie sizes, use a small cookie scoop. If dough is too sticky, lightly grease your hands with vegetable oil.
Nutrition
- Serving Size: 1 cookie
- Calories: 120
- Sugar: 10
- Sodium: 80
- Fat: 5
- Saturated Fat: 3
- Carbohydrates: 18
- Fiber: 1
- Protein: 1
Keywords: pumpkin spice, snickerdoodle, skull cookies, Halloween, easy, weeknight, fall, pumpkin


