Love this? Save it for later!
Share the inspiration with your friends
I wasn’t expecting baking advice from my accountant, but there I was, hunched over a messy pile of receipts in early October, listening to him describe exactly how to make ghost meringue cookies. His name is Steve, and for the past hour, he’d been calmly explaining my tax deductions while I nodded along, completely distracted by the fact that this man—who wears suspenders and talks about depreciation schedules—makes the most adorable Halloween treats I’ve ever seen. “My grandchildren go crazy for them,” he said, not even looking up from my W-2 forms. “And they’re so easy, you barely break a sweat.”
Honestly, I was skeptical. Meringue always felt a little fussy to me—something that belonged in fancy French patisseries, not in my tiny kitchen with a toddler tugging at my apron strings. But Steve insisted. He even scribbled the basic method on a sticky note and handed it over with my tax summary. “Try them,” he said. “You’ll thank me.”
So I did. And let me tell you, I’ve never been so happy to be wrong. These ghost meringue cookies are downright magical. They’re light, crunchy, and just sweet enough to satisfy a Halloween candy craving without the sugar coma. Plus, they look absolutely adorable with their little chocolate chip eyes peeking out. My kids helped me pipe them, and we laughed so hard at the wonky shapes—some ghosts looked more like blobs, but honestly, that only made them cuter. If you’ve got picky eaters or a tight budget this spooky season, these cookies are your answer. Maybe you’ve been there—standing in the grocery aisle, staring at overpriced Halloween treats, wondering if there’s a better way. There is. And it starts with a sticky note from an accountant.
Why You’ll Love This Recipe
These ghost meringue cookies are about to become your new favorite Halloween tradition. I’ve tested this recipe more times than I can count, tweaking temperatures and piping techniques until they came out perfect every single time. Here’s why they work so well for real families on real budgets:
- Budget-Friendly: You need just four basic ingredients—egg whites, sugar, vanilla, and chocolate chips. No fancy extracts or specialty flours required. This whole batch costs less than a bag of premium Halloween candy.
- Quick & Easy: Active prep time is about 15 minutes. The oven does most of the work while you clean up or help kids with homework. Perfect for busy weeknights when you still want to do something festive.
- Kid-Approved: My kids fought over who got to place the chocolate chip eyes. The process is simple enough for little hands, and the result is a treat they’re genuinely proud of. Even picky eaters love these.
- Naturally Gluten-Free & Low-Fat: Meringue is naturally free of gluten and dairy, making these safe for many dietary restrictions. They’re also surprisingly low in fat compared to traditional cookies.
- Perfect for Halloween: Whether it’s a classroom party, a spooky movie night, or just a fun afternoon activity, these cookies fit the occasion without any stress.
What makes this recipe different from the dozens of meringue recipes out there? It’s the foolproof technique I’ve refined through trial and error—including the exact oven temperature that prevents cracking and the perfect piping method for ghost shapes that actually look like ghosts. I’ve also tested the chocolate chip placement so they stay put during baking. This isn’t just another version; it’s the version that works the first time, every time.
This recipe is the kind that makes you feel like a kitchen rockstar without actually having to work that hard. It’s Halloween magic made simple—affordable, achievable, and absolutely adorable.
What Ingredients You Will Need
This recipe uses simple, everyday ingredients to create something truly special. You probably already have most of these in your pantry, which is exactly how family cooking should be. Here’s what you’ll need:
For the Meringue Cookies
- 3 large egg whites, at room temperature (room temperature eggs whip up higher and more stable—trust me on this)
- 3/4 cup (150g) granulated sugar (regular white sugar works best; avoid powdered sugar as it changes the texture)
- 1/2 teaspoon cream of tartar (this stabilizes the meringue and helps it hold its shape; you can substitute with 1 teaspoon lemon juice if needed)
- 1 teaspoon vanilla extract (pure vanilla adds the best flavor, but imitation works fine too)
- 1/3 cup mini chocolate chips (for the eyes—regular chocolate chips are too big; mini chips look perfectly ghost-like)
Ingredient Selection Tips
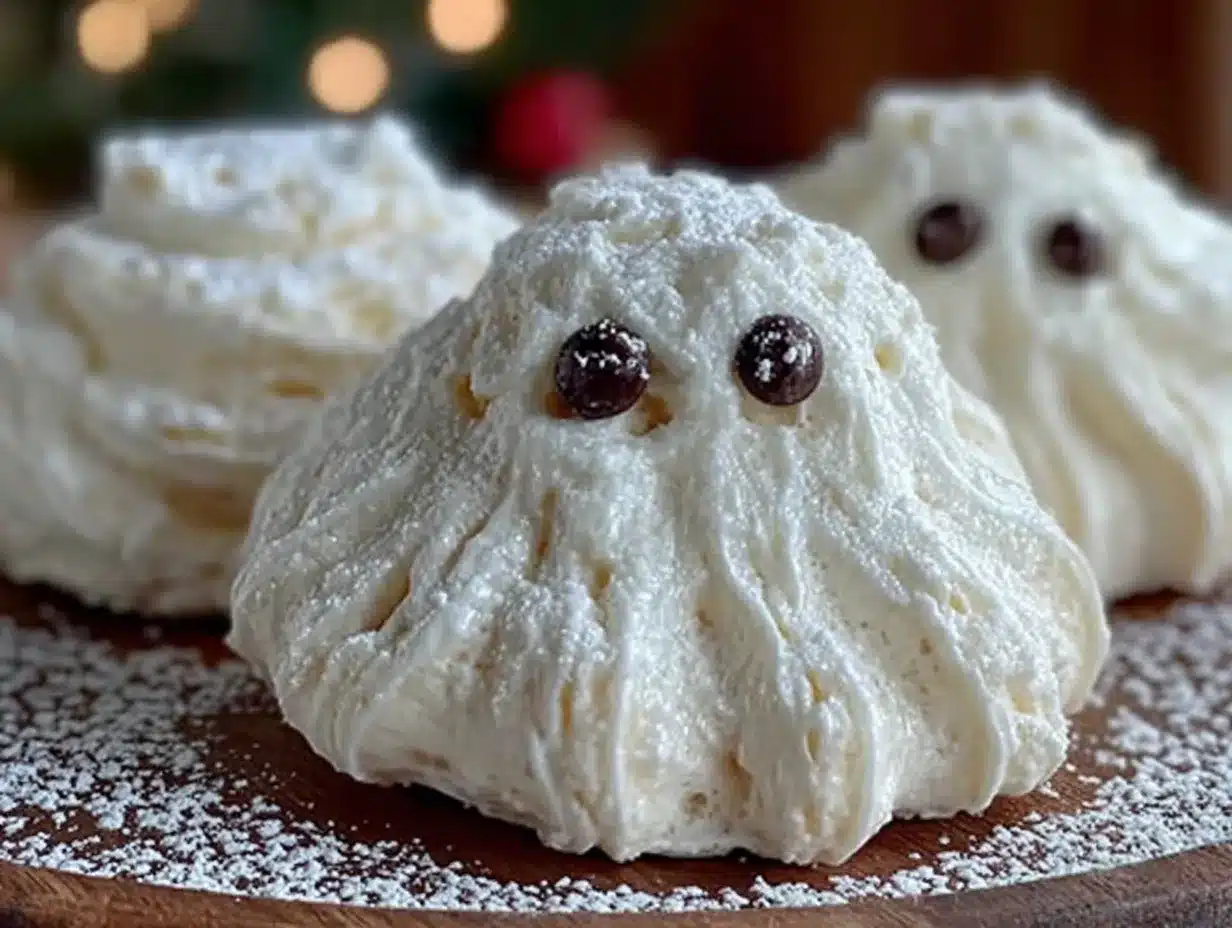
For the best results, use fresh egg whites. Older eggs actually whip up better than super fresh ones, so if your eggs have been in the fridge for a week, you’re in luck. I recommend buying large eggs from any standard grocery brand—no need for fancy farm eggs here. For the chocolate chips, I prefer Ghirardelli mini chips because they’re consistently sized and hold their shape during baking. But honestly, any brand works.
If you’re on a tight budget, store-brand sugar and vanilla are perfectly fine. The cream of tartar is worth buying because a small tin lasts forever and helps guarantee success. You can find it in the spice aisle for under two dollars.
Substitution Guidance
Need a dairy-free option? These cookies are naturally dairy-free since meringue contains no butter or milk. For a vegan version, you can try aquafaba (the liquid from a can of chickpeas) instead of egg whites—use 3 tablespoons of aquafaba per egg white. The texture will be slightly different, but still delicious. If you’re avoiding sugar, you can experiment with superfine baker’s sugar, which dissolves more easily. Just don’t use liquid sweeteners—they’ll ruin the meringue structure.
Equipment Needed
You don’t need a professional bakery setup to make these ghost meringue cookies. Here’s what you’ll actually use:
- Electric mixer (handheld or stand mixer—both work great. I use my trusty KitchenAid stand mixer, but a hand mixer does the job perfectly. You can whip by hand, but your arm will get a serious workout)
- Large mixing bowl (glass or metal works best; plastic can hold oils that prevent egg whites from whipping properly)
- Baking sheets (two standard 13×18 inch sheets fit a full batch comfortably)
- Parchment paper (essential for easy removal—don’t skip this or your ghosts will stick)
- Piping bag (a large piping bag with a round tip, or simply use a sturdy zip-top bag with the corner snipped off. Budget tip: zip-top bags work just as well and cost pennies)
- Rubber spatula (for folding in the chocolate chips gently)
- Cooling rack (optional but helpful for even cooling)
If you don’t own a piping bag, don’t stress. I’ve made these countless times using a simple sandwich bag. Just fill it, snip a small corner, and pipe away. The ghosts won’t look as uniform, but honestly, that adds to their charm. My first batch looked like a ghost family reunion with all shapes and sizes—my kids loved them even more.
Preparation Method
Let’s make some ghost cookies! Follow these steps carefully, and you’ll have adorable meringue ghosts in no time. I’ve included all my little tricks learned from many batches.
- Preheat your oven to 200°F (95°C). Yes, that’s very low. Meringue cookies bake low and slow to dry out without browning. Line two baking sheets with parchment paper and set them aside.
- Separate your eggs carefully. Crack each egg and separate the white from the yolk, making sure no yolk gets into the whites. Even a tiny bit of yolk will prevent your meringue from whipping properly. I separate each egg into a small bowl first, then transfer the white to your large mixing bowl. This way, if one yolk breaks, you haven’t ruined the whole batch.
- Start whipping the egg whites on medium speed until they become frothy and bubbly—about 1 minute. You’ll see lots of small bubbles forming. Add the cream of tartar at this point. The mixture will start looking white and foamy.
- Gradually add the sugar while the mixer is running. Add it one tablespoon at a time, waiting about 10 seconds between each addition. This slow addition helps the sugar dissolve completely, which is the secret to smooth, glossy meringue. If you dump all the sugar in at once, your meringue will be grainy.
- Increase speed to high and whip until stiff, glossy peaks form. This takes about 5-7 minutes with a stand mixer, or 8-10 minutes with a hand mixer. You know it’s ready when you lift the beater and the meringue stands up in a sharp peak that doesn’t droop. The mixture should look bright white and feel smooth between your fingers—no sugar crystals left. Add the vanilla extract during the last 30 seconds of whipping.
- Gently fold in the mini chocolate chips using a rubber spatula. Use a gentle folding motion—cut down through the center, scrape along the bottom, and bring it up over the top. Rotate the bowl as you go. Stop as soon as the chips are evenly distributed. Overmixing will deflate your meringue.
- Transfer the meringue to your piping bag. If using a zip-top bag, place it in a tall glass and fold the edges over the rim to make filling easier. Fill the bag about halfway, then twist the top closed.
- Pipe ghost shapes onto your prepared baking sheets. Hold the bag straight up and down about 1/2 inch above the parchment. Squeeze gently to create a round base, then pull upward while reducing pressure to form a tall, wobbly ghost shape. Release pressure completely, then pull the bag away in a quick upward motion. Leave about 1 inch between ghosts—they don’t spread much, but you want air to circulate. Don’t worry if they look uneven; my ghosts always look slightly different, and that’s part of their charm.
- Bake for 60-75 minutes. The cookies are done when they feel dry and firm to the touch and easily lift off the parchment paper. They should be pale white or very slightly ivory—not brown at all. If they start browning, your oven is too hot.
- Turn off the oven and leave the cookies inside to cool completely with the door slightly ajar. This takes about 1-2 hours. This gradual cooling prevents cracking and ensures they’re perfectly crisp all the way through.
Cooking Tips & Techniques
After making these ghost meringue cookies more times than I can count, I’ve collected a few tricks that make the process smoother. Let me share what I’ve learned—including my biggest failures.
Room temperature eggs are non-negotiable. Cold eggs don’t whip as high or as stable. I learned this the hard way when I rushed through a batch and ended up with flat, sad ghosts. Take the eggs out of the fridge 30 minutes before you start, or place them in a bowl of warm water for 5 minutes.
Humidity is your enemy. Meringue hates moisture. If it’s a rainy day, your cookies might turn out sticky or chewy instead of crisp. Pick a dry day to make these, or run your air conditioner or dehumidifier in the kitchen. I once made a batch during a thunderstorm, and they never fully dried out—they were still soft after two hours in the oven.
Don’t overbake. The goal is to dry the meringue, not cook it. If your oven runs hot, use an oven thermometer to check the actual temperature. My oven runs about 25°F too hot, so I set it to 175°F to get the right 200°F inside. Burnt meringue tastes terrible—trust me on that one.
Pipe with confidence. Hesitation creates blobs instead of ghosts. Squeeze firmly and pull up smoothly. If your first few ghosts look weird, just scrape them back into the bag and try again. The meringue can be re-piped multiple times without issue.
Multitask wisely. While the meringue is whipping, line your baking sheets and set up your piping bag. That 5-7 minutes of whipping time is perfect for prep. Then while the cookies bake, clean up your dishes—the egg yolks can go into an omelet for dinner.
Variations & Adaptations
Once you’ve mastered the basic ghost meringue cookies, feel free to get creative. Here are some variations I’ve tried and loved:
Spooky Color Twist: Add a few drops of black or purple food coloring after the stiff peaks form. Fold gently to create a marbled effect—the ghosts will look like they’re from a haunted house. My kids went wild for purple ghosts last Halloween.
Flavor Variations: Swap the vanilla extract for peppermint, almond, or orange extract. Use 1/2 teaspoon instead of 1 teaspoon since these extracts are stronger. Peppermint ghosts taste like candy canes—perfect for Christmas too.
Dietary Adaptations: For a vegan version, replace each egg white with 3 tablespoons of aquafaba (the liquid from a can of chickpeas). Whip it the same way, adding cream of tartar and sugar. The texture is slightly less crisp but still delicious. For a sugar-free version, use a granulated monk fruit sweetener—just note that the texture will be slightly different.
Different Eye Options: Instead of chocolate chips, try mini M&Ms, sprinkles, or even tiny candies. Press them into the piped ghosts before baking. I’ve also used black sesame seeds for a more subtle look.
Size Variations: Pipe mini ghosts for bite-sized treats (reduce baking time to 45-50 minutes) or giant ghosts for a dramatic centerpiece (increase baking time to 90 minutes). Just keep an eye on them.
Serving & Storage Suggestions
These ghost meringue cookies are best served at room temperature. They’re perfectly crisp and light, with a satisfying crunch that melts in your mouth. Arrange them on a platter with other Halloween treats—I love pairing them with chocolate cupcakes or caramel apples for a spooky spread.
For parties, I like to place them on a white platter with a few fake spider webs for decoration. Kids absolutely love them, and adults appreciate the nostalgic, homemade touch. They’re also perfect for classroom parties—just pack them carefully in a single layer.
Storage: Store your ghost meringue cookies in an airtight container at room temperature. They’ll stay crisp for up to 2 weeks—if they last that long. Don’t refrigerate them, as the moisture will make them sticky. If you live in a humid climate, add a silica gel packet (the kind that comes in shoe boxes) to the container to absorb excess moisture.
Freezing: You can freeze baked meringue cookies for up to 3 months. Place them in a single layer in a freezer-safe container with parchment between layers. Thaw at room temperature for 30 minutes before serving. The texture remains perfectly crisp.
Flavor Development: These cookies actually taste best after they’ve sat for a day. The flavors meld together, and the texture becomes even more delicate. So feel free to make them a day or two ahead of your Halloween celebration.
Nutritional Information & Benefits
Here’s the approximate nutritional breakdown per ghost cookie (based on 24 cookies per batch):
| Nutrient | Amount per Cookie |
|---|---|
| Calories | 35 |
| Total Fat | 0.5g |
| Saturated Fat | 0.3g |
| Cholesterol | 0mg |
| Sodium | 10mg |
| Total Carbohydrates | 7g |
| Sugars | 7g |
| Protein | 1g |
These cookies are naturally low in fat and contain no cholesterol since they’re made entirely from egg whites. They’re also gluten-free and dairy-free, making them safe for many common dietary restrictions. The egg whites provide a small amount of protein, while the sugar gives you quick energy—perfect for a little Halloween treat without the heavy feeling of traditional cookies.
From a wellness perspective, I love that these cookies satisfy a sweet craving without any artificial ingredients or preservatives. You control exactly what goes into them. Plus, the act of making them with kids provides quality time and a sense of accomplishment that no store-bought treat can match.
Conclusion
These ghost meringue cookies are proof that the best recipes come from the most unexpected places—even from an accountant’s sticky note. They’re affordable, easy, and absolutely delightful. Whether you’re making them for a Halloween party, a classroom celebration, or just a fun afternoon with your kids, they deliver on every level.
I love that this recipe brings people together. My kids still talk about the first time we made them, and the tradition has become a highlight of our October. The best part? You can customize them endlessly. Add different colors, try new flavors, or experiment with different eye options. Make them your own.
I’d love to hear how your ghost meringue cookies turn out! Drop a comment below and share your creations—wonky ghosts, perfect ghosts, and everything in between. Tag me in your photos, and don’t forget to share this recipe with another busy parent who needs a little Halloween magic. Happy baking, and may your ghosts be ever so spooky!
Frequently Asked Questions
Can I make these ghost meringue cookies without a piping bag?
Absolutely! Use a sturdy zip-top bag with the corner snipped off. You can also use a spoon to drop dollops of meringue onto the baking sheet and shape them gently with the back of the spoon. They won’t look as refined, but they’ll taste just as delicious.
Why did my meringue cookies turn out sticky or chewy?
This usually happens when there’s too much humidity in the air or the cookies weren’t baked long enough. Make sure your oven temperature is accurate (use an oven thermometer) and bake until they’re completely dry. On humid days, increase baking time by 10-15 minutes.
Can I use liquid egg whites from a carton?
I don’t recommend it. Carton egg whites often contain stabilizers that prevent them from whipping to stiff peaks. Fresh egg whites from whole eggs give you the best volume and texture. Save the carton egg whites for omelets or scrambled eggs.
How do I prevent my ghost meringue cookies from cracking?
Cracking happens when the temperature changes too quickly. Make sure your oven is at the correct low temperature (200°F/95°C), and don’t open the oven door during baking. After baking, let them cool in the oven with the door slightly ajar. This gradual cooling prevents cracks.
Can I make these cookies ahead of time for a party?
Yes! These cookies store beautifully for up to 2 weeks in an airtight container at room temperature. In fact, they taste even better after a day or two as the flavors meld. Just make sure they’re completely cool before storing, and keep them away from moisture.
Pin This Recipe!
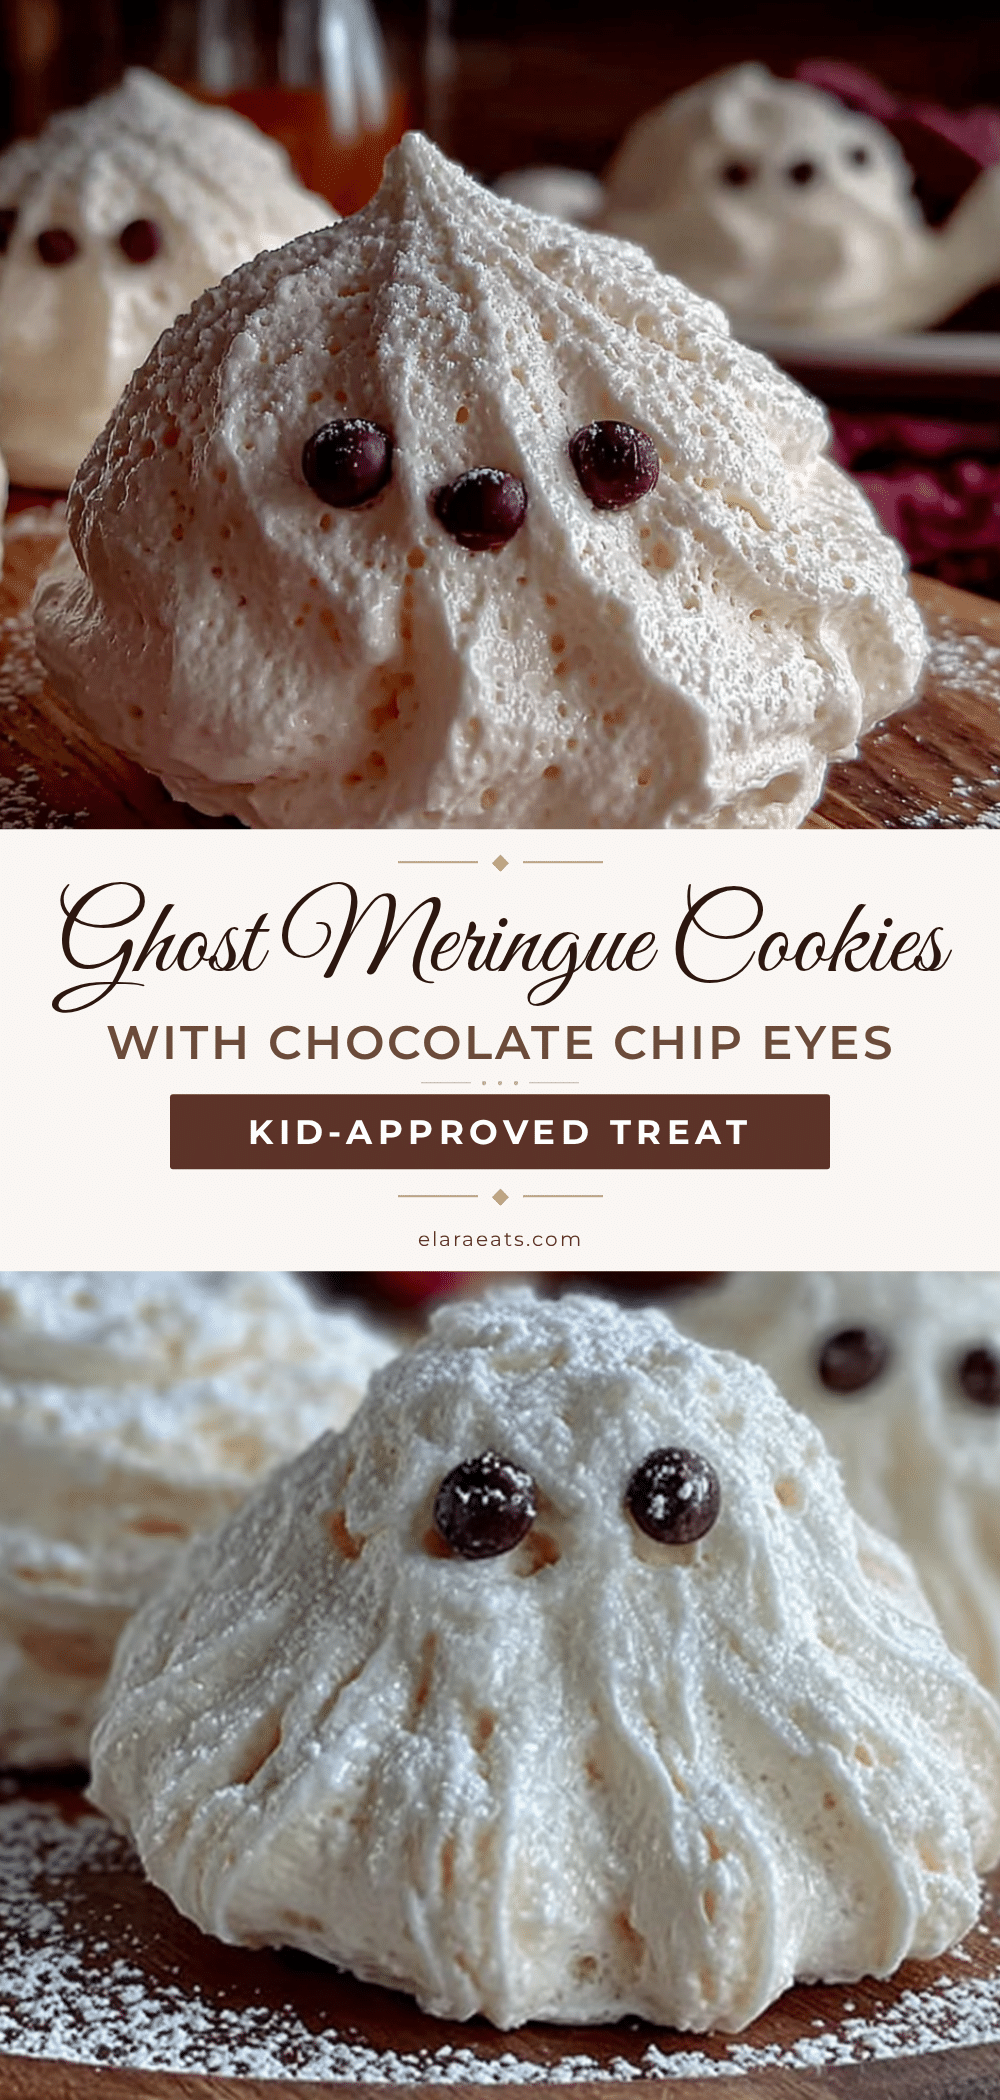
Easy Ghost Meringue Cookies with Chocolate Eyes
These ghost meringue cookies are light, crunchy, and just sweet enough to satisfy a Halloween candy craving without the sugar coma. Made with just four basic ingredients, they’re budget-friendly, kid-approved, and naturally gluten-free and low-fat.
- Prep Time: 15 minutes
- Cook Time: 60-75 minutes
- Total Time: 1 hour 15 minutes to 1 hour 30 minutes
- Yield: 24 cookies 1x
- Category: Dessert
- Cuisine: American
Ingredients
- 3 large egg whites, at room temperature
- 3/4 cup (150g) granulated sugar
- 1/2 teaspoon cream of tartar
- 1 teaspoon vanilla extract
- 1/3 cup mini chocolate chips
Instructions
- Preheat your oven to 200°F (95°C). Line two baking sheets with parchment paper.
- Separate your eggs carefully, making sure no yolk gets into the whites. Transfer the whites to a large mixing bowl.
- Start whipping the egg whites on medium speed until frothy and bubbly—about 1 minute. Add the cream of tartar.
- Gradually add the sugar one tablespoon at a time, waiting about 10 seconds between each addition.
- Increase speed to high and whip until stiff, glossy peaks form—about 5-7 minutes with a stand mixer or 8-10 minutes with a hand mixer. Add the vanilla extract during the last 30 seconds.
- Gently fold in the mini chocolate chips using a rubber spatula until evenly distributed.
- Transfer the meringue to a piping bag (or a sturdy zip-top bag with the corner snipped off).
- Pipe ghost shapes onto the prepared baking sheets: squeeze gently to create a round base, then pull upward while reducing pressure to form a tall, wobbly ghost shape. Leave about 1 inch between ghosts.
- Bake for 60-75 minutes, until the cookies feel dry and firm to the touch and easily lift off the parchment paper.
- Turn off the oven and leave the cookies inside to cool completely with the door slightly ajar—about 1-2 hours.
Notes
Room temperature eggs are essential for proper whipping. Avoid making meringue on humid days. Use an oven thermometer to ensure accurate temperature. Pipe with confidence—hesitation creates blobs. Store in an airtight container at room temperature for up to 2 weeks. For best results, let cookies cool in the oven with the door ajar to prevent cracking.
Nutrition
- Serving Size: 1 cookie
- Calories: 35
- Sugar: 7
- Sodium: 10
- Fat: 0.5
- Saturated Fat: 0.3
- Carbohydrates: 7
- Protein: 1
Keywords: ghost meringue cookies, Halloween cookies, meringue cookies, easy Halloween treats, gluten-free cookies, low-fat cookies, kid-friendly Halloween


